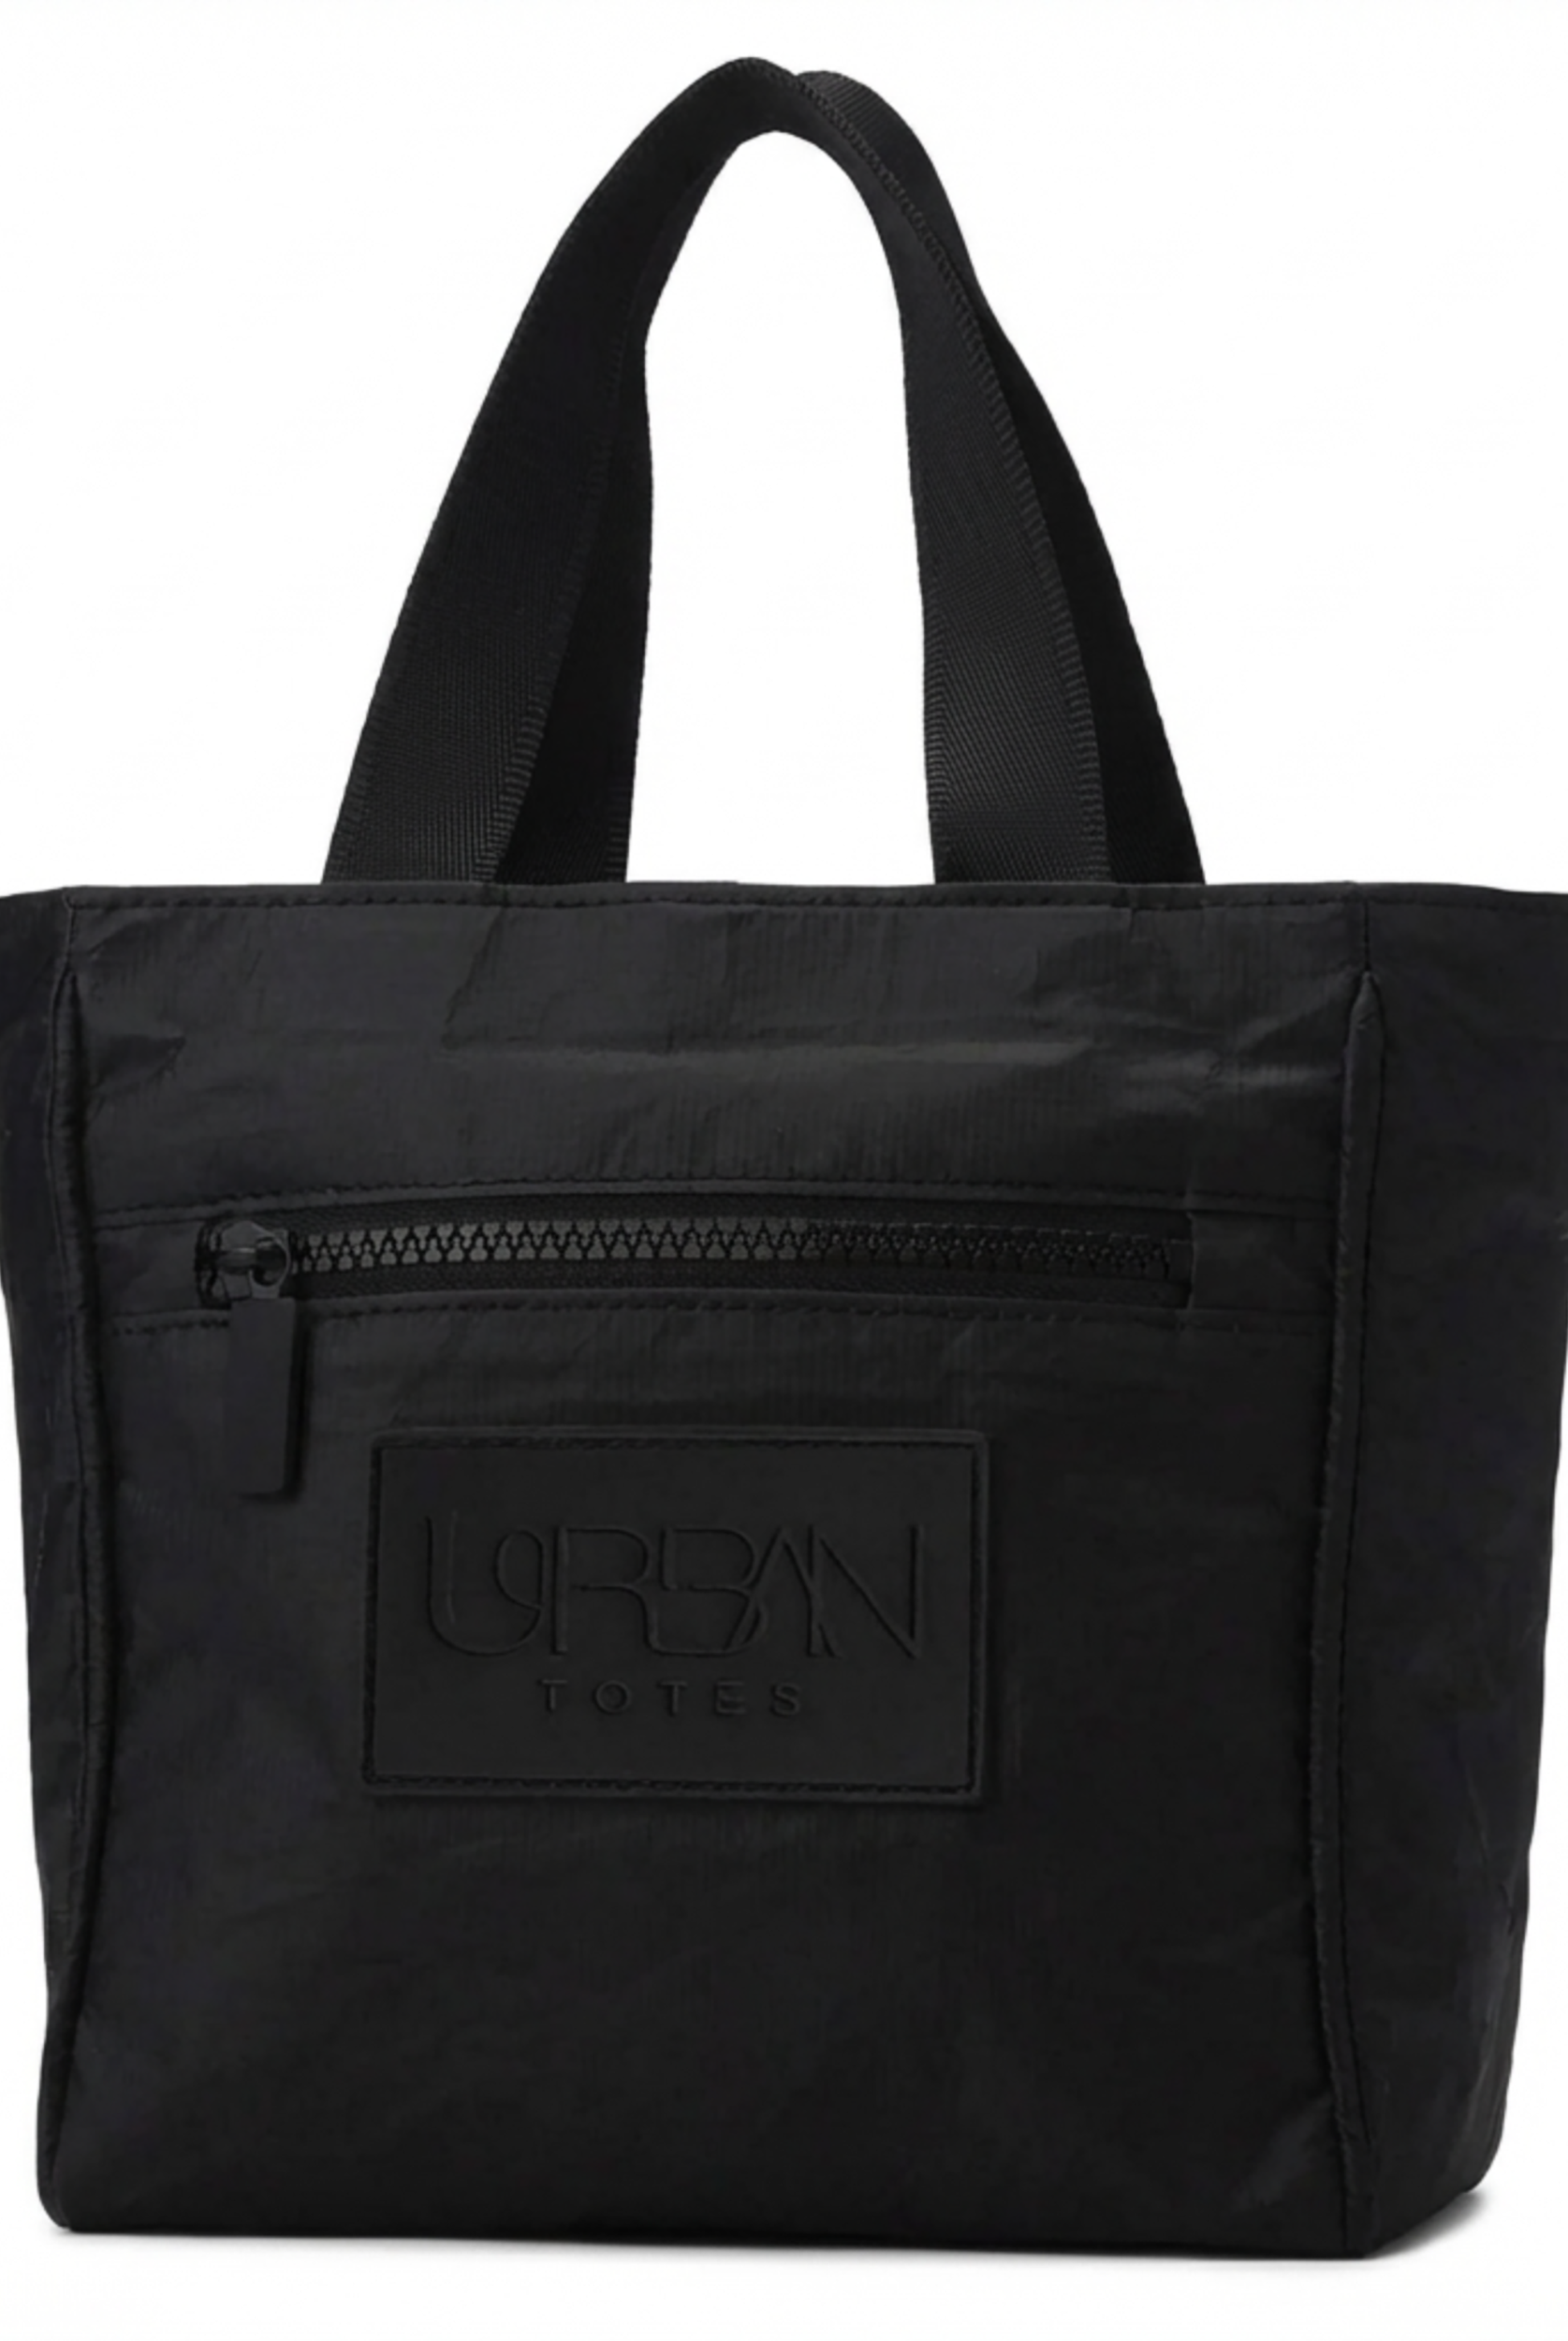
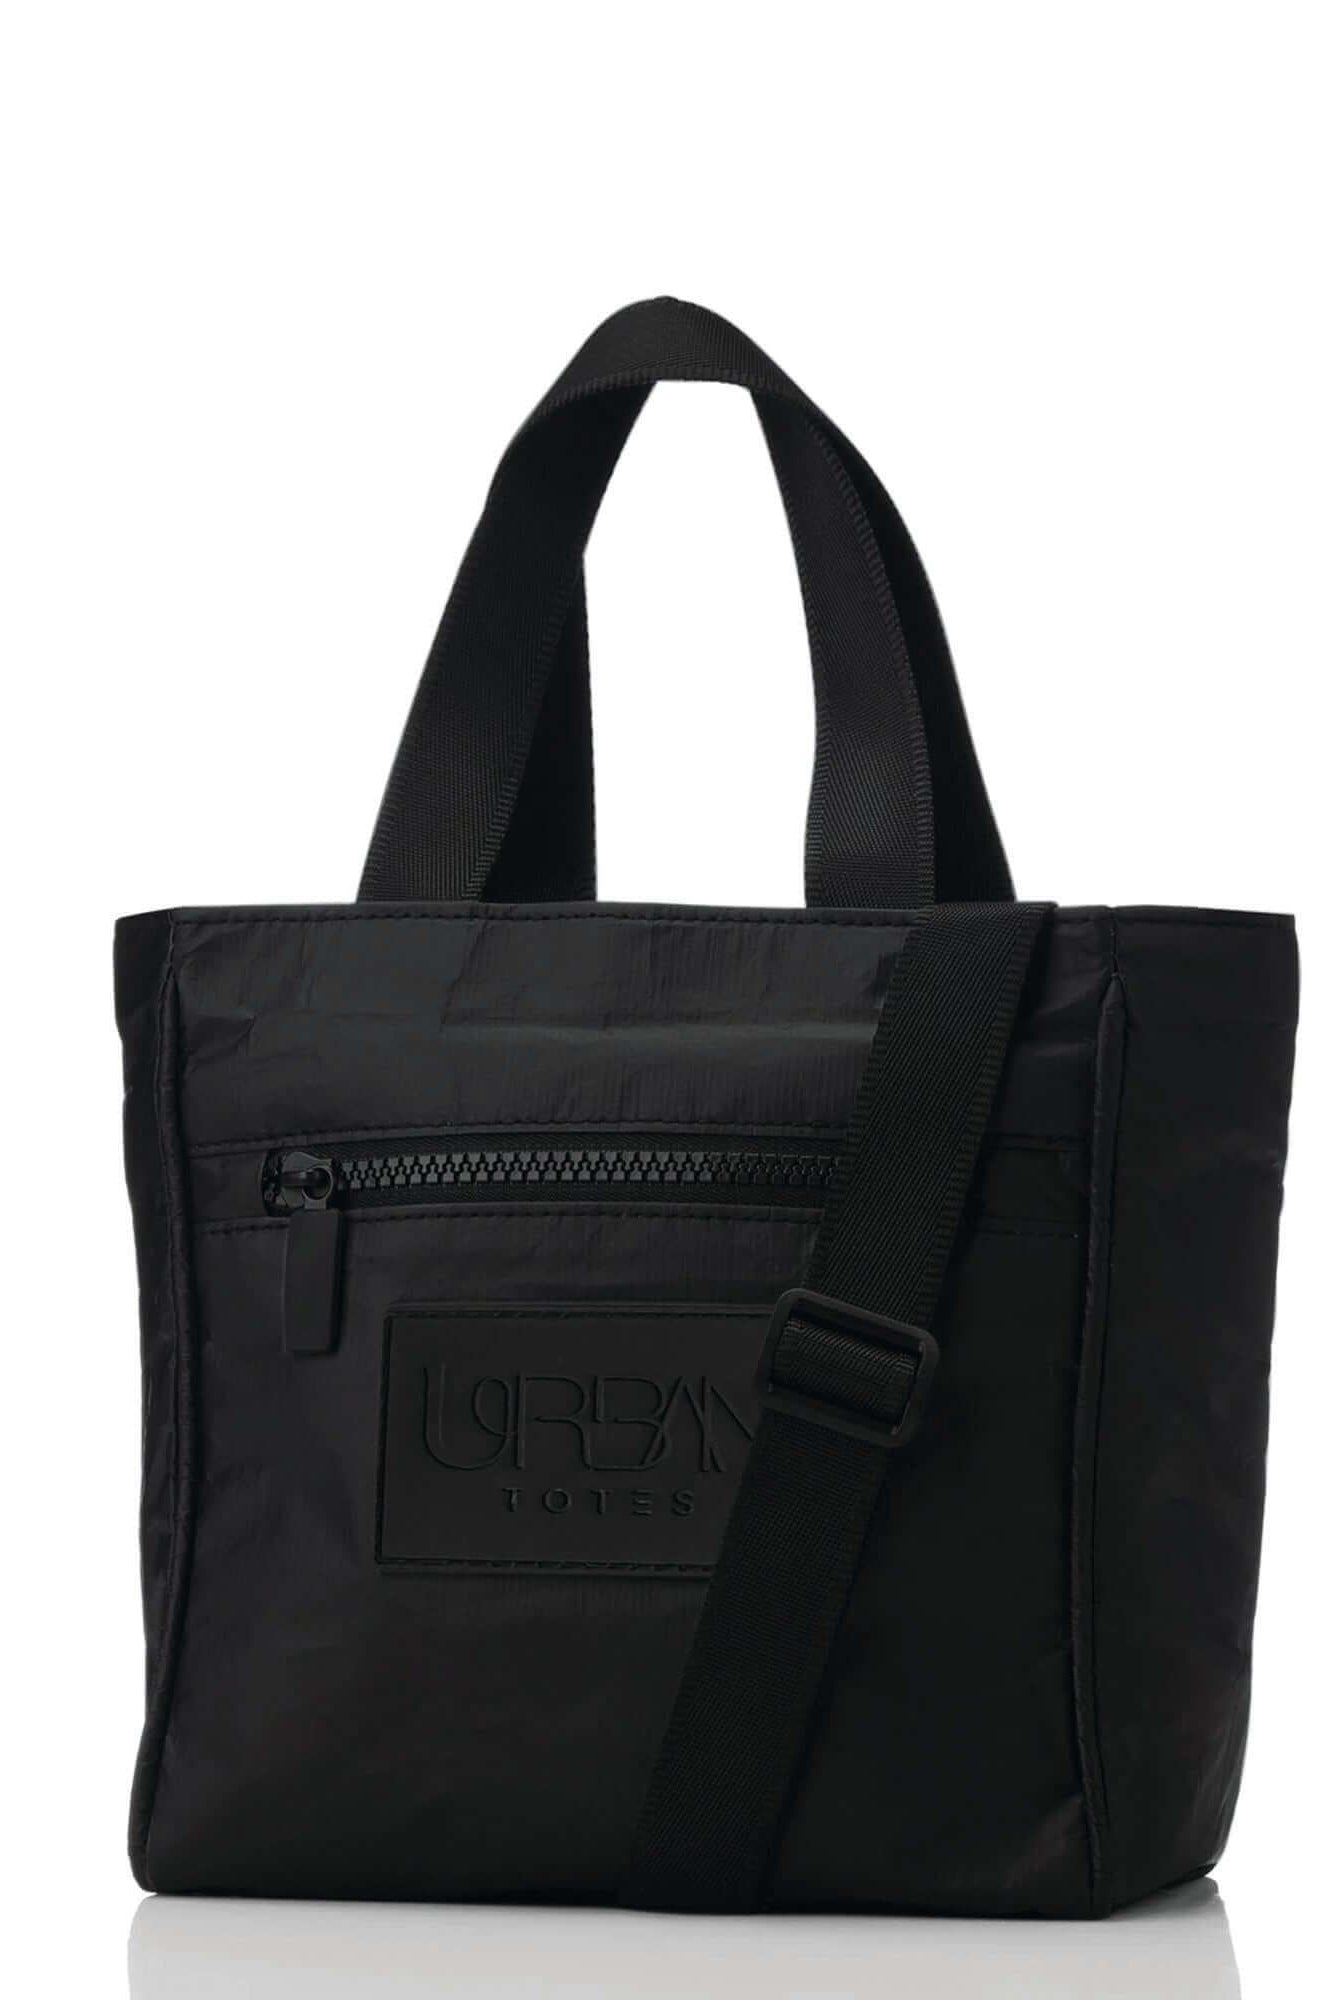
You're halfway out the door, one strap is sliding off your shoulder, the other is digging in, and the bag you grabbed for school drop-off, the train, or the airport line already feels wrong. That's not a bag problem, it's a fit problem. Once you learn how to adjust bag straps the right way, the fix is usually quick, and it starts with loading the bag first, not fighting an empty one.
Table of Contents
- Why Your Bag Strap Never Quite Feels Right
- Getting Your Bag Ready for a Real Fit Check
- Adjusting Sliders, Buckles, and Fixed Straps
- Finding the Right Length and Position on Your Body
- Quick DIY Fixes When the Strap Won't Cooperate
- Caring for Your Straps So They Stay Comfortable
Why Your Bag Strap Never Quite Feels Right
The shoulder ache shows up first. Then the crossbody starts swinging every time you hurry across a parking lot, and by pickup time the strap feels looser than it did when you left the house. That's usually not because the bag is badly made, it's because it was never fitted to your body with the actual contents inside.

The fix is repeatable, not mysterious. Fit guides consistently point to the same habit, adjust the strap after loading the bag with typical contents, then walk for 5–10 minutes so you can see whether the bag swings, digs in, or shifts out of place, with the bag usually landing between the hip bone and mid-torso or between the hip bone and lower ribs for a stable carry position (Alibaba guidance on wide straps). That one habit solves a lot of the “why does this feel fine at the mirror but awful by lunch?” problem.
Practical rule: if you're adjusting an empty bag, you're guessing.
Many people skip three things. They skip loading the bag first. They skip small adjustments. They skip the movement test. That's why a strap feels perfect in the bedroom and annoying by the car, the coffee line, or the walk from the garage to class.
If you already wear a shoulder bag and want a quick refresher on placement, the body-position basics in how to wear a shoulder bag make the next steps easier to spot in a mirror.
Getting Your Bag Ready for a Real Fit Check
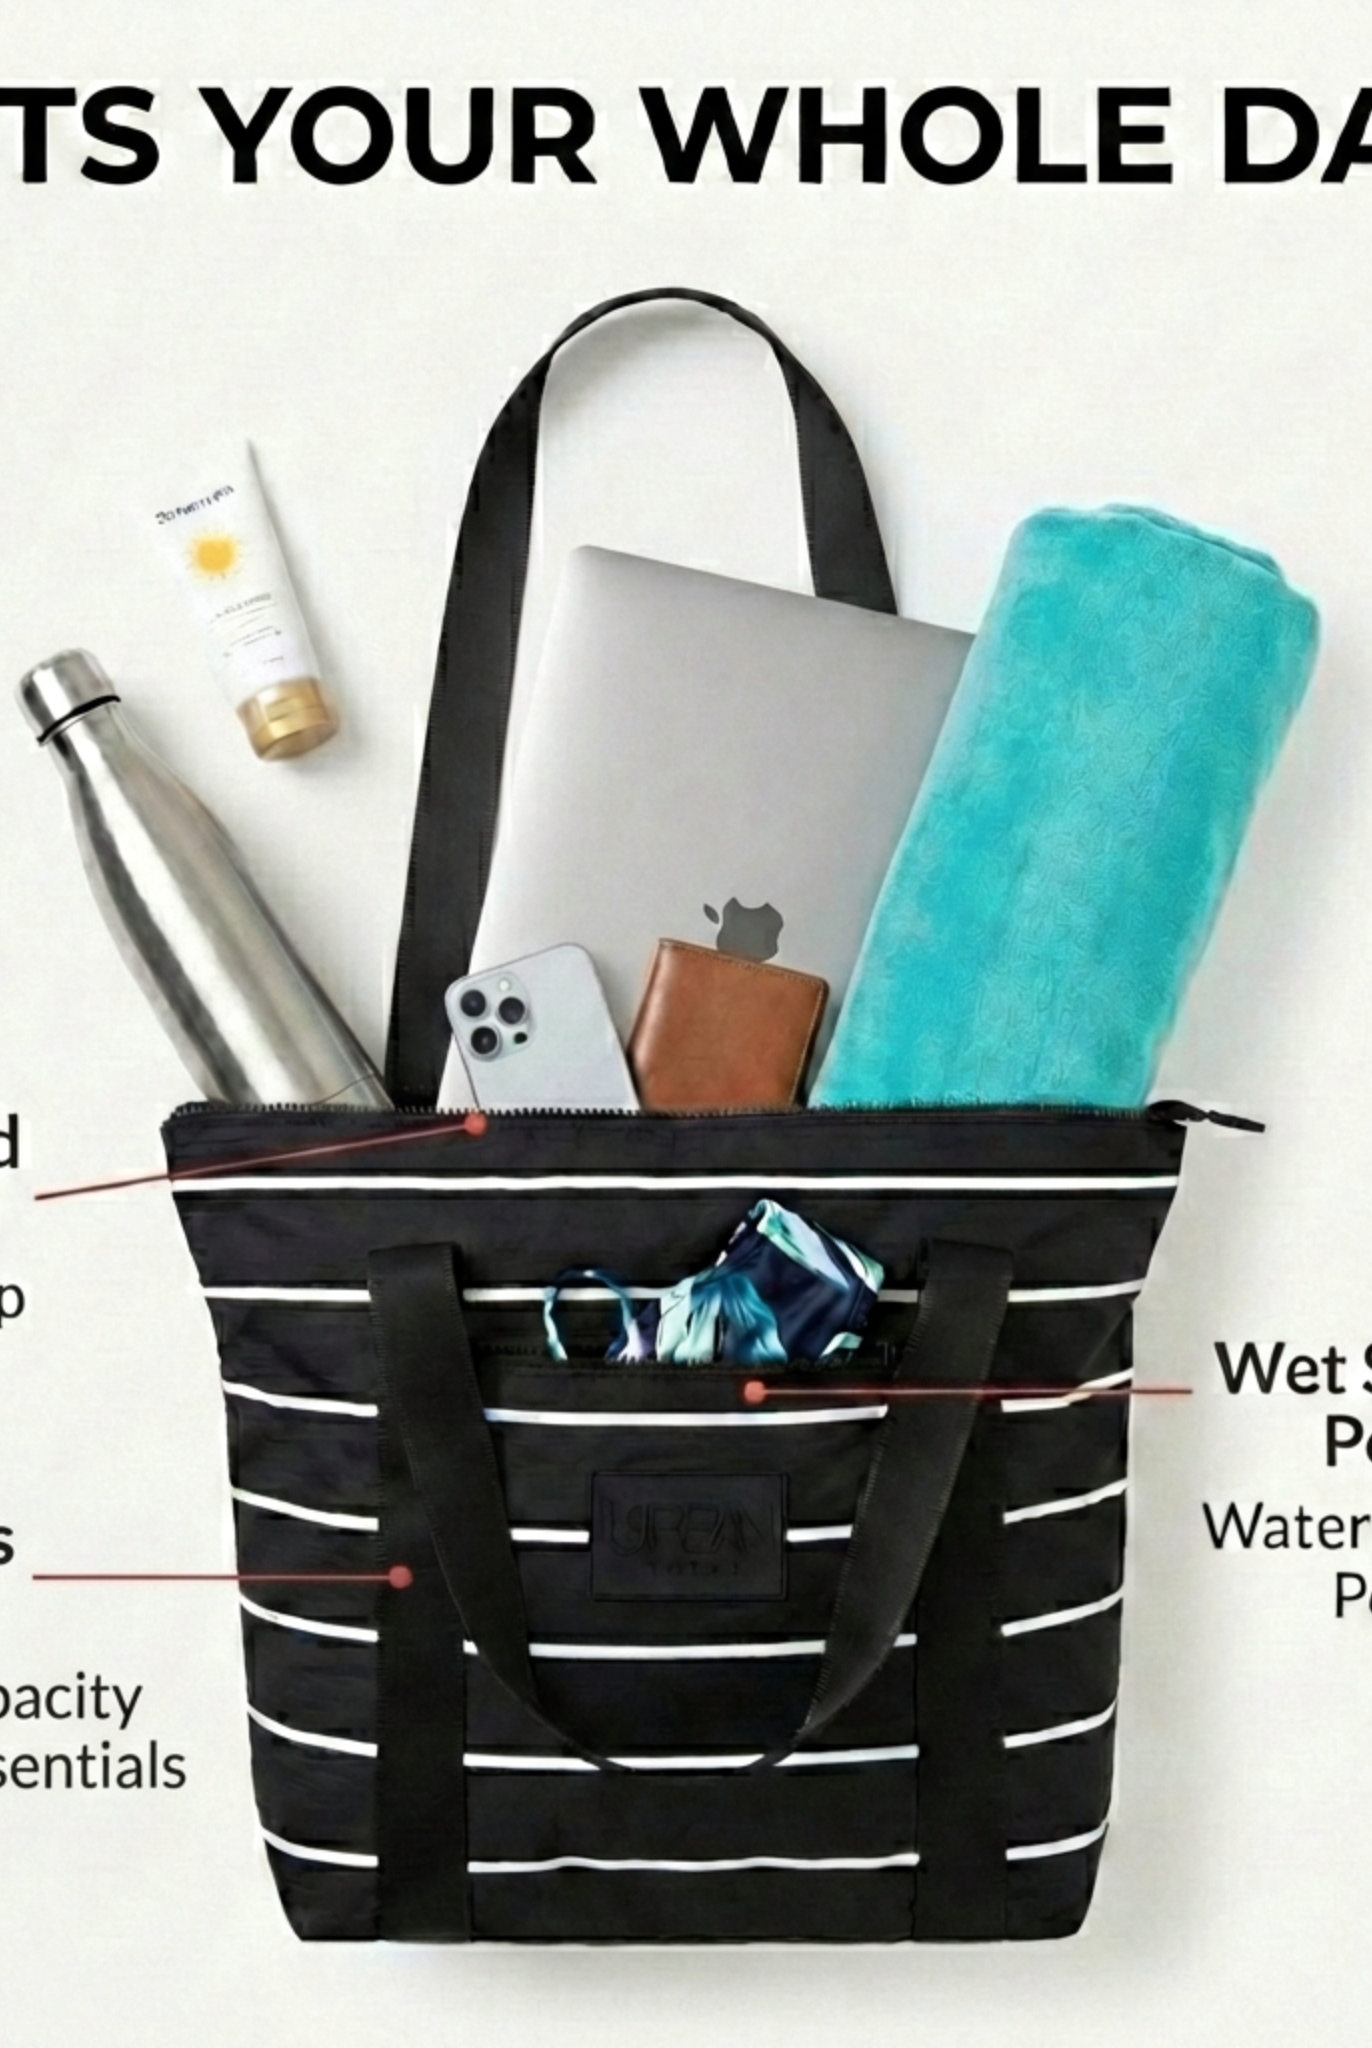
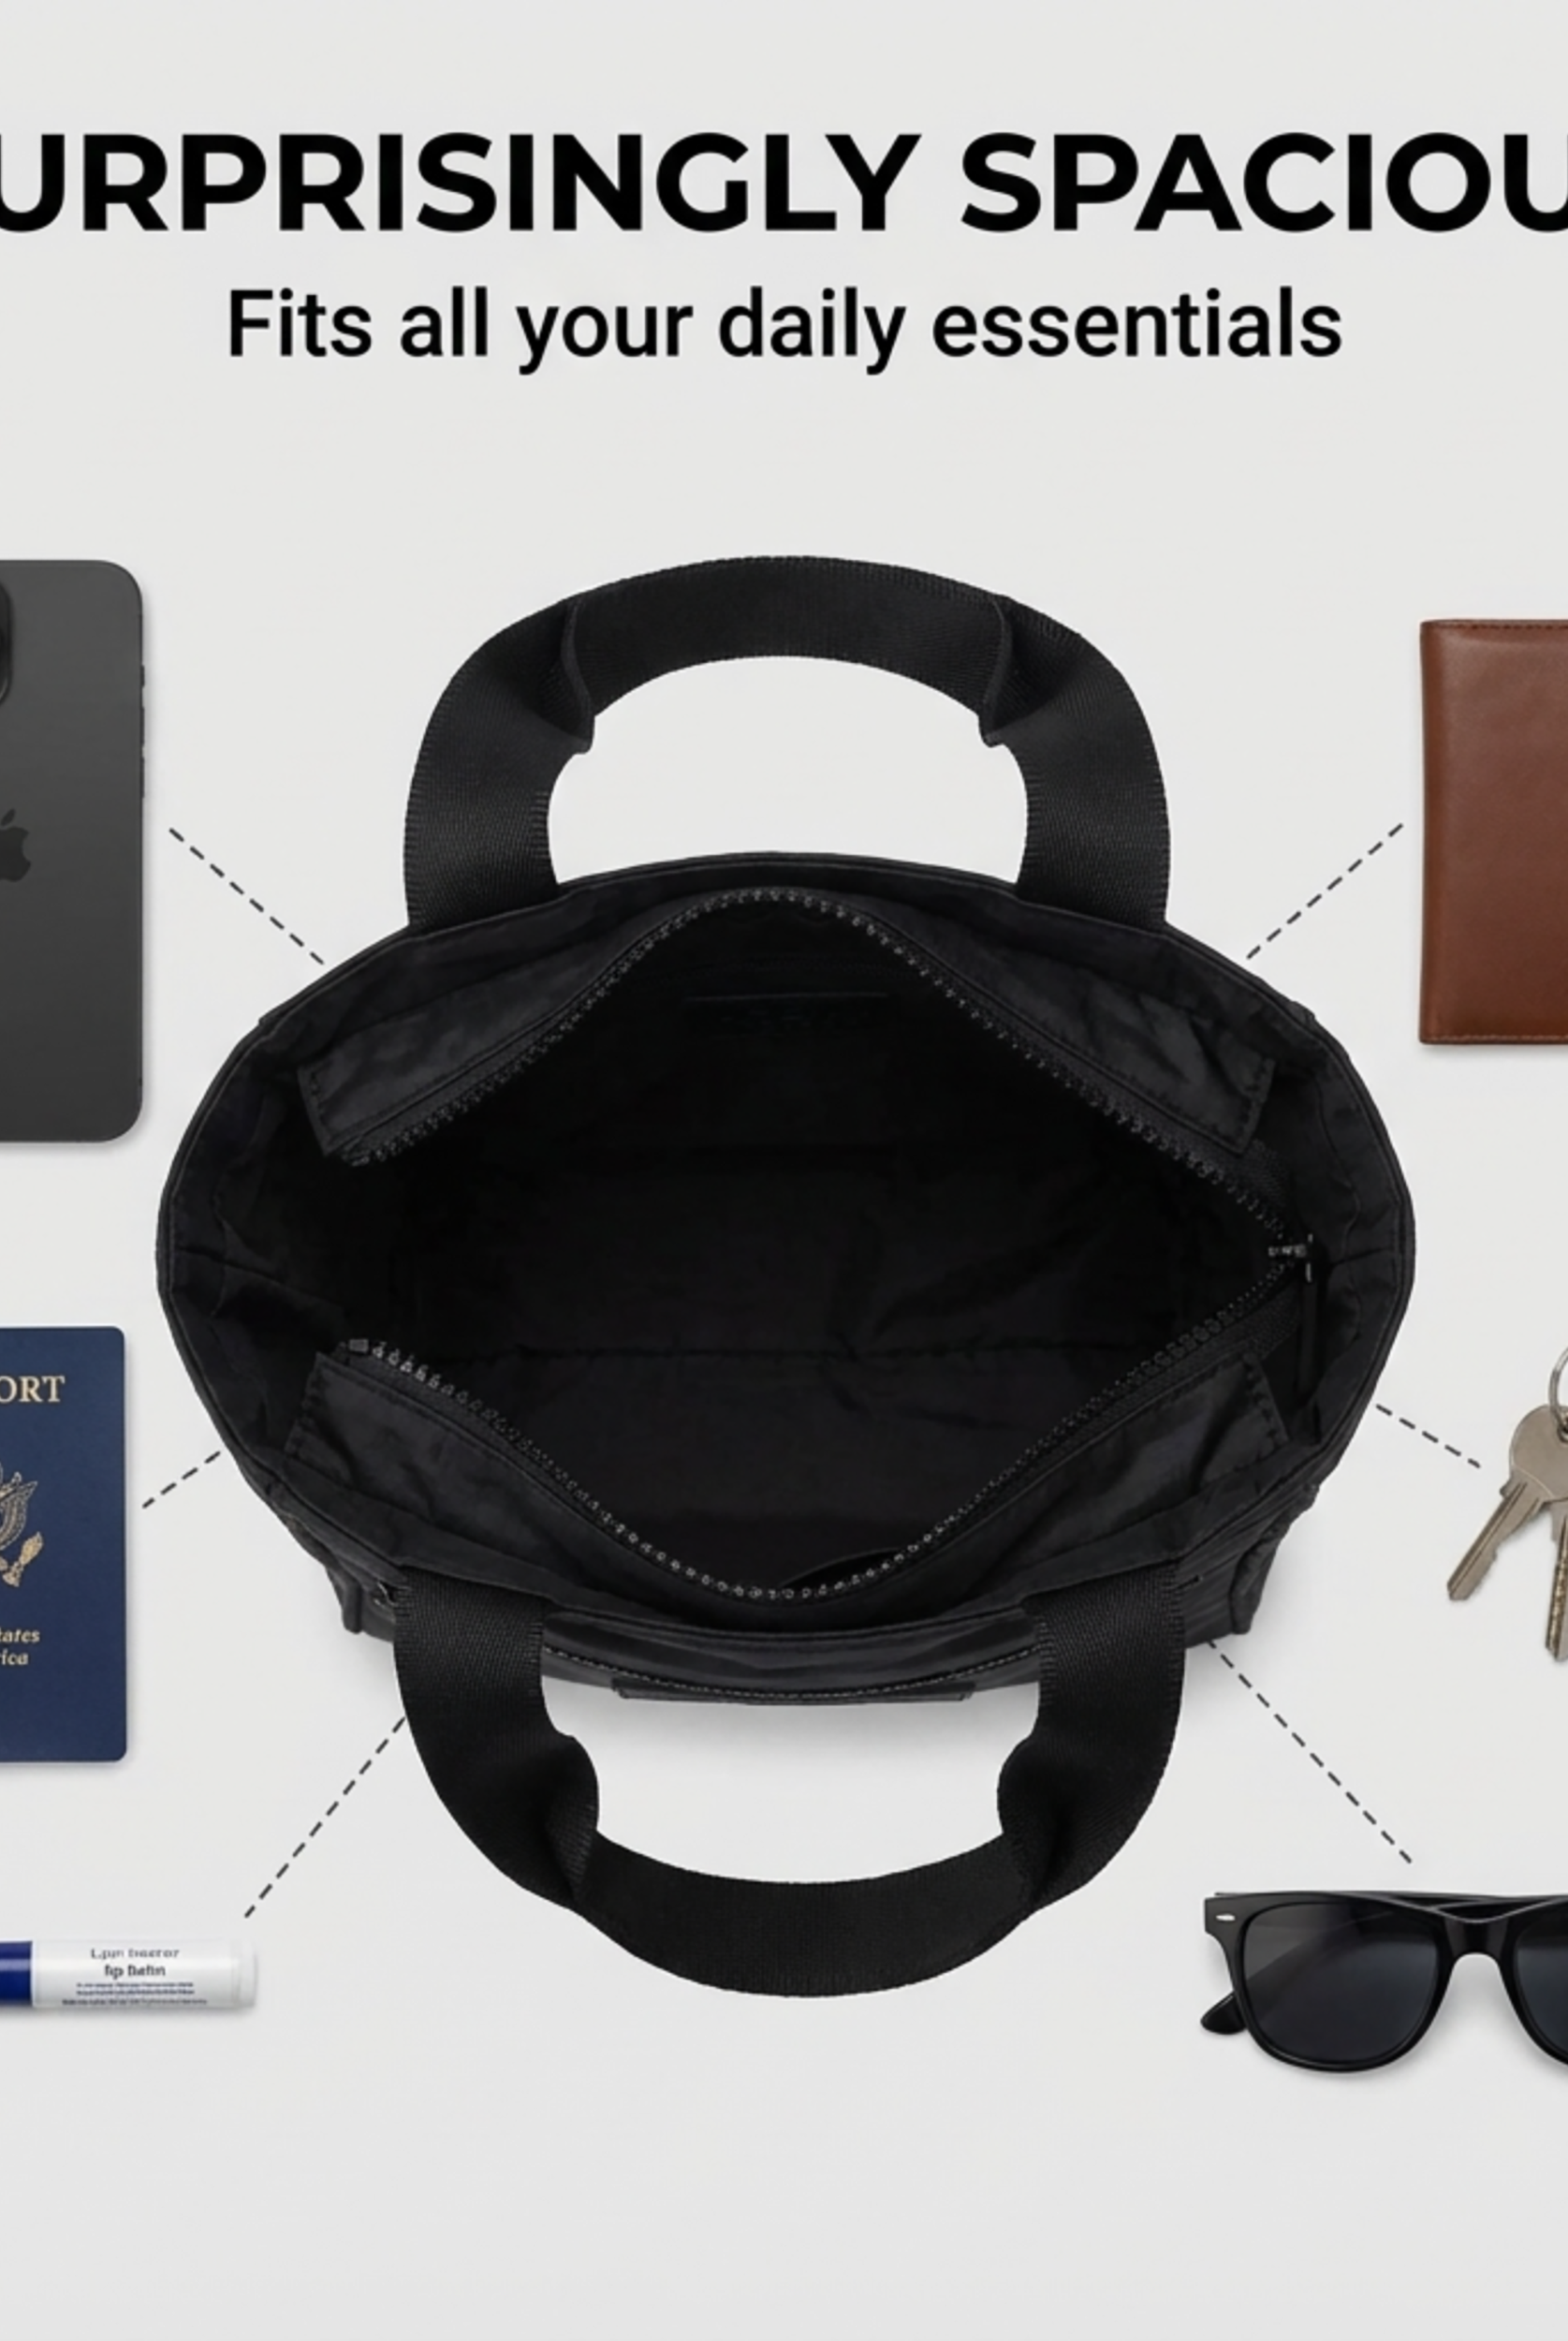
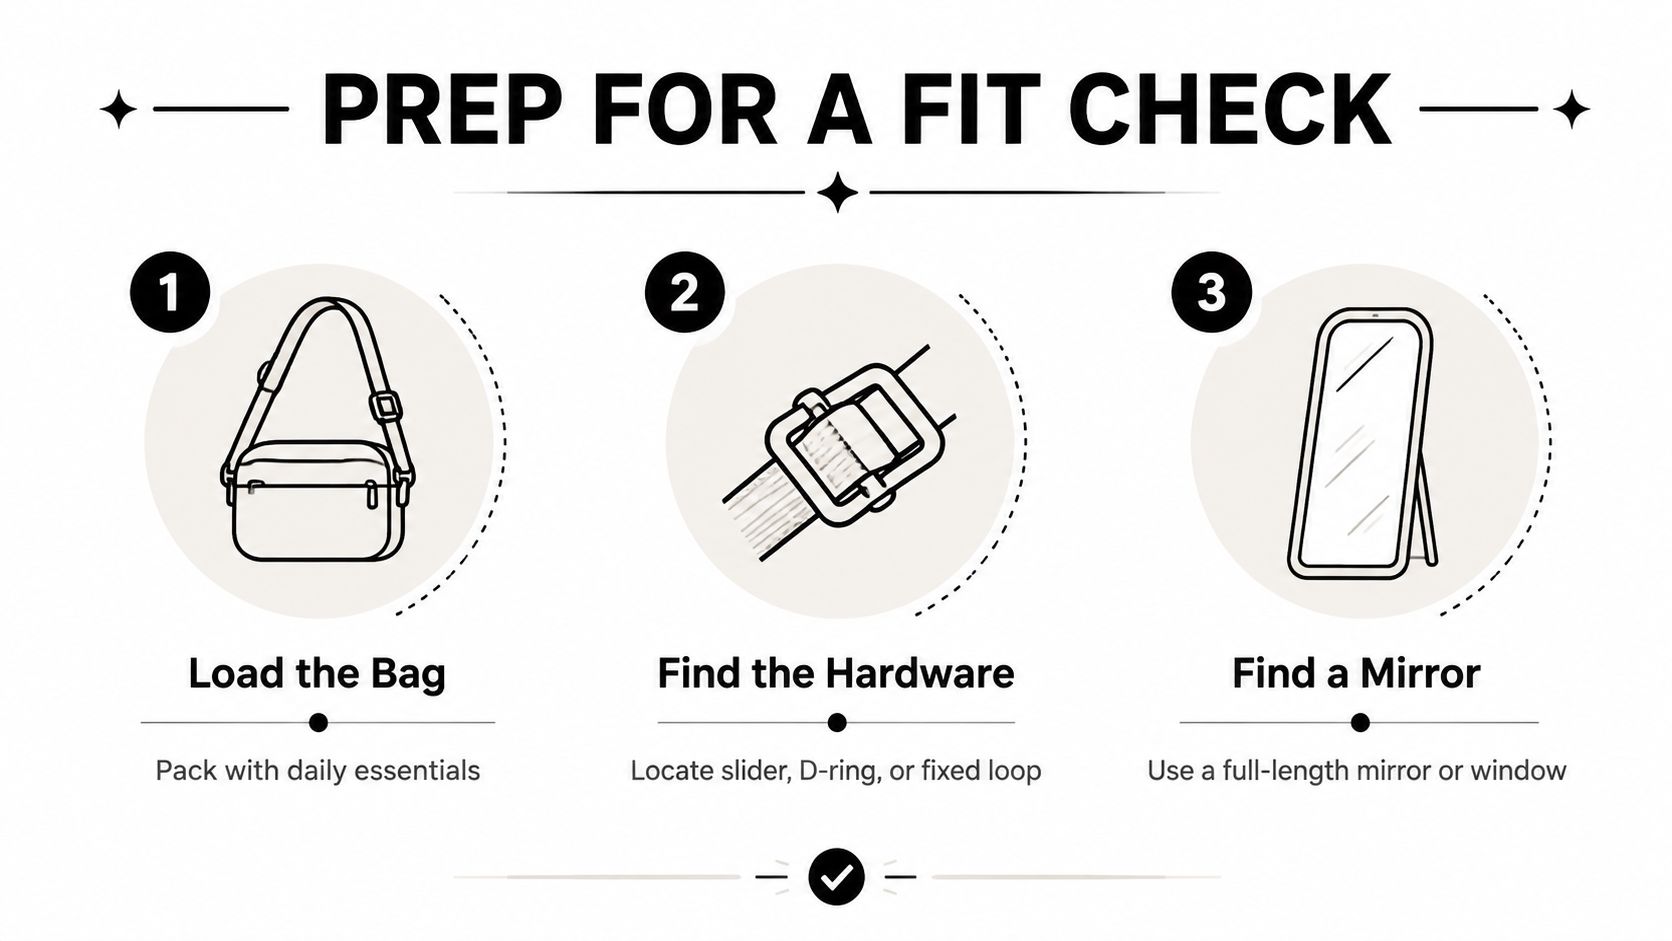
Start with a bag that looks like your actual day, not your empty closet shelf. Put in the things that change the way it hangs, your wallet, phone, keys, tablet, snacks, charger, water bottle, whatever you normally carry. A fit check without weight is fake math.
Load the bag like you mean it
The reason is simple, weight changes the drape and the tension. A clean slate matters here, because the strap behaves differently once the bag has real contents, and one guide specifically recommends re-testing after adding the things you carry, like a wallet, phone, and keys (Alibaba shoulder-bag fitting guide). If you're a commuter with a laptop, a parent packing snacks and a tablet, or a traveler tucking in a water bottle, those items should be in the bag before you touch the strap.
Good fit starts loaded, not empty.
Next, find the hardware. Look for a slider, D-ring, buckle, or fixed loop. That matters because the adjustment method changes with the hardware, and webbing that's twisted or a slider that's worn can create hidden pressure points and mid-day drifting.
A mirror helps, but a full-length window works too. You want to see where the bag lands on your body, not just how it looks in your hand. If the strap shifts while you're standing still, it'll be worse once you're moving.
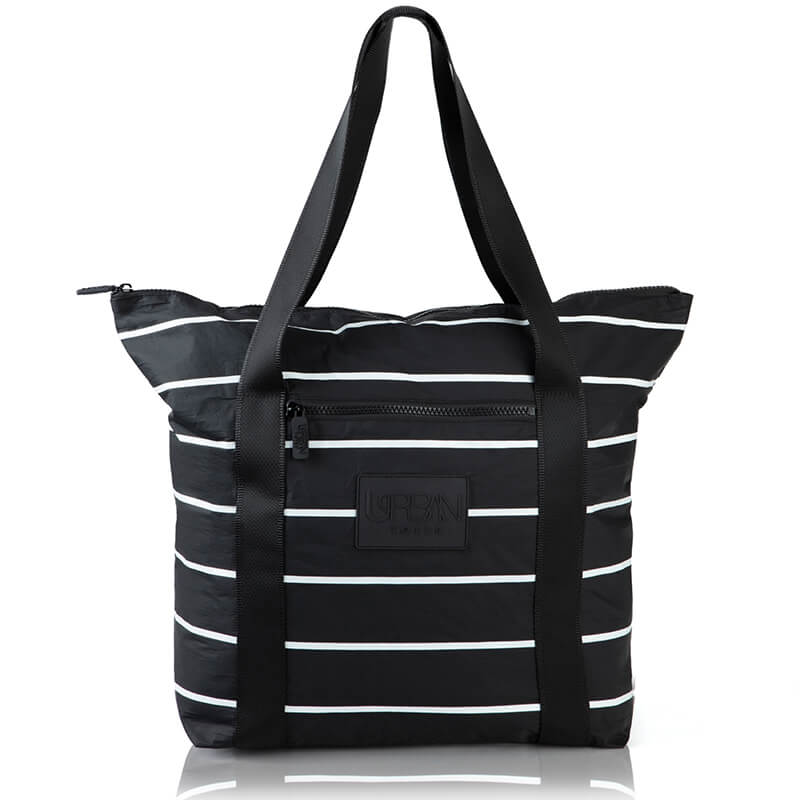
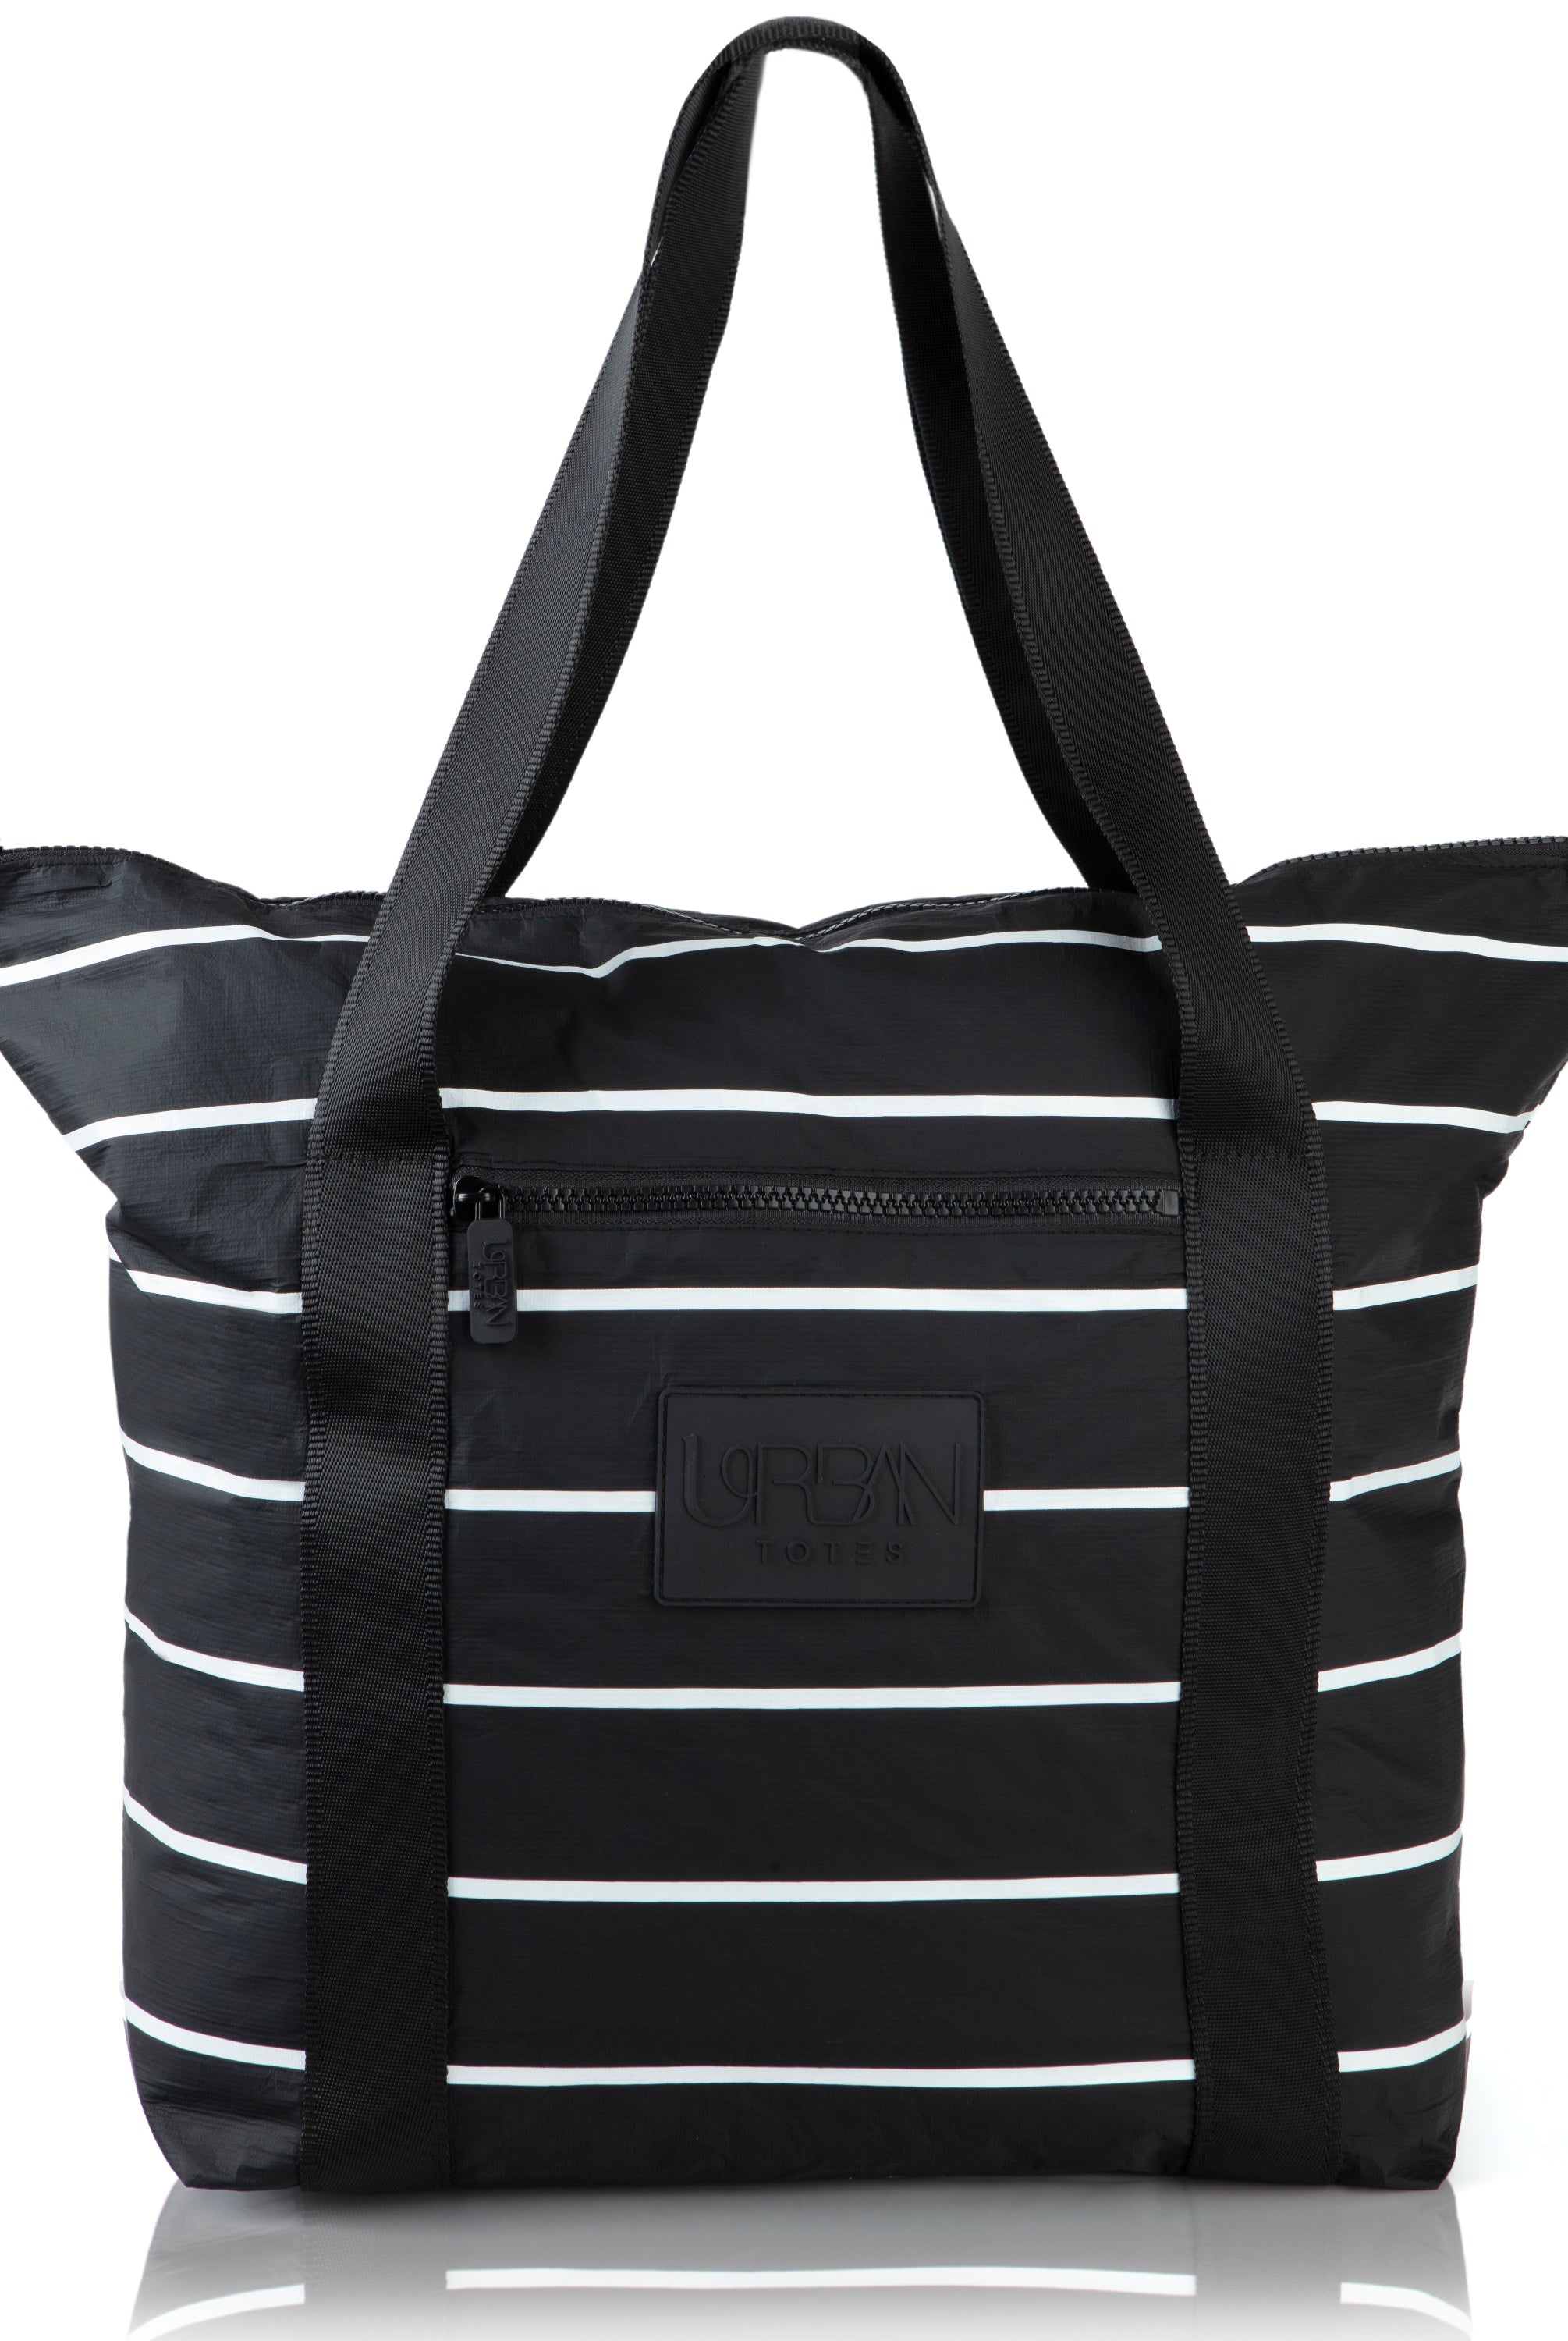
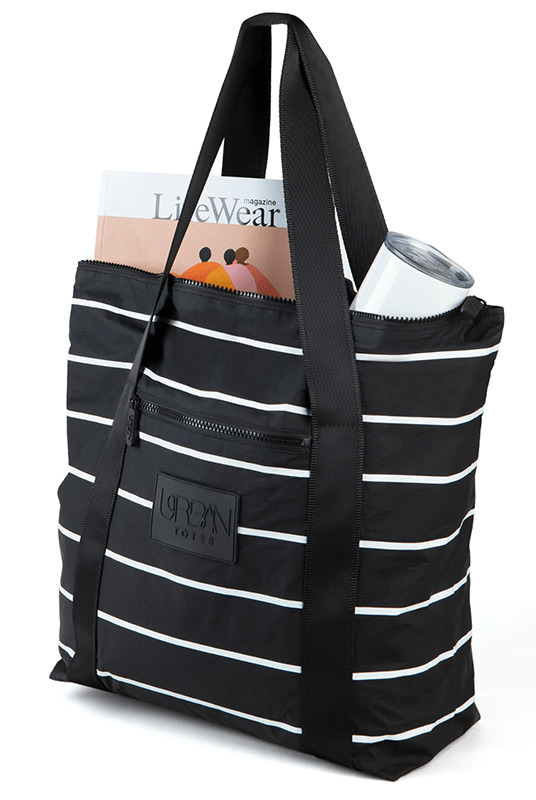
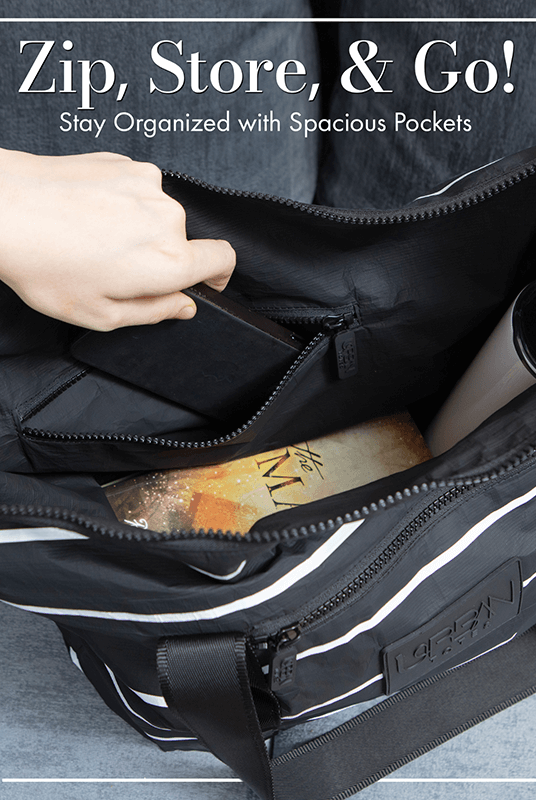
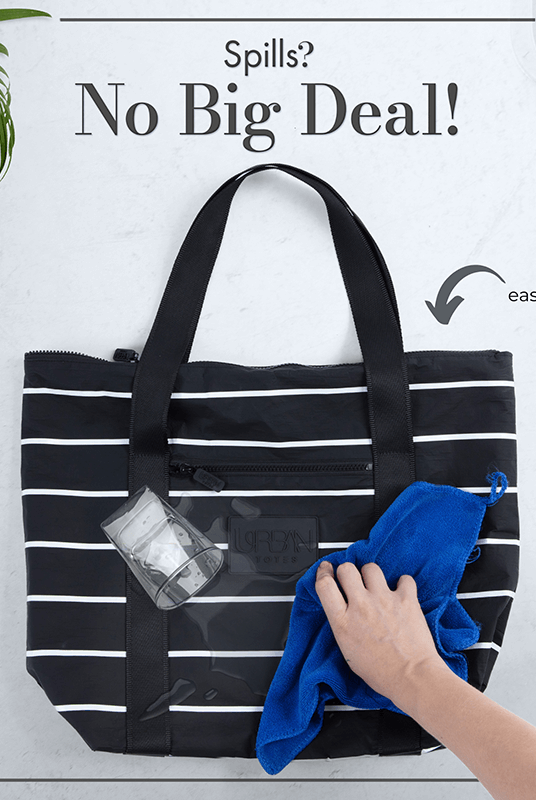
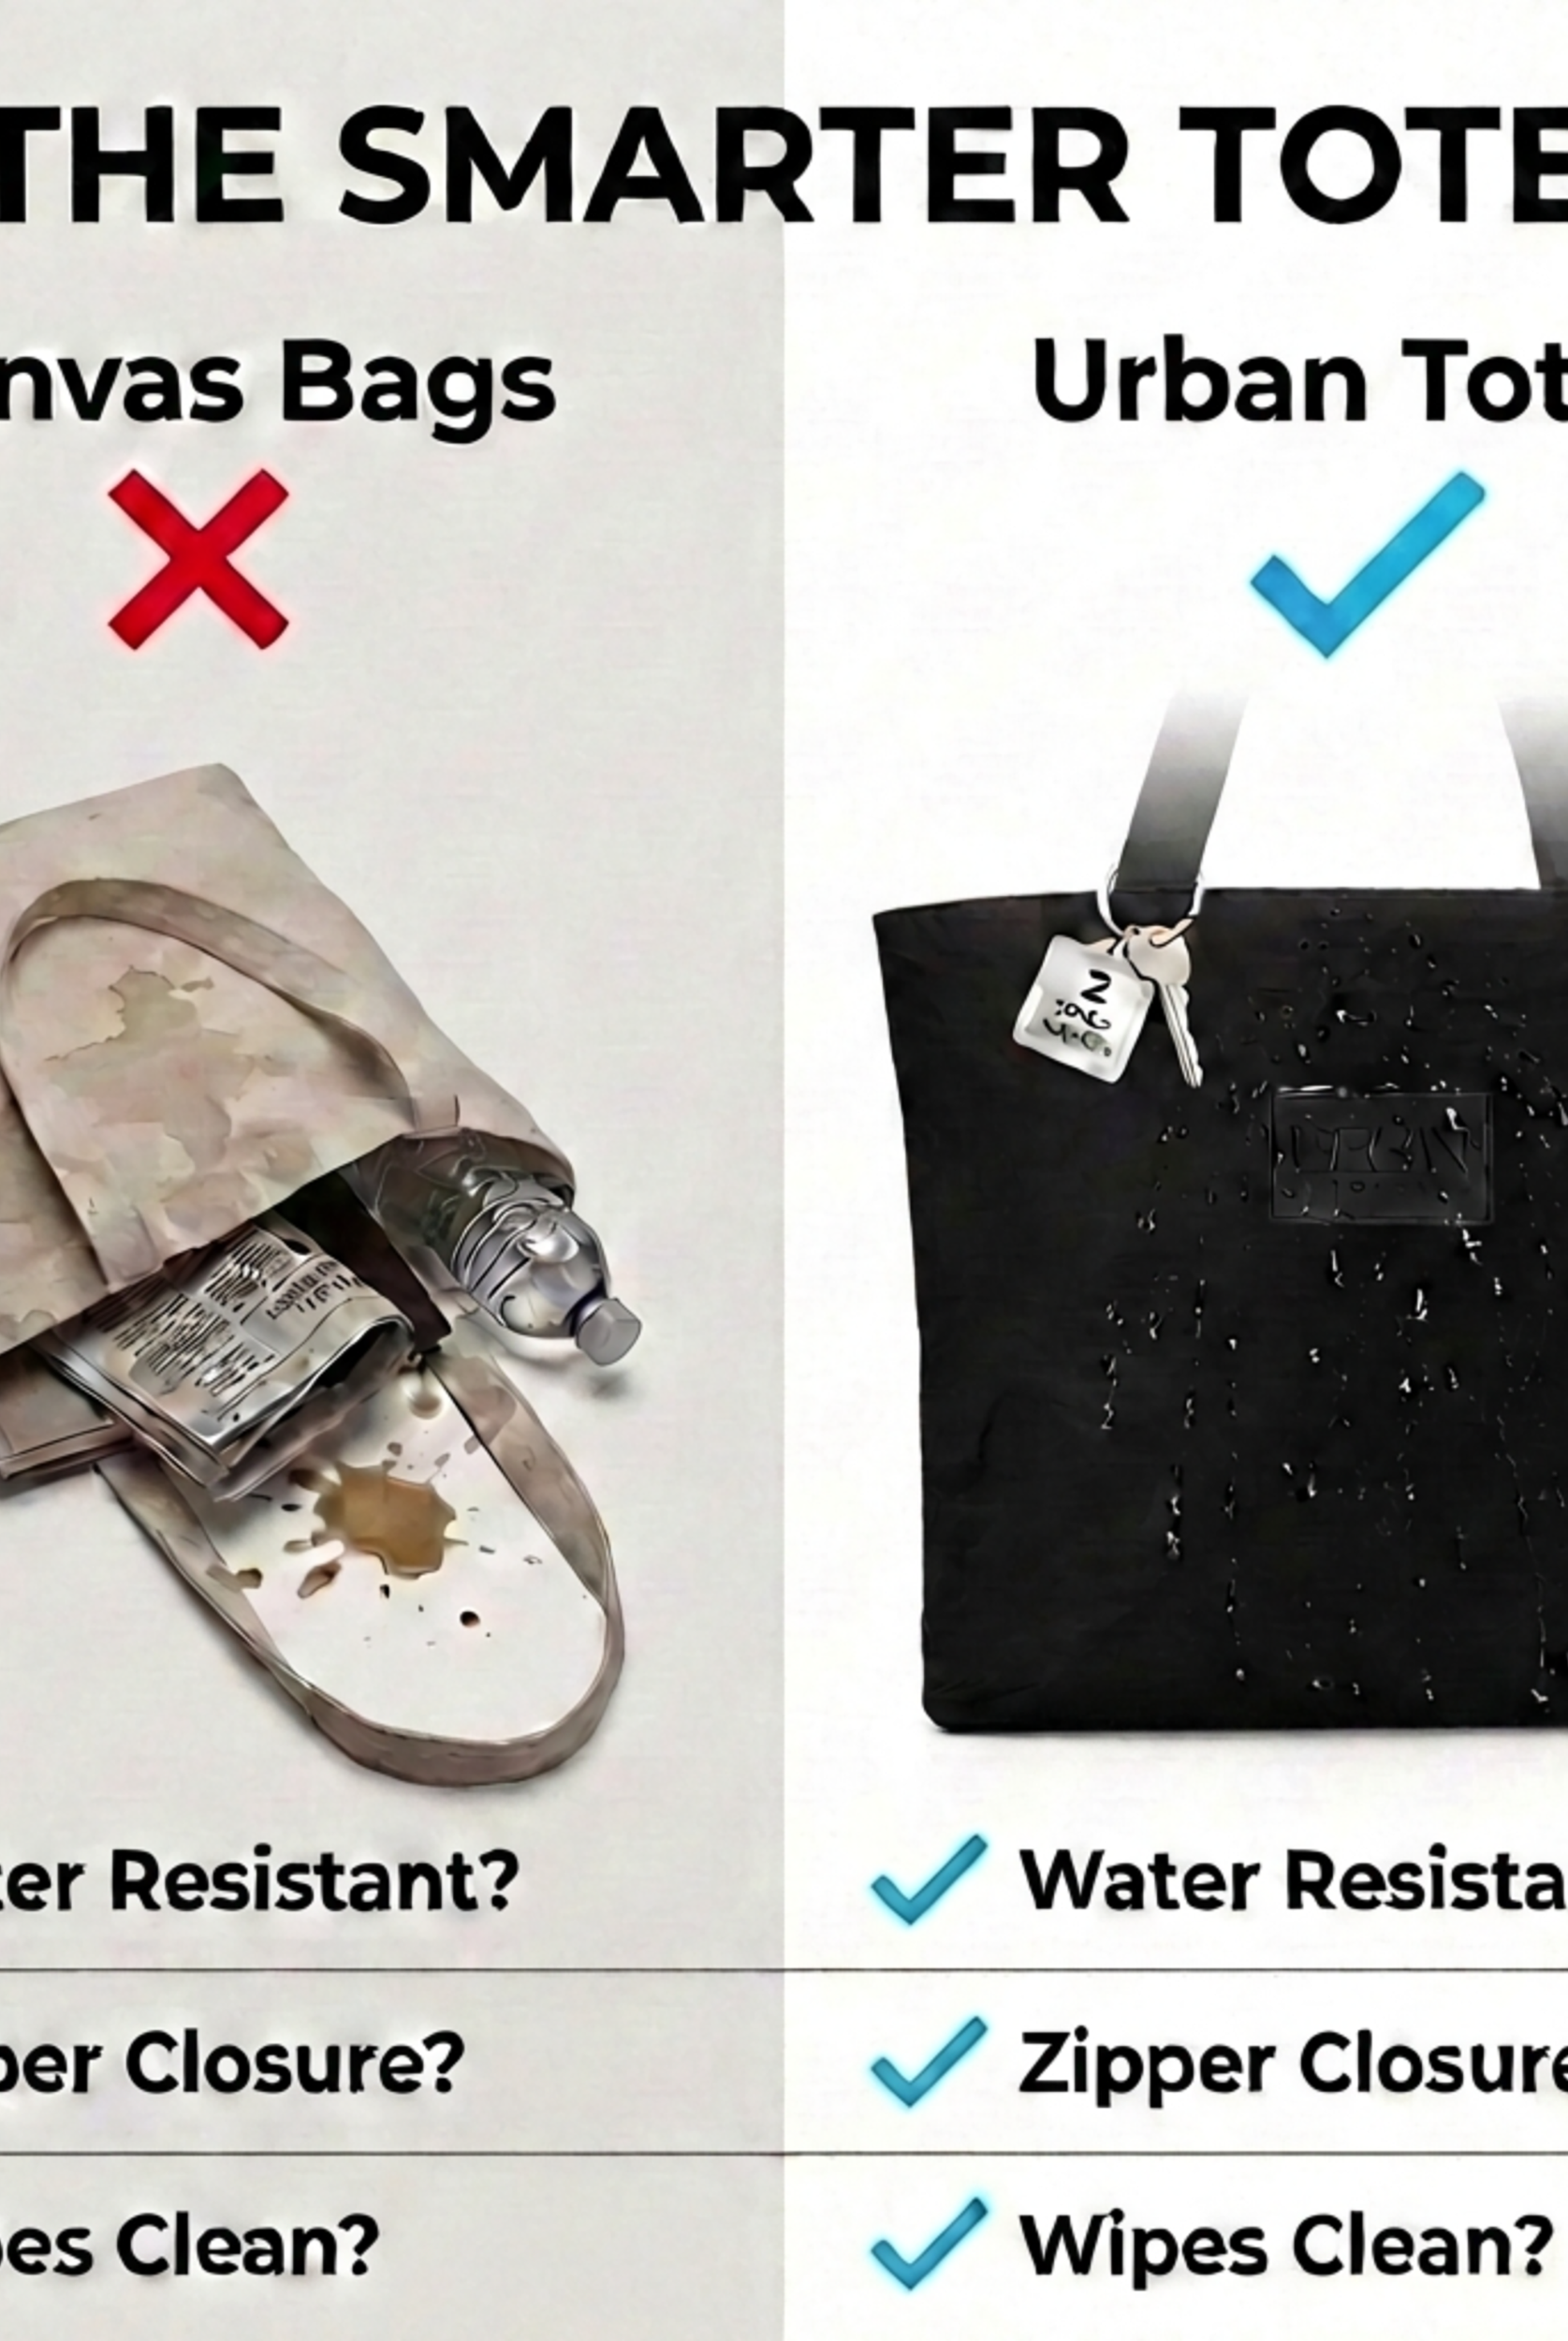
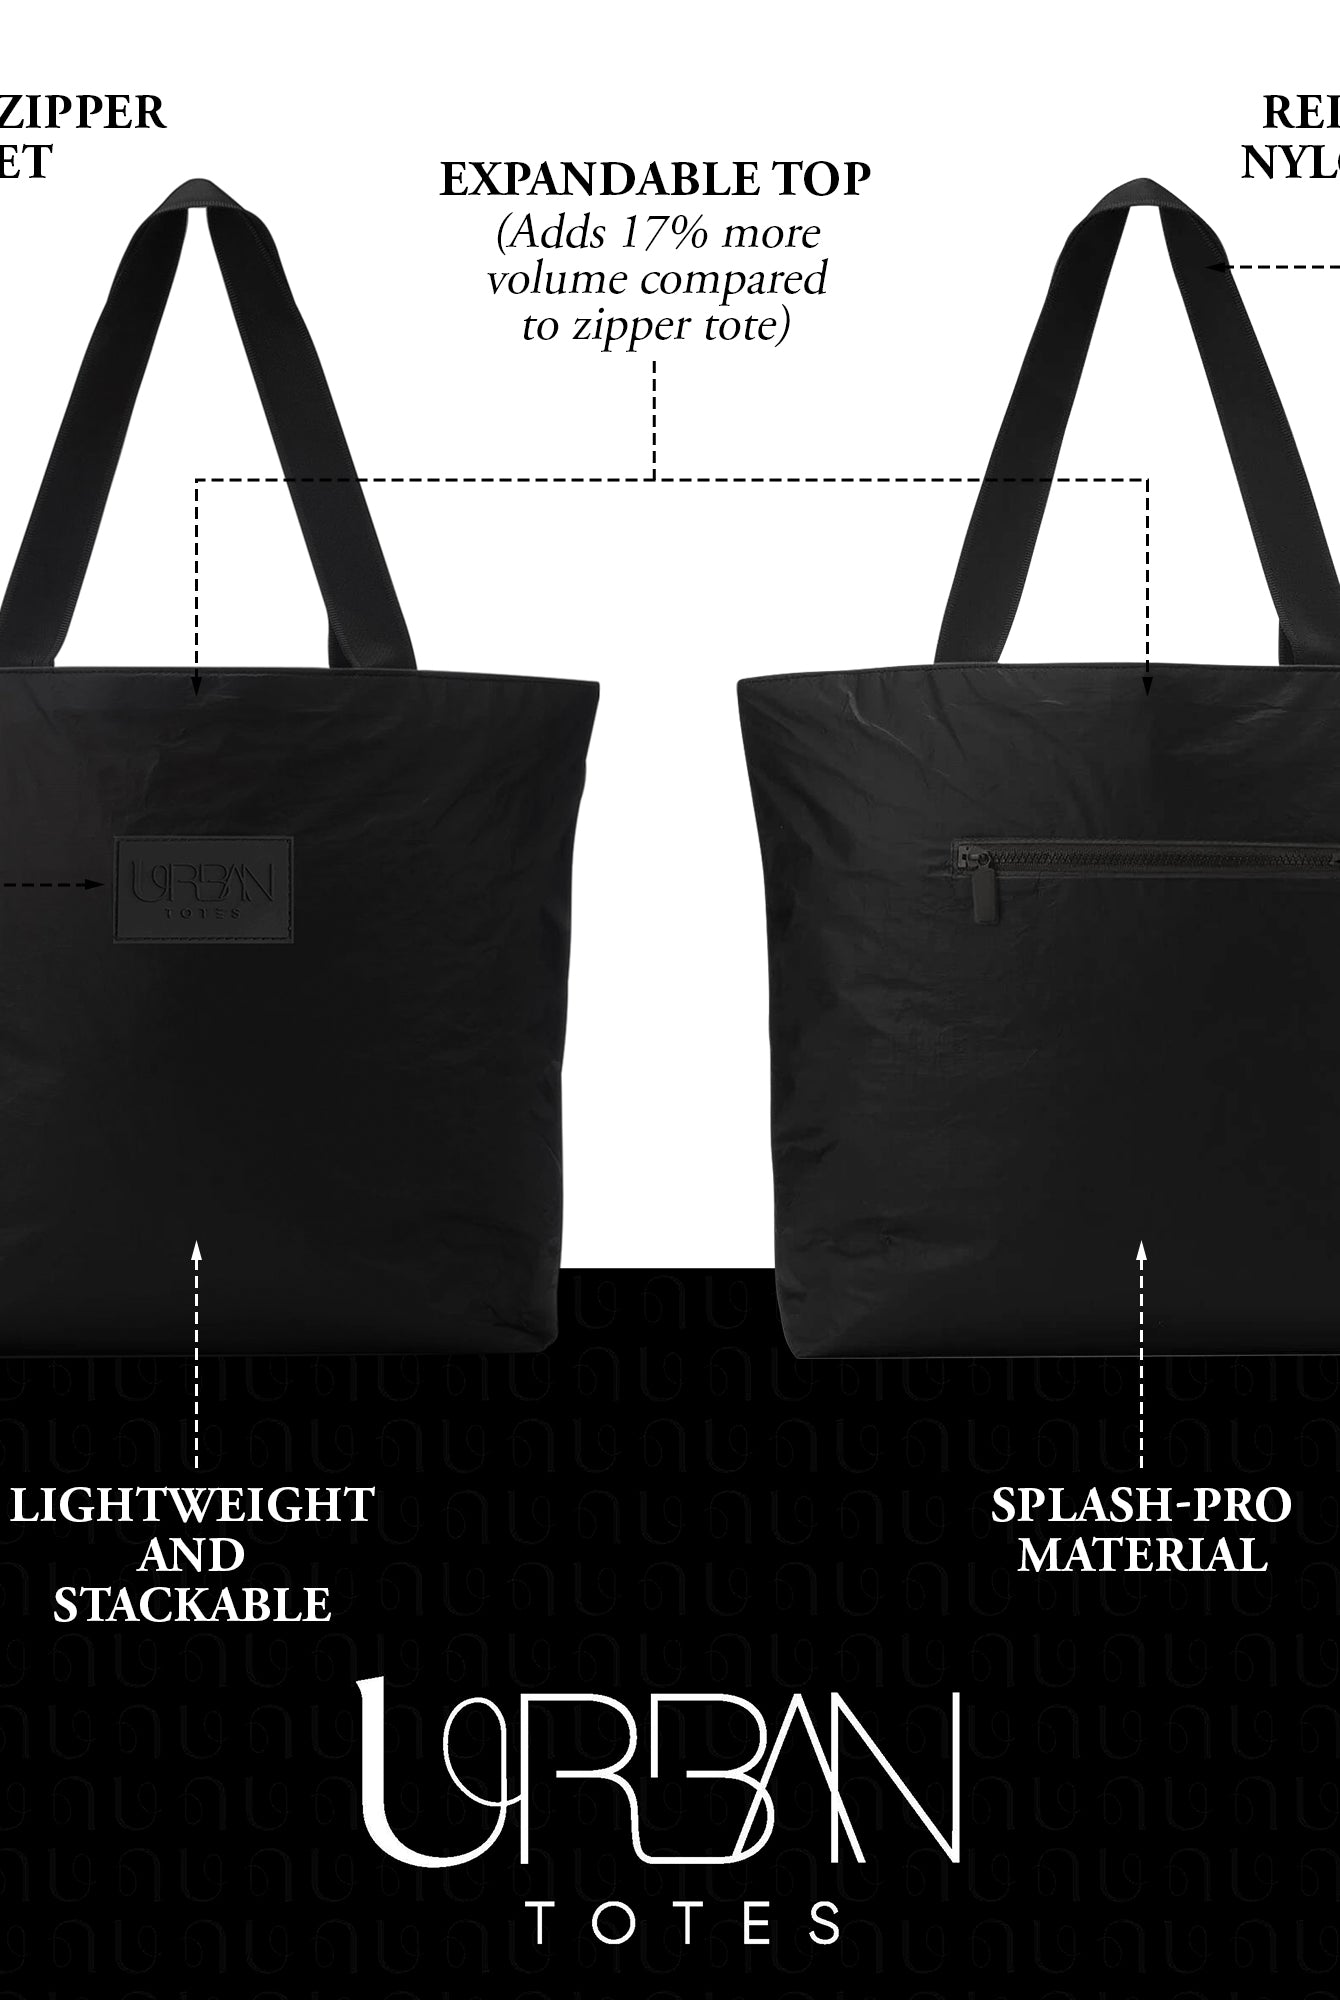
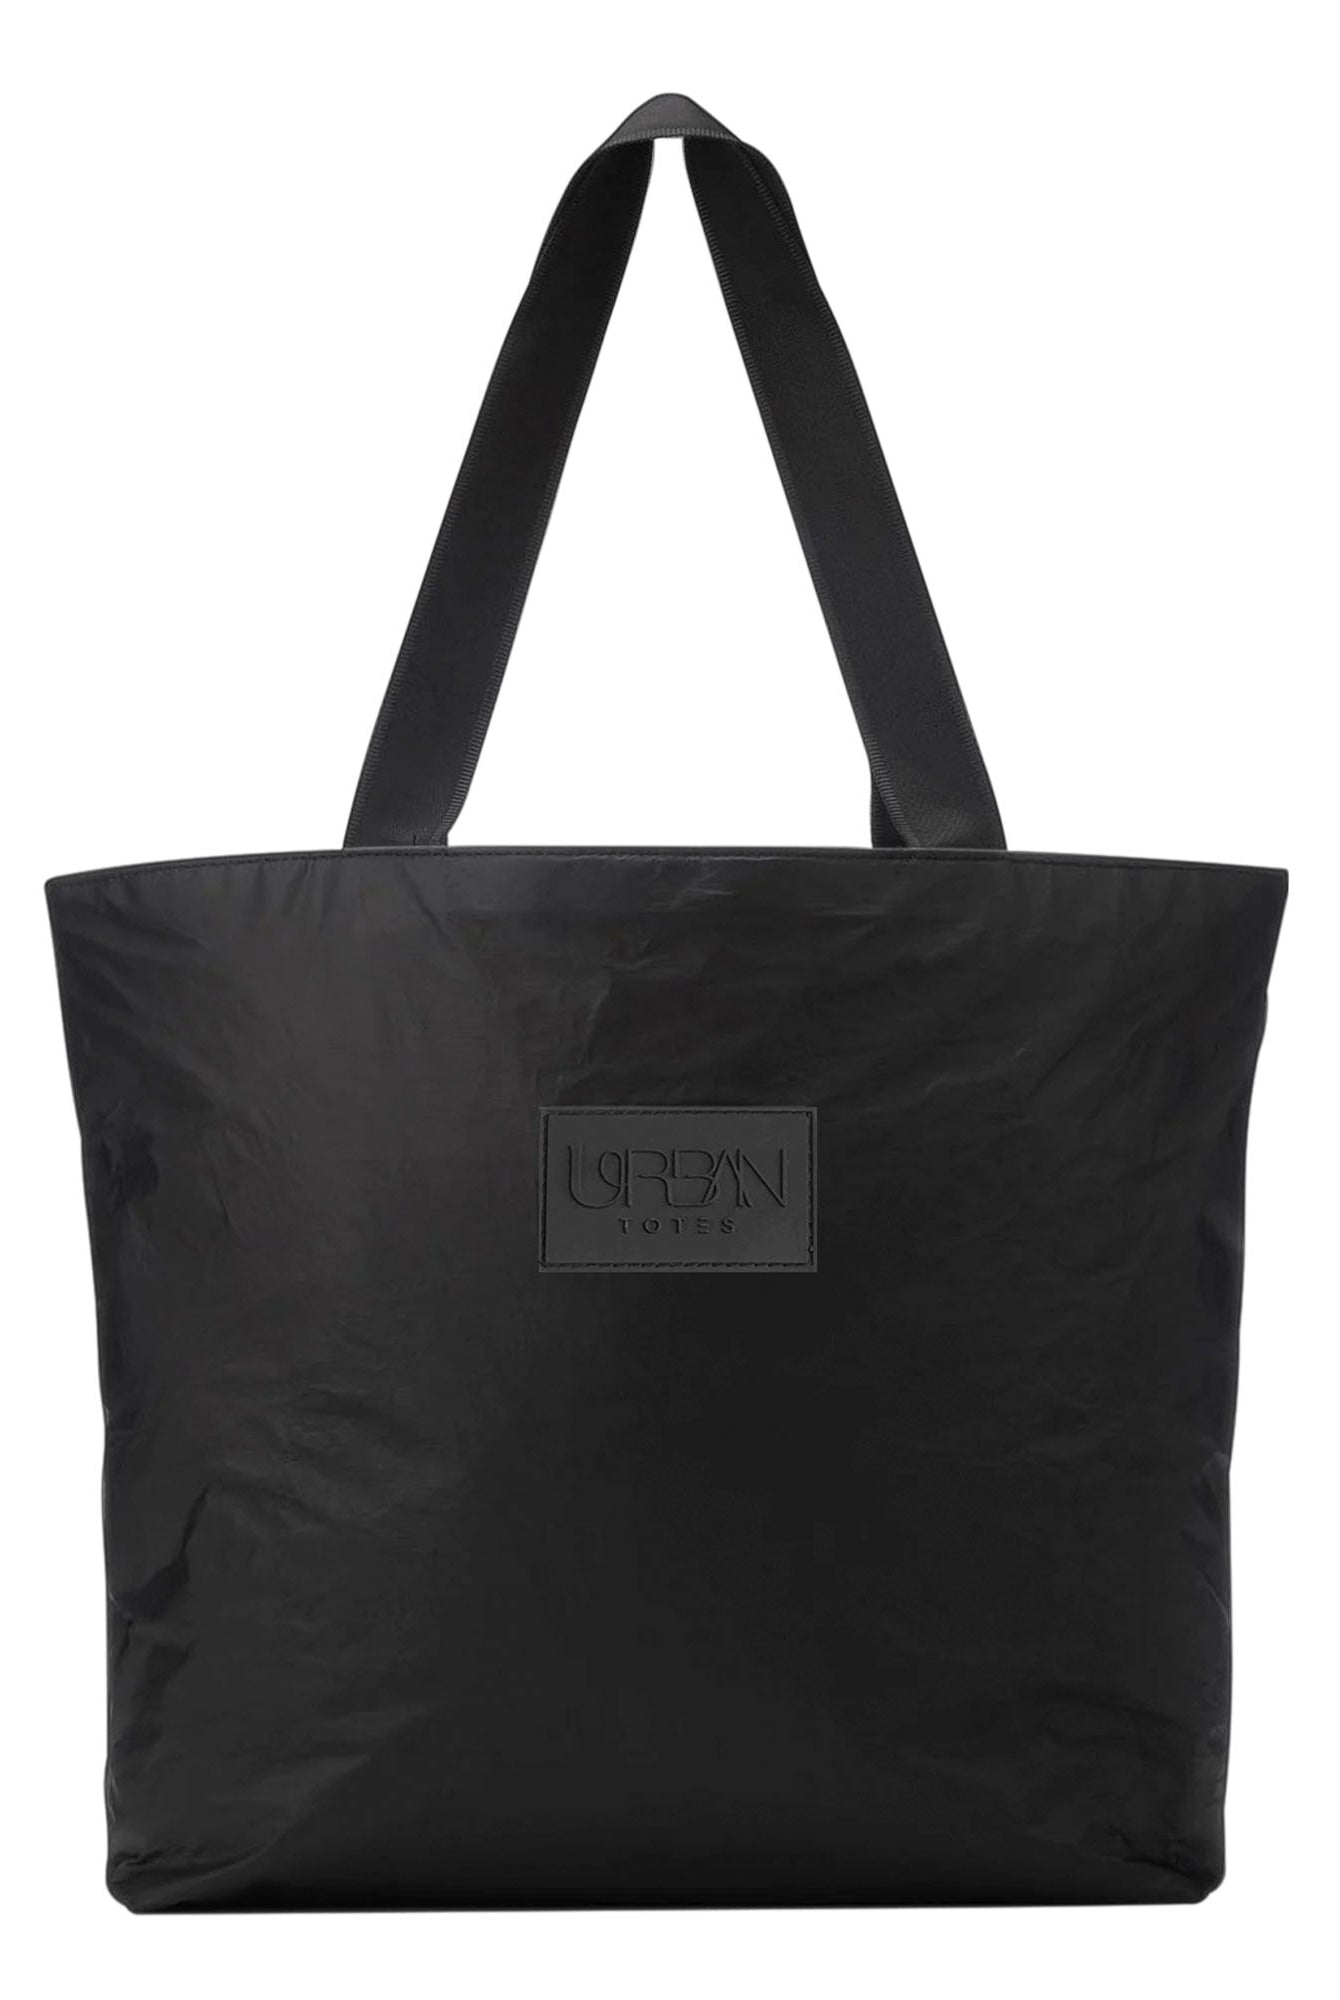
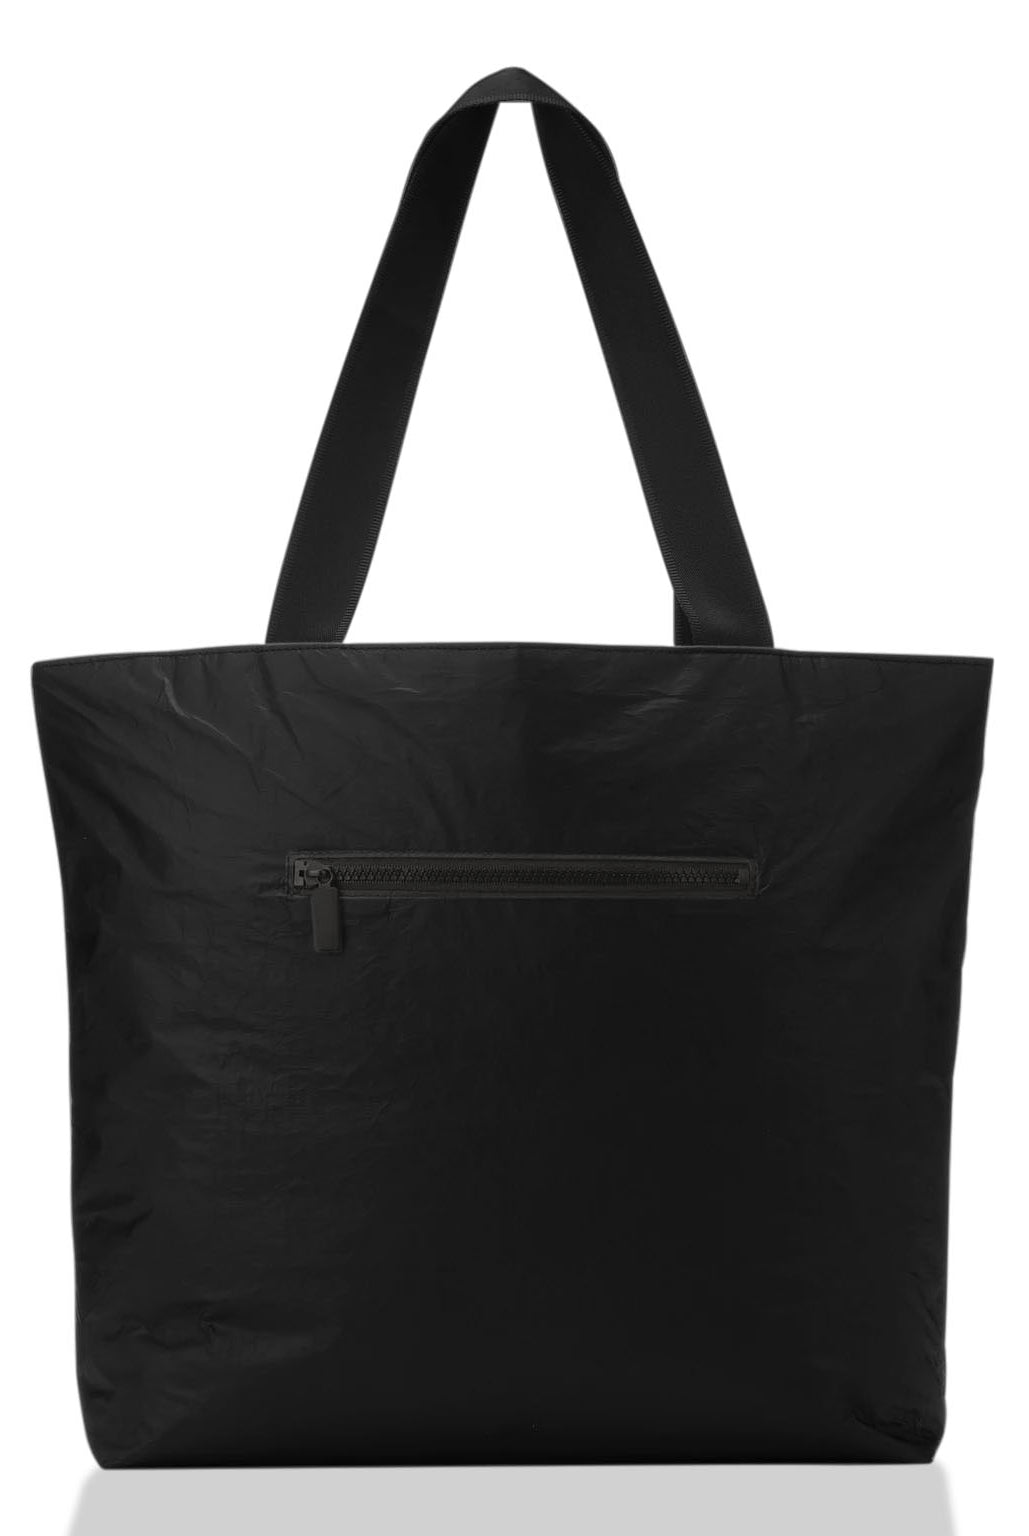
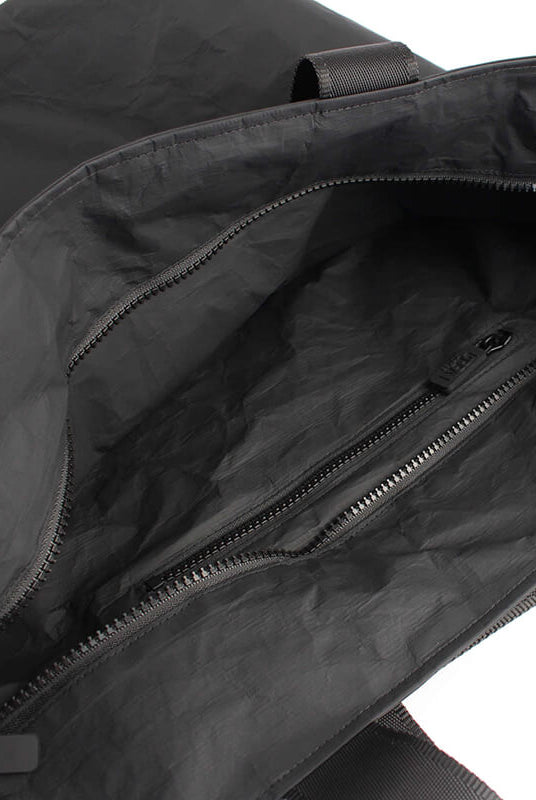
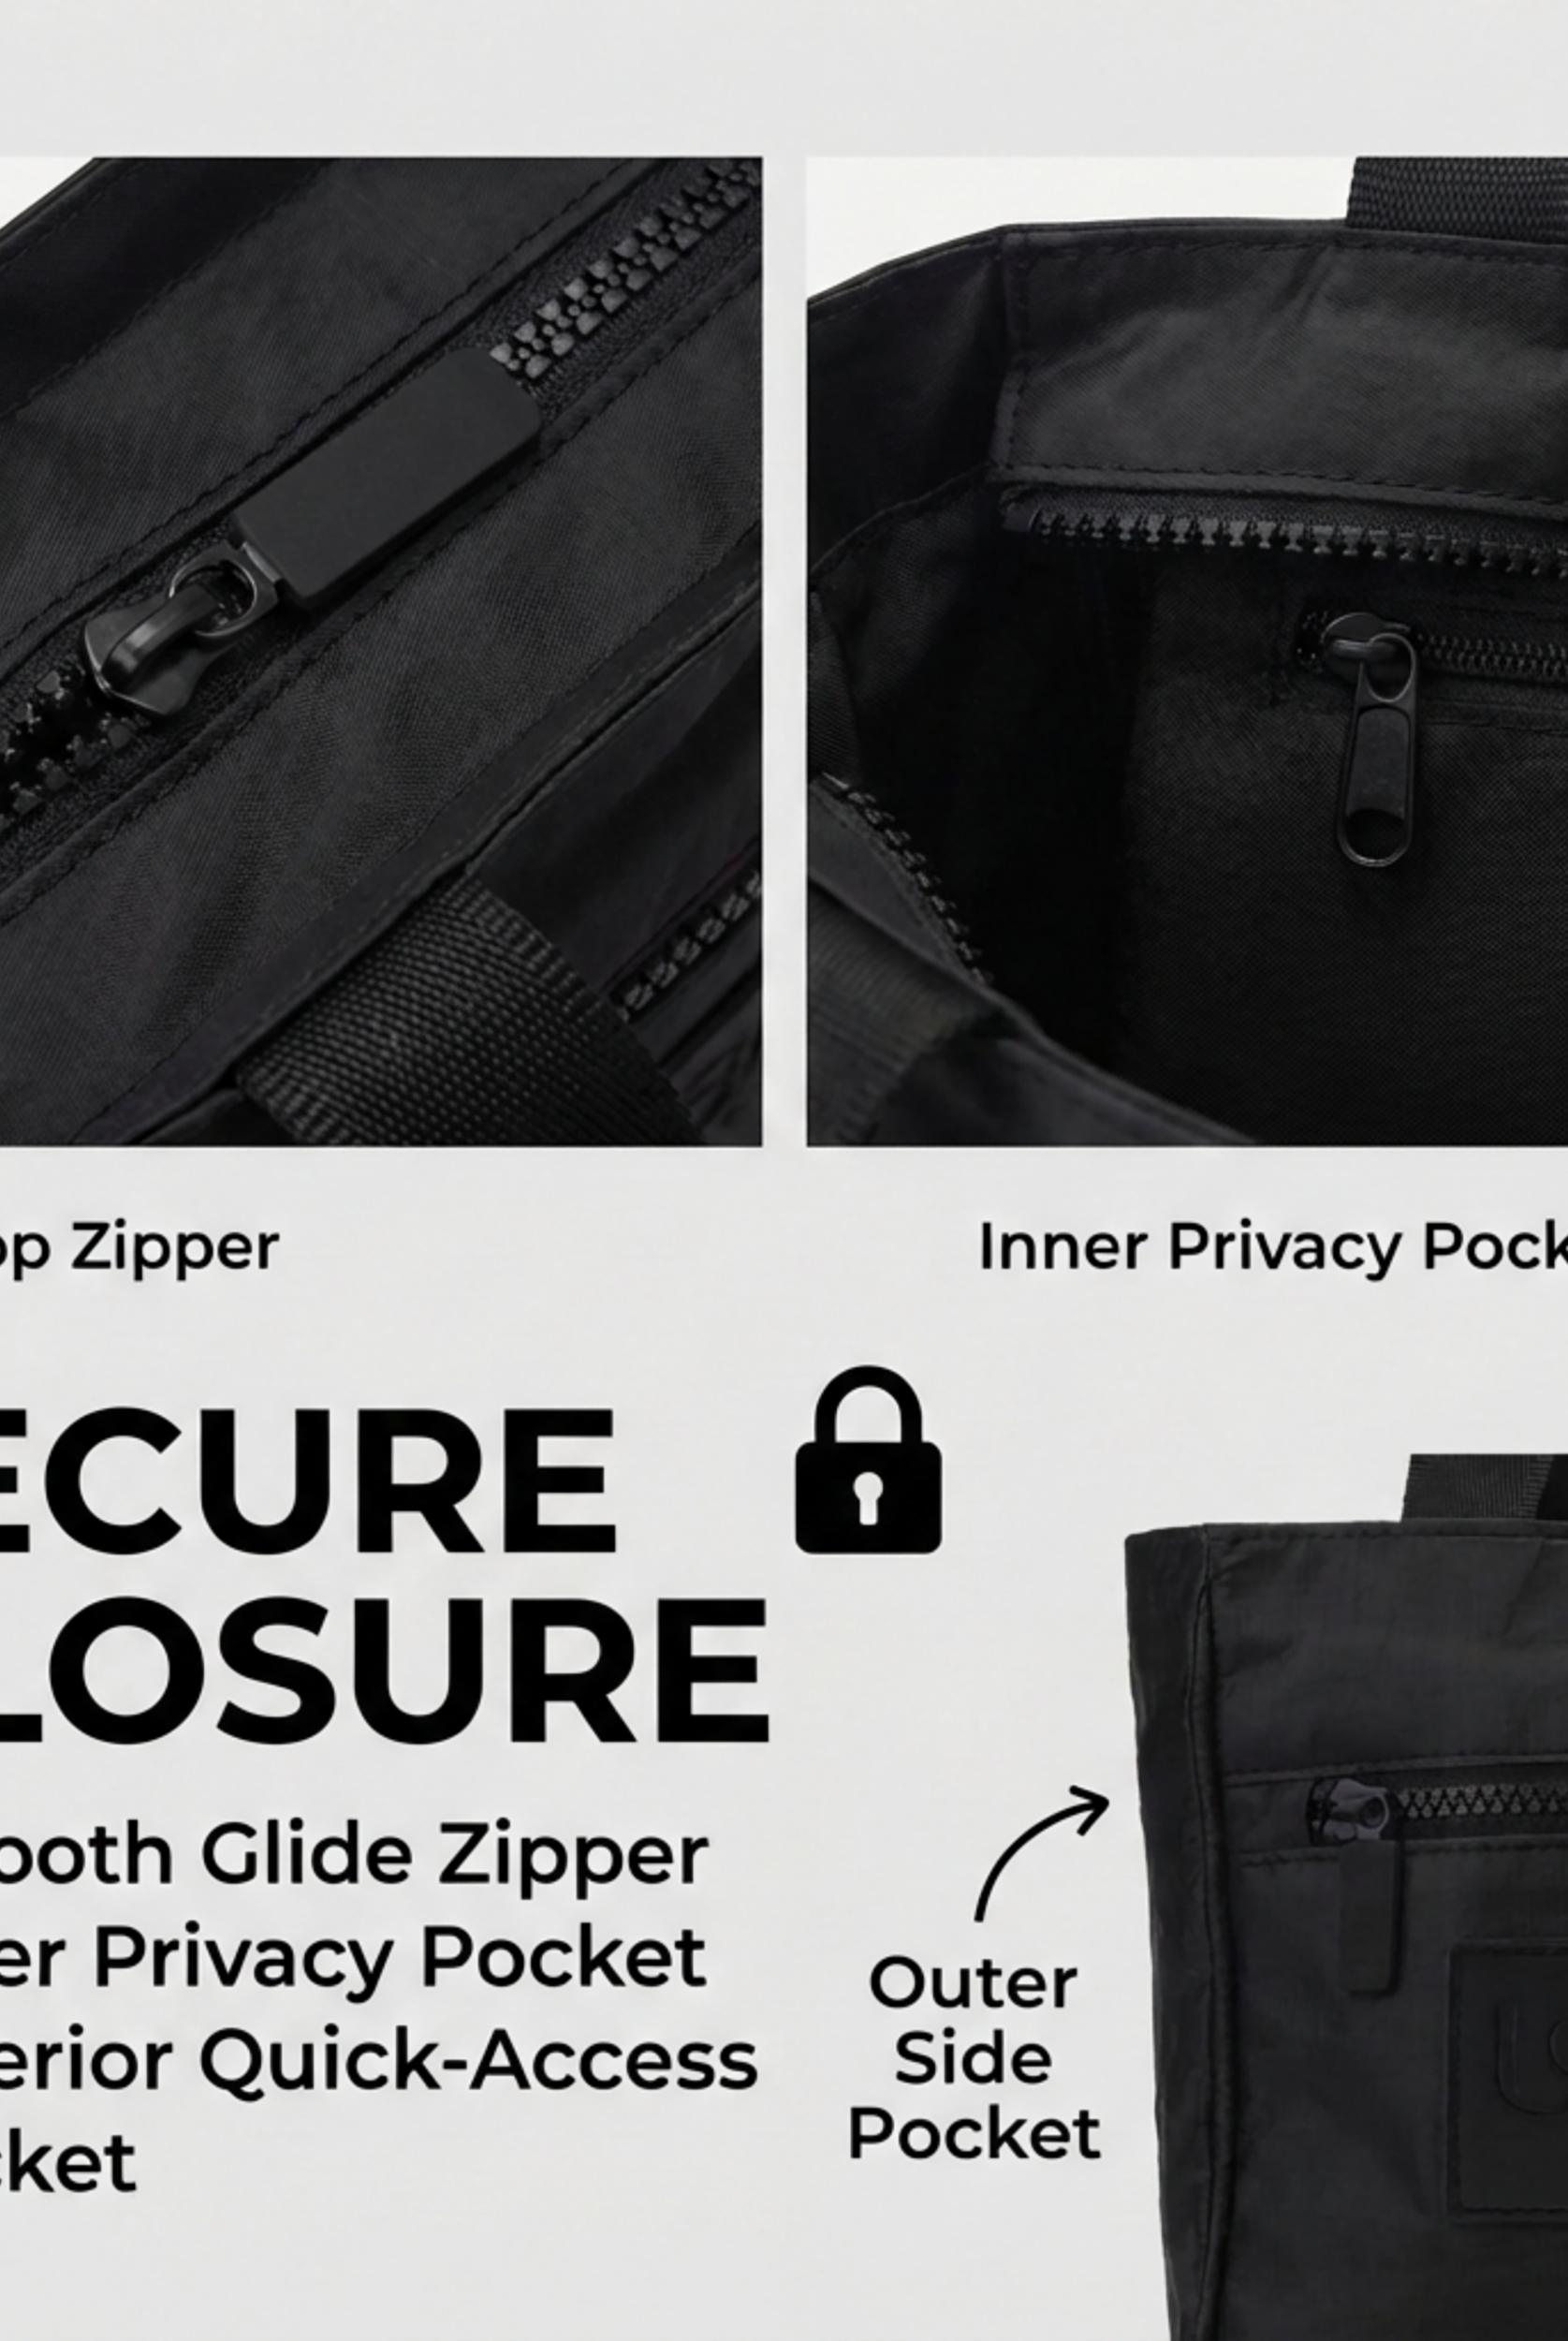
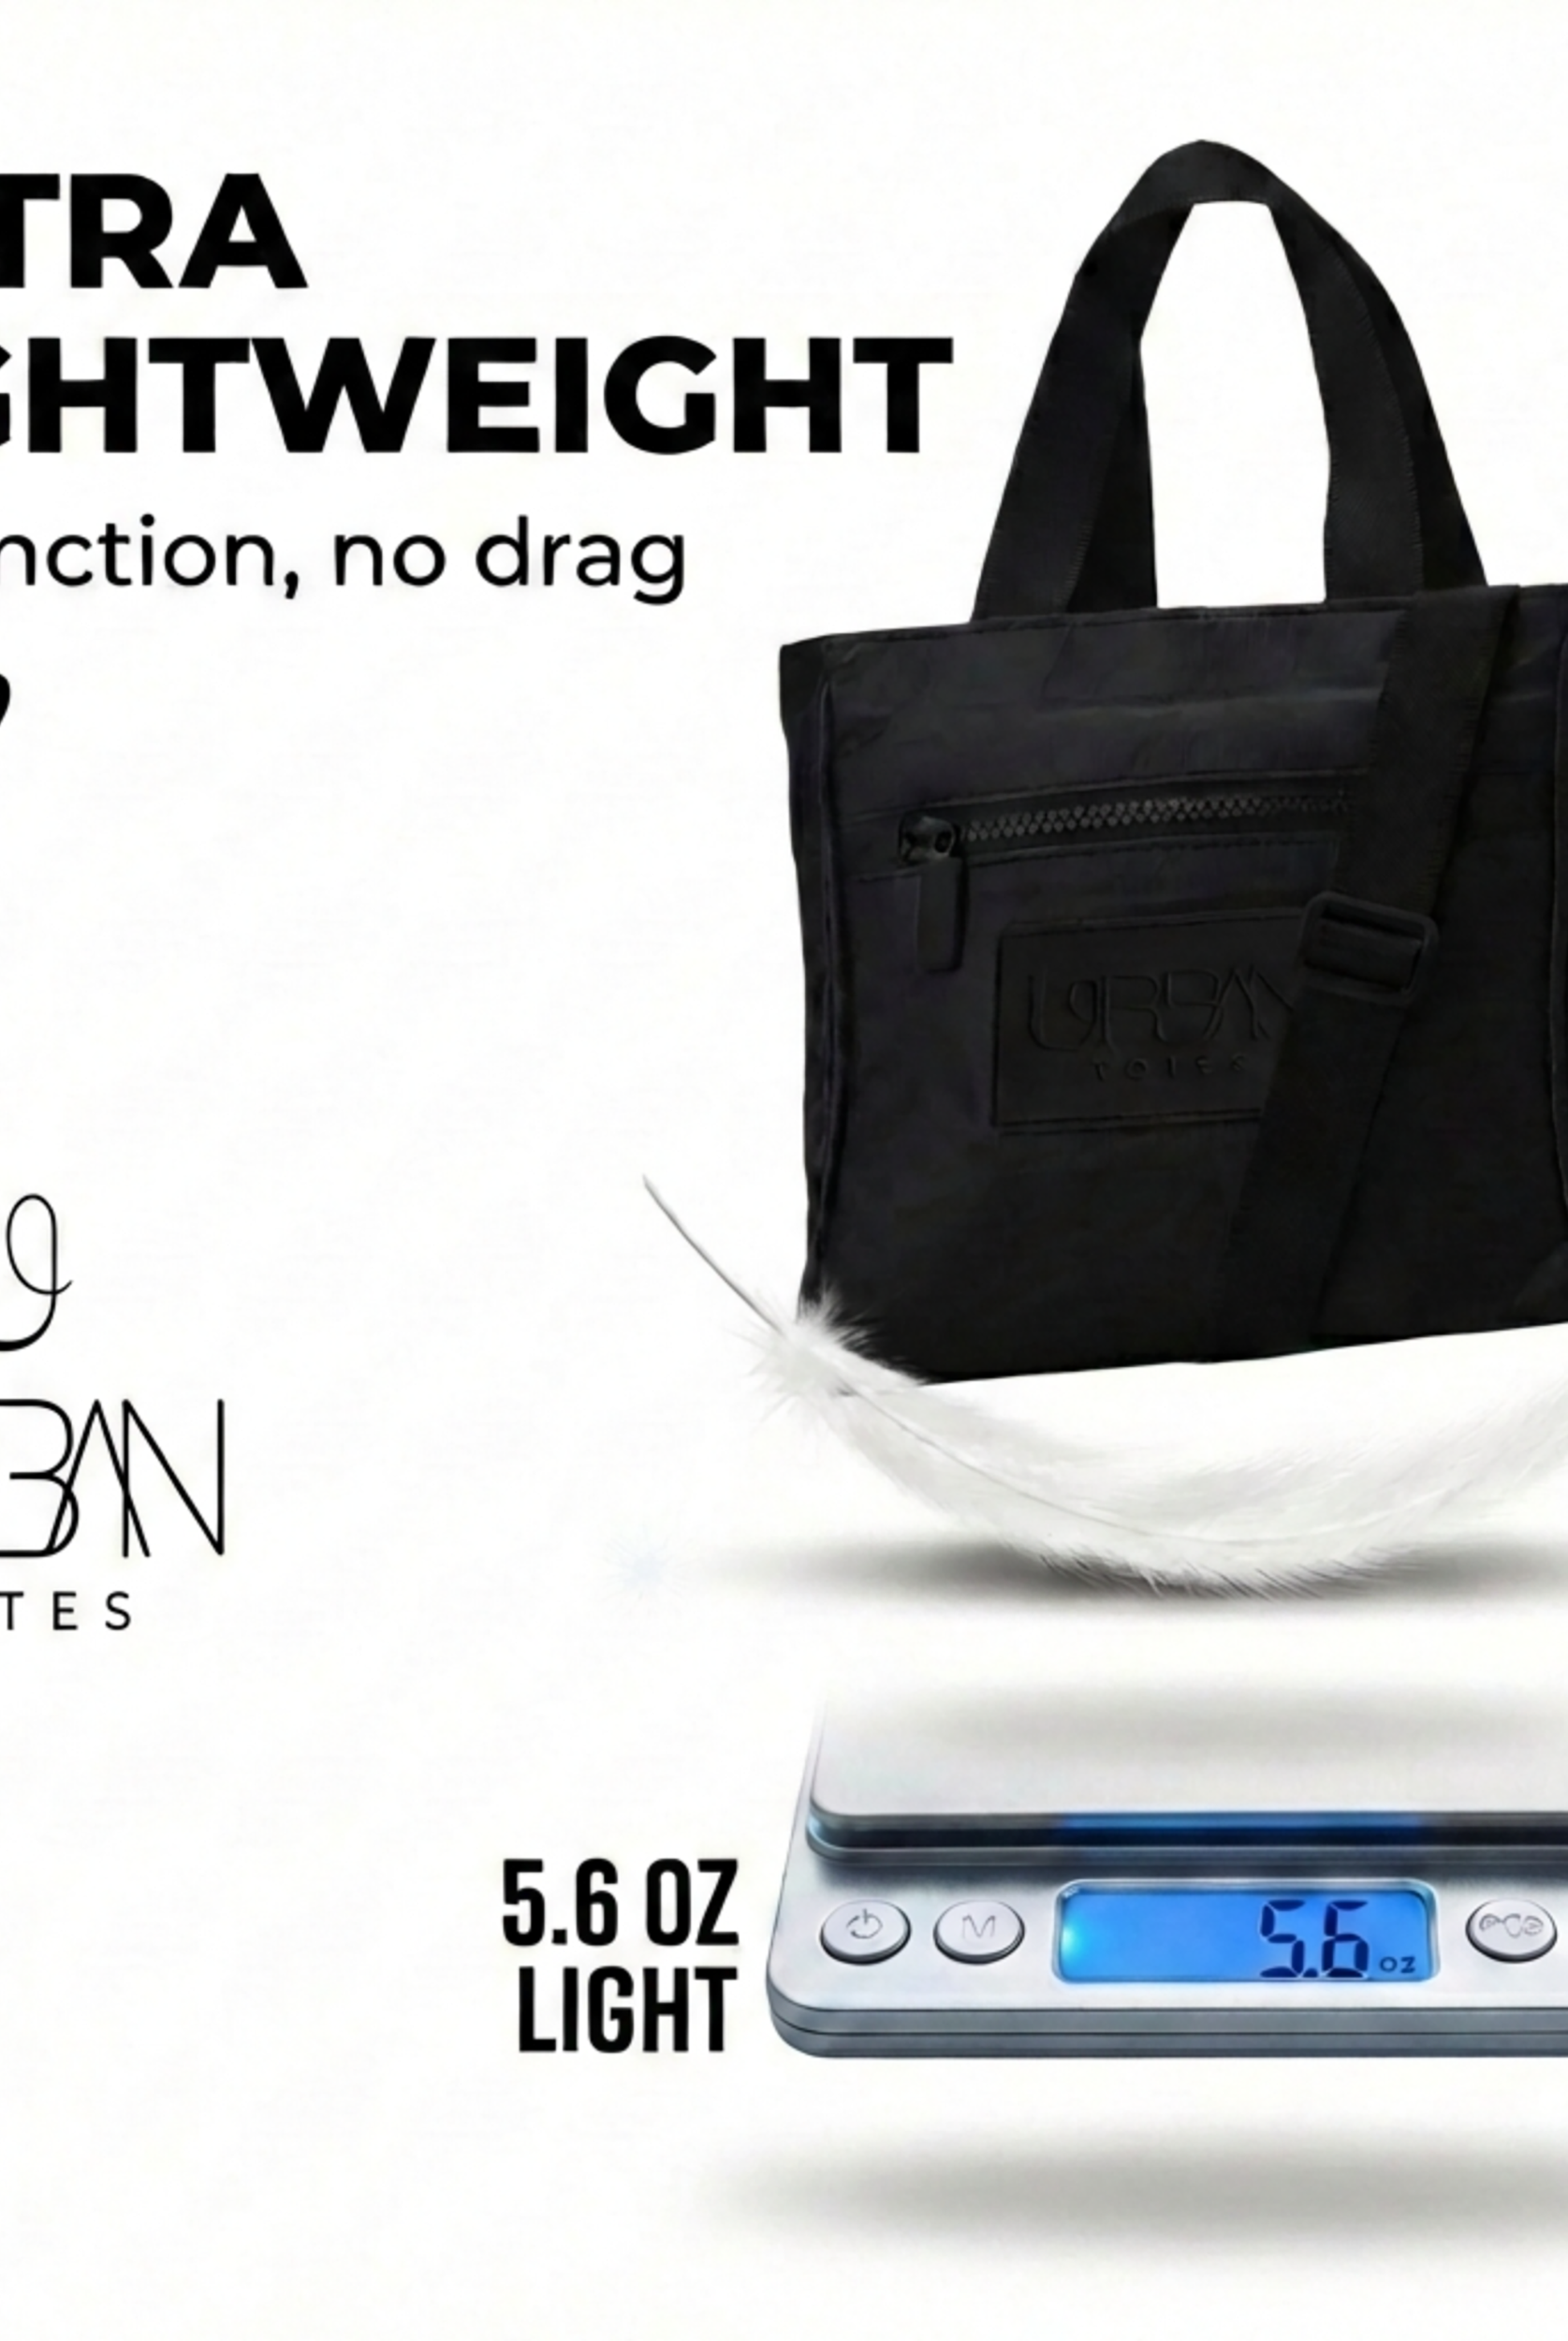
For bags built around organization, a structure like the tote bag organizer with zipper keeps the contents from bunching to one side, which makes the fit check more honest. The same idea shows up in the OG Zipper Tote Bag, which is described as lightweight, packable, water-resistant, and built with inside and outside zipper pockets, so the contents stay settled instead of slumping around.
Adjusting Sliders, Buckles, and Fixed Straps
The hardware decides the move. Once you know what you're holding, the adjustment gets much less annoying.
Sliders and buckles
A slider is the easiest thing to tame. Hold the bag on your body, slide the strap a little at a time, then stop and check the landing point. If the strap loosens while you walk, thread the tail back through the hardware more firmly and keep the adjustments small so you don't lose the whole setting.
That's the right move for a crossbody on concert night, when you want the bag close enough to stay put but not so tight that it keeps bumping your ribs. It's also the right move for a commuter tote with an adjustable strap, because a few tiny changes beat one giant tug every single time.
D-rings and fixed loops
D-rings ask for a little more patience. Thread the strap through the ring, pull it snug, then flatten the webbing so it lies cleanly instead of bunching. Fixed loops are the least forgiving, so if the strap sits in the wrong place, re-thread it through the alternate loop rather than forcing the length to behave.
A backpack for a trail walk or a market run often feels better when the loops are set cleanly and the weight stays close to the body. If the webbing is twisted, you'll feel that twist as a hot spot later.
Buckles that need a reset
Side-release buckles and similar clips need a two-handed reset, not a yanked shortcut. Unclip, reset the length, then clip it back in while the bag is still on you so you can see whether the strap settled where you wanted.
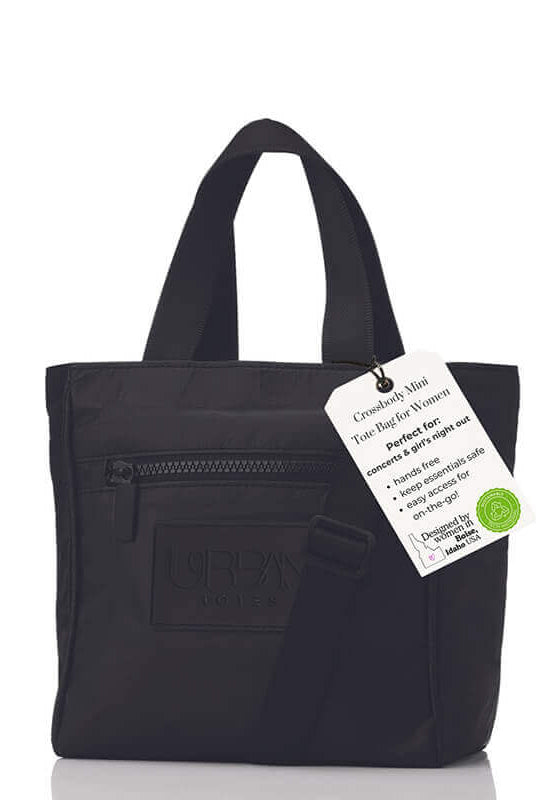
For a quick reference on bag styles that use a crossbody setup, the tote bags with crossbody strap page is useful because it keeps the hardware conversation grounded in a real carry style. If you're fitting gear for a team, a retailer, or a shop floor, even a resource like order custom backpacks in bulk can be useful context for how strap systems are chosen around carry needs rather than guessed later.
Finding the Right Length and Position on Your Body
Comfort gets a lot clearer when you stop calling it comfort and start naming the landmarks. For shoulder bags, common fit guides put the strap drop at 12–14 inches, while one guide lists shoulder-bag strap lengths at 14–20 inches. For crossbody wear, the target is usually a drop of about 18–22 inches (Petite Simone strap length guide).
Where the bag should land
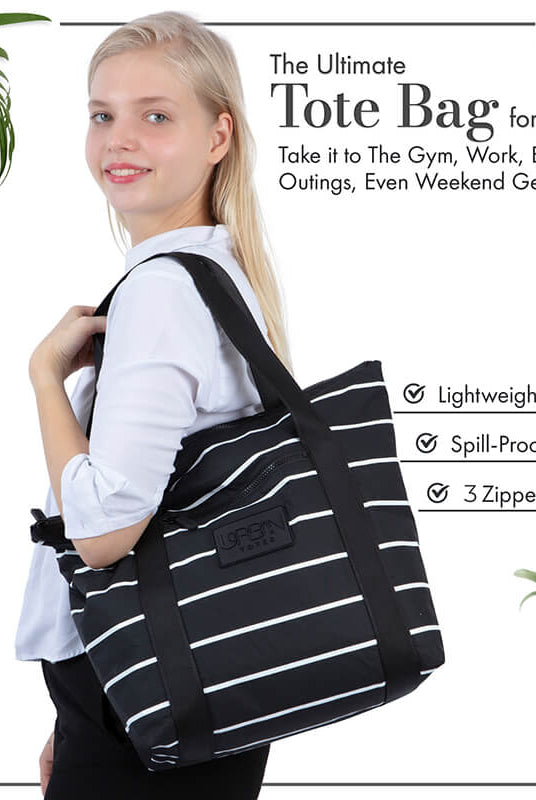
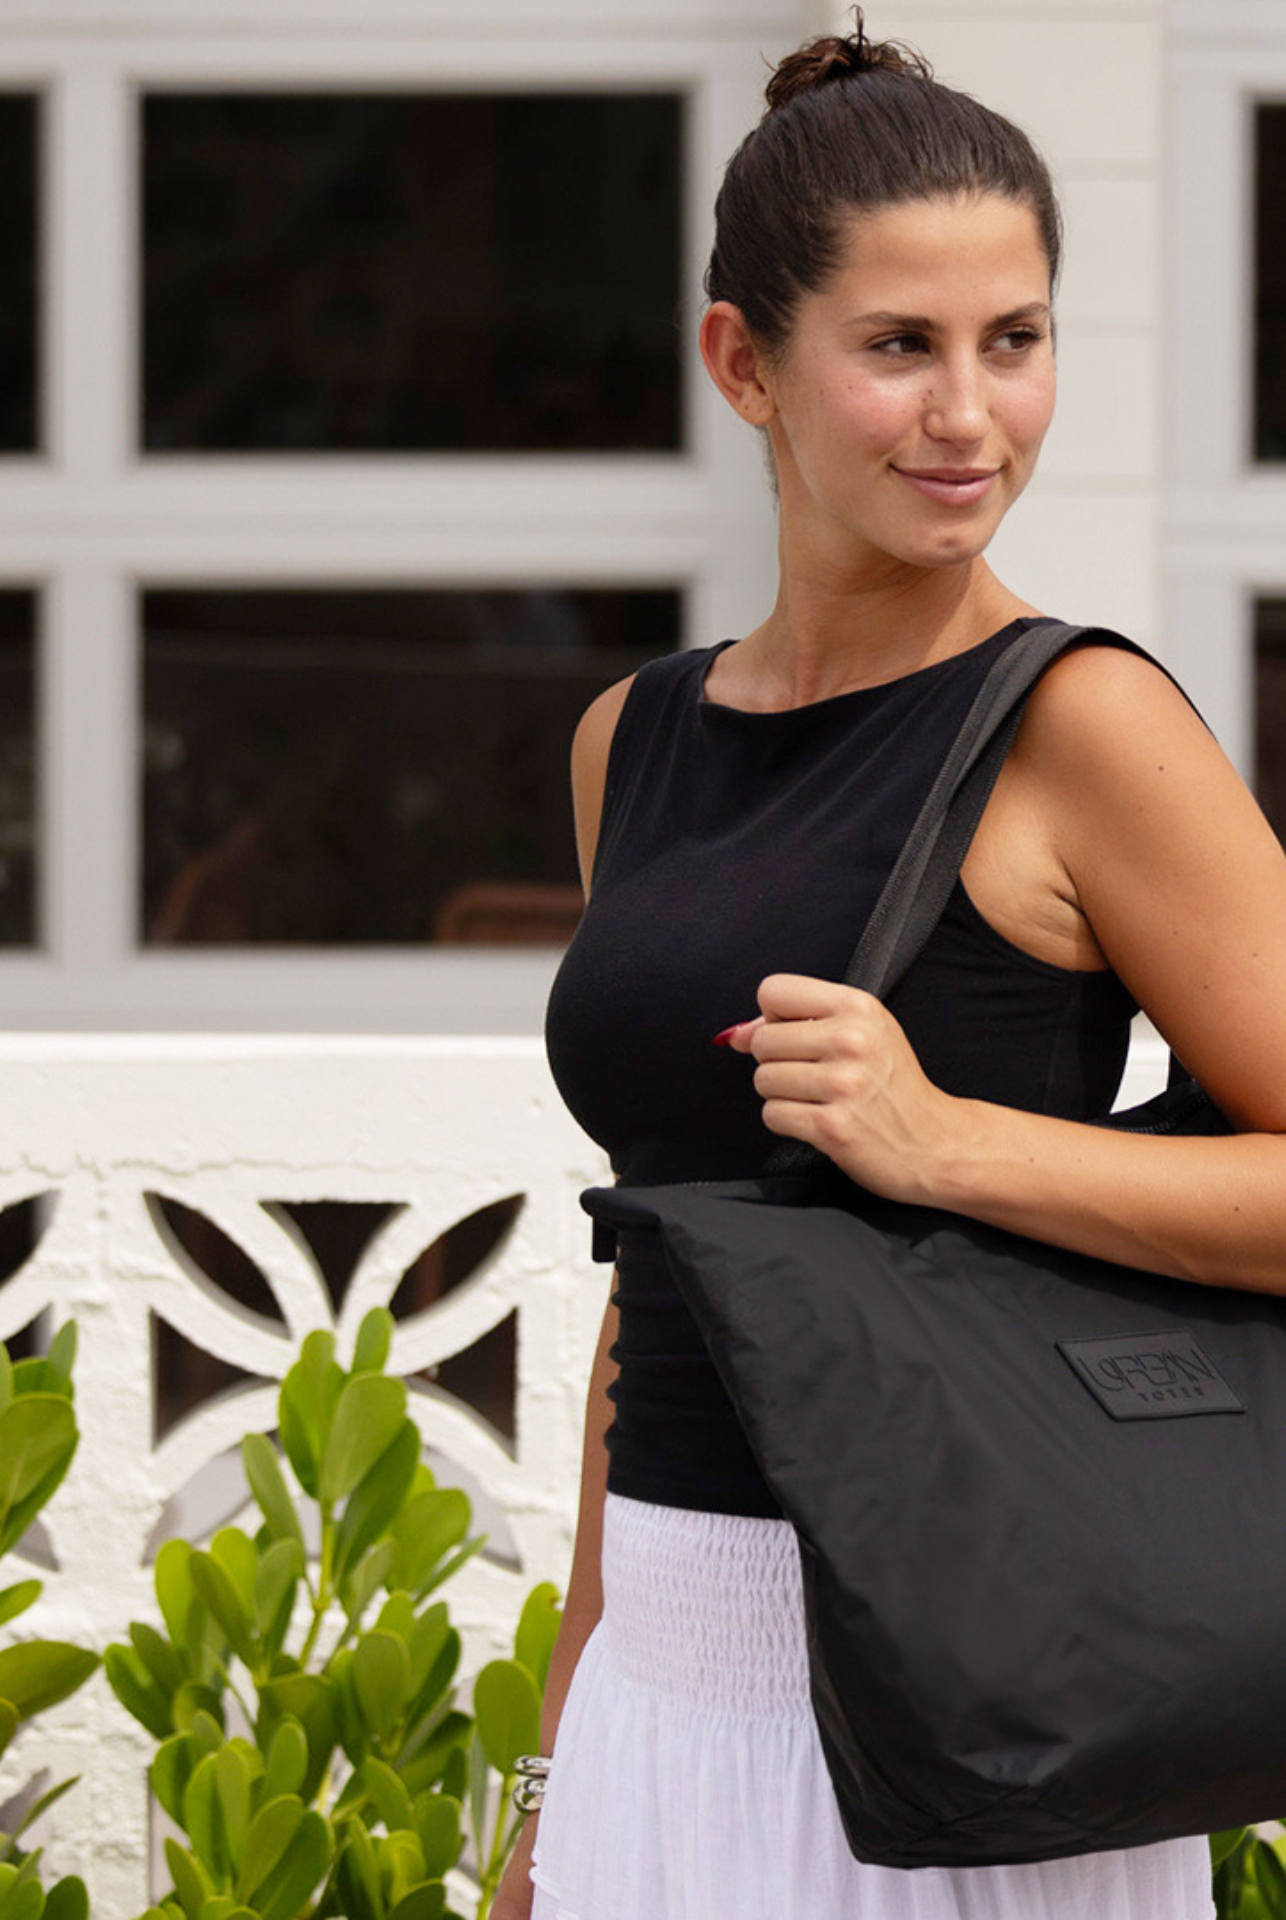
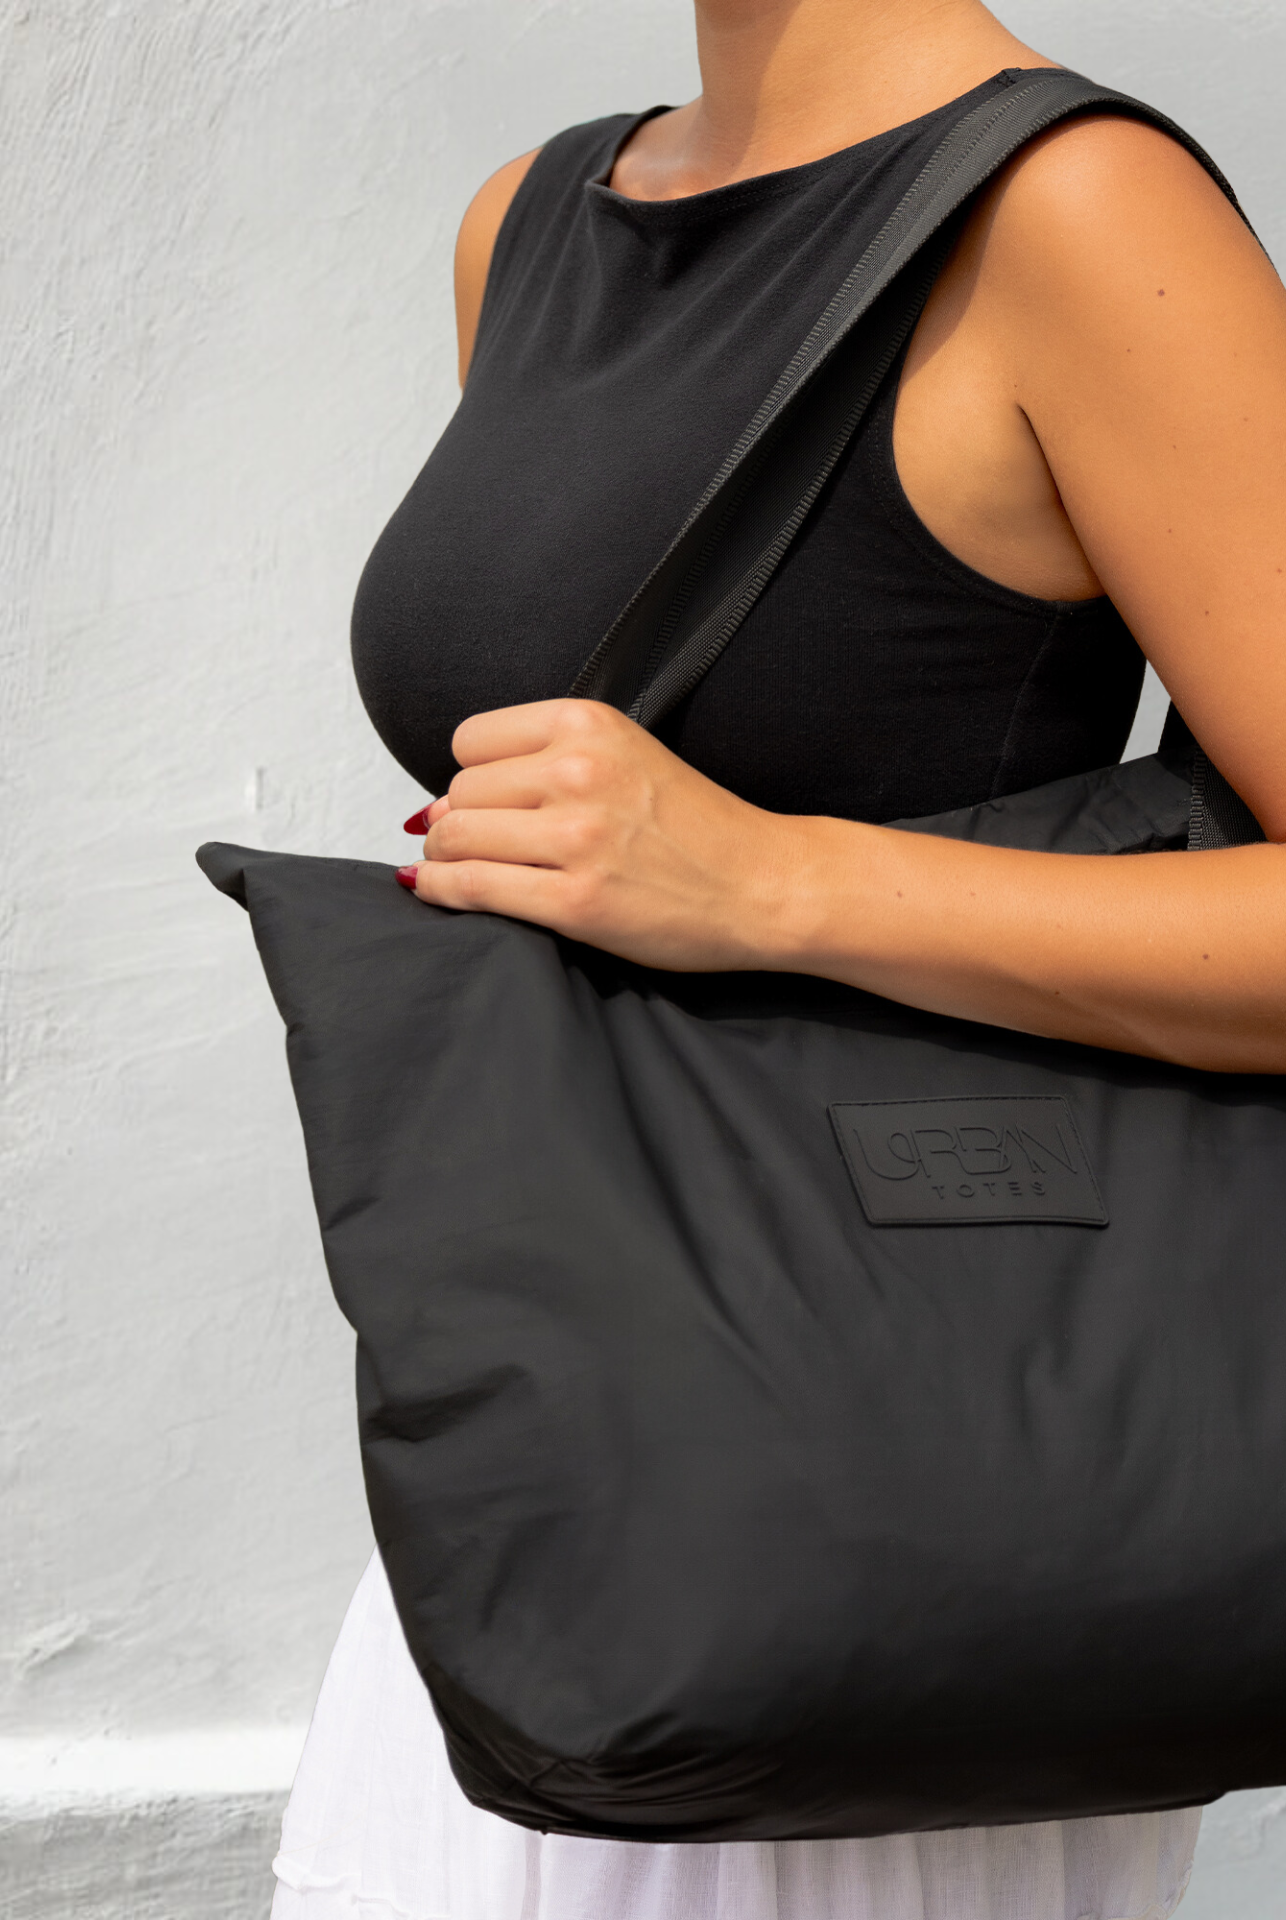
For a shoulder bag, aim for a position that sits between the hip bone and lower ribs or around the mid-hip to upper thigh zone, depending on the style and your frame. For a crossbody, the bag's bottom should land between the hip bone and mid-abdomen, and the strap should stay secure when you walk and raise your arms (Oreateai crossbody fit guide). That's the sweet spot where you can still reach inside without the bag thumping your leg.
For backpacks, the geometry is different. The hip belt should sit on the hip bones or iliac crest, shoulder straps should contour without pinching, and the sternum strap should pull the shoulder straps inward for stability. One technical fit point from the retrieved guidance says about 80% of the load should rest on the hips when the hip belt is properly tightened, and load-lifter straps should sit at roughly a 45° angle (YouTube backpack fitting guide).
Short check: if the bag forces your shoulders up, it's too high. If it swings, it's too low.
| Strap Length and Position by Bag Style | Strap Drop | Where the Bag Should Land | Quick Tension Check |
|---|---|---|---|
| Shoulder bag | 12–14 inches is a common guide, with 14–20 inches also listed | Between the hip bone and lower ribs or around mid-hip to upper thigh | You should be able to slip two fingers between strap and shoulder |
| Crossbody bag | About 18–22 inches | Between the hip bone and mid-abdomen | Secure enough to avoid swing, loose enough to breathe and move |
| Backpack | Torso fit starts at the hips and rises up the back | Hip belt on the iliac crest, pack close to the back | Shoulder straps snug, not pinching, with load pulled inward |
If you're fitting gear for a program or retail line, the same body-landmark logic still matters, even when you're selecting straps for paddle bag strap paper version. A strap that lands in the wrong place is awkward on the court, at the airport, and on a school run.
For tote wear specifically, the placement notes in how to wear a tote bag keep the logic simple, close enough to carry cleanly, low enough to move naturally.
Quick DIY Fixes When the Strap Won't Cooperate
Some straps stop cooperating because the adjustment is wrong. Others need a little rescue work. The good news is that most of the annoying stuff can be fixed tonight without tools.
When the strap slowly loosens
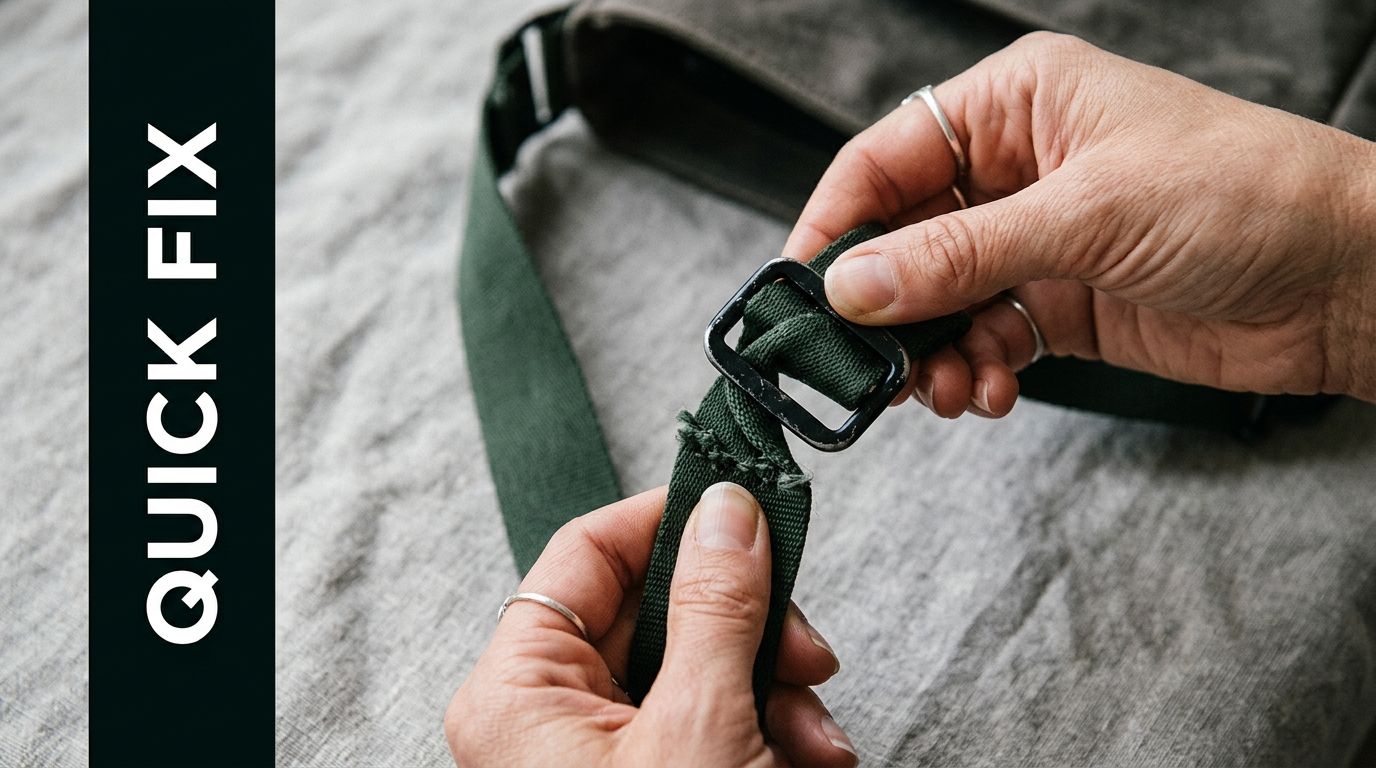
If the strap drifts during the day, thread the tail back through the slider twice so it grips more firmly. That's a practical fix for a gym duffel that starts fine and then works itself longer during a workout. If the hardware is worn out and won't hold tension even after you rethread it, replacement is the answer.
When the webbing twists or bunches
Twisted webbing creates weird pressure points fast. Flatten it by hand, smooth it out, and if the strap is stubborn, use a gentle steam pass to relax the fibers before resetting the line. Keep the bag empty while you do that, then reload it and recheck the fit.
When the strap got shortened too far
If you pulled it too tight and now it digs into your shoulder, add a discreet strap keeper or return the length one small notch at a time. A crossbody that's shortened past the comfort point often feels wrong because the bag rides too high and keeps bumping the body. Back off until it sits in the correct landing zone again.
For sewing-minded readers, a resource like paddle bag strap paper version is the kind of pattern reference that helps when a strap needs to be rebuilt rather than nudged.
If the bag still slips, digs, or fights you after all that, stop patching and replace the strap or the hardware. A broken adjustment point won't become more trustworthy because you wish it would.
Caring for Your Straps So They Stay Comfortable
Strap comfort lasts longer when you treat the webbing like part of the bag, not an afterthought. Wipe it down after a sweaty gym session, rinse off salt water after a beach day, and let it dry fully before you pack it away. A clean strap adjusts the same way every time, while a stiff or grimy one starts fighting you.
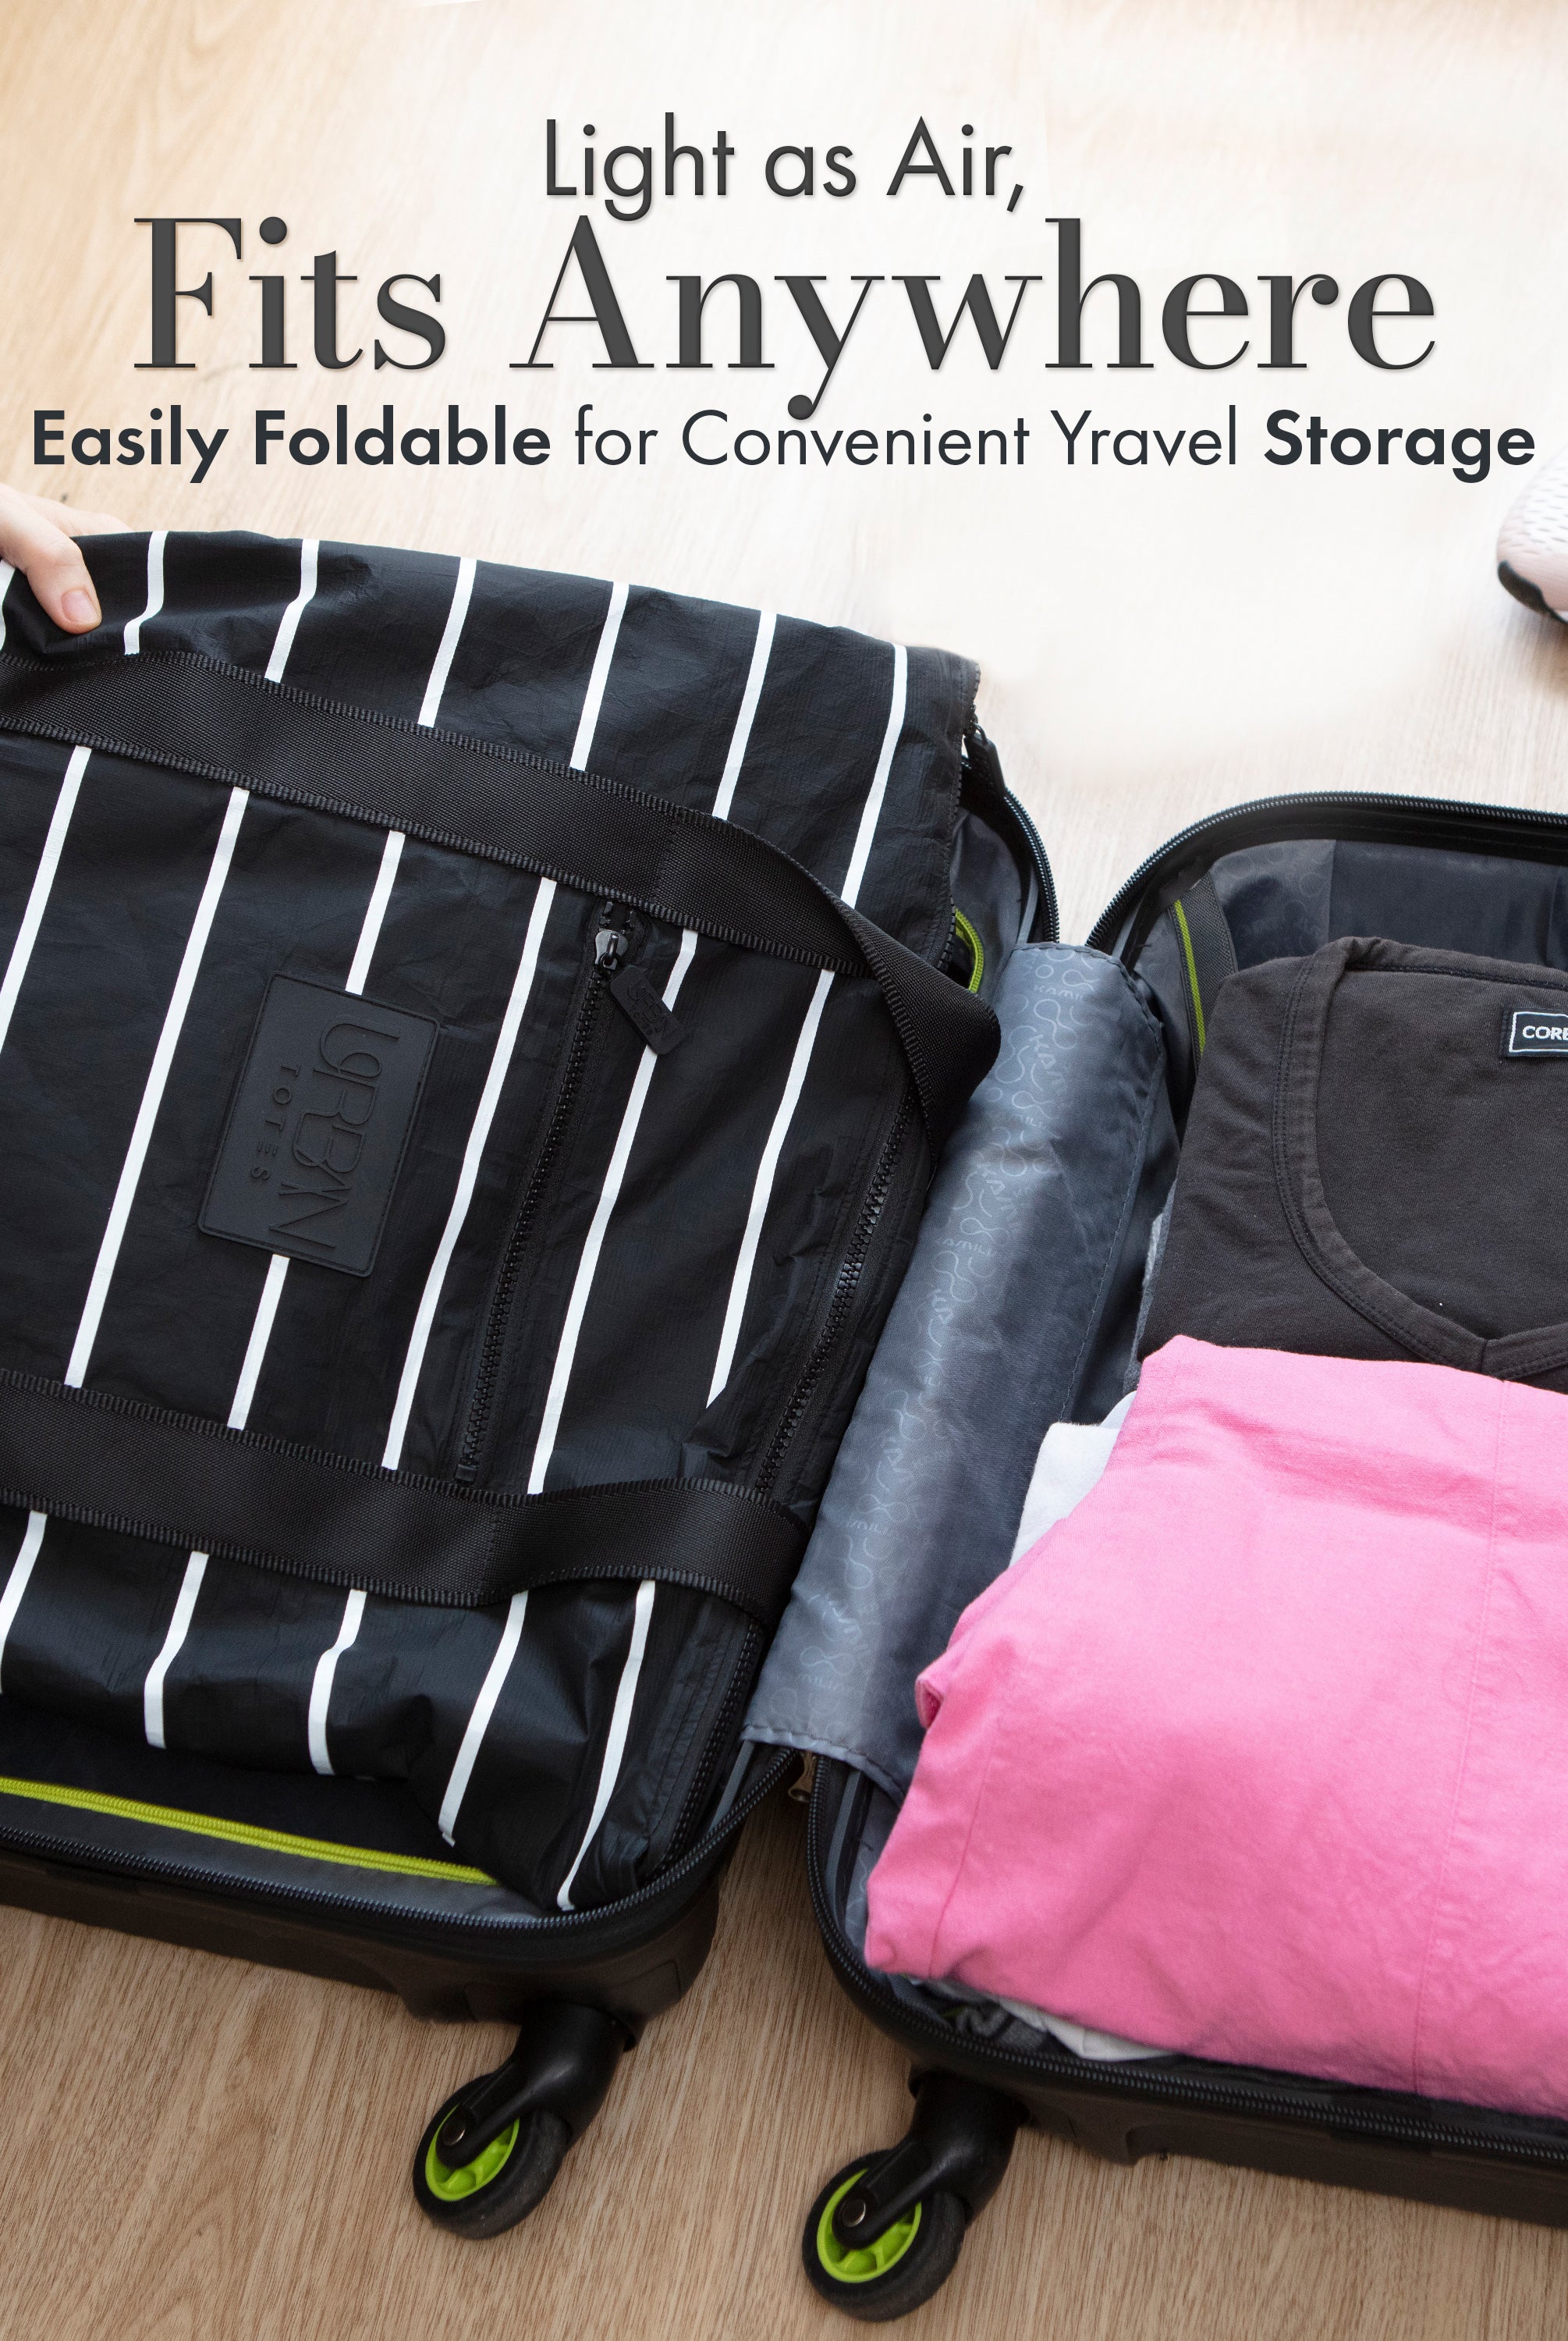
Flat storage matters too. If you stuff a tote into a bin and crease the straps for weeks, the next fit check feels off from the first tug. Packable and foldable bags make this easier, because you can store them without forcing the strap into a permanent kink, and then grab them when school pickup, travel, or errands call.
Rotate shoulders on heavier days if the style allows it, especially with everyday carry bags that get loaded and unloaded all week. That tiny habit keeps one side from doing all the work and helps you notice early when a strap is slipping out of shape.
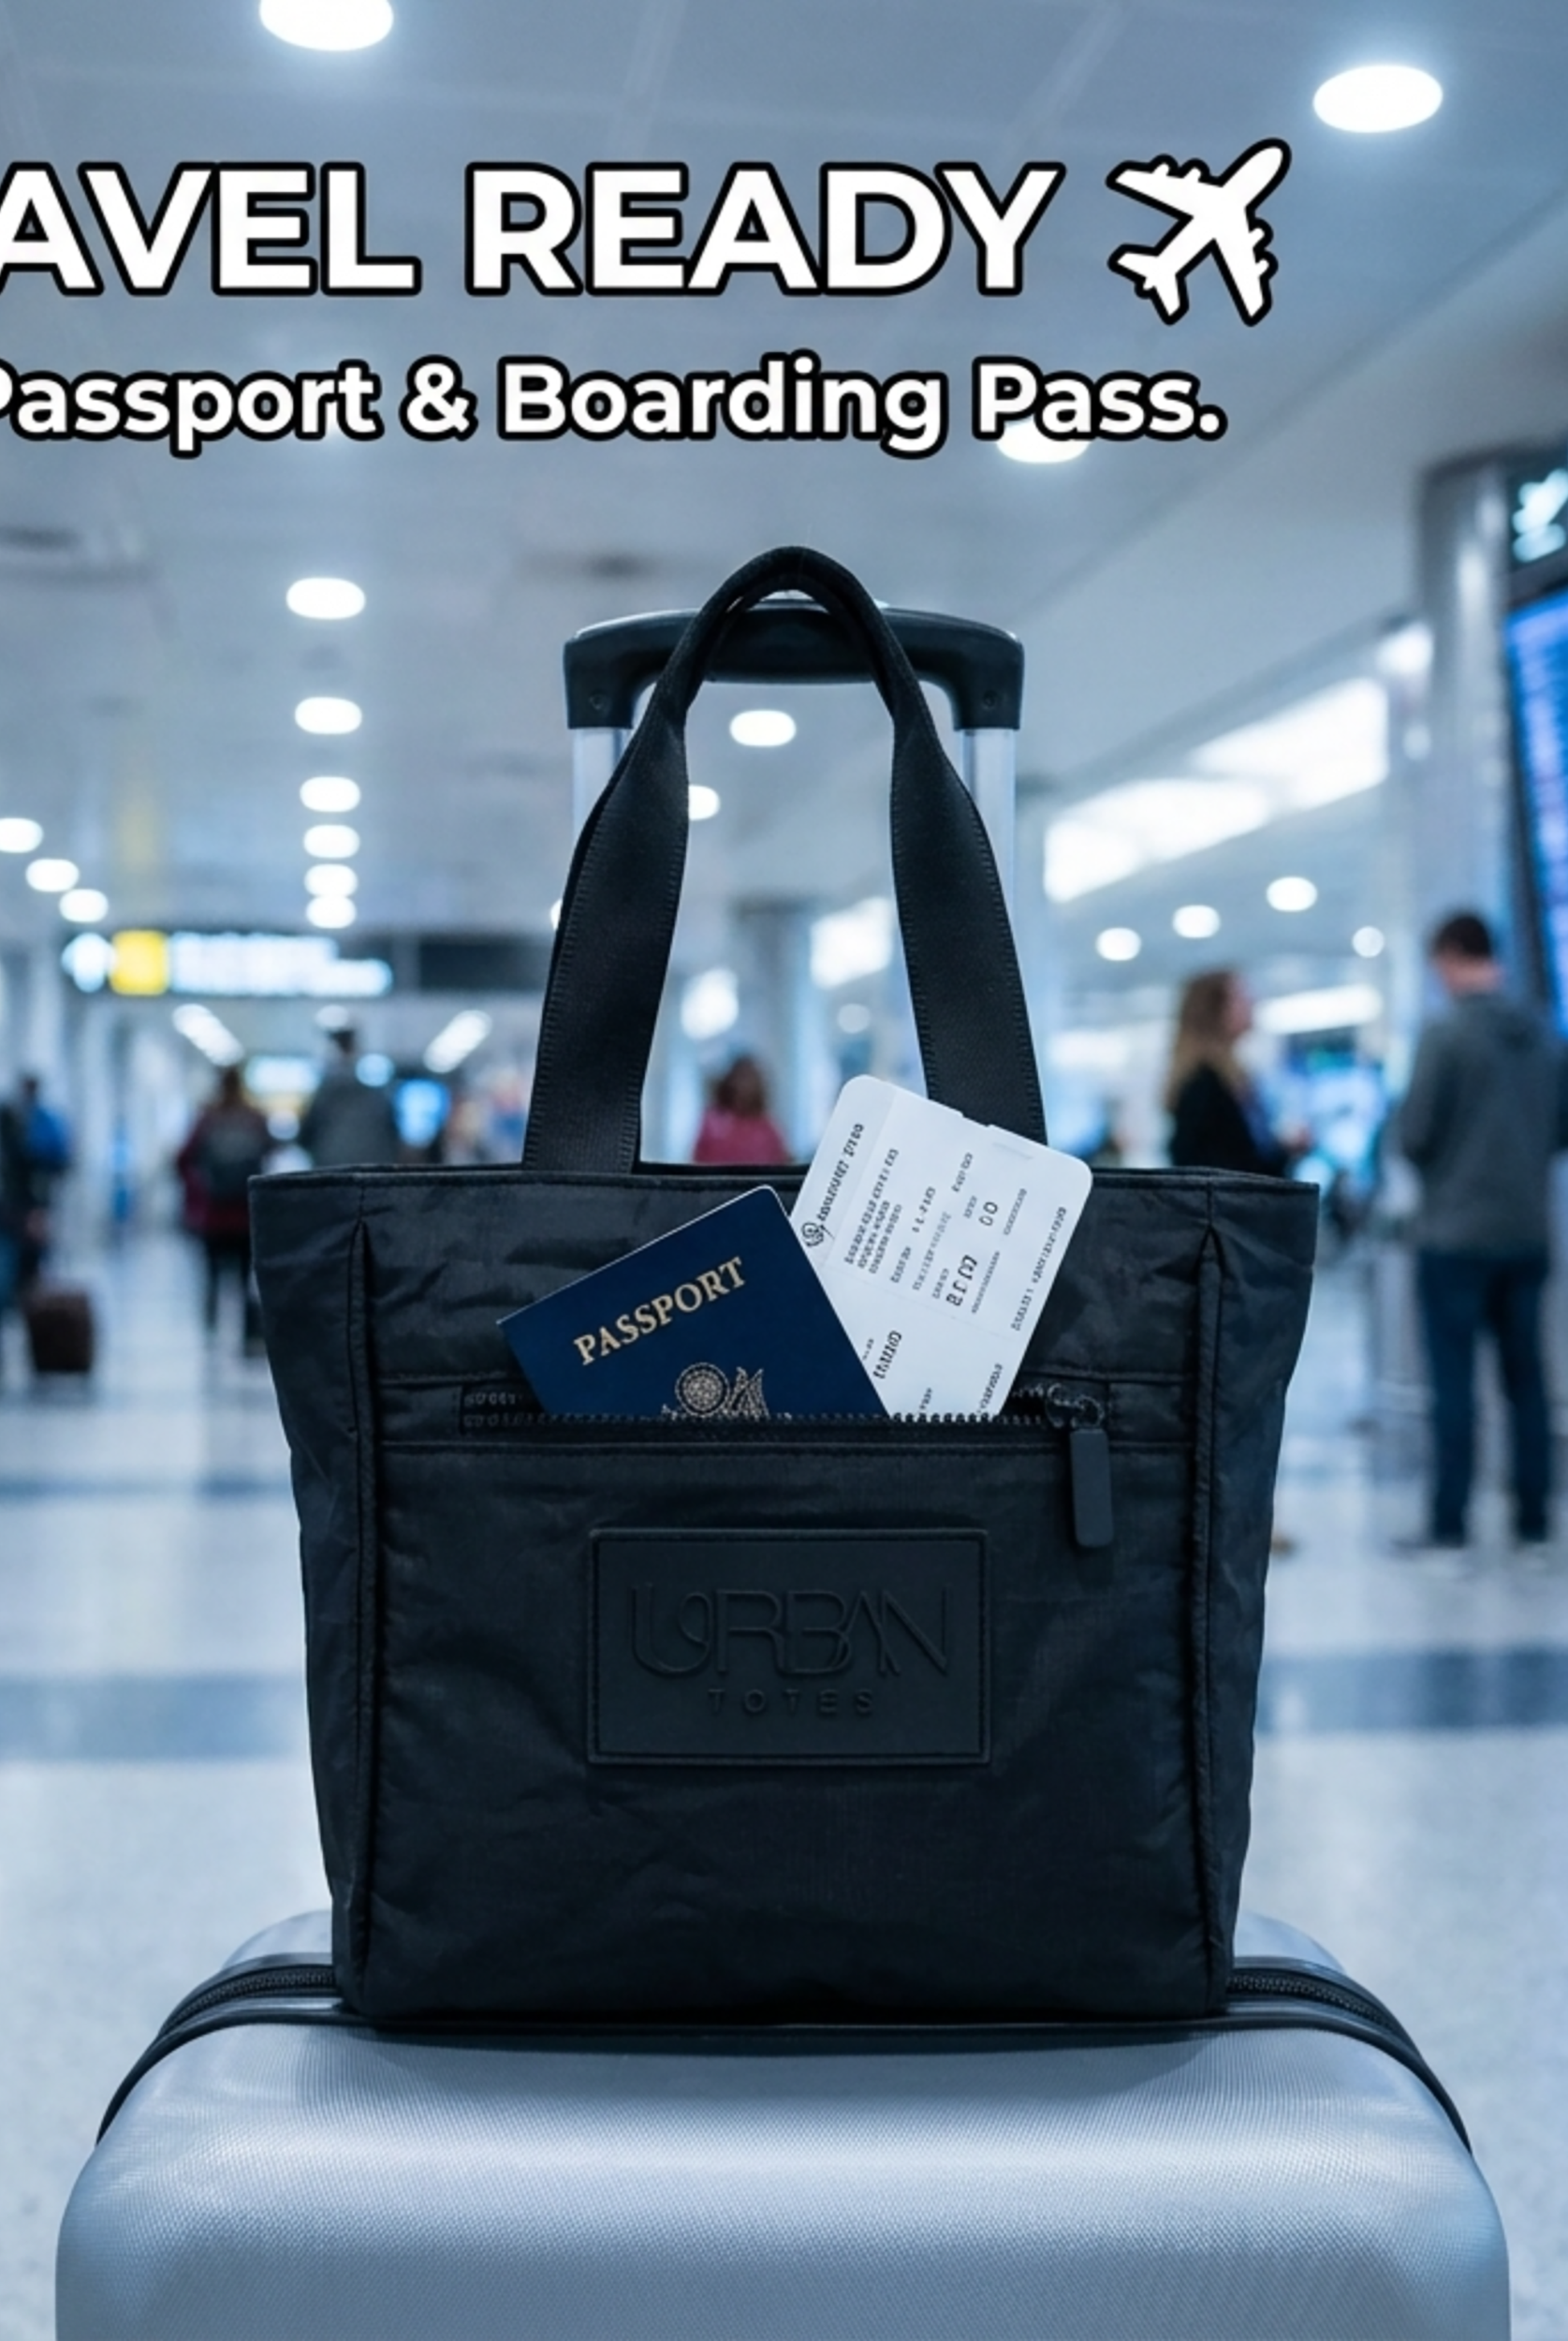
Urban Totes leans into that kind of real-life use with lightweight, water-resistant, zippered, and organized carry options that are made to be picked up and used again, not babysat. If your bag has to keep up with errands, beach chairs, airport lines, and the walk home, choose one that fits your body as well as your routine.
Find a bag that sits where it should and stays comfortable after you load it up. Shop the full Urban Totes collection for go-anywhere, functional styles that are ready for school drop-off, travel days, and everything in between.