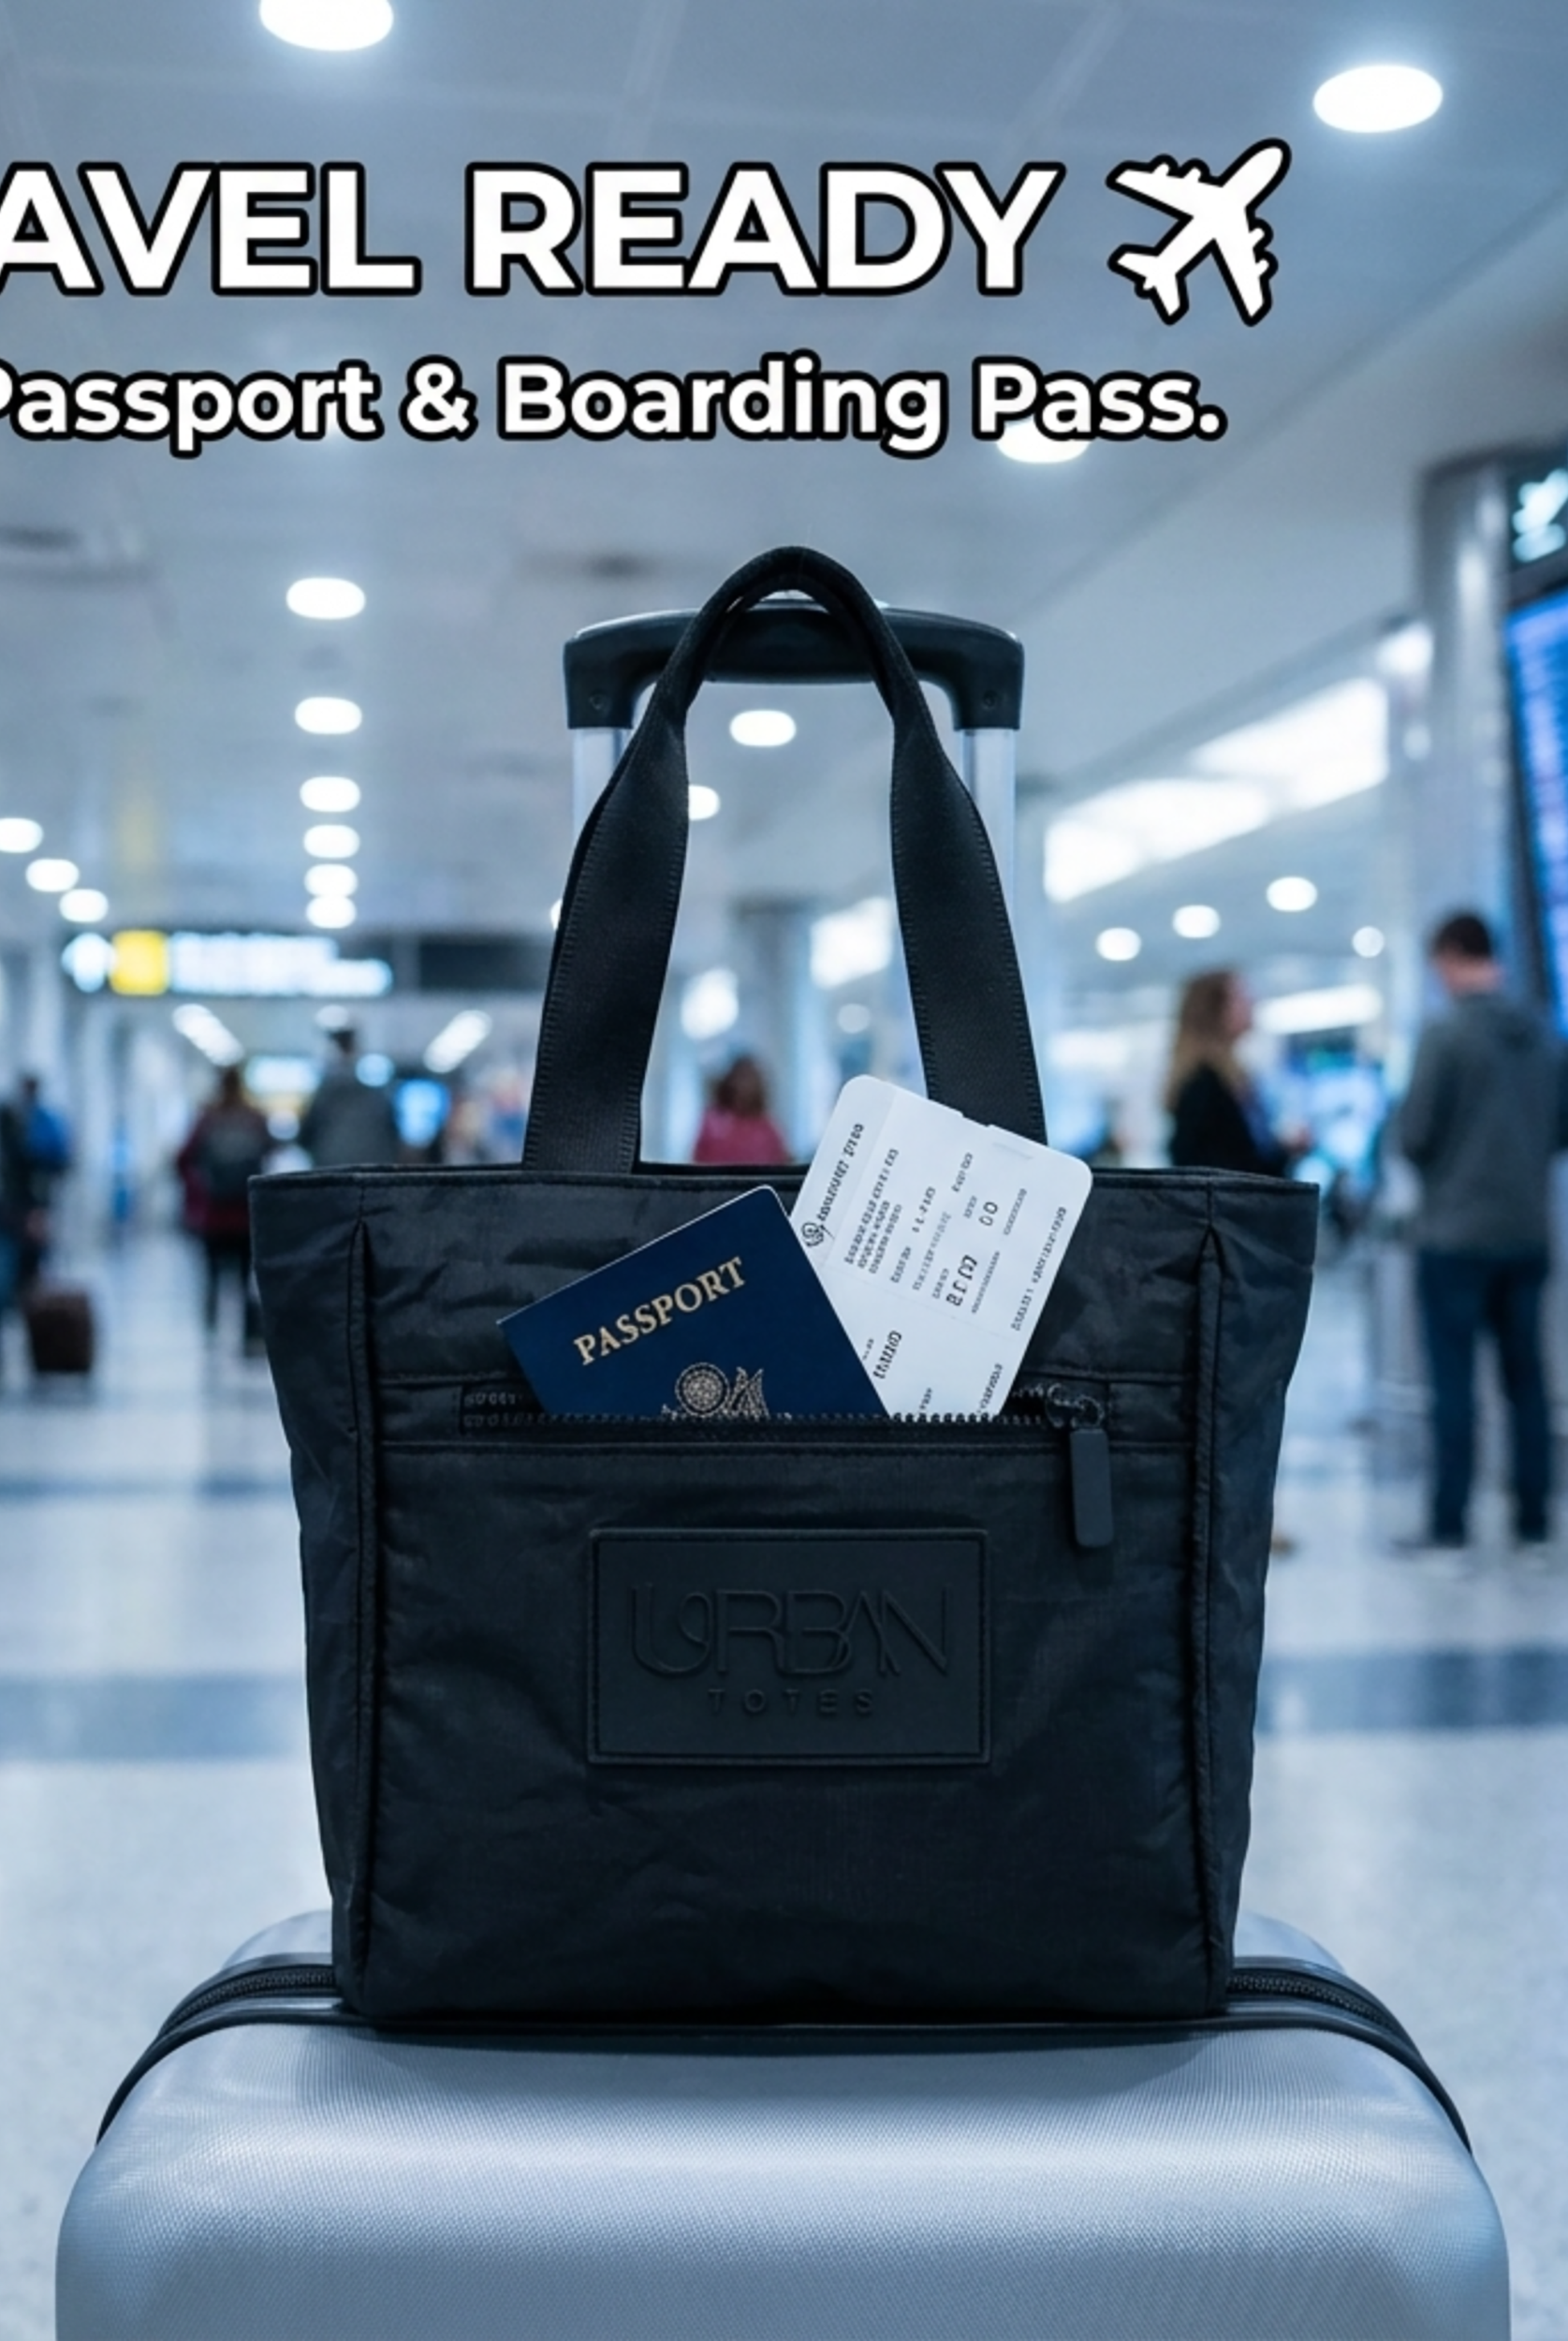
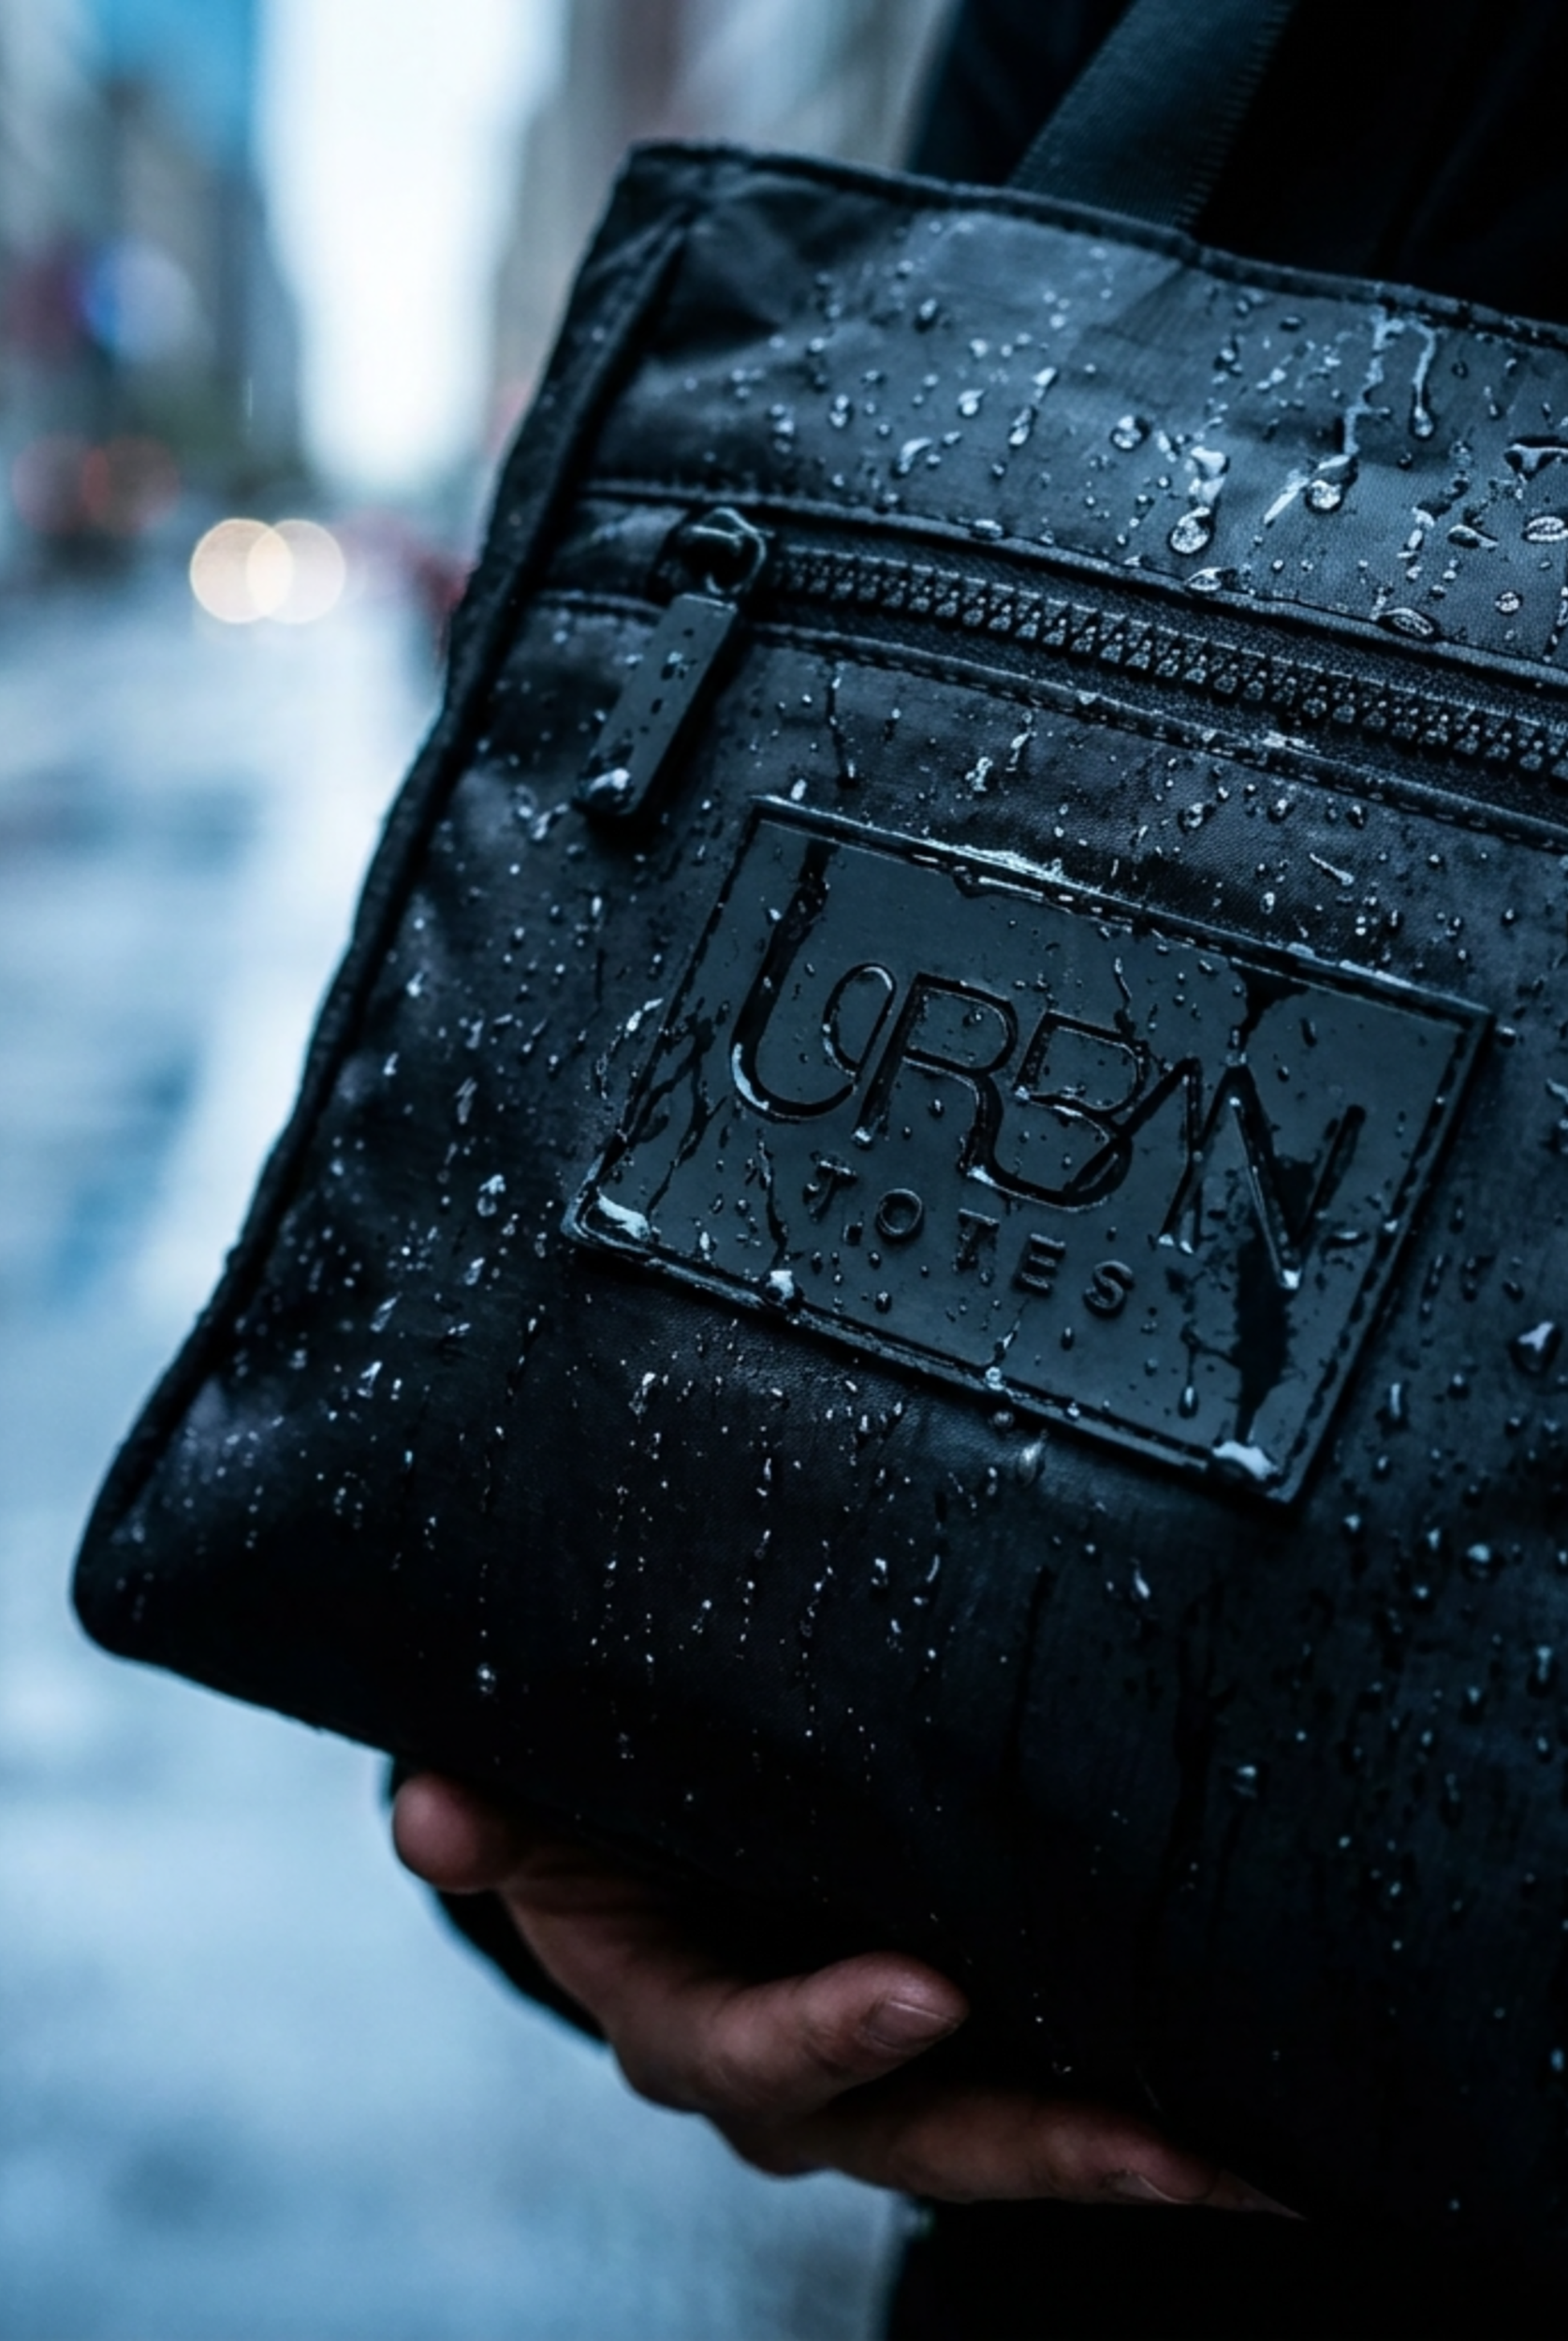
A forecast can change between school drop-off and the afternoon commute. One minute, your canvas tote is carrying snacks, sunscreen, a laptop, and a spare cardigan. The next, rain is running down the outside, water is collecting around the zipper, and you're wondering whether your phone is still dry.
That's the practical question behind how to waterproof a canvas bag. Canvas can be tough, lightweight, and wonderfully versatile, but the fabric alone isn't automatically waterproof. The right treatment can improve water resistance, while careful attention to seams, zippers, and wear points determines how well that protection holds up in real life.
Table of Contents
- Understanding Water-Resistant vs Waterproof Canvas
- Preparing Your Canvas Bag for Treatment
- Comparing Waterproofing Methods for Canvas Bags
- Step-by-Step Application and Seam Sealing
- Testing Your Waterproofing and Troubleshooting Issues
- Long-Term Care and When to Skip DIY Treatments
Understanding Water-Resistant vs Waterproof Canvas
Untreated canvas absorbs water through its cotton fibers. A treated surface can make droplets bead and roll away, which is useful during a quick drizzle, a farmers market splash, or a damp walk from the airport terminal to the car. It doesn't mean the bag will remain completely impermeable under prolonged rain or pressure.
The distinction matters because water-resistant usually describes surface repellency, while waterproof implies a much stronger barrier against penetration. A spray test may look impressive on the face fabric while water still enters through stitching, zipper tracks, folded corners, or a worn bottom panel. Wirecutter's tote-bag guidance also reflects this everyday distinction, noting that treated canvas is useful for spills and weather while fully waterproof performance generally calls for different materials or construction.

What canvas treatment actually changes
Canvas waterproofing has a long maritime history. From the 15th to 17th centuries, sailors used fish oil, tar, grease, and later linseed oil on sailcloth to reduce water absorption without leaving sails as heavy as soaked fabric. By the 1920s and 1930s, industrial wax impregnation had become a standard approach in developed textile markets, and paraffin wax had largely replaced linseed oil because it avoided yellowing while keeping fabric more flexible and water resistant. Hardmill's history of waxed canvas and Sailrite's account of waxed cotton document that progression.
Wax works by coating fibers and filling gaps in the weave, creating a physical barrier. That's why a waxed bag often develops a darker, more heritage-style appearance. Sprays and synthetic coatings can offer a lighter-touch finish, but the result depends on the formula, fabric, and construction.
For a daily commuter, water resistance may be enough. For camping, extended beach exposure, or moisture-sensitive electronics, consider seam sealing, a compatible coating, and an interior liner. Learn more about the distinction in Is Water-Resistant Waterproof.
Preparing Your Canvas Bag for Treatment
Preparation decides whether waterproofing bonds to the fabric or sits on top of dirt, body oils, and old residue. Start by emptying every pocket, shaking out crumbs, and brushing away loose grit. A soft clothes brush works well, especially around the bottom corners and zipper channels.
Spot-clean visible marks with mild soap and water, using a cloth or soft sponge rather than aggressive scrubbing. Heavy soil can block treatment from reaching the canvas weave, and residue may leave uneven dark patches once wax or spray is applied. For material-specific guidance, compare the construction and care considerations in this guide to tote bag materials.
A practical preparation sequence
- Empty and brush. Remove loose dirt, sand, lint, and debris from the exterior and inside pockets.
- Spot clean. Use mild soap and water for stains, then wipe away soap residue.
- Air dry completely. Leave the bag open in a well-ventilated place until no cool or damp areas remain.
Moisture interferes with treatment adhesion, so don't apply wax or spray to damp canvas. Waterproved's canvas waterproofing guidance emphasizes the same basic rule: the fabric needs to be clean and completely dry before treatment.
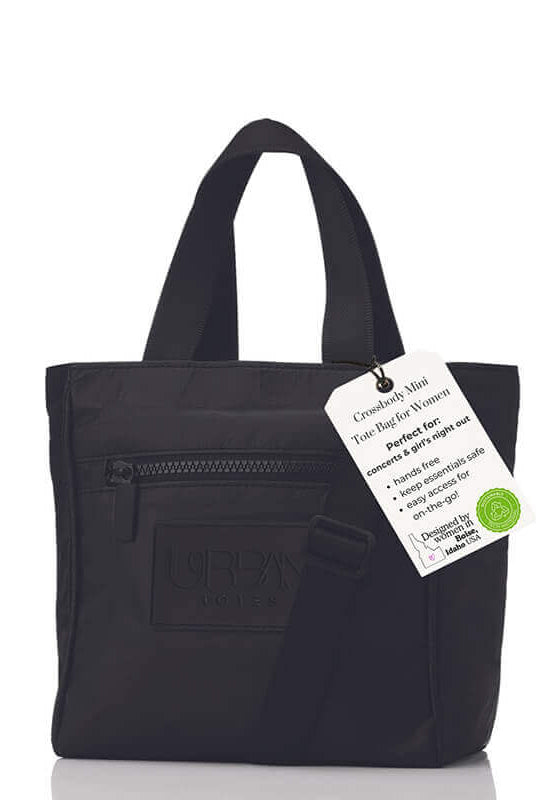
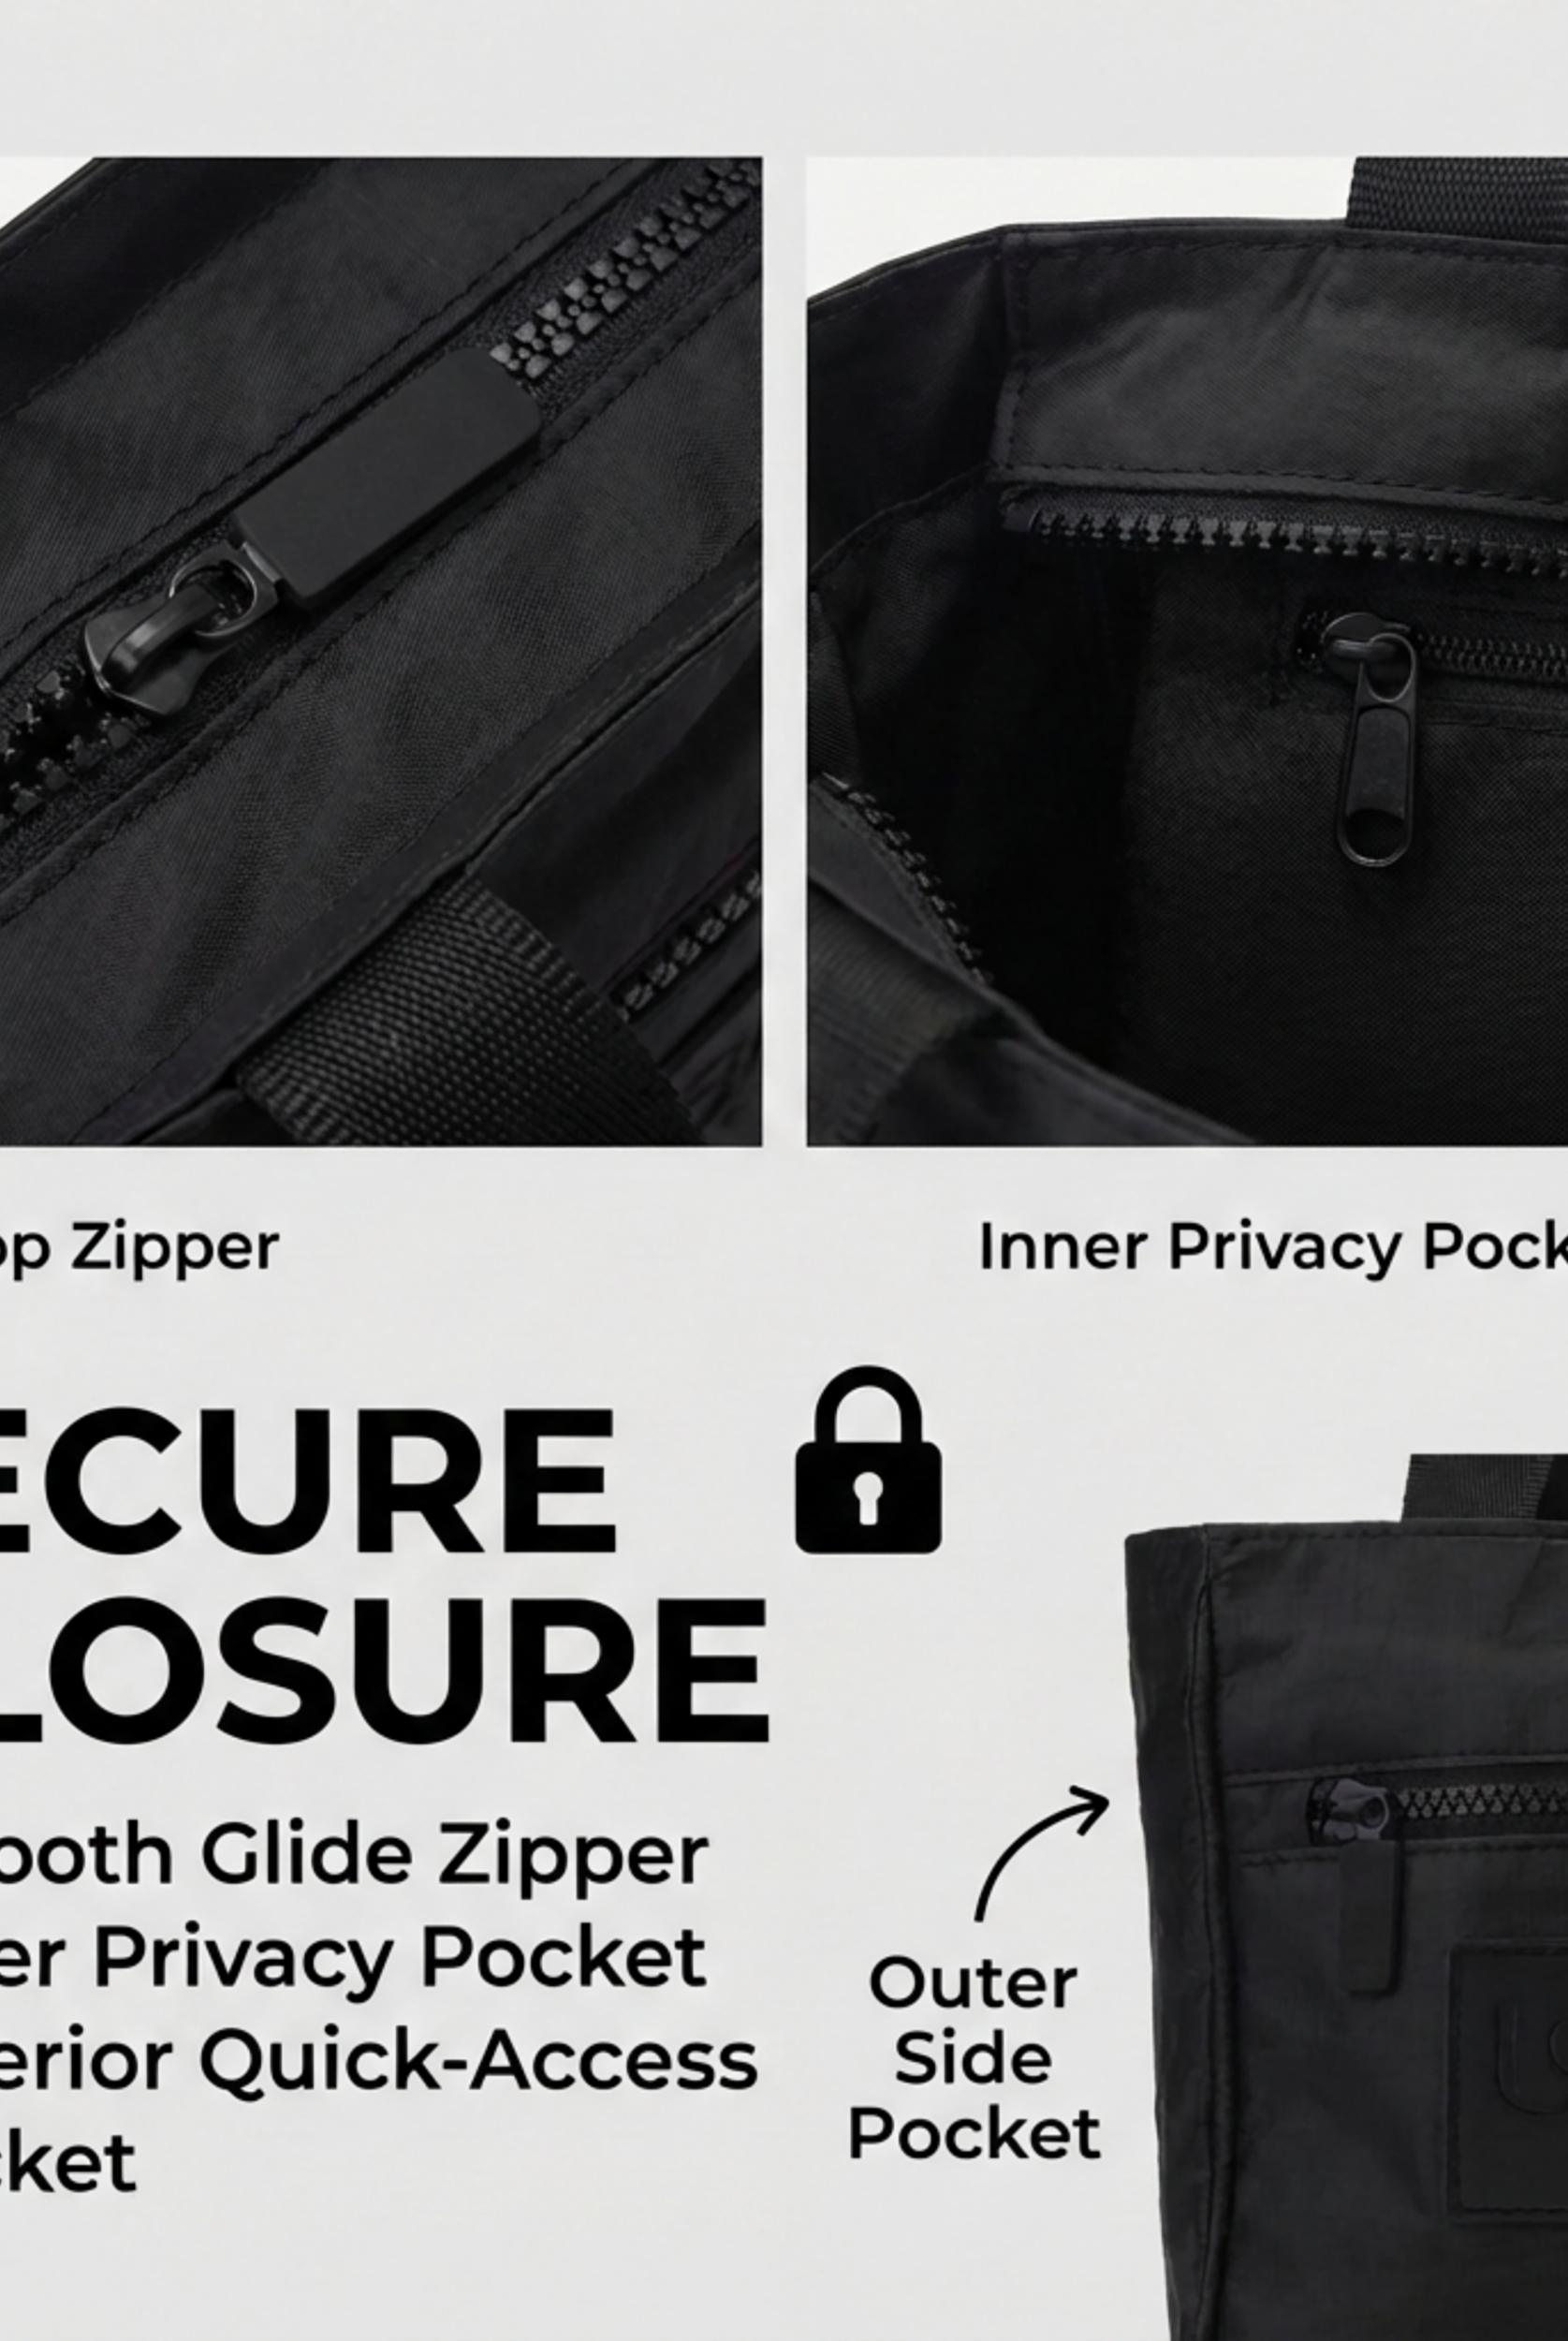
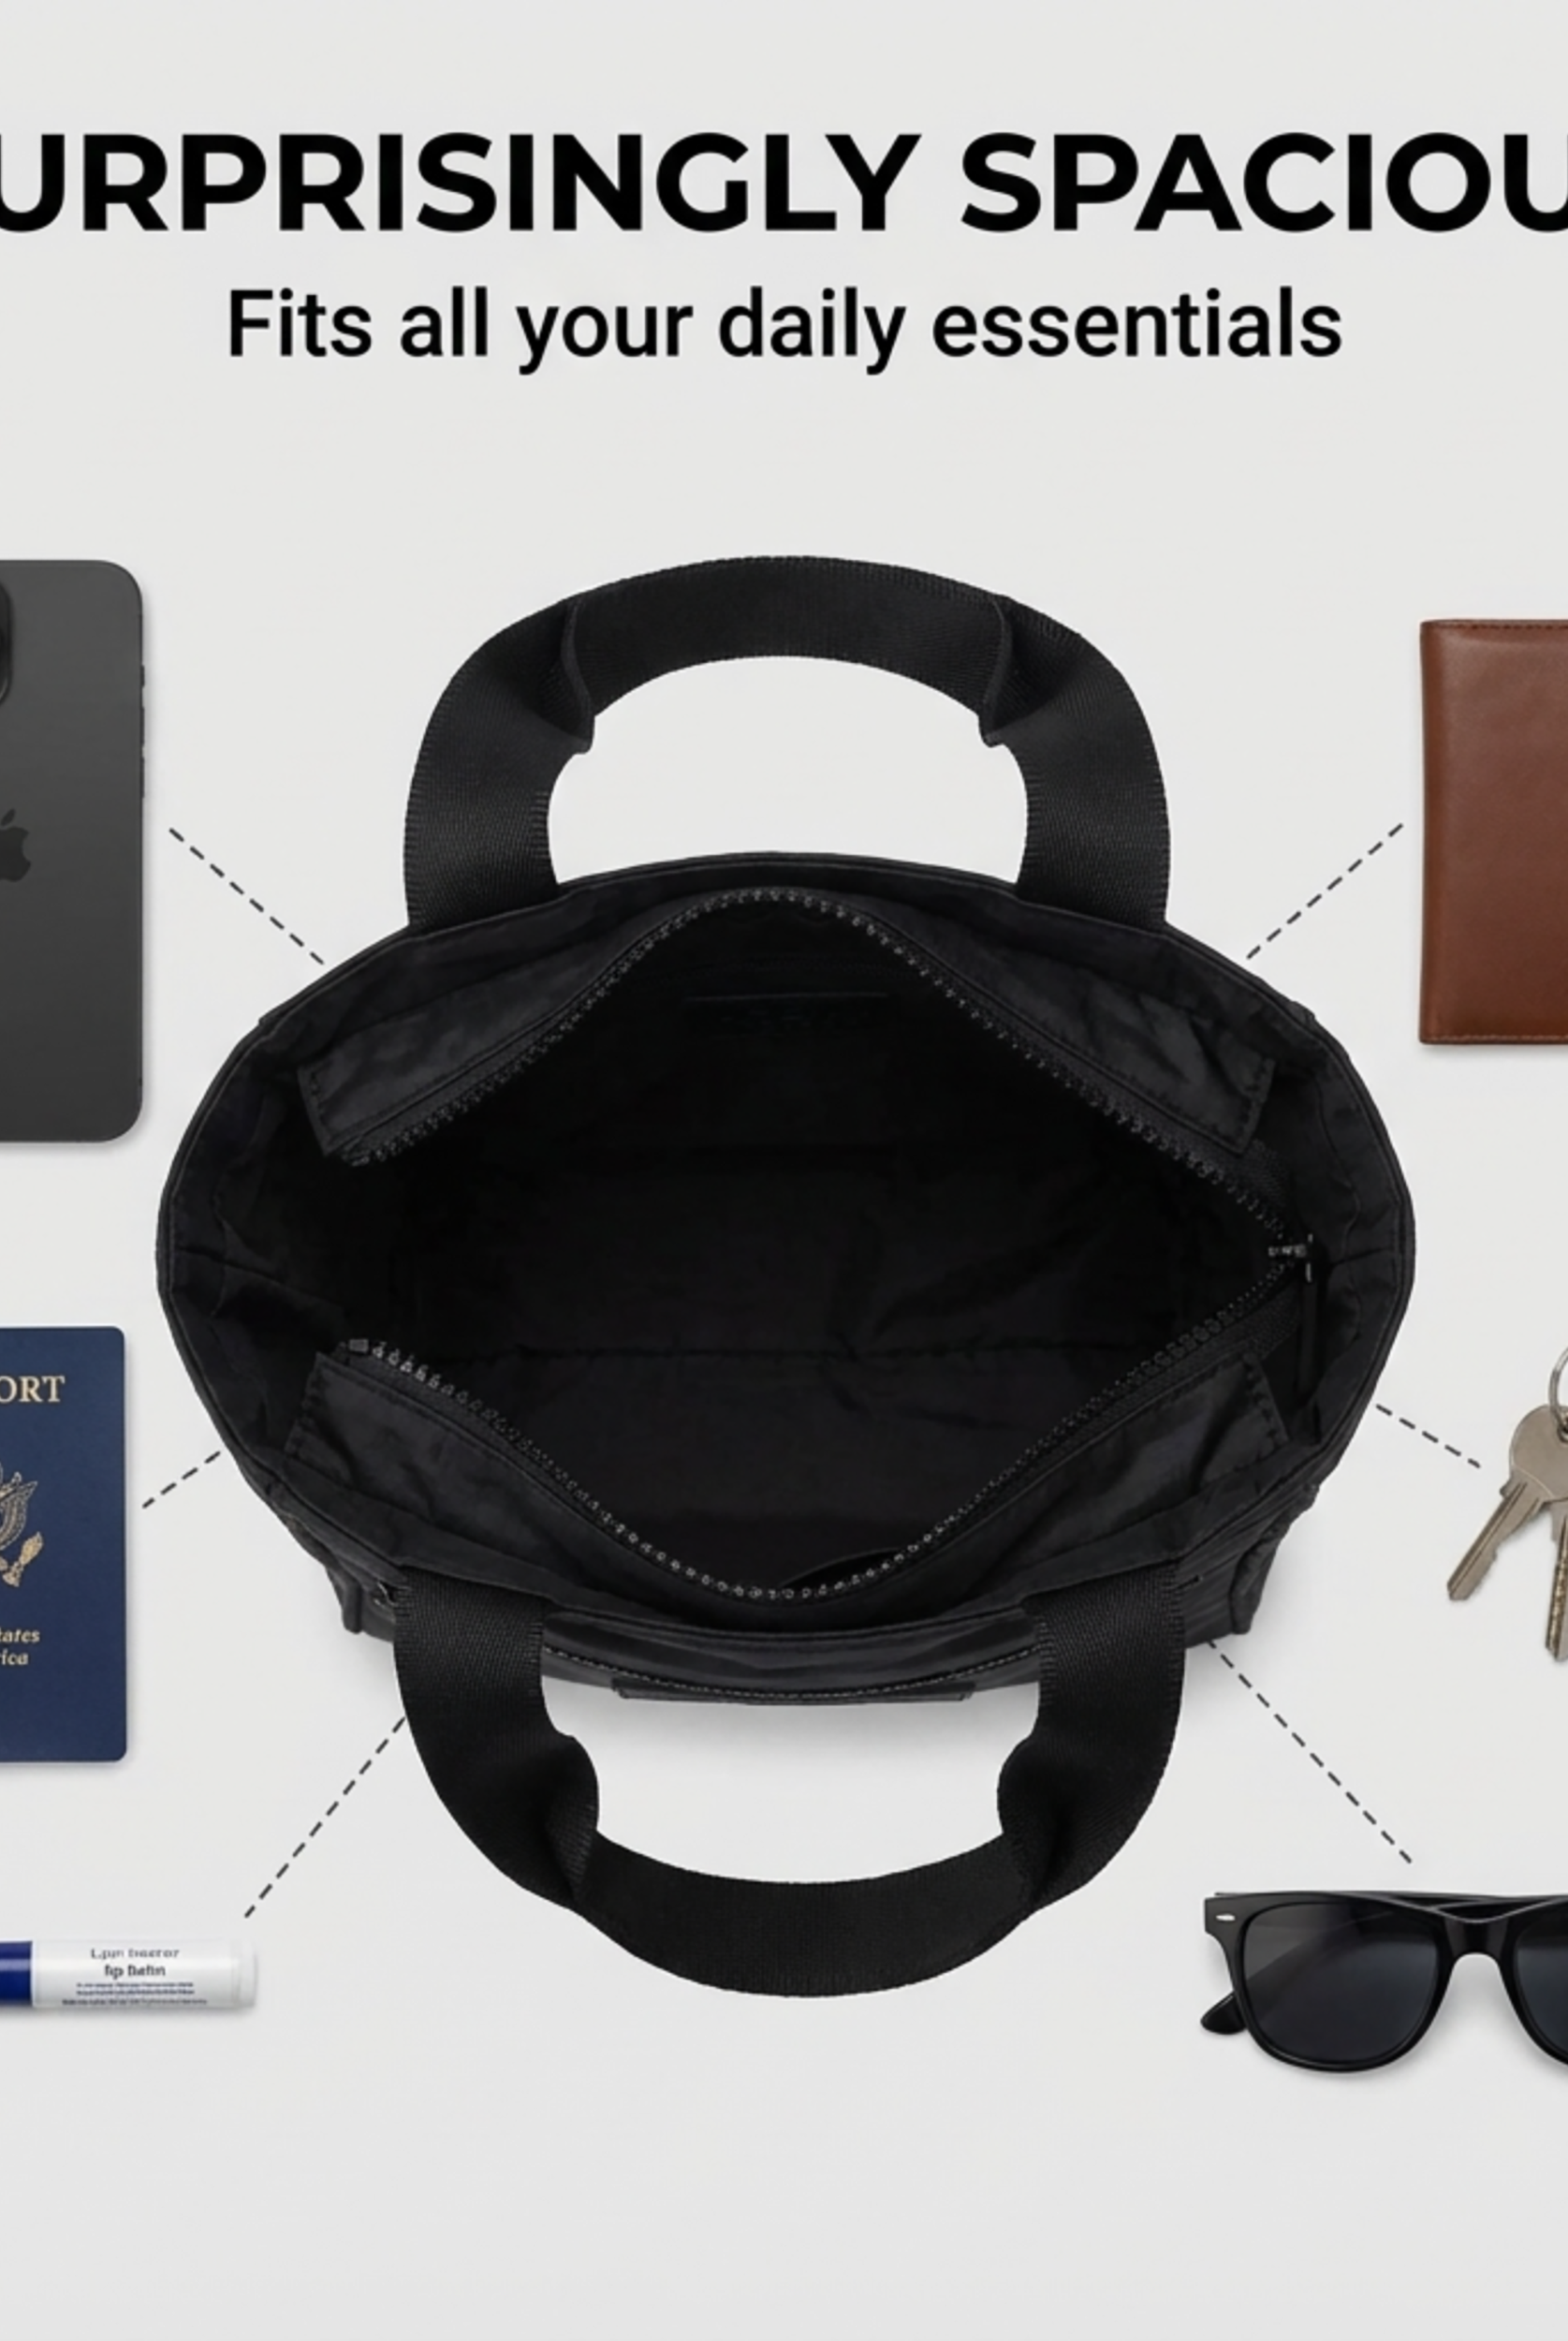
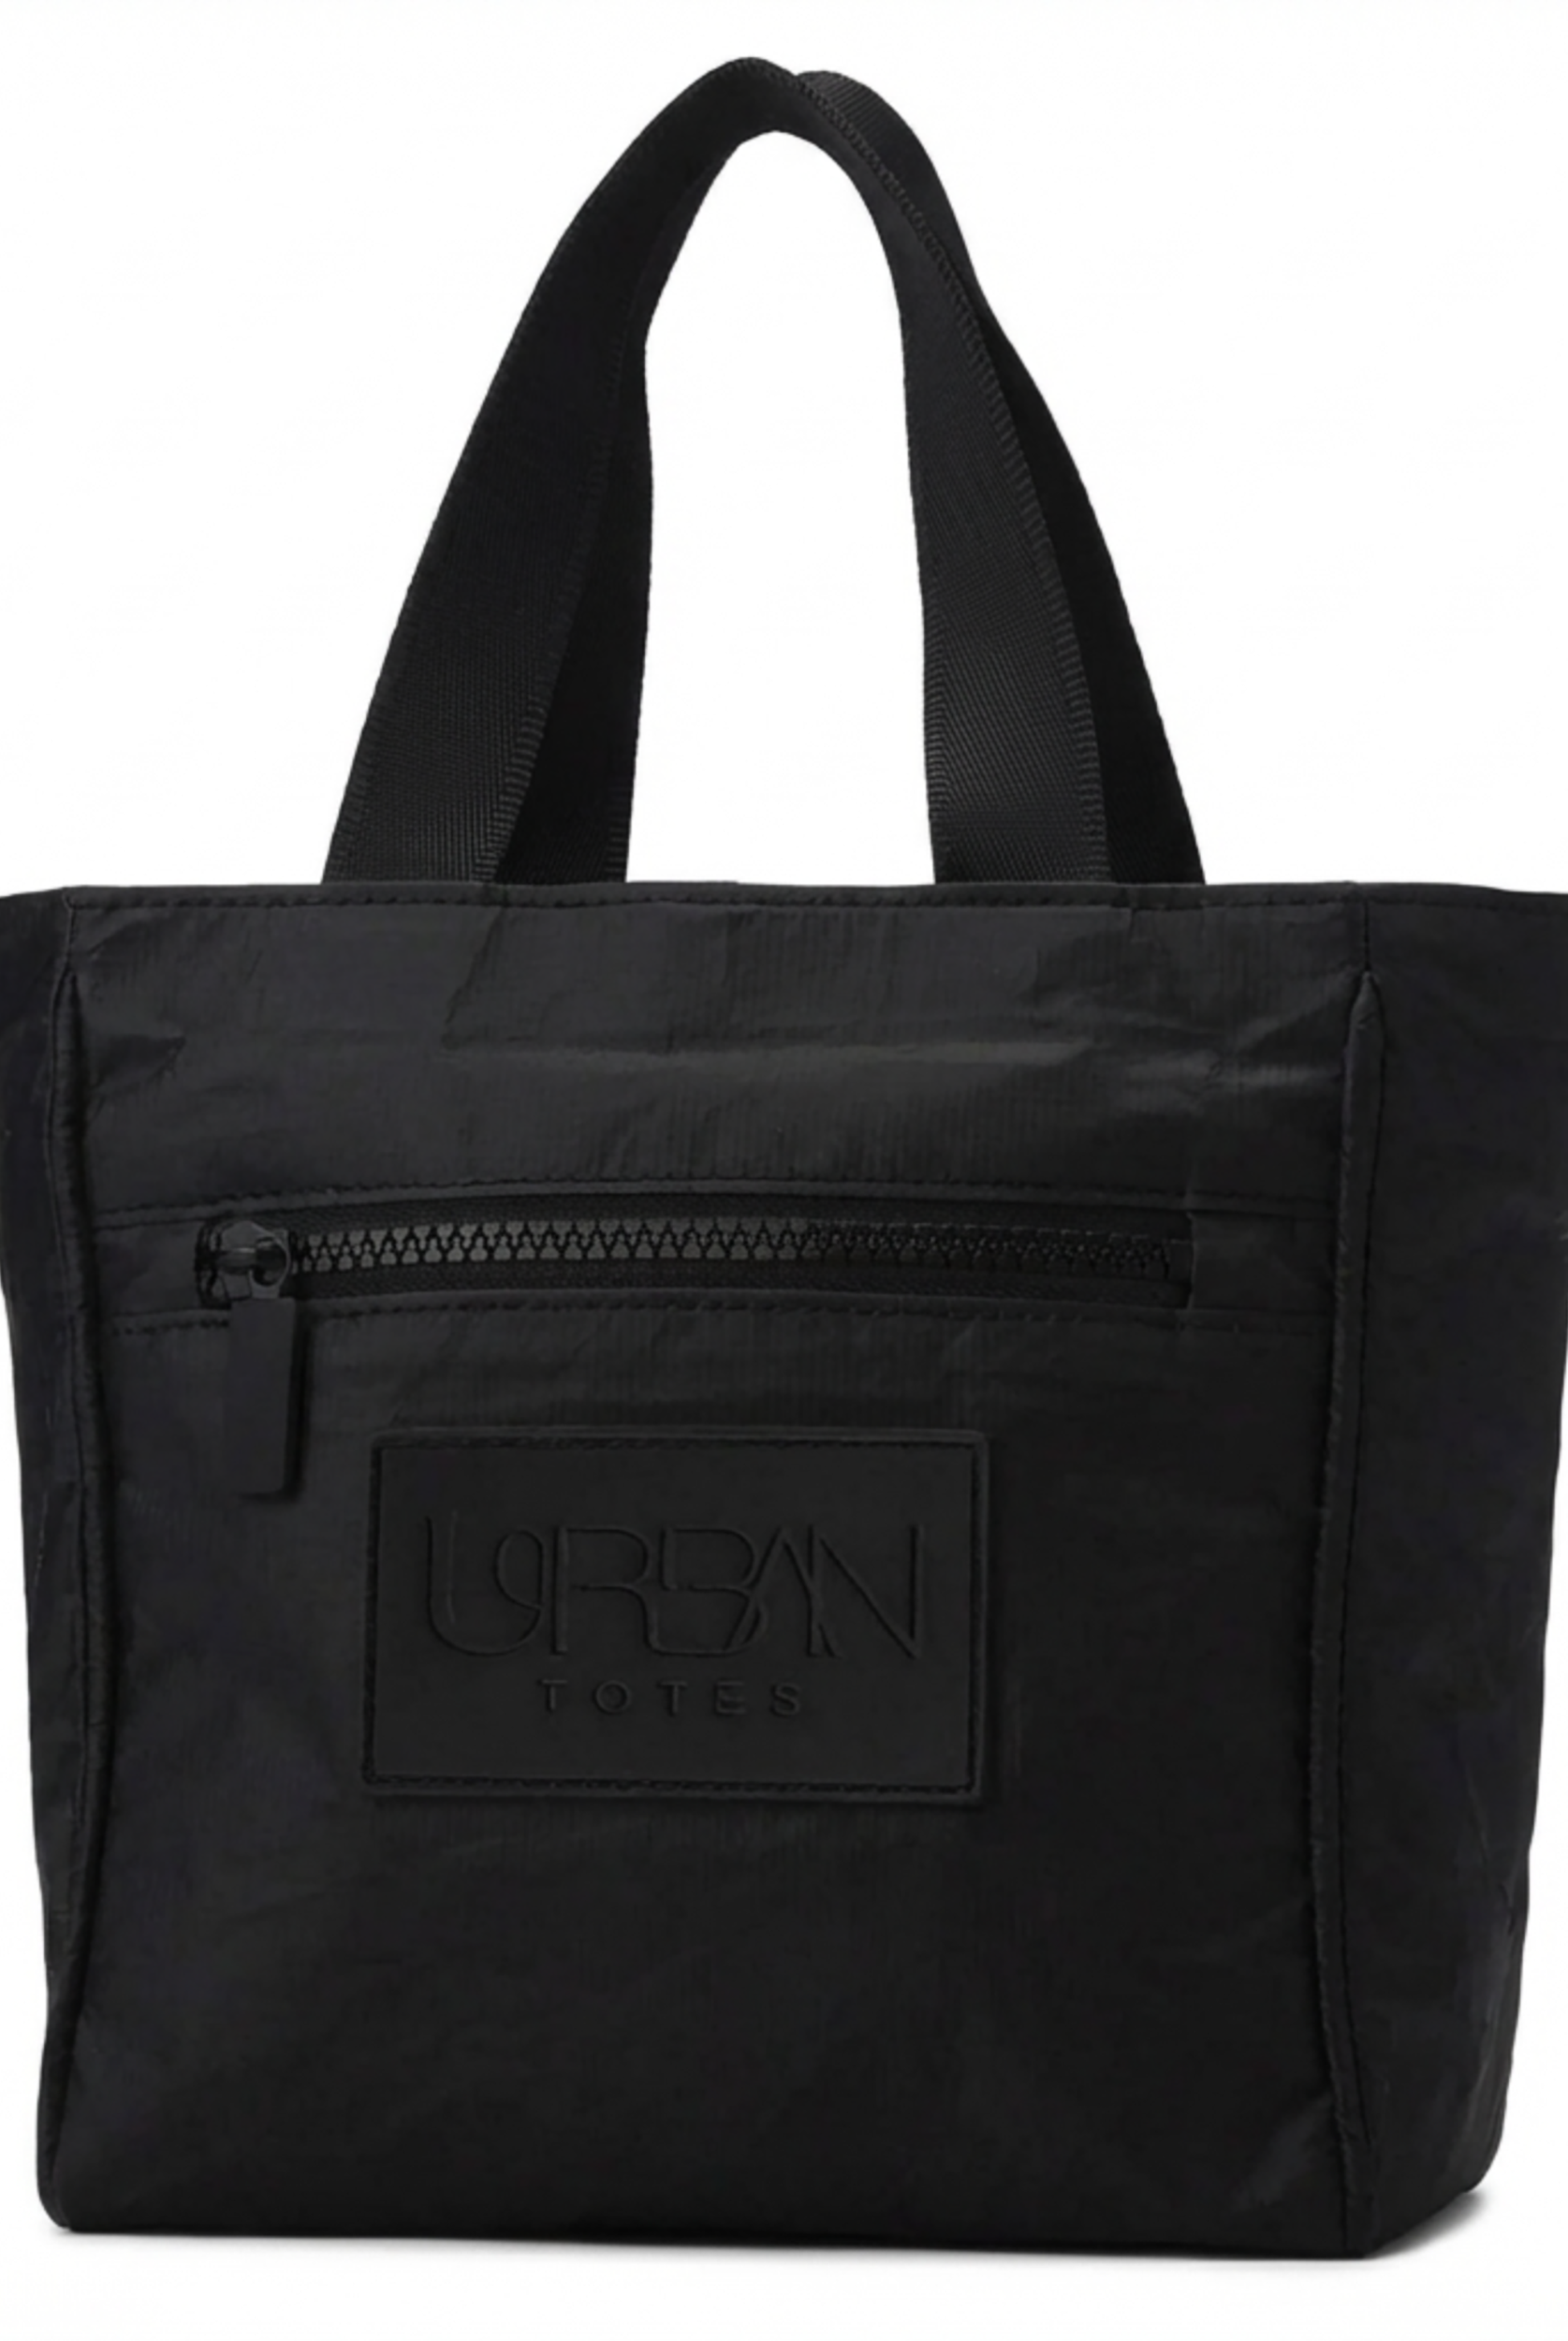
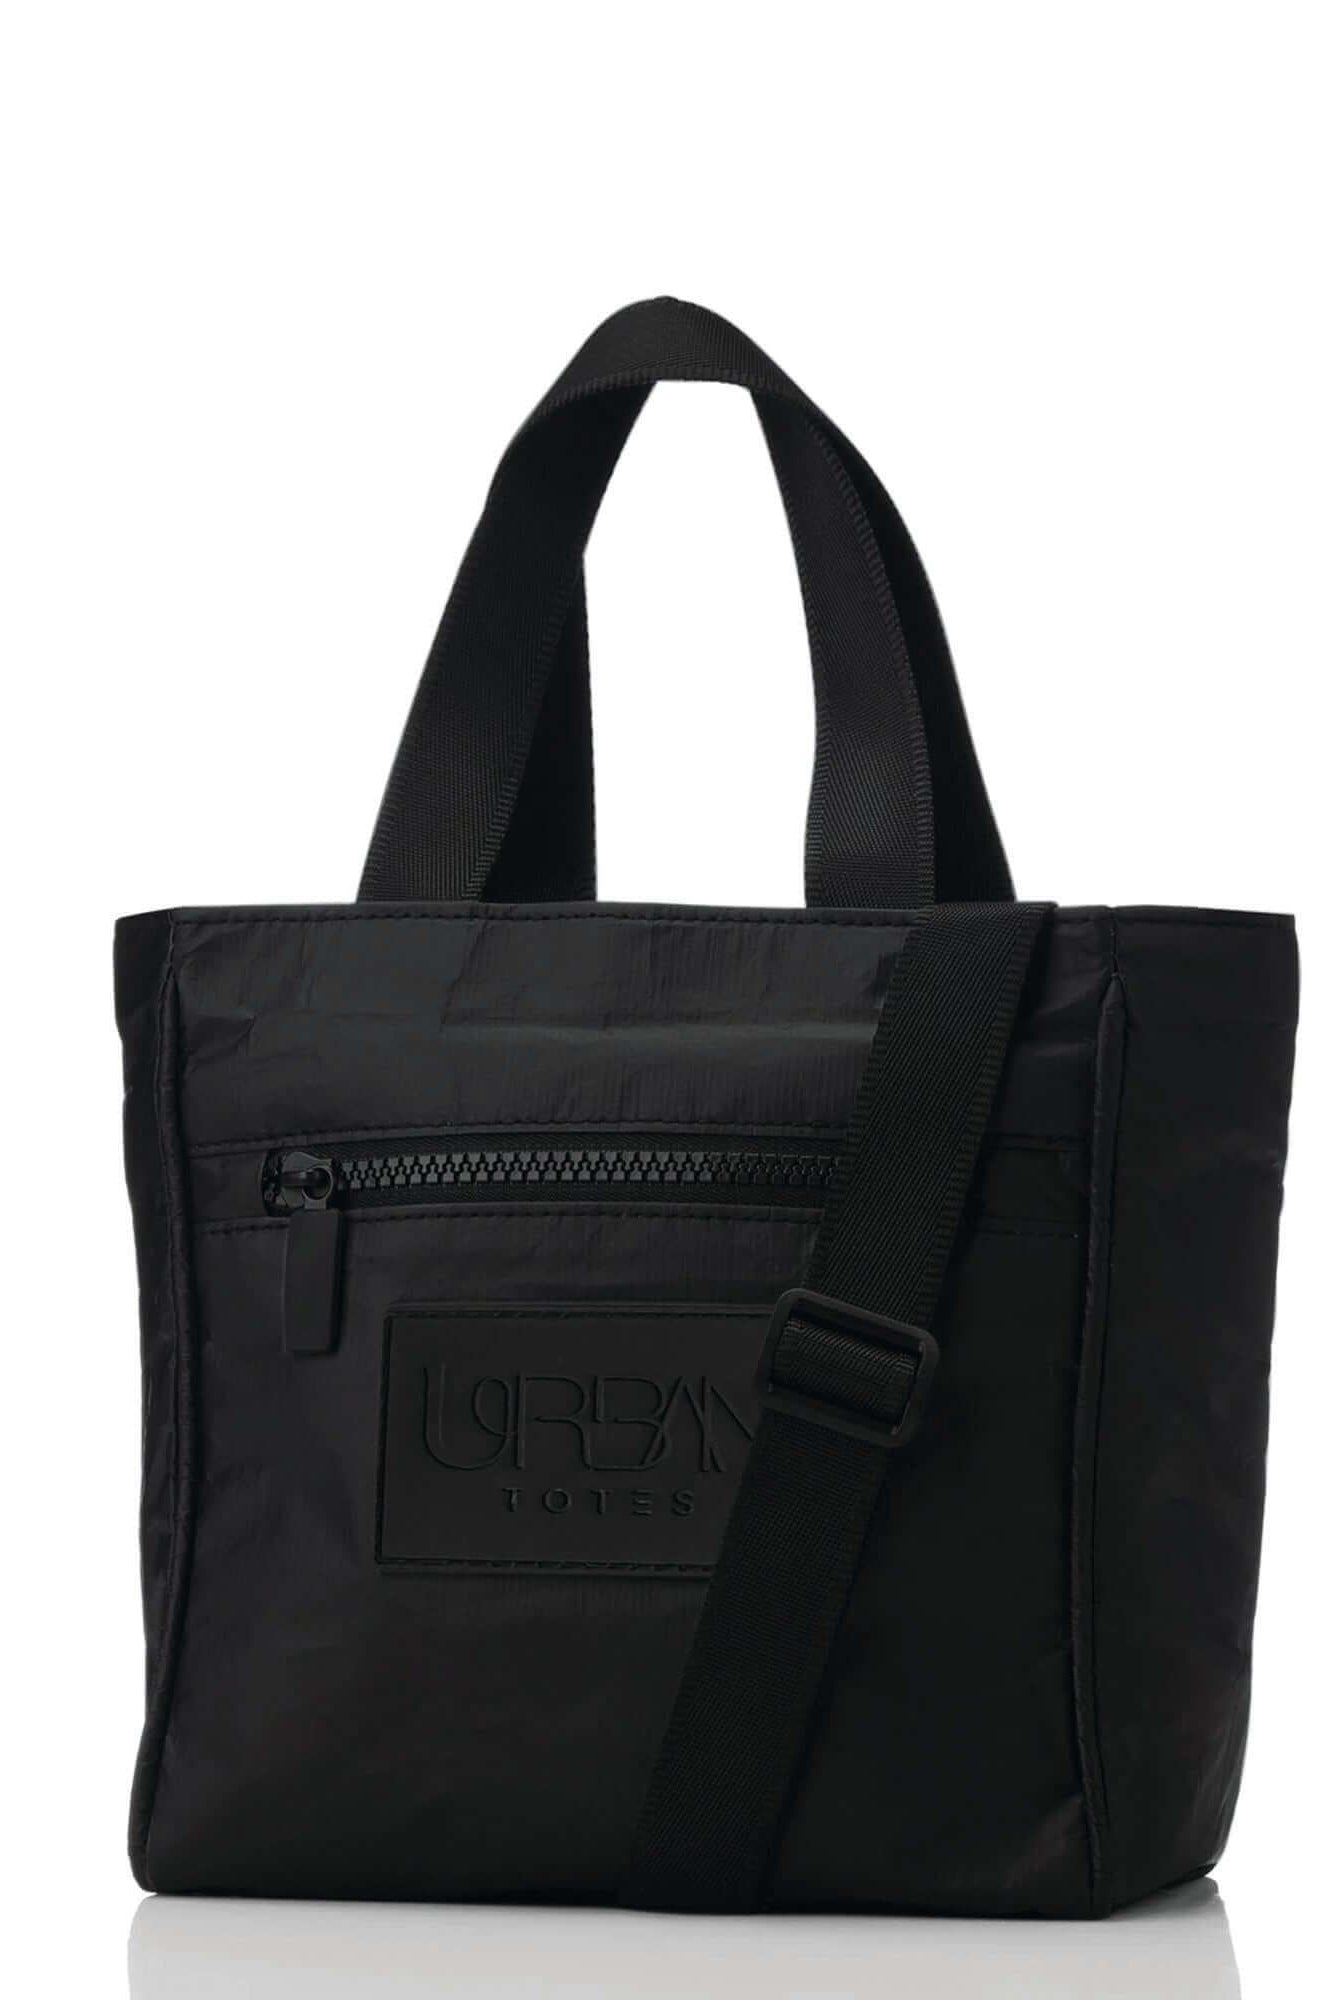
Busy schedules call for a simple routine. Clean the bag after dinner, open every compartment, and let it air dry overnight. If you're preparing a compact everyday option such as the Crossbody Tote Bag Mini Purse, inspect the zip-top closure, outside zipper pocket, strap attachments, and structured piping before choosing a product.
Run your fingers along seams and stress points. Look for loose stitching, frayed fabric, cracked coating, or a zipper that doesn't close cleanly. Waterproofing won't repair structural damage, and coating over a failing seam can make later repairs more difficult.
Comparing Waterproofing Methods for Canvas Bags
A canvas tote can shed a shower and still soak through at the seams, zipper, or worn bottom panel. Surface treatment improves water resistance, but daily abrasion and construction determine how long that protection lasts. Three home-treatment options cover most needs: wax, spray sealants, and silicone-based products.
Wax gives canvas a denser barrier and a distinctive finish. Sprays offer a quick refresh with less change to the fabric. Silicone-based products can suit flexible, lightweight bags, although compatibility must be checked before use.
Waxed cotton developed as textile makers moved away from earlier oil treatments. British Millerain's work with paraffin-based waxed cotton in the 1920s helped address stiffness and yellowing. The result reinforced a practical balance among repellency, flexibility, and appearance, rather than a promise of total impermeability. SwiftJet's canvas care resource offers useful guidance on how canvas responds to cleaning and handling before treatment.
| Method | Application Time | Durability | Best For |
|---|---|---|---|
| Wax | Longer, because it must be worked into the weave and heat-set | Generally longer lasting, with touch-ups at wear points | Rugged travel, heritage-style bags, beach and outdoor use |
| Spray sealant | Quick and even when applied in light coats | Needs periodic refreshing as wetting and abrasion reduce performance | Occasional rain, commuting, and a fast maintenance cycle |
| Silicone-based treatment | Usually straightforward, depending on the product | Can provide flexible water resistance, but compatibility matters | Lightweight daily carry and flexible fabric applications |
Choosing for your routine
Wax suits a rugged travel bag when you accept darker canvas, added stiffness, and less natural drape. Apply it sparingly if the tote must fold neatly into a suitcase. Concentrate future touch-ups on the base, corners, handle attachments, and zipper edges, where wear can reopen paths for water.
Spray sealants fit a busy parent who needs a quick refresh before a rainy trip. Their trade-off is recurring maintenance. Independent testing reported by Practical Sailor found canvas treatments prevented through-wetting and leaking for at least two months, while the strongest products maintained soil and mildew repellency for roughly three to six months. That pattern supports treating waterproofing as regular care, not a one-time makeover. For related upkeep, see how to care for canvas drop cloths.
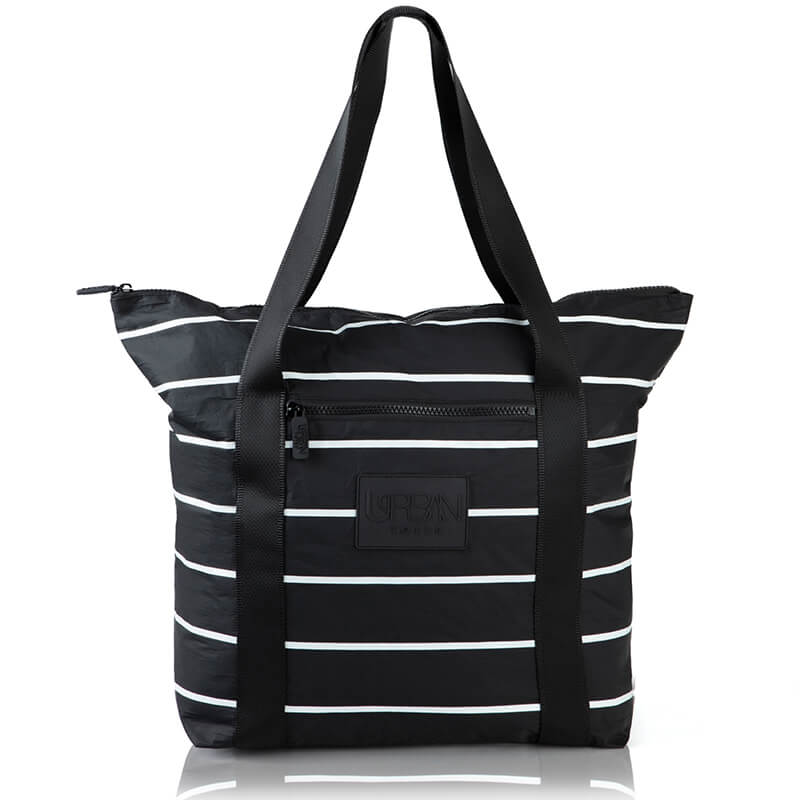
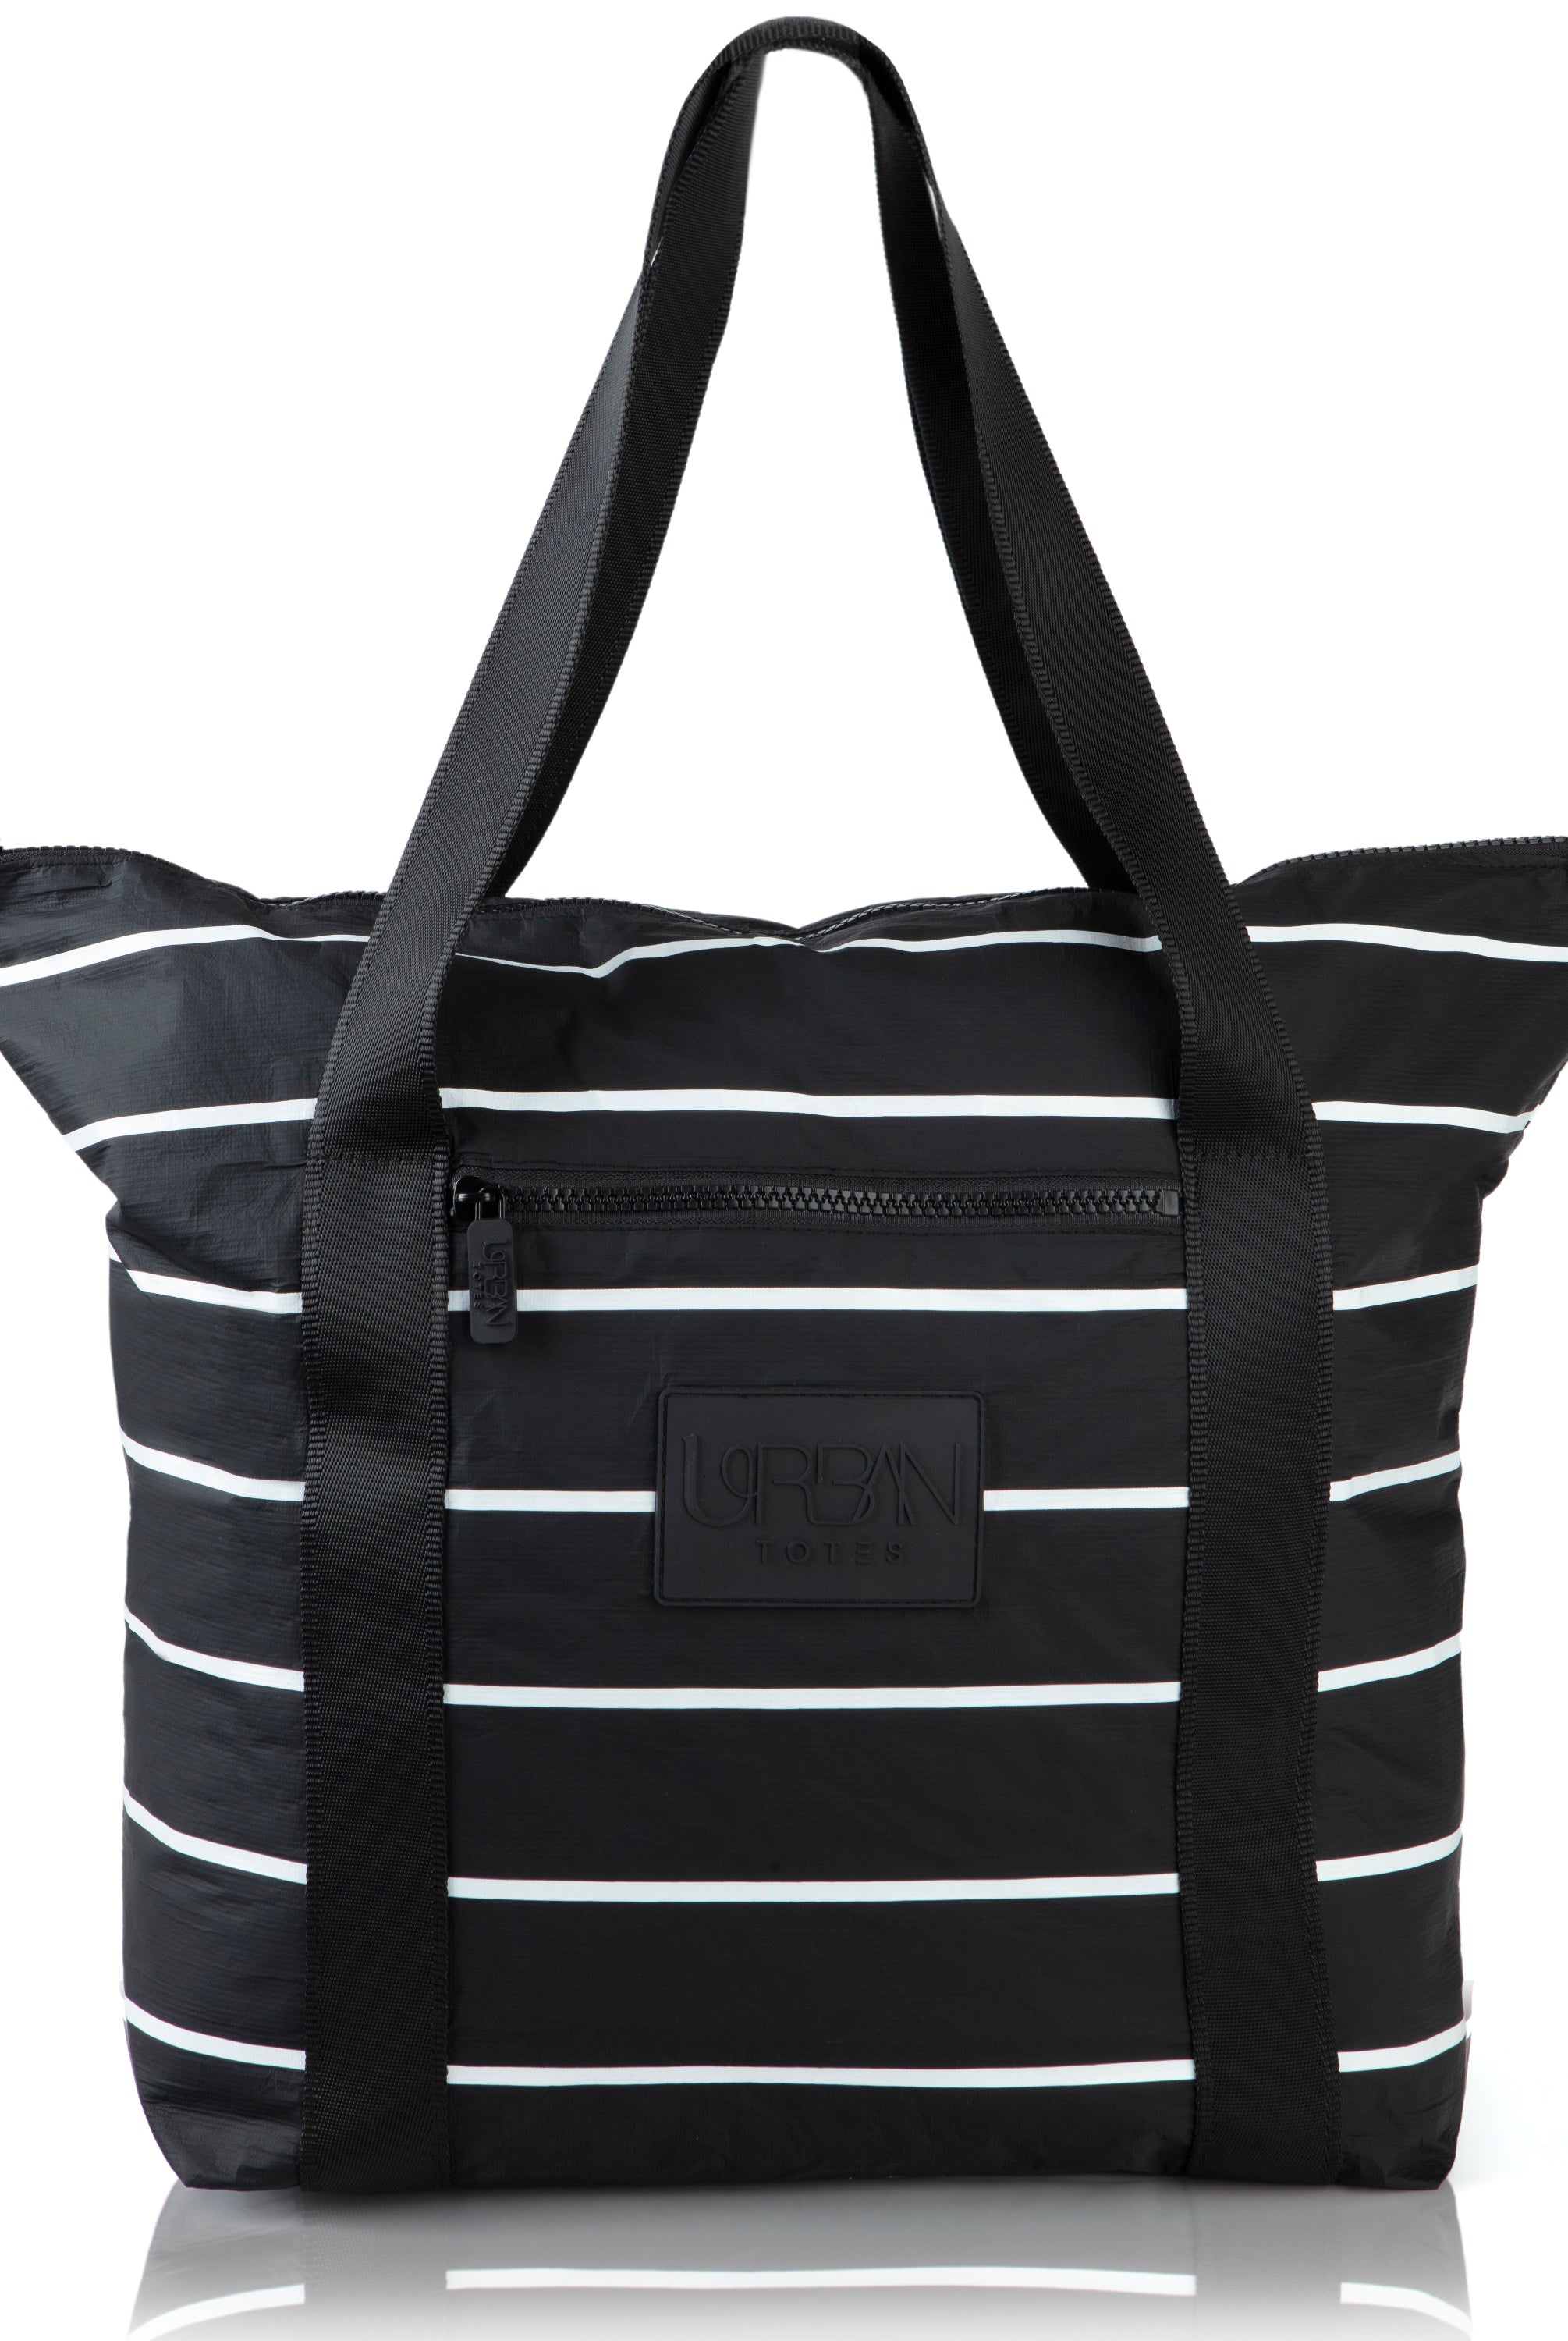
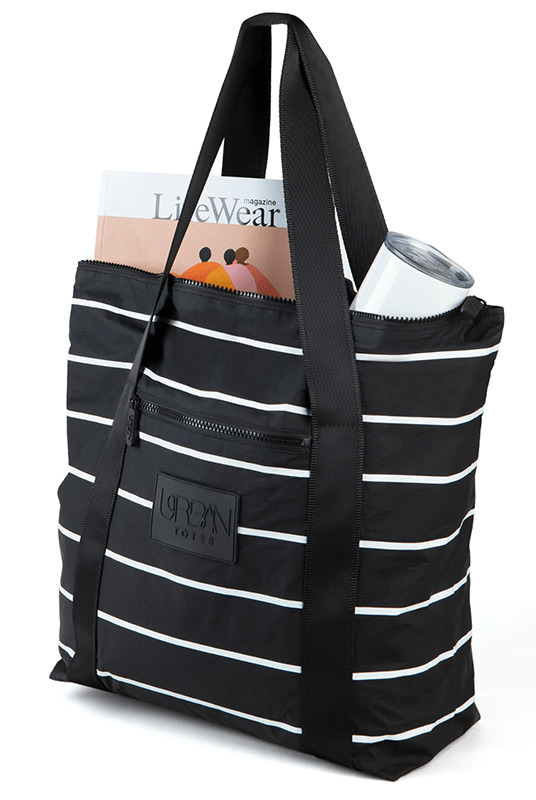
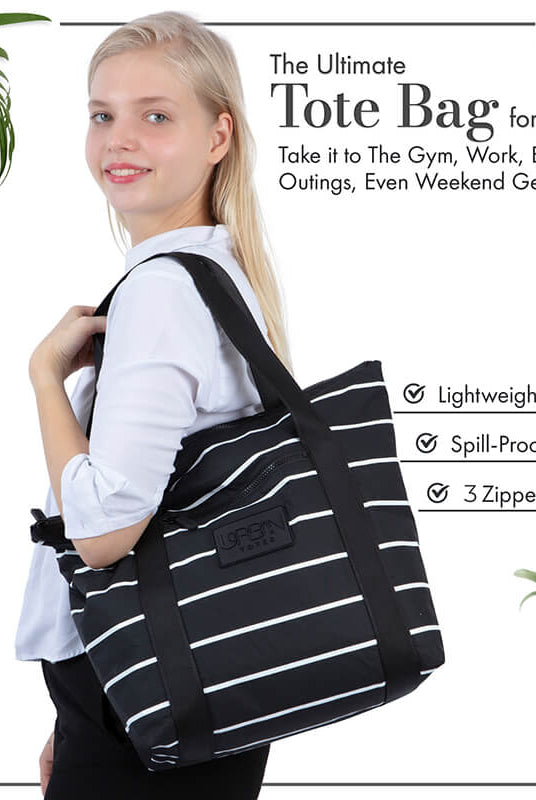
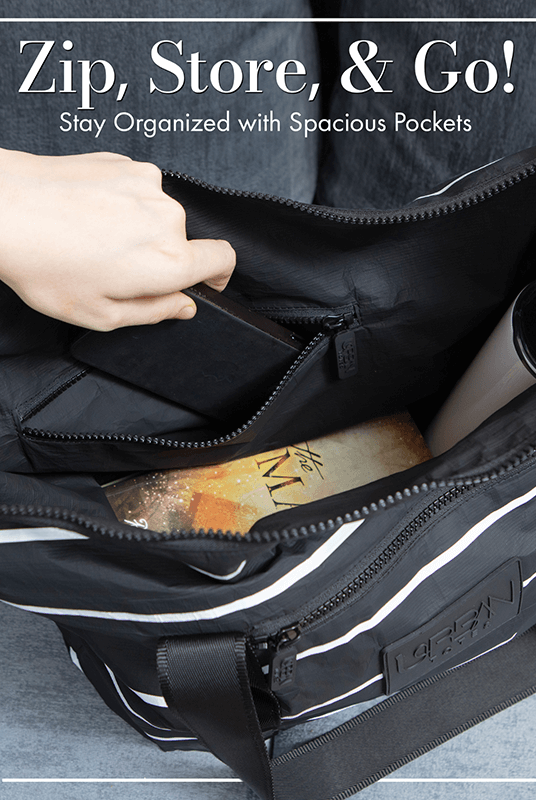
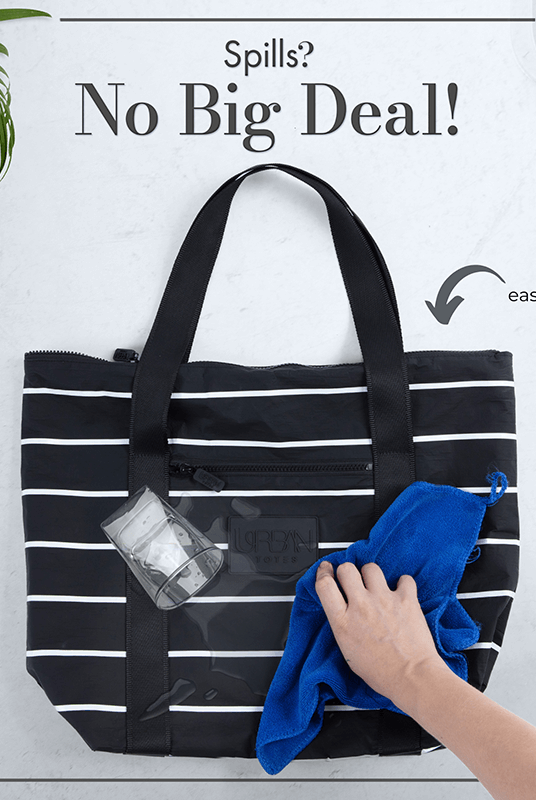
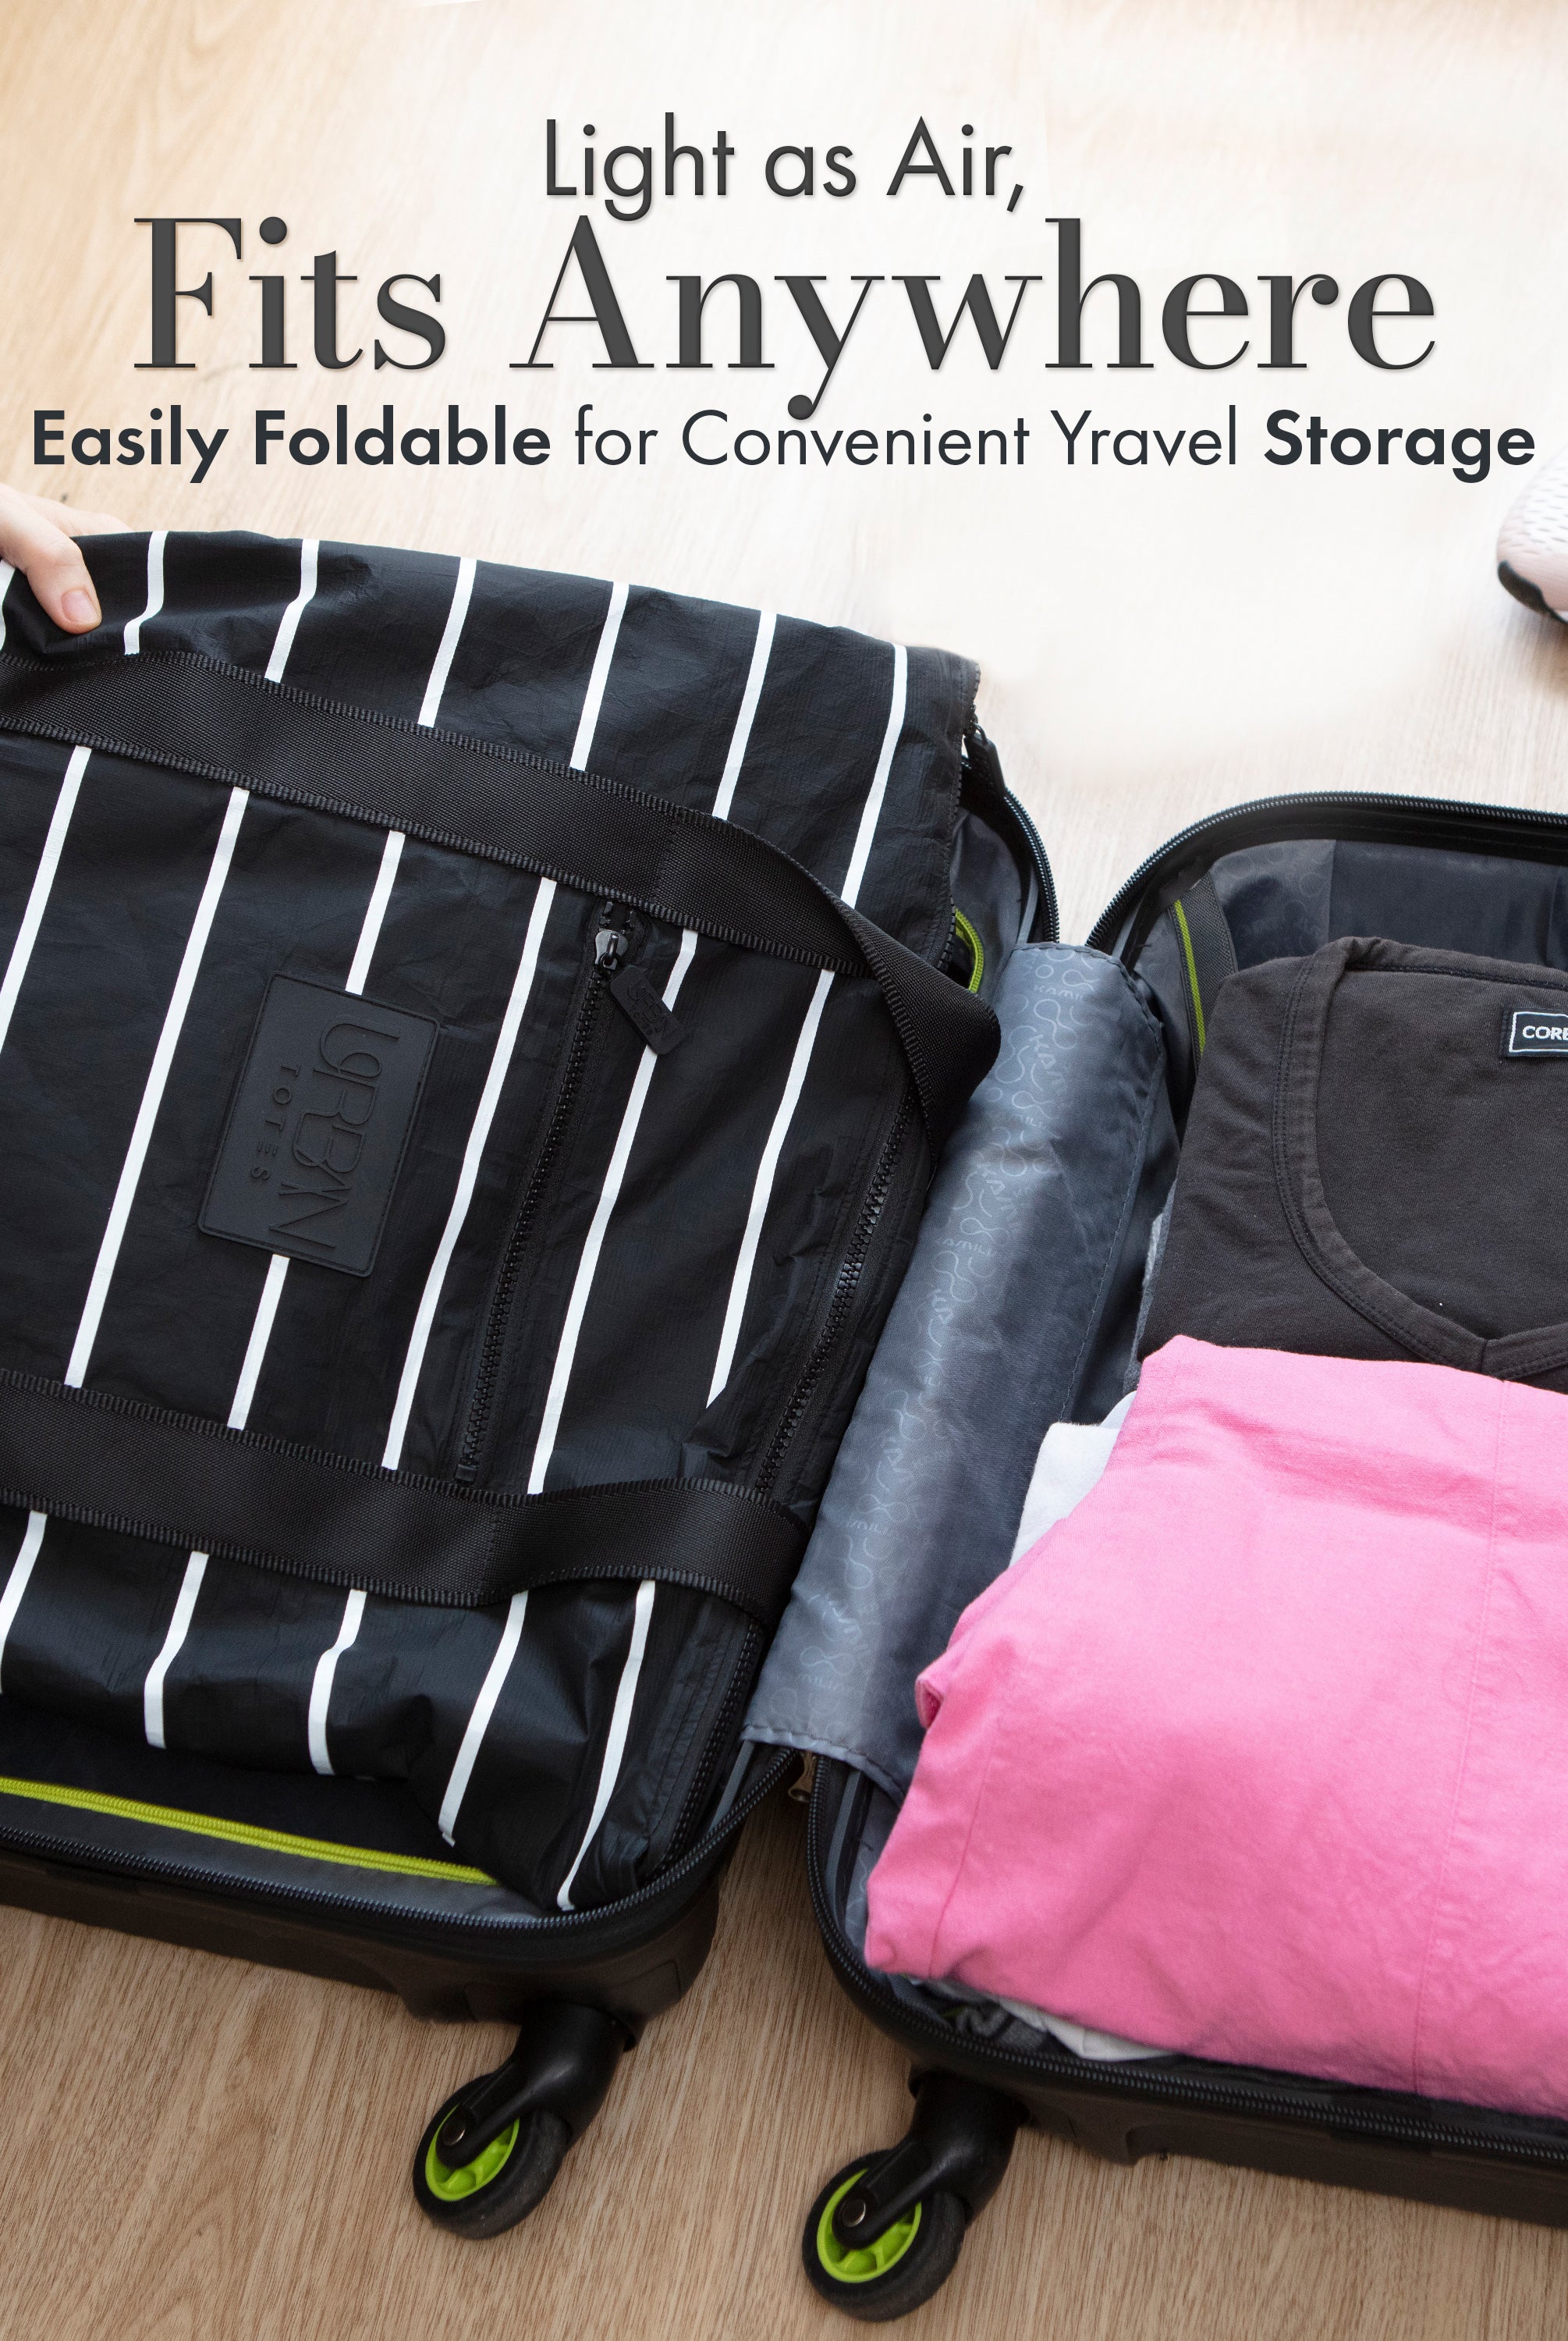
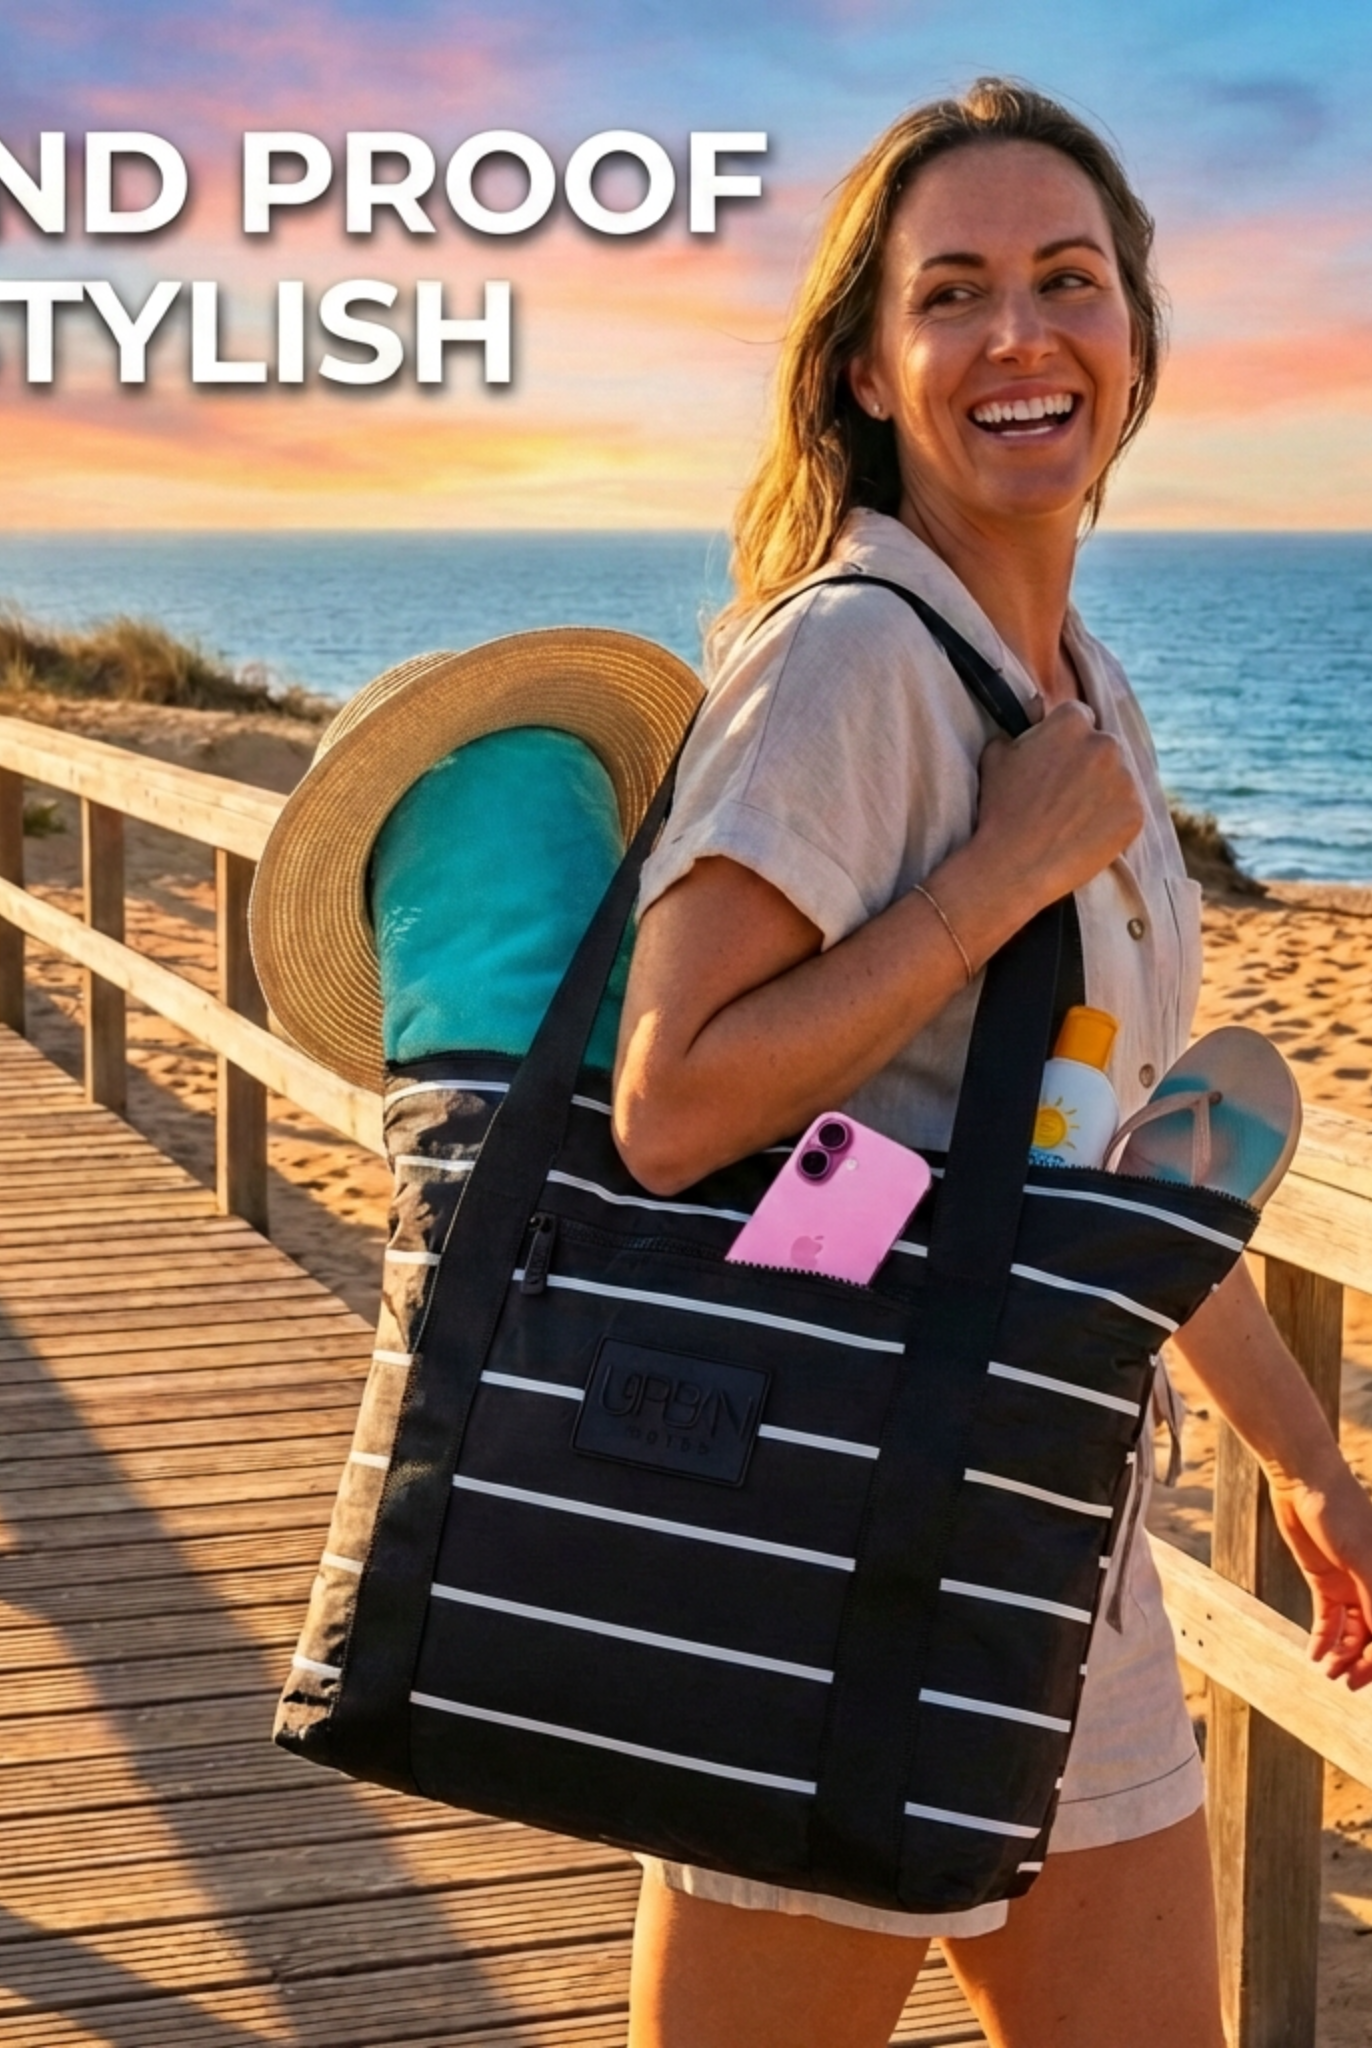
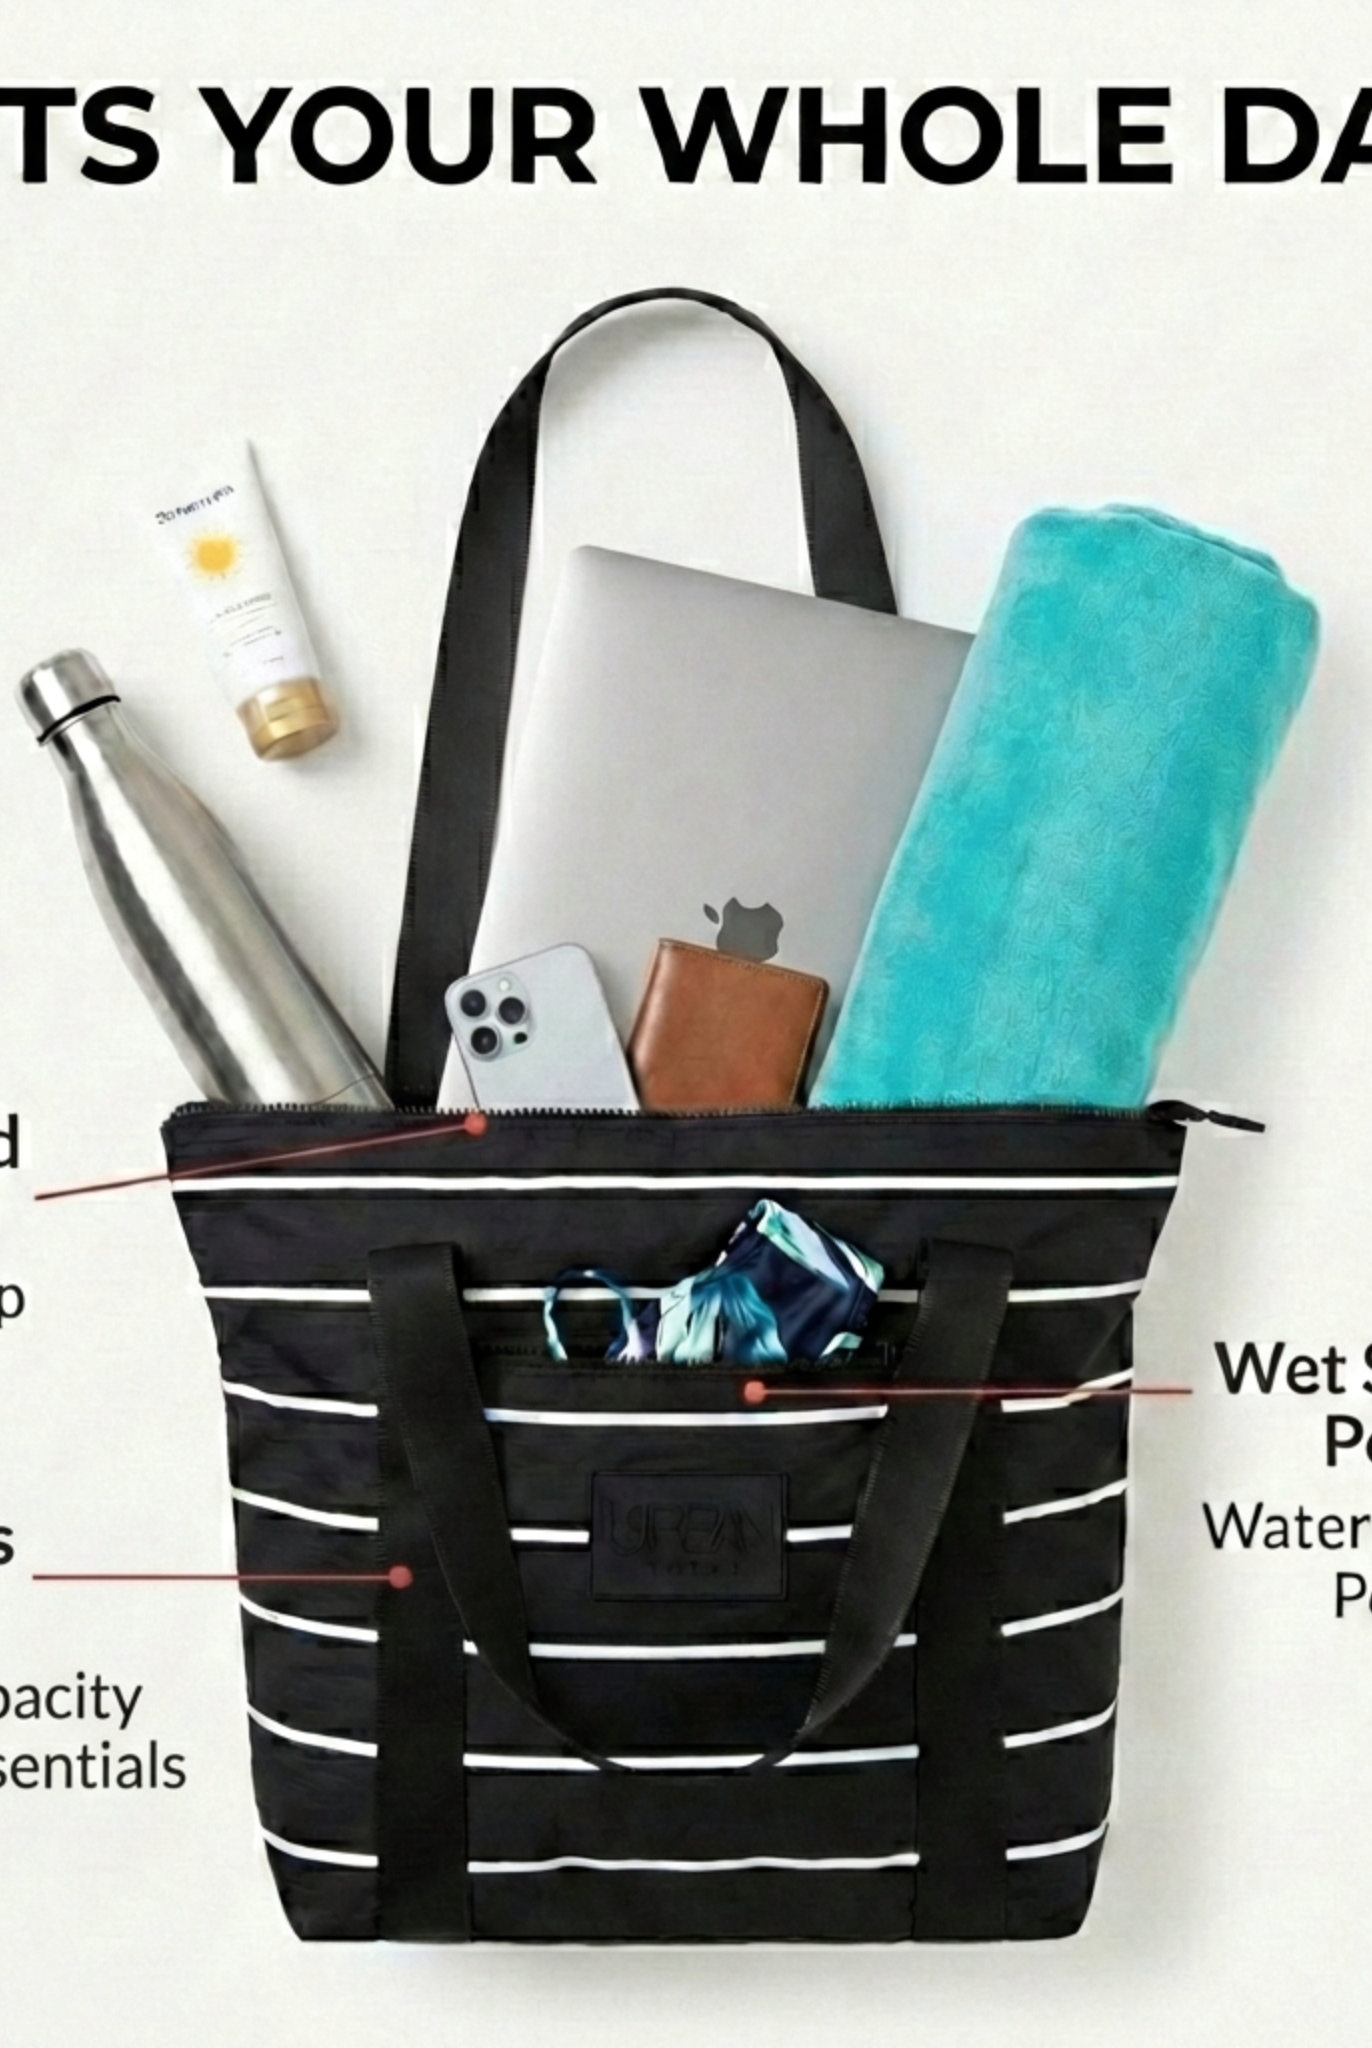
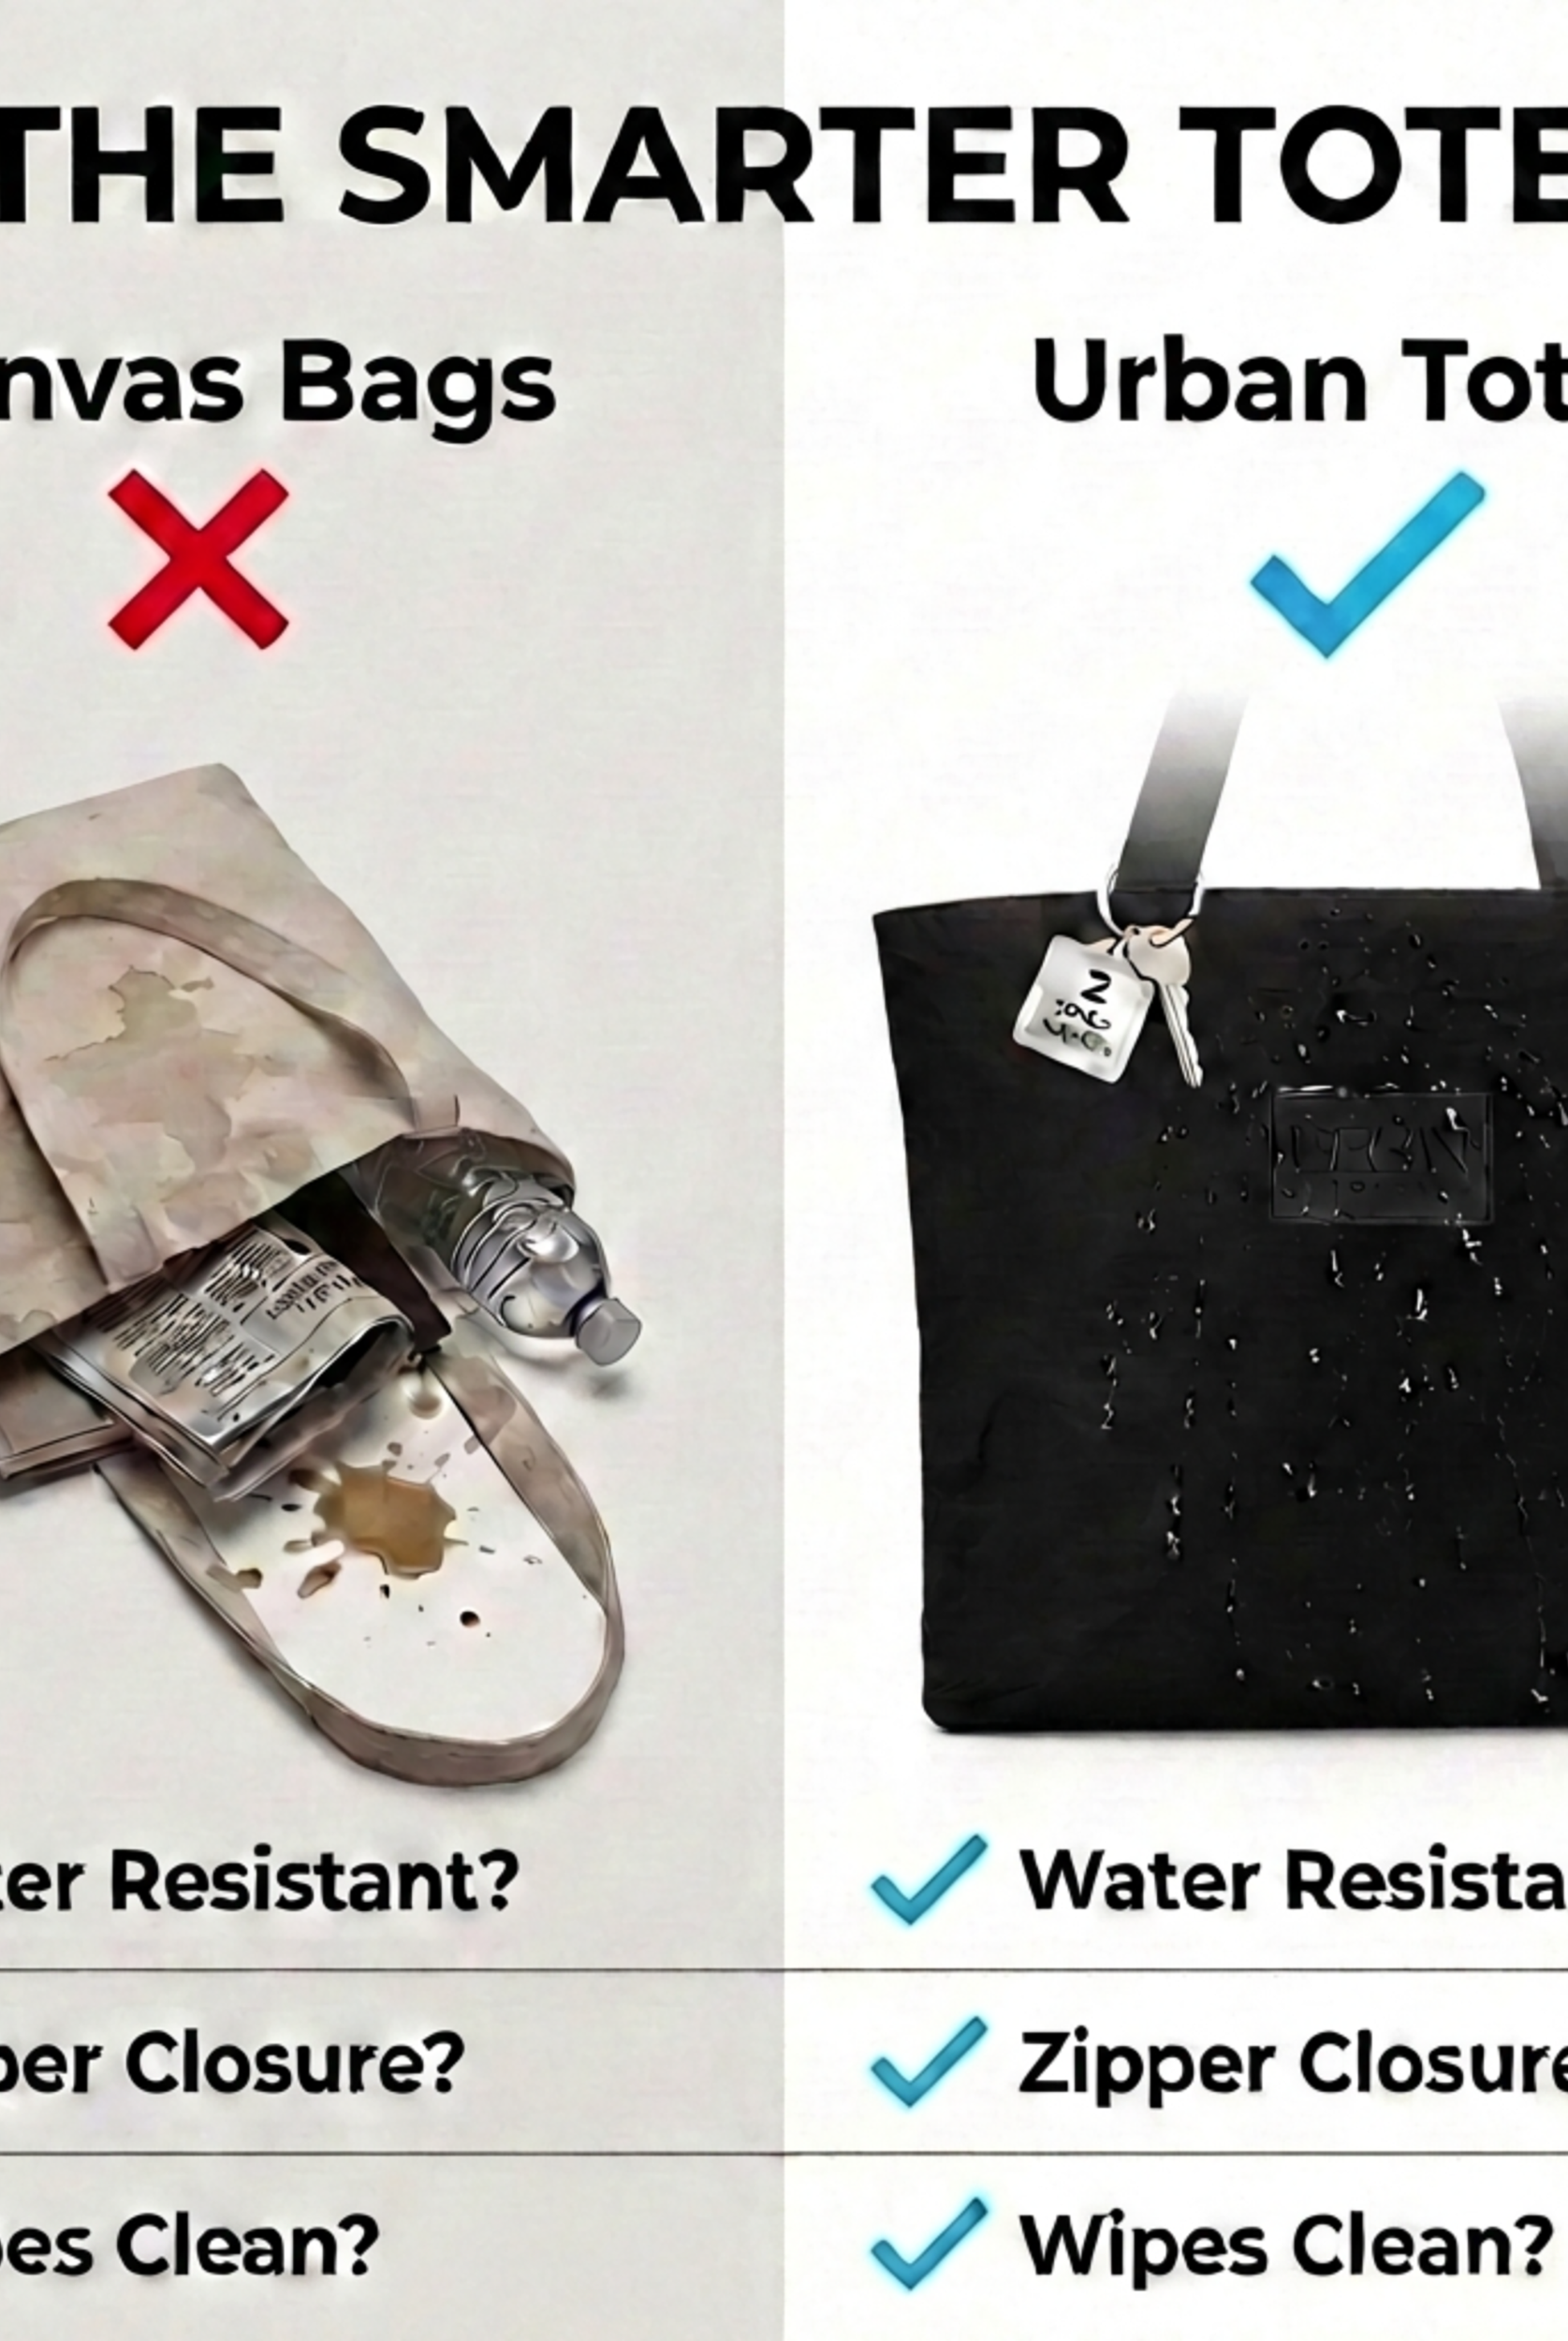
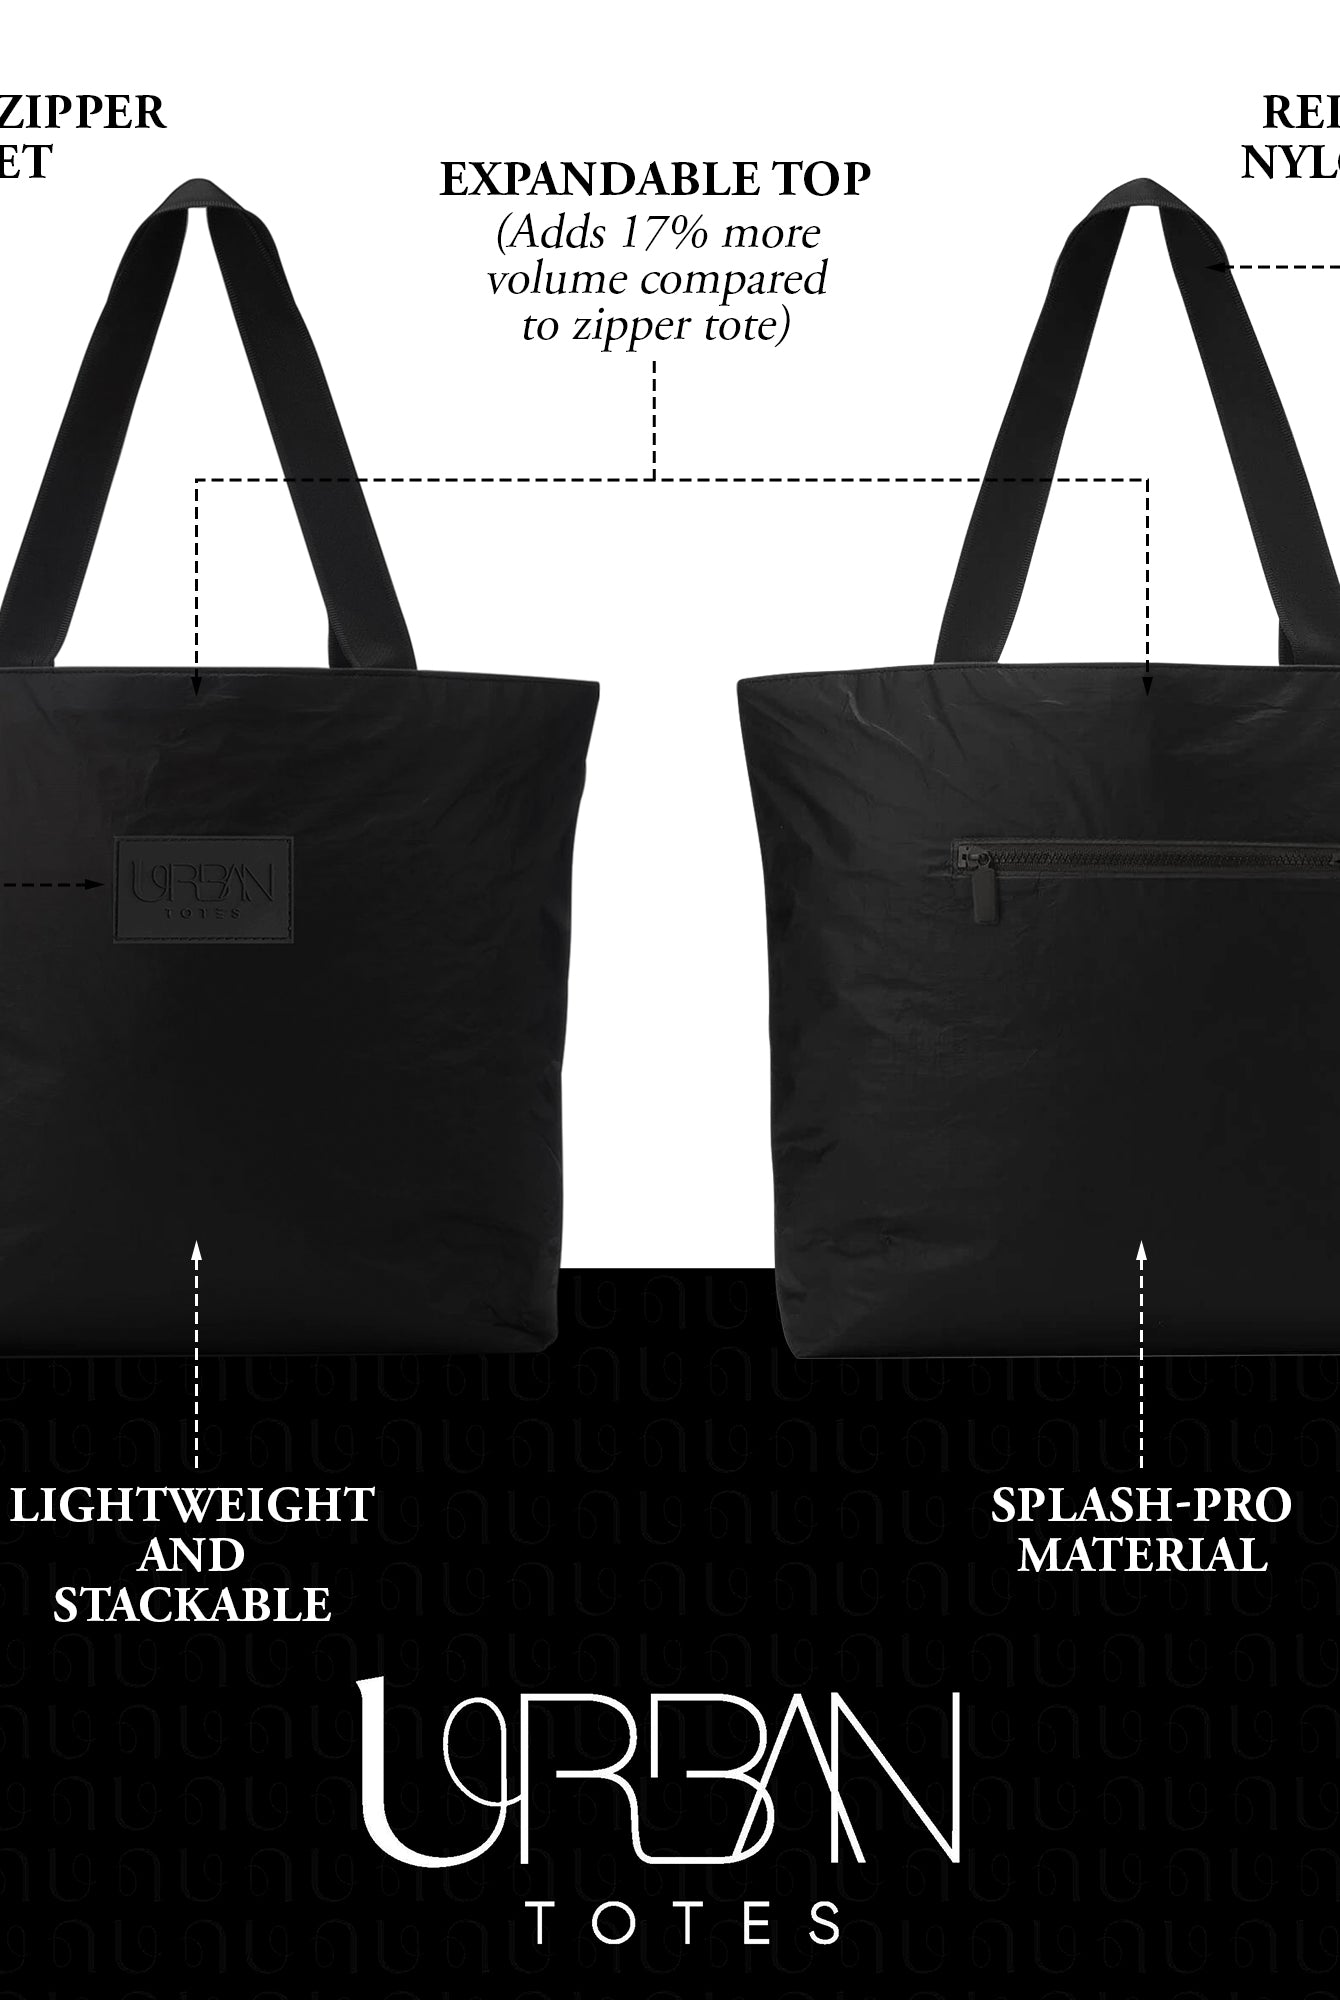
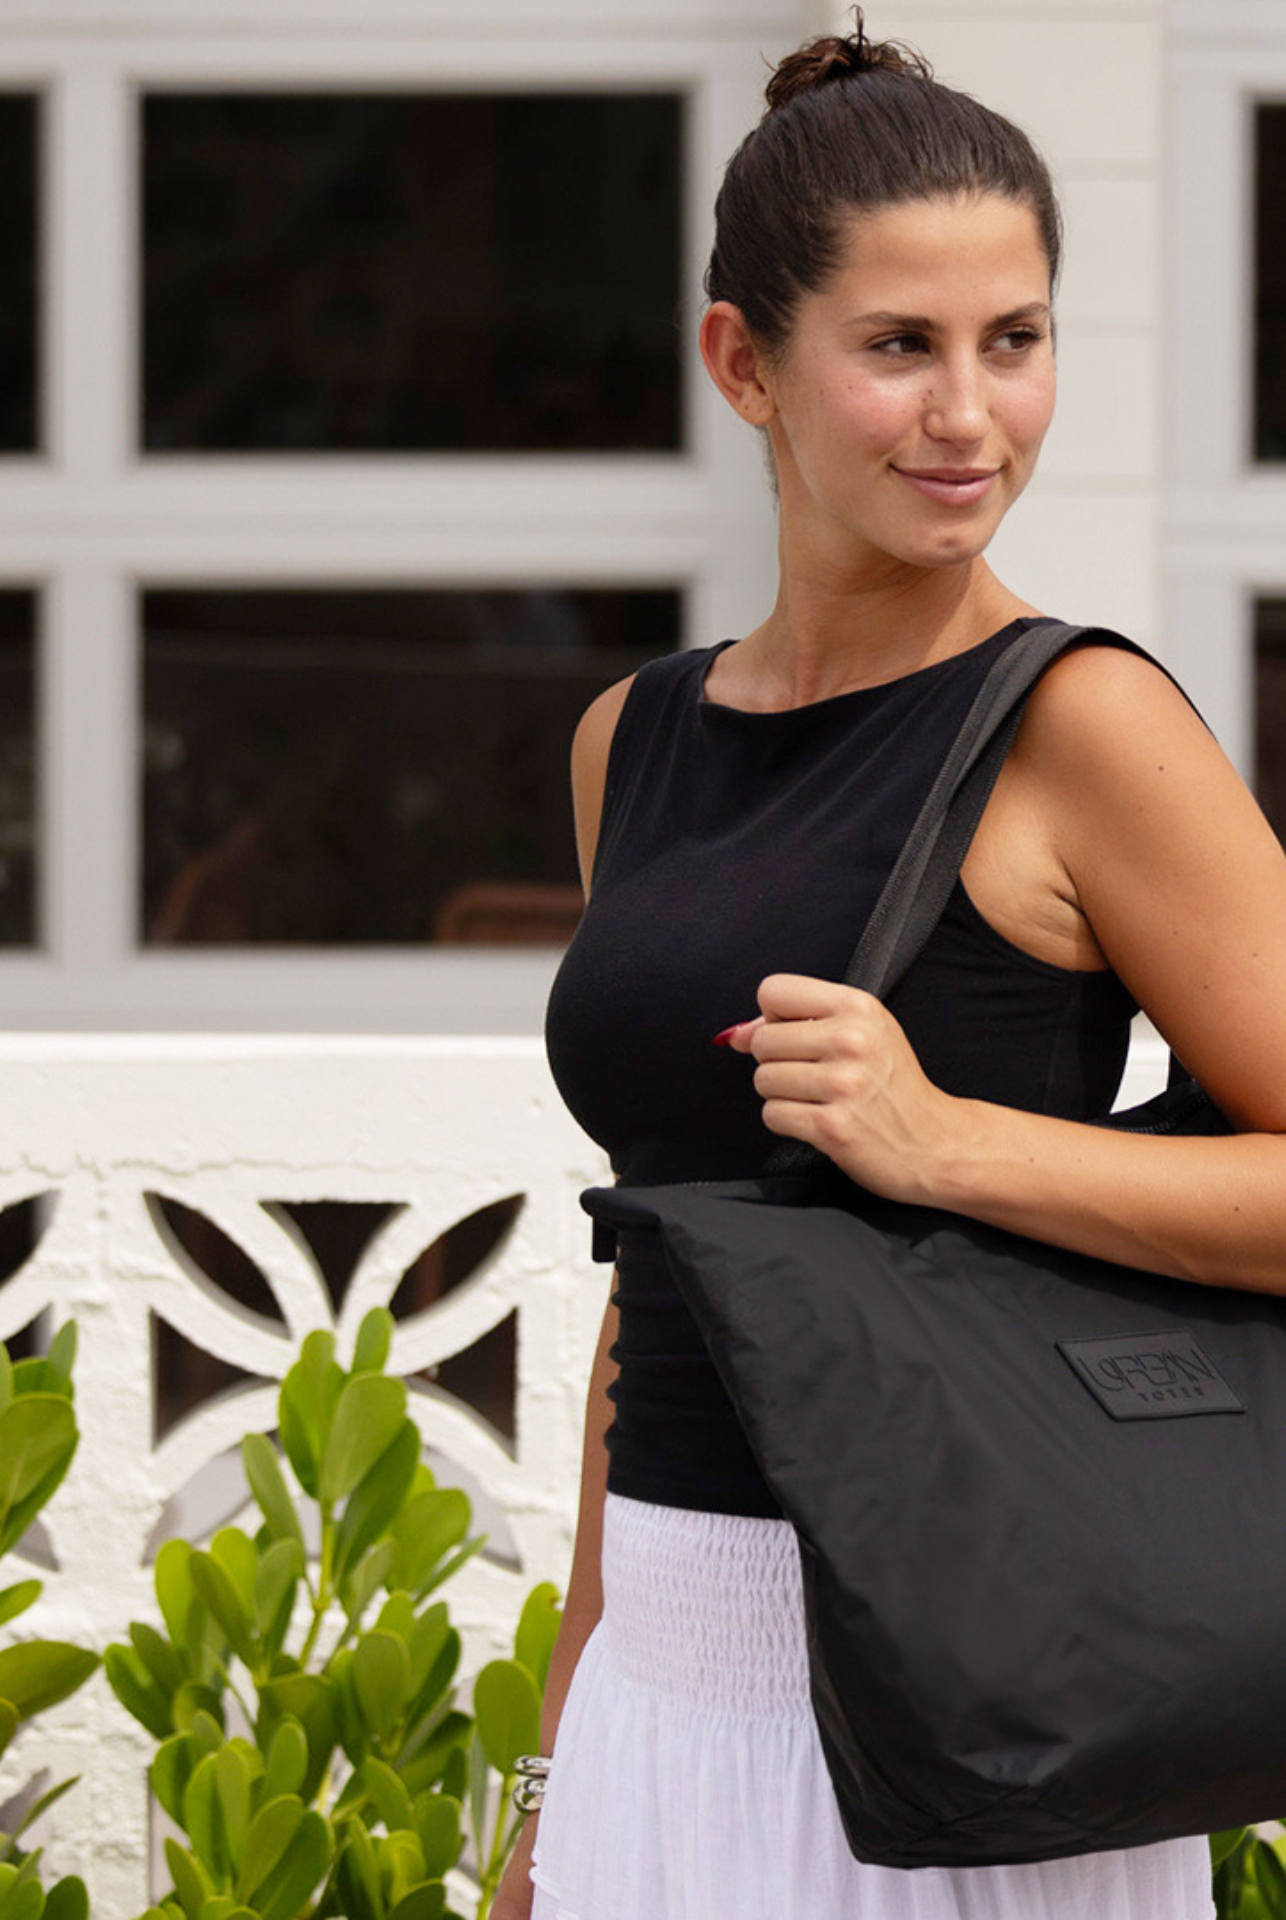
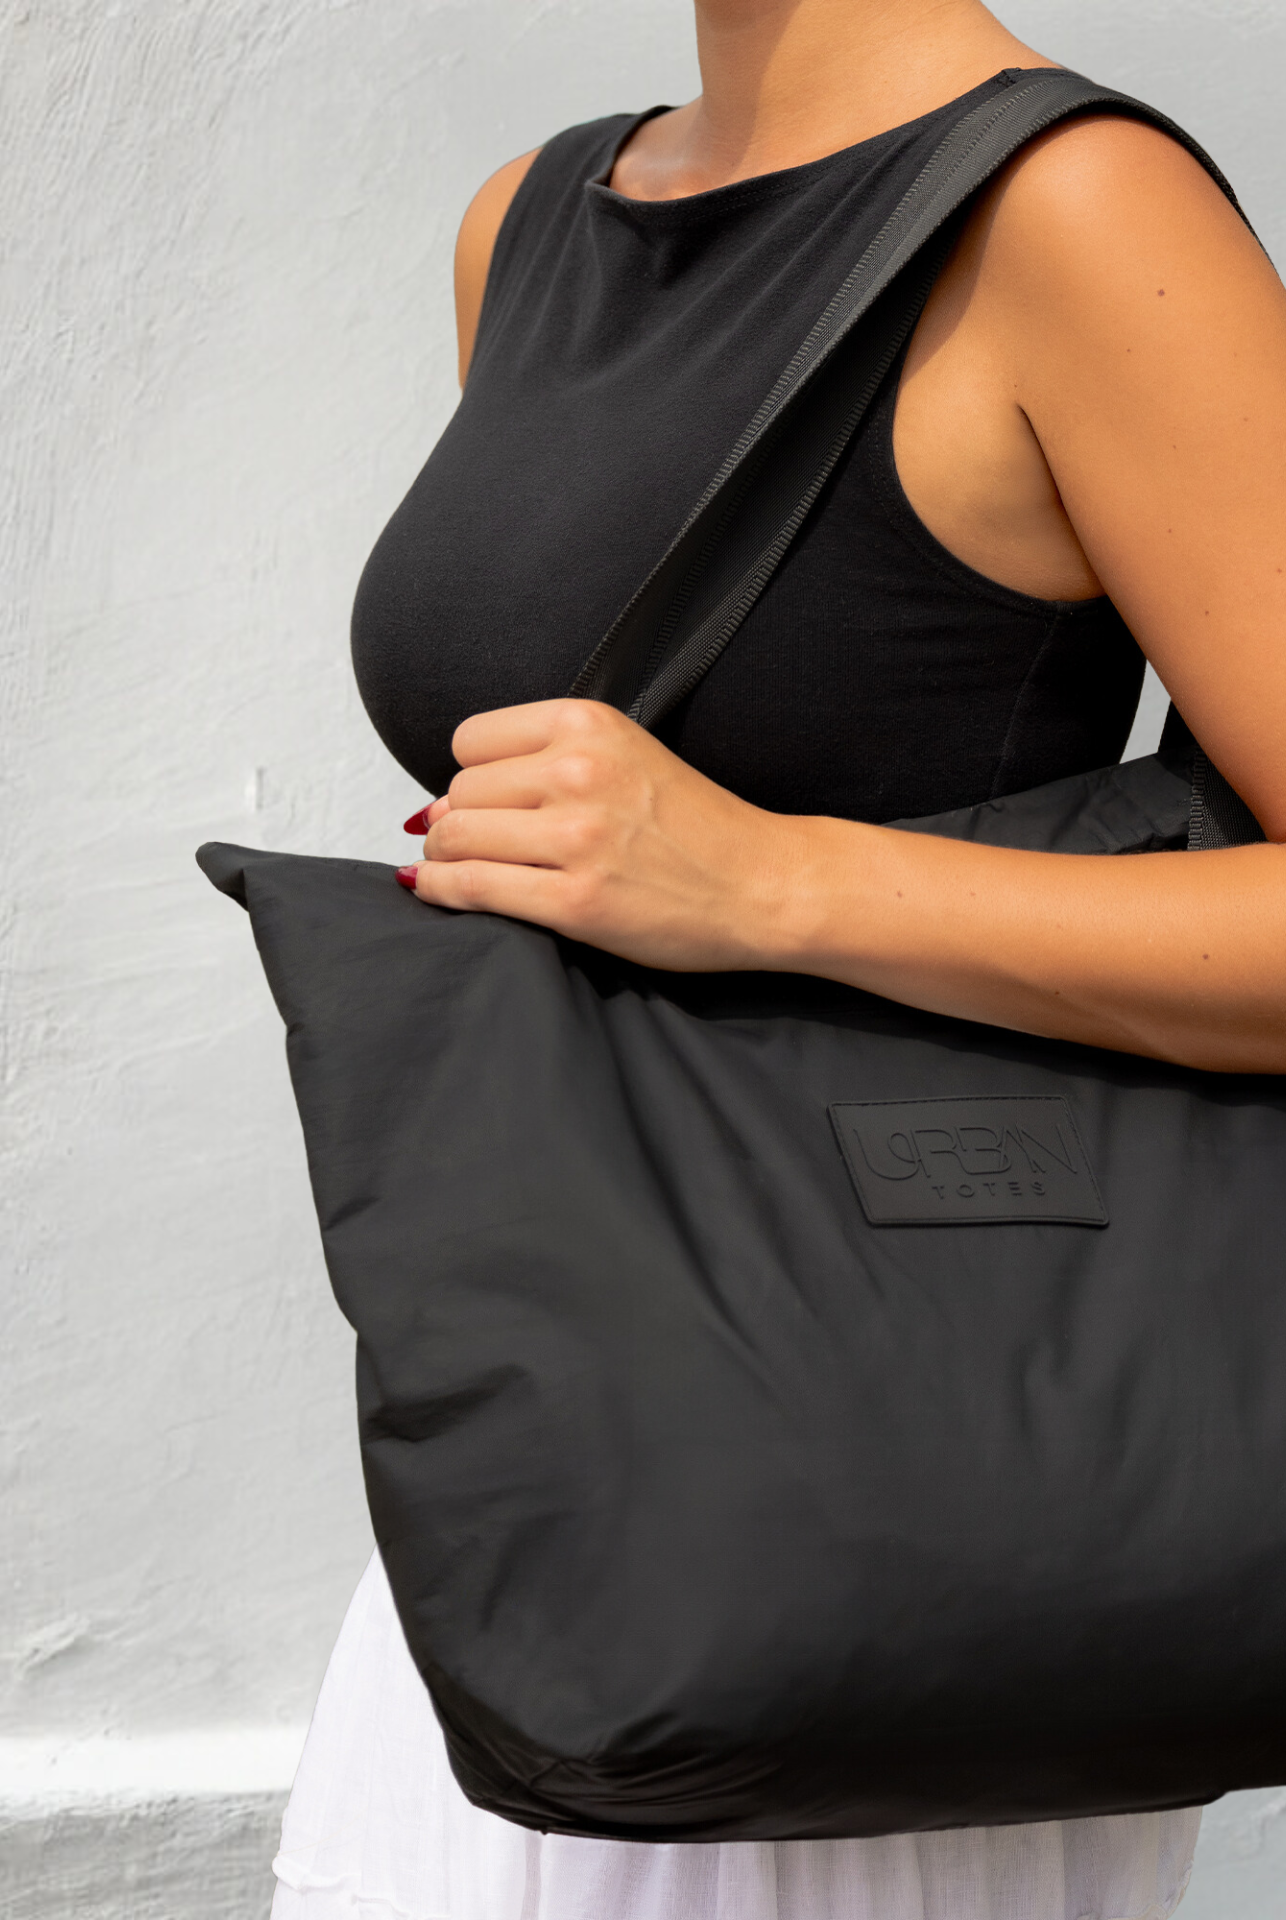
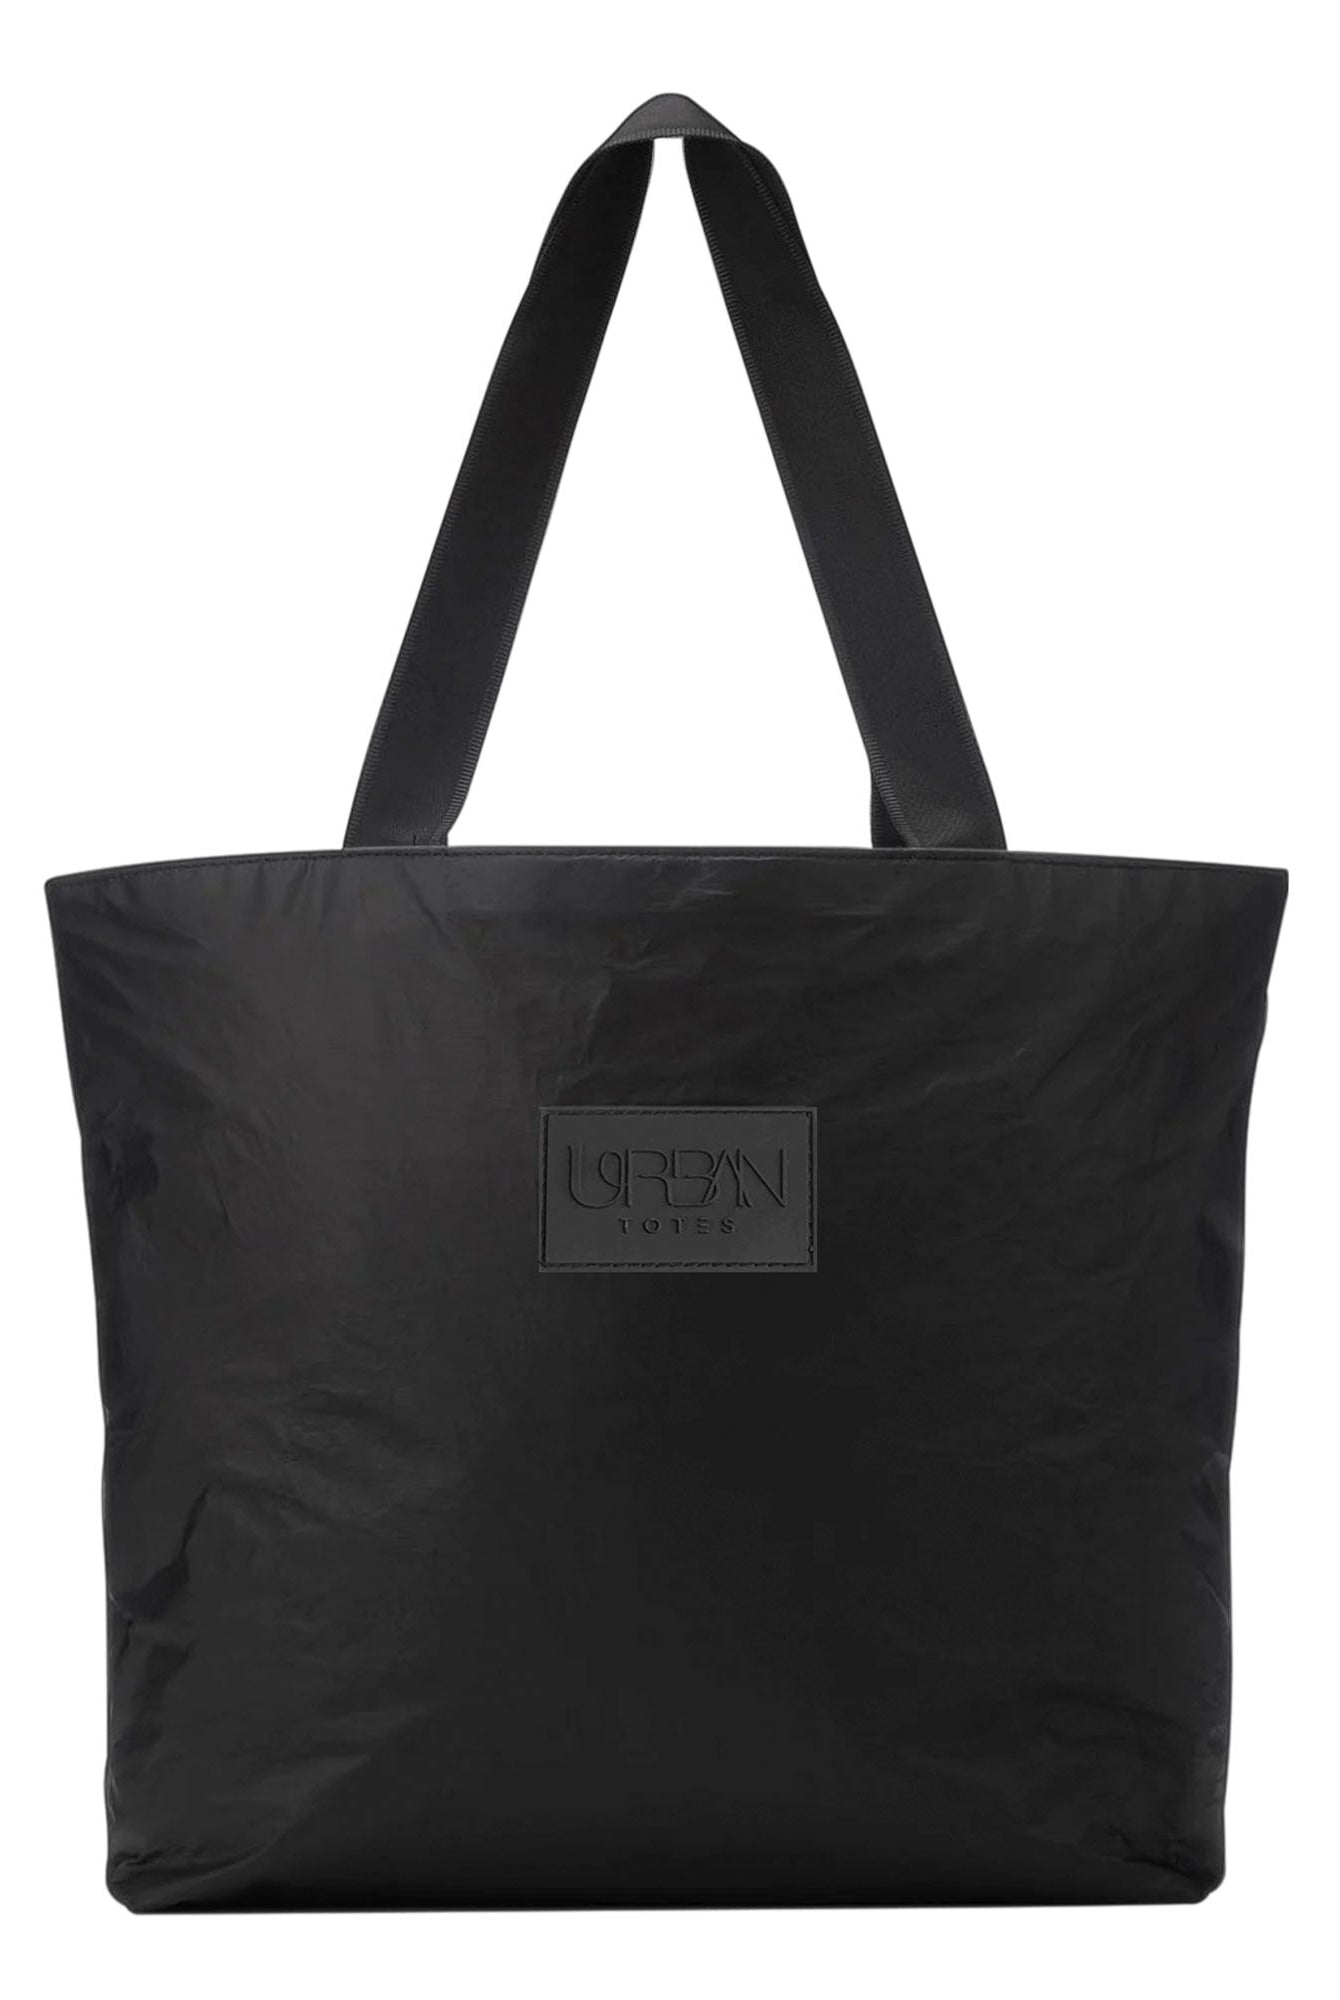
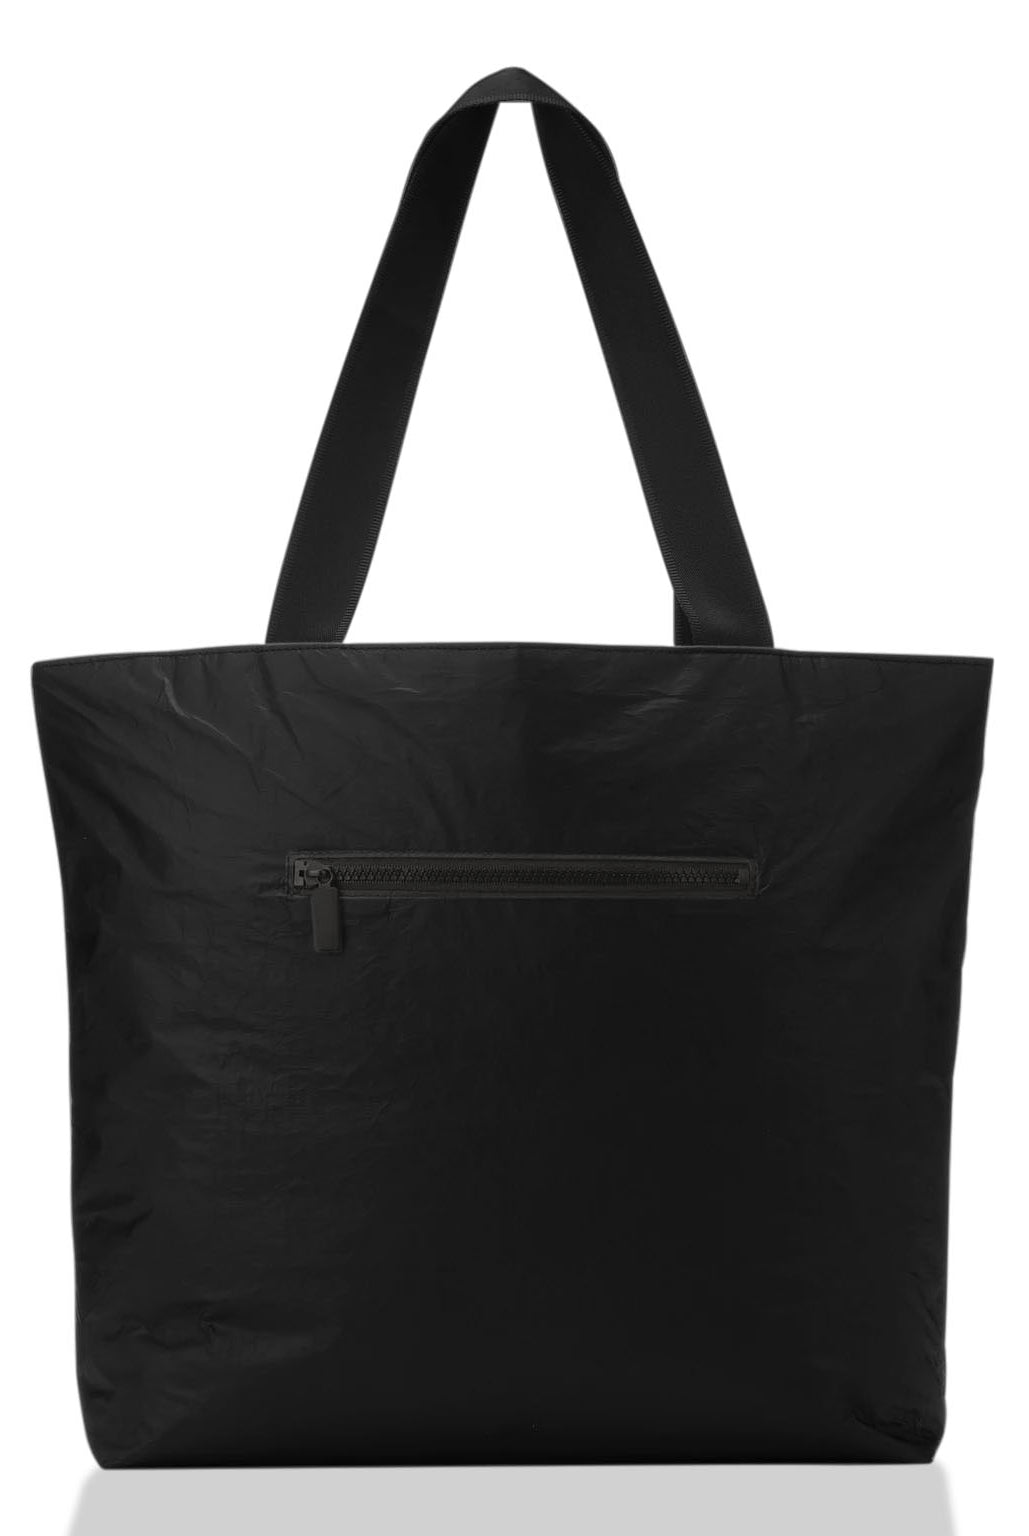
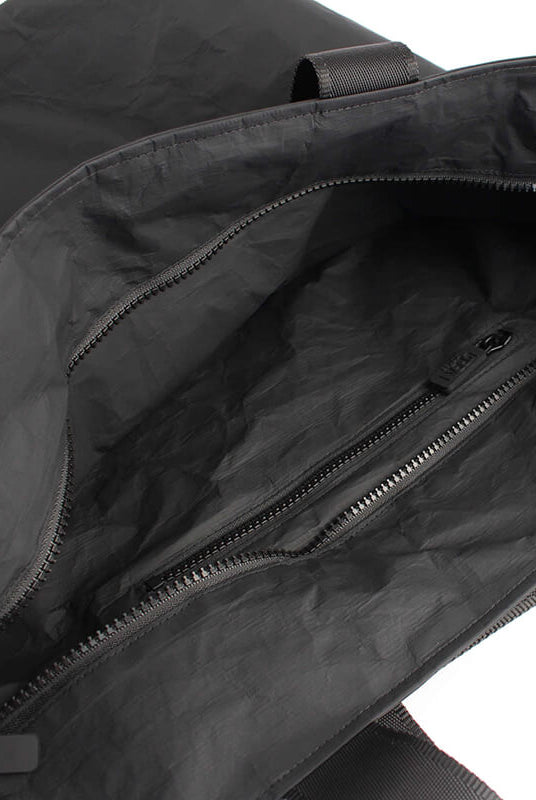
Silicone-based products can preserve flexibility, but test them first on coated, laminated, or synthetic technical materials. For shoppers comparing lightweight waterproof tote options, an Urban Totes style that is already water-resistant, lightweight, packable, foldable, and organized with zipper closures and multiple compartments may need careful cleaning and targeted maintenance instead of a heavy coating. More product can reduce breathability or alter the original finish, while untreated seams and zippers can still leak.
Step-by-Step Application and Seam Sealing
Once the bag is clean and dry, work in a ventilated area and test the product on a hidden patch. Read the product directions first, because formulas vary. The most reliable application is even, restrained, and focused on the places water exploits.
Wax application
- Apply a thin layer. Warm the wax gradually according to its directions, then spread it across the canvas with a soft or wide brush. Overlap strokes so no pale gaps remain.
- Work it into the weave. Massage the product gently around folds, corners, zipper edges, handles, and stitching. Avoid piling wax into one area.
- Heat-set carefully. Use a hair dryer to soften and settle wax into the fibers. Keep the heat moving. Excessive heat can distort finishes or leave uneven patches.
- Build only where needed. Add a second light layer to the bottom panel or high-wear zones if the first coat leaves the fabric exposed.
Spray treatments need a different touch. Shake the container if directed, hold it at the manufacturer's recommended distance, and sweep across the panel rather than soaking one spot. Light, even coverage is preferable to saturation because over-application can leave sticky residue and may reduce breathability.

Seal the weak points
Treat the face fabric and the construction as one system. Add compatible seam sealer or a thin, appropriate wax layer to stitched seams, zipper zones, the bottom panel, and strap attachment points. Don't block zipper teeth or flood the slider. Move the zipper back and forth gently if the product calls for distribution along the track.
Practical rule: A dry face fabric doesn't compensate for an untreated seam.
Let the bag cure fully before rain, packing, or storage. Common care guidance recommends a drying and cure window of about 24 to 48 hours; King Canvas's waterproofing guide also warns against storing damp canvas. Rushing this stage can leave an under-cured coating that washes off early. For people who document craft projects or need a simple submission resource alongside hands-on work, Linda's Electric Quilters provides a creator agency registration form, but the same principle applies to the bag itself: allow the finished work time to settle before judging it.
For pattern-focused construction ideas, see this crossbody tote bag pattern guide, then remember that water protection still depends on the fabric, seams, and closure design.
Testing Your Waterproofing and Troubleshooting Issues
Don't trust a newly treated bag on the first important trip. Test it at home, where you can identify a weak seam without discovering it beside a wet airport floor or during a school pickup in the rain.
Begin with a light spray from a clean bottle, or place the bag under gentle rain outdoors. Watch the droplets. Beading and rolling indicate surface repellency. Darkening, spreading, or gradual absorption shows that the canvas still wets through. This simple test is useful, but it doesn't reproduce the pressure of a packed bag pressed against a wet surface.
Hydrostatic head provides a more formal benchmark. It measures the water column a fabric can withstand before leakage, and AATCC TM127 and ISO 811 are standard laboratory methods for quantifying it. Around 1,500 mm hydrostatic head is a common general-use threshold for “waterproof,” while higher-pressure situations require more. Canvas Etc's treatment guide explains why PU coatings are often used as a stronger benchmark and why spray repellency tests, including AATCC TM22, don't tell the whole story.

Match the problem to the fix
- Sticky surface: Too much product may have pooled. Allow additional curing time, then gently buff or wipe only as the product directions permit. Don't add another coat until the residue is gone.
- Leaking seam: The face treatment worked, but the stitching remains vulnerable. Dry the area and apply a compatible, thin seam treatment.
- Rapid wash-off: The coating may have been under-cured, applied to damp fabric, or used on an incompatible material. Clean and dry the bag, then check the manufacturer's guidance before re-treating.
- Wet electronics: Accept the bag's limits. Use a waterproof liner or separate protective pouch for phones, tablets, cameras, and other moisture-sensitive items.
A lab result averages multiple samples, and real panels can vary. Treat your home spray test as a practical check, not a guarantee of complete waterproofing.
Long-Term Care and When to Skip DIY Treatments
Waterproofing wears down through wetting, abrasion, cleaning, folding, and contact with rough surfaces. Re-treat when water stops beading, the bottom panel begins absorbing moisture, or seams darken quickly after exposure. Practical Sailor's testing supports planning refreshes around actual performance, with some treatments needing attention after two months and stronger soil and mildew repellency lasting about three to six months under test conditions. Urban Totes' tote-bag maintenance guide offers a useful care reference for cleaning and preserving an everyday bag.
Store canvas clean, fully dry, and loosely shaped. Don't put a damp tote into a closet or suitcase, and avoid aggressive cleaning that strips a treatment before you need to refresh it. If the bag has a specialized factory coating, a laminated interior, delicate hardware, or an active warranty, follow the manufacturer's care instructions instead of experimenting with wax, silicone, or solvent-heavy products.
DIY treatment makes sense when you understand the finish you're changing and the weather your bag faces. For many daily errands, commuting trips, and travel days, a thoughtfully designed water-resistant bag with a zipper closure and organized compartments is a simpler starting point than converting canvas into a fully sealed technical shell.
Urban Totes offers lightweight, packable, foldable bags with water-resistant materials, zipper closures, and practical organization for commutes, beach days, errands, and travel. Visit Urban Totes to find a go-anywhere tote or crossbody that fits your everyday adventures without demanding an intensive aftermarket treatment.