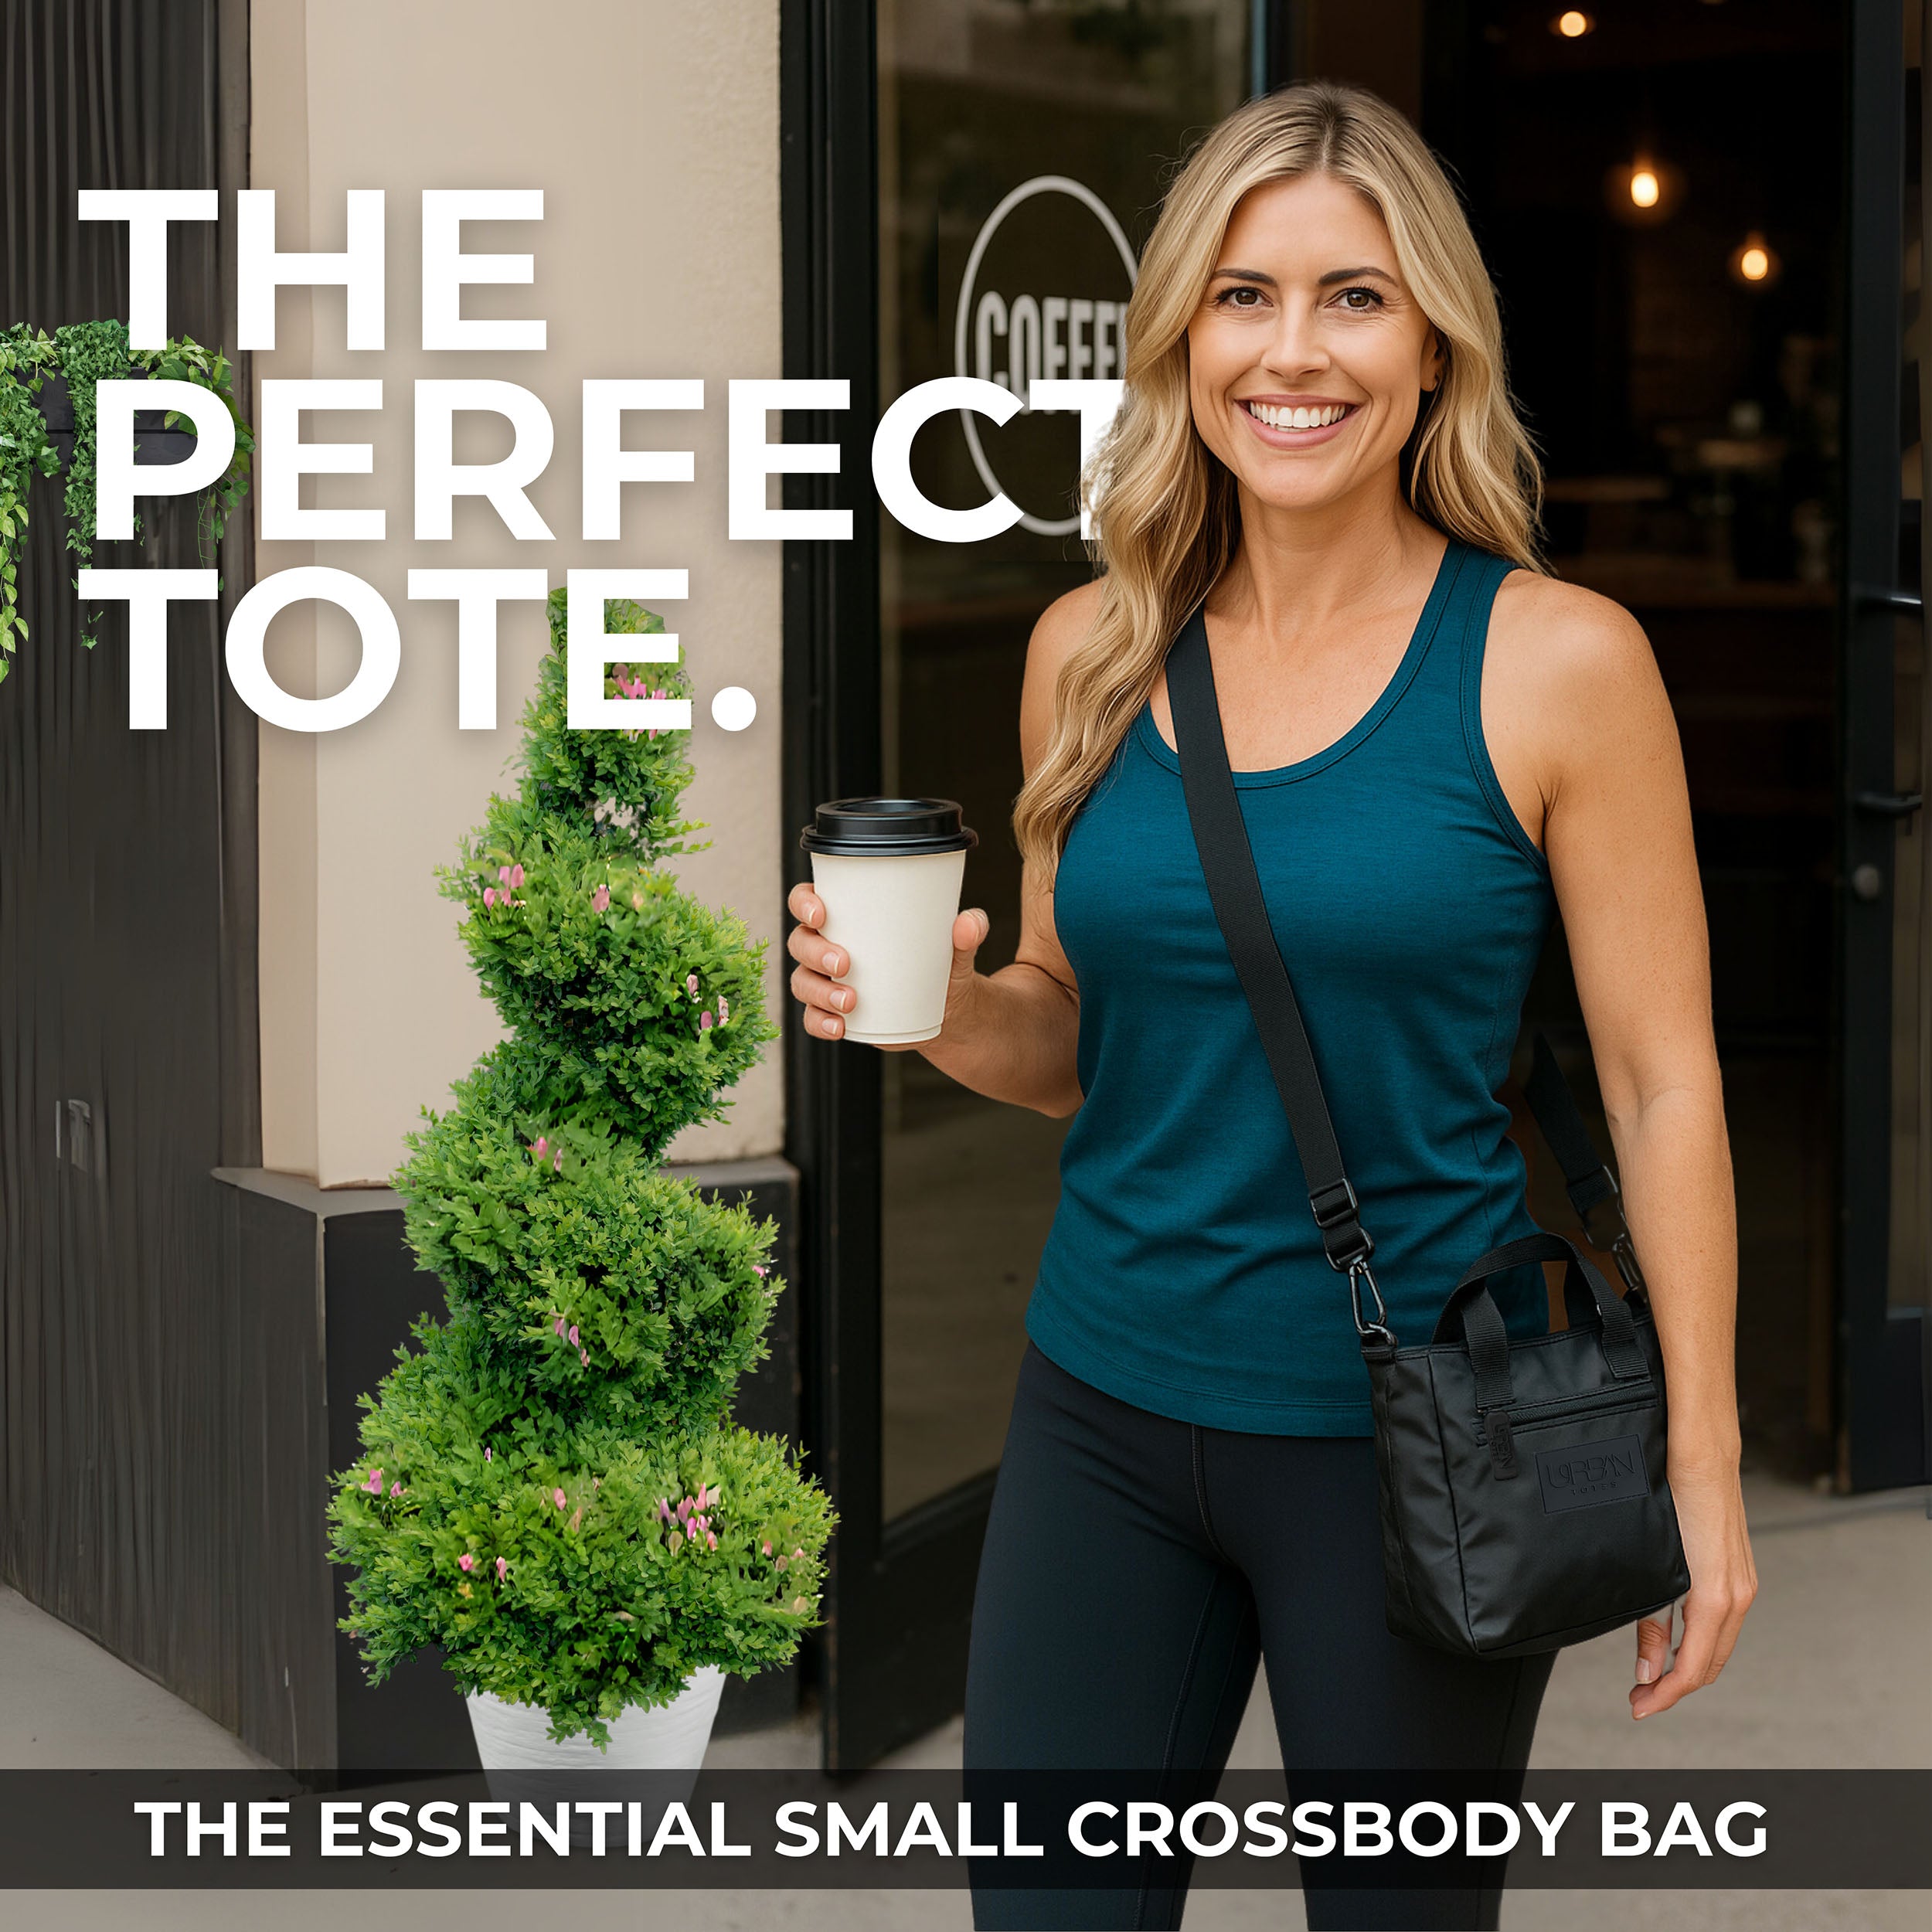
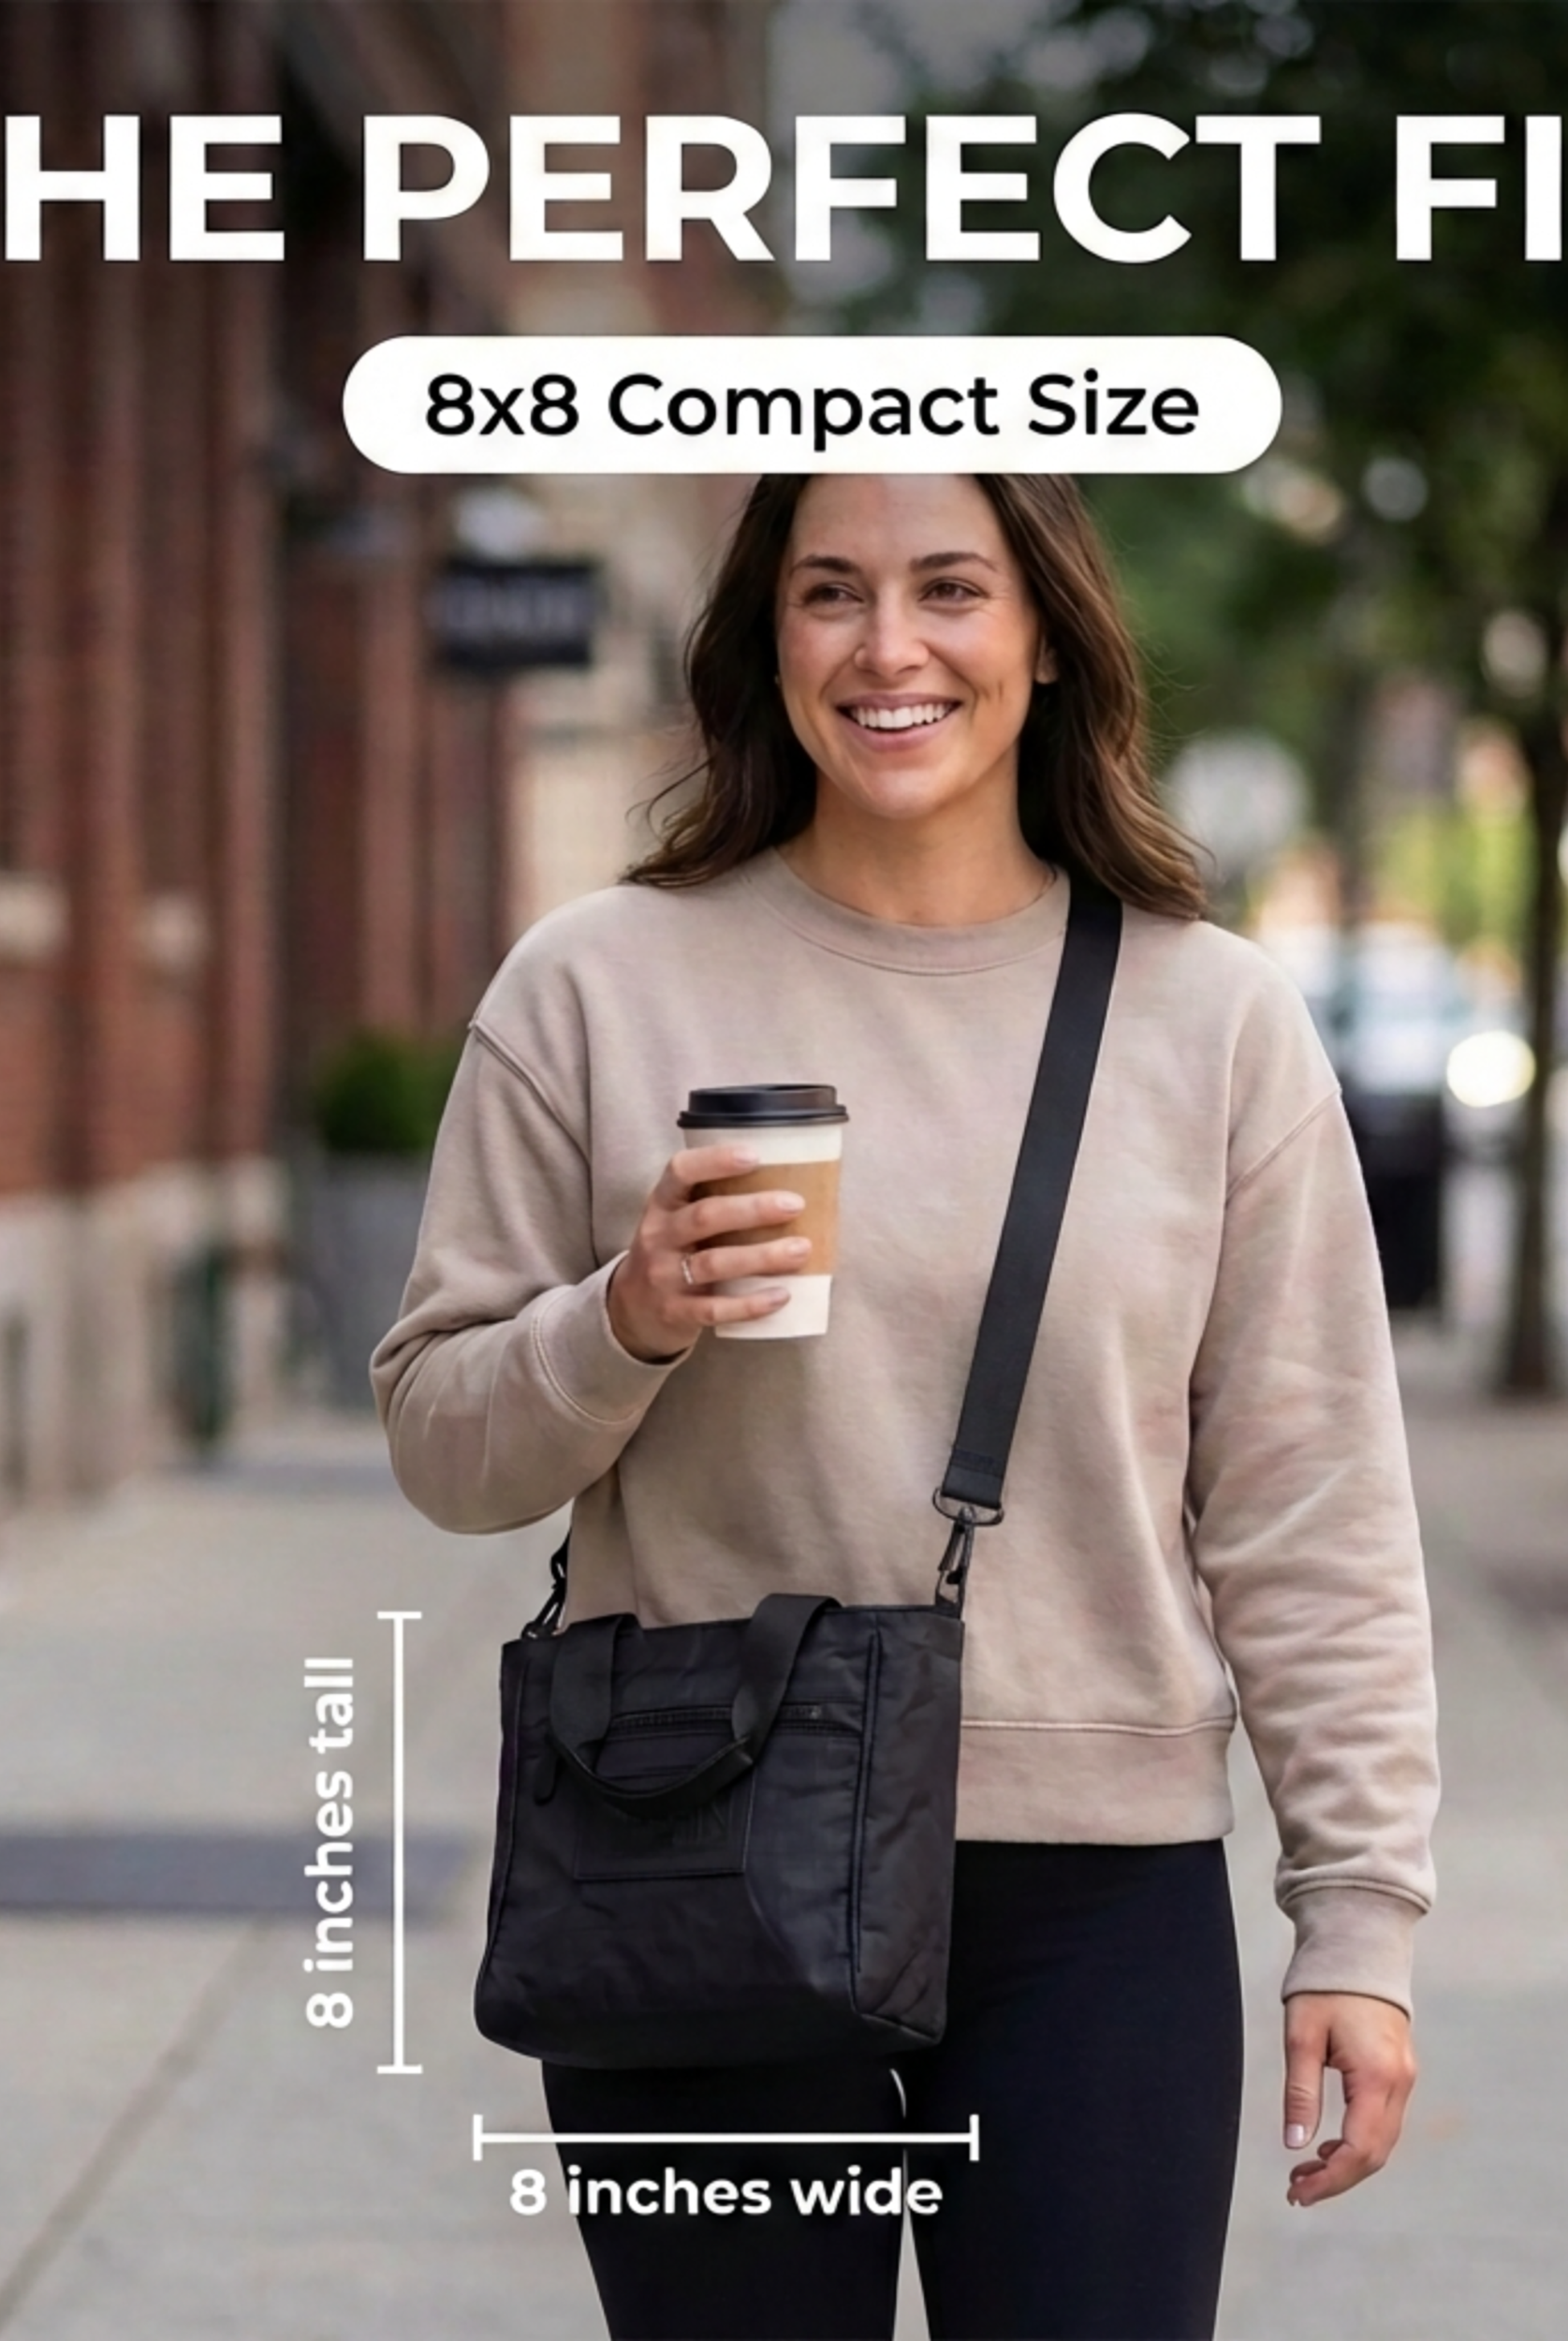
You're standing at the front door with keys in one hand, coffee in the other, and a bag that keeps slipping off your shoulder. The phone is buried somewhere under a wallet, lip balm, snack wrapper, and one thing you meant to return three days ago. That's exactly why a crossbody tote bag pattern makes sense for real life. It gives you the easy reach of a tote and the hands-free comfort of a crossbody, which is the kind of hybrid most busy days ask for.
Table of Contents
- Why Sew Your Own Crossbody Tote
- Materials, Notions, and Fabric Choices
- Preparing, Printing, and Cutting Your Pattern
- Sewing the Bag Step by Step
- Sizing and Fit Variations That Actually Matter
- Finishing Techniques for a Professional Look
- Troubleshooting Common Sewing Problems
Why Sew Your Own Crossbody Tote
The moment usually arrives in a familiar place, at a crowded farmers market, in an airport line, or at school pickup. Your tote holds everything, but it slips off one shoulder. Your clutch looks tidy, but now you are searching for a hotel key card with one hand while holding a toddler's juice box with the other.
A crossbody tote bag pattern solves that middle ground. It gives you a body-worn strap, a usable main compartment, and enough structure to keep the bag from collapsing into itself when you set it down. If you want a clearer picture of how that style differs from a standard tote, start with what a crossbody bag is and how it is worn, then compare it with the carry style in Alibaba product insights on designer tote versus crossbody use. A compact crossbody shape fits the way people move through busy days, not just the way a bag looks on a hanger.
Practical rule: if a bag needs both hands to manage, it is working against the day instead of with it.
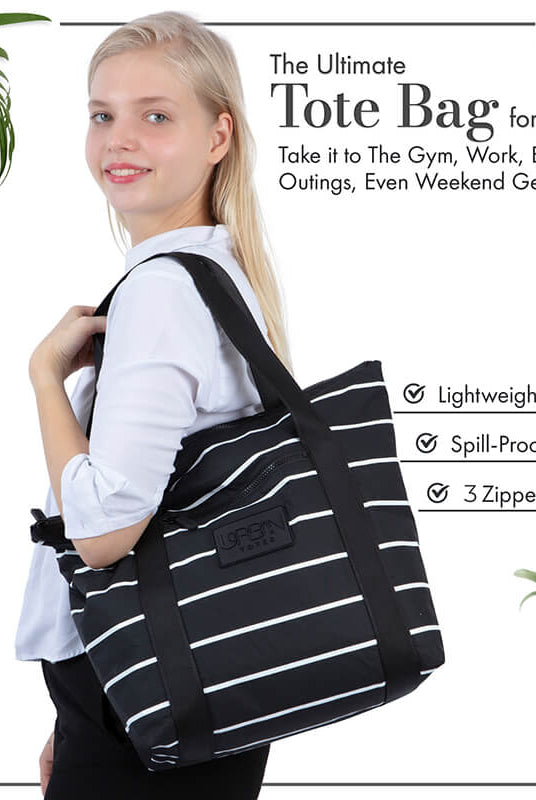
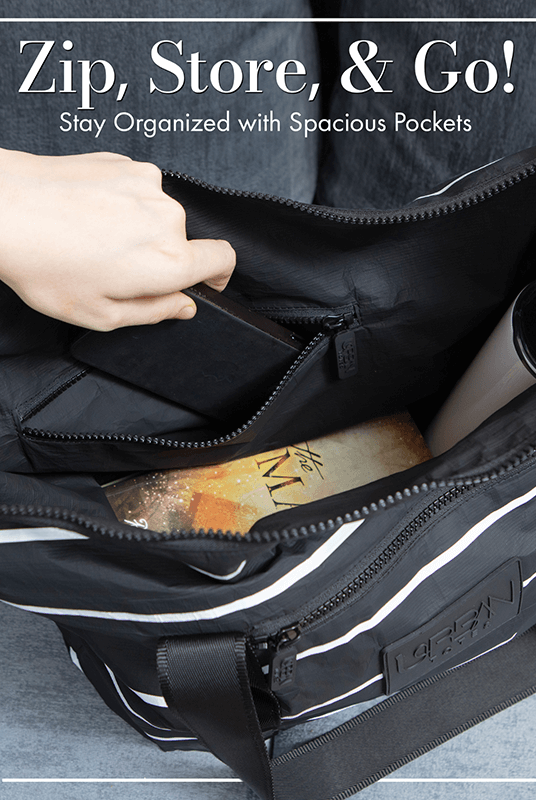
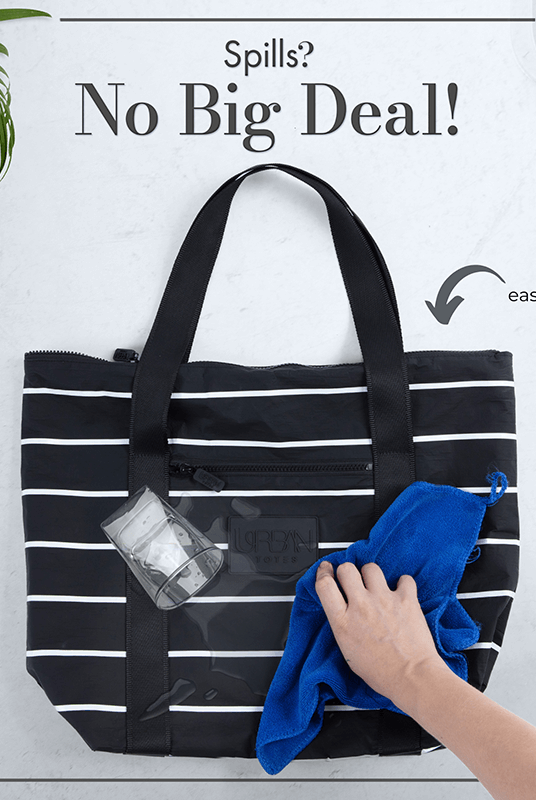
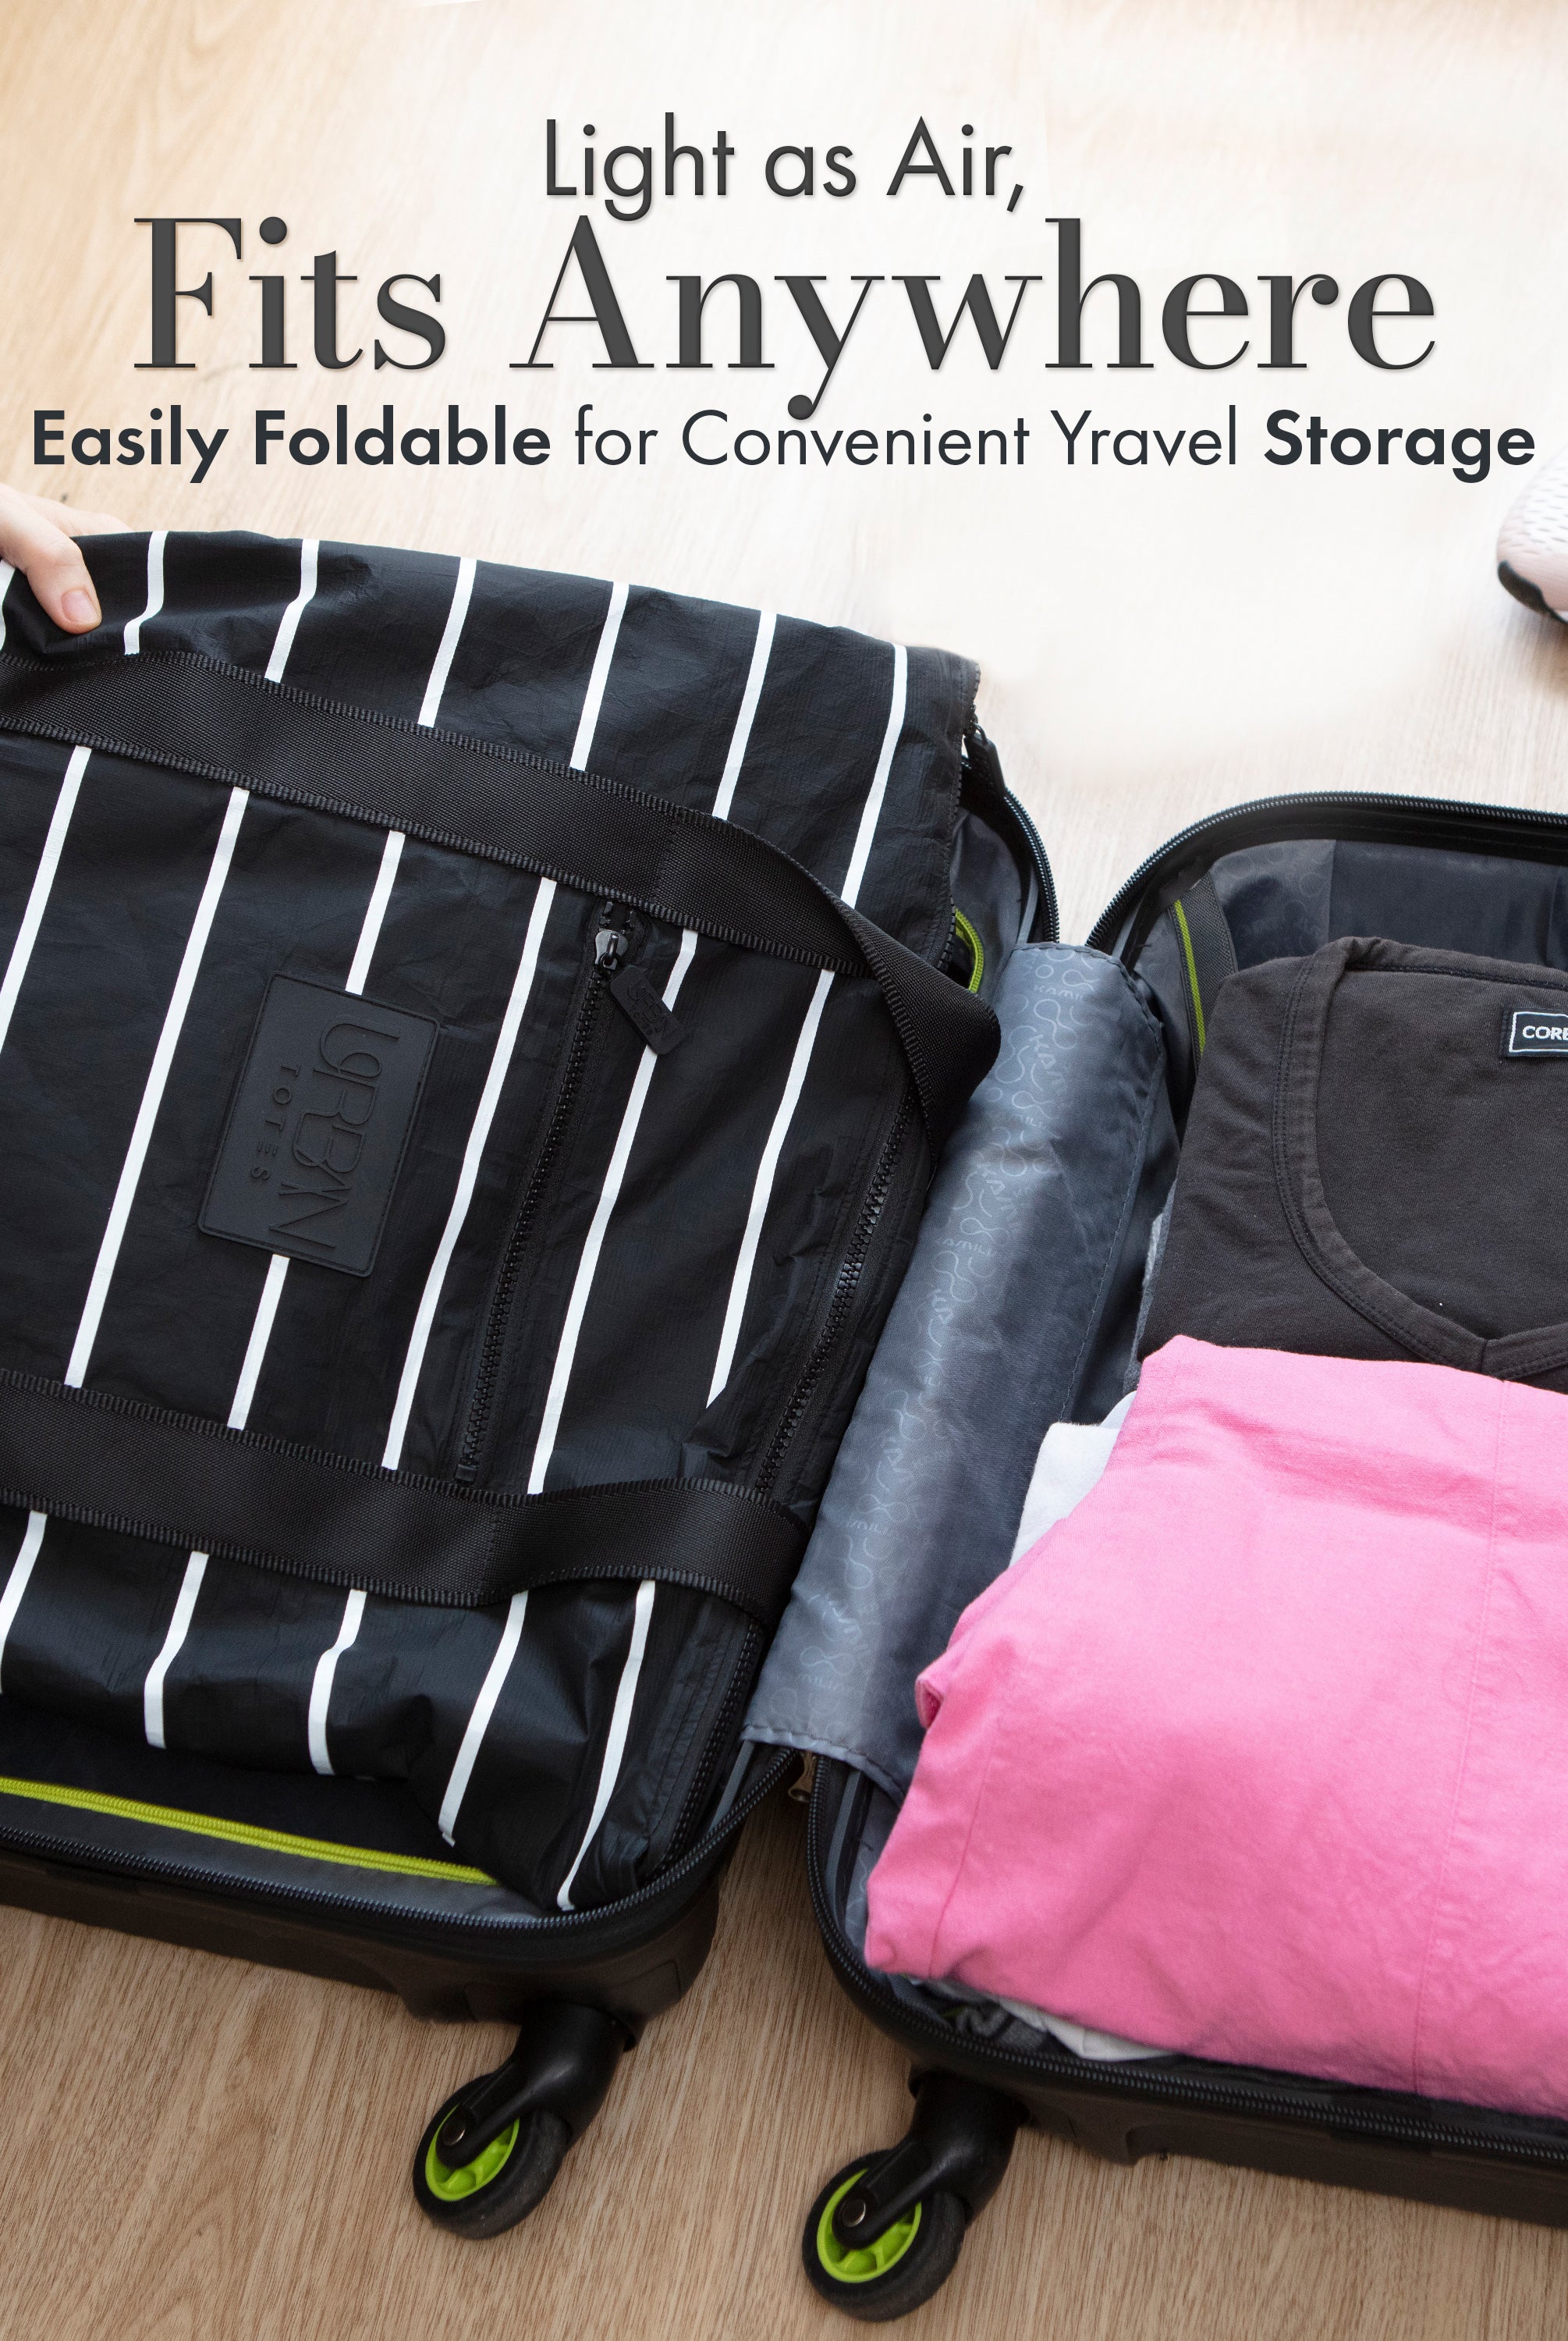
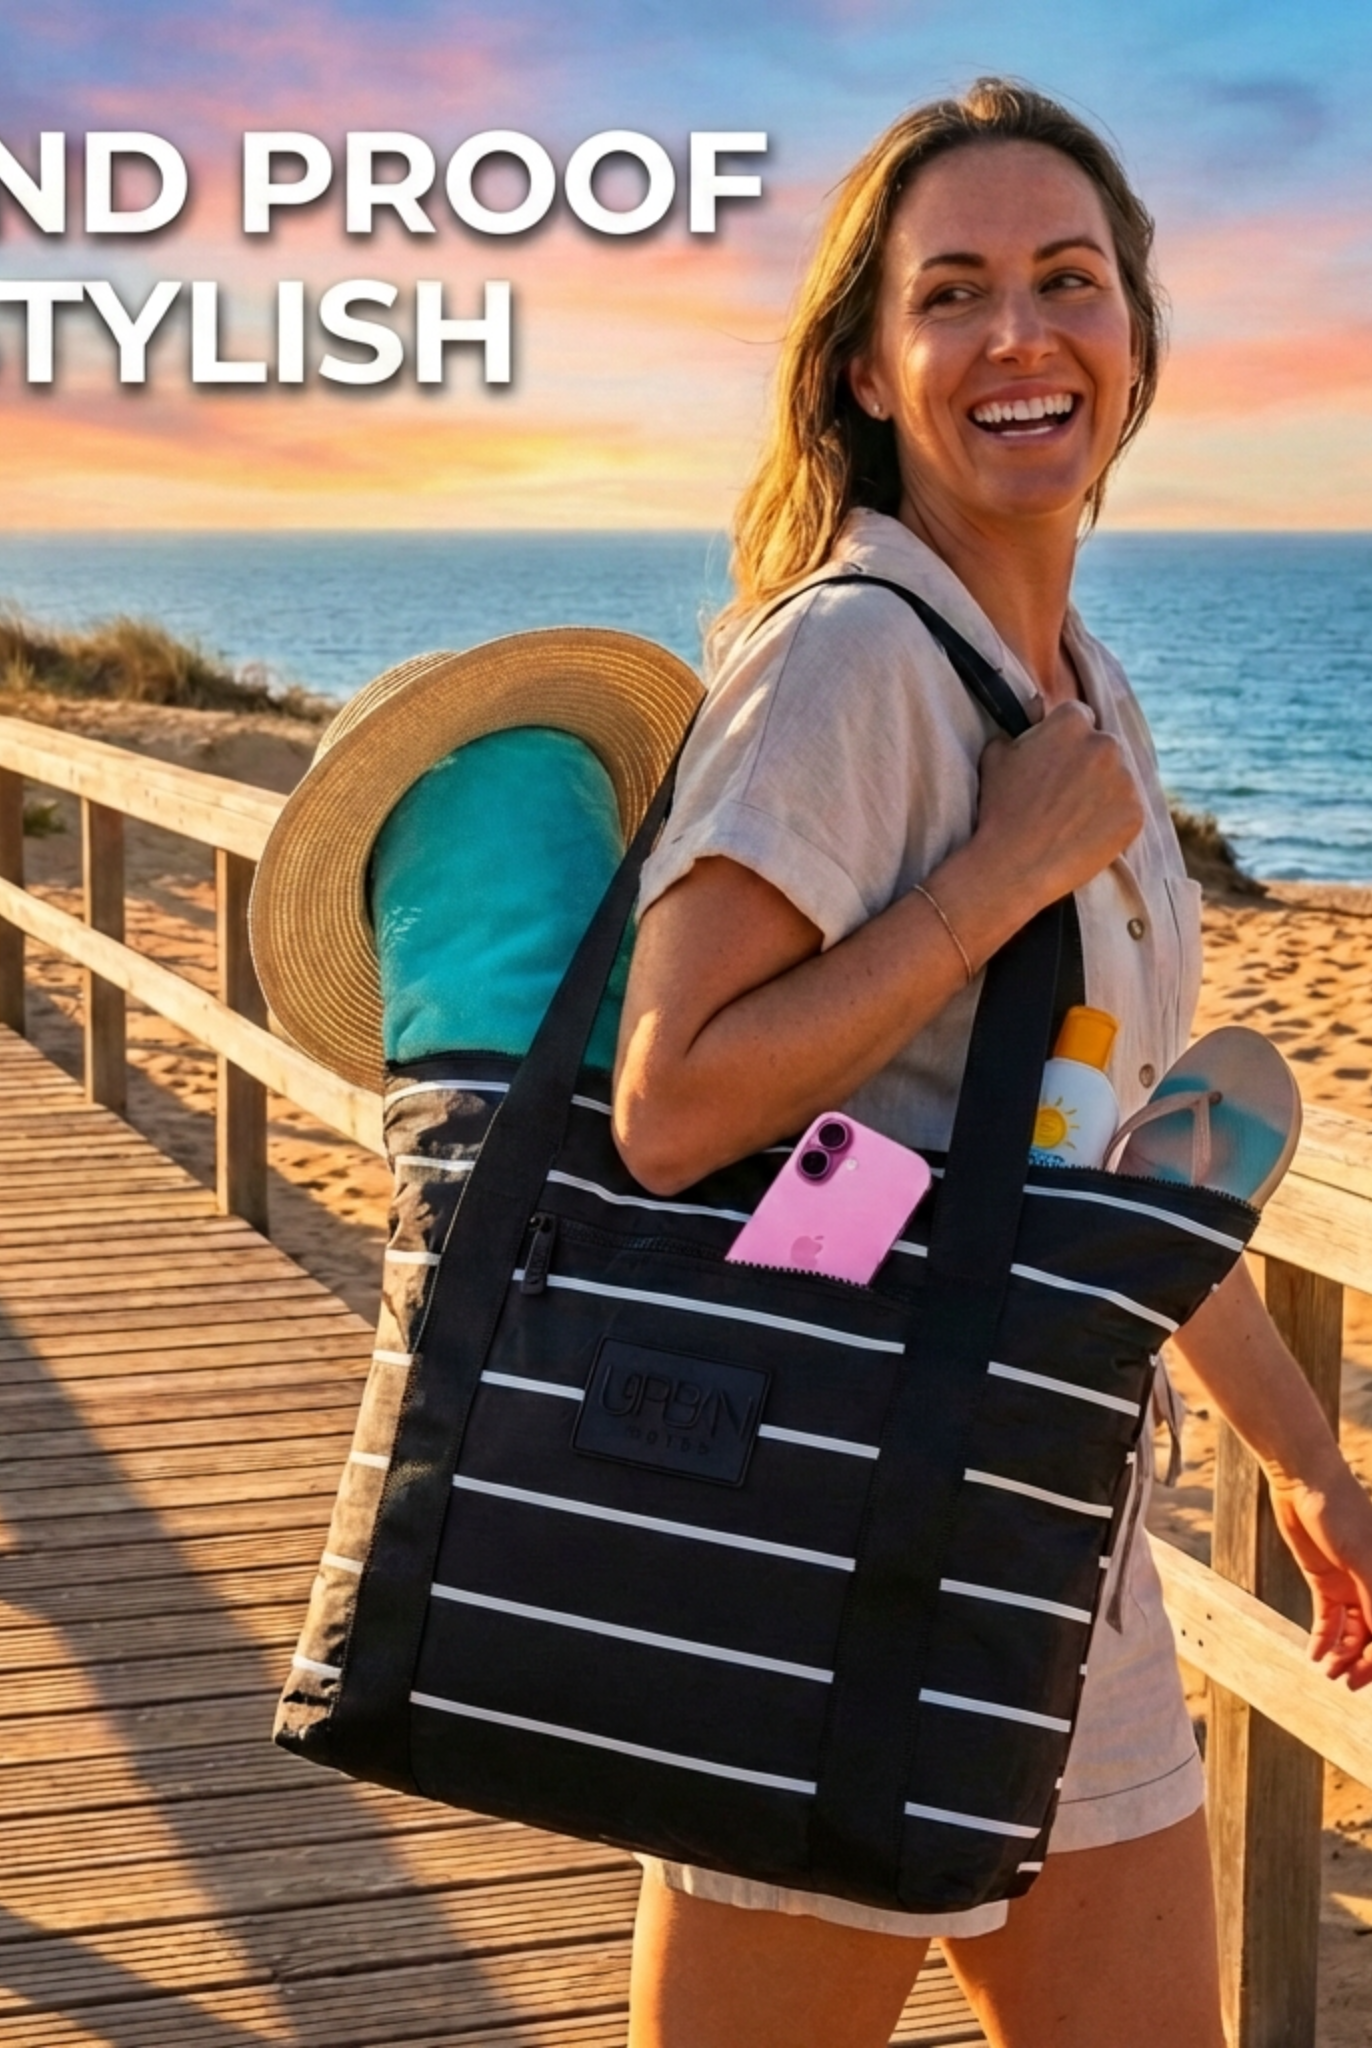
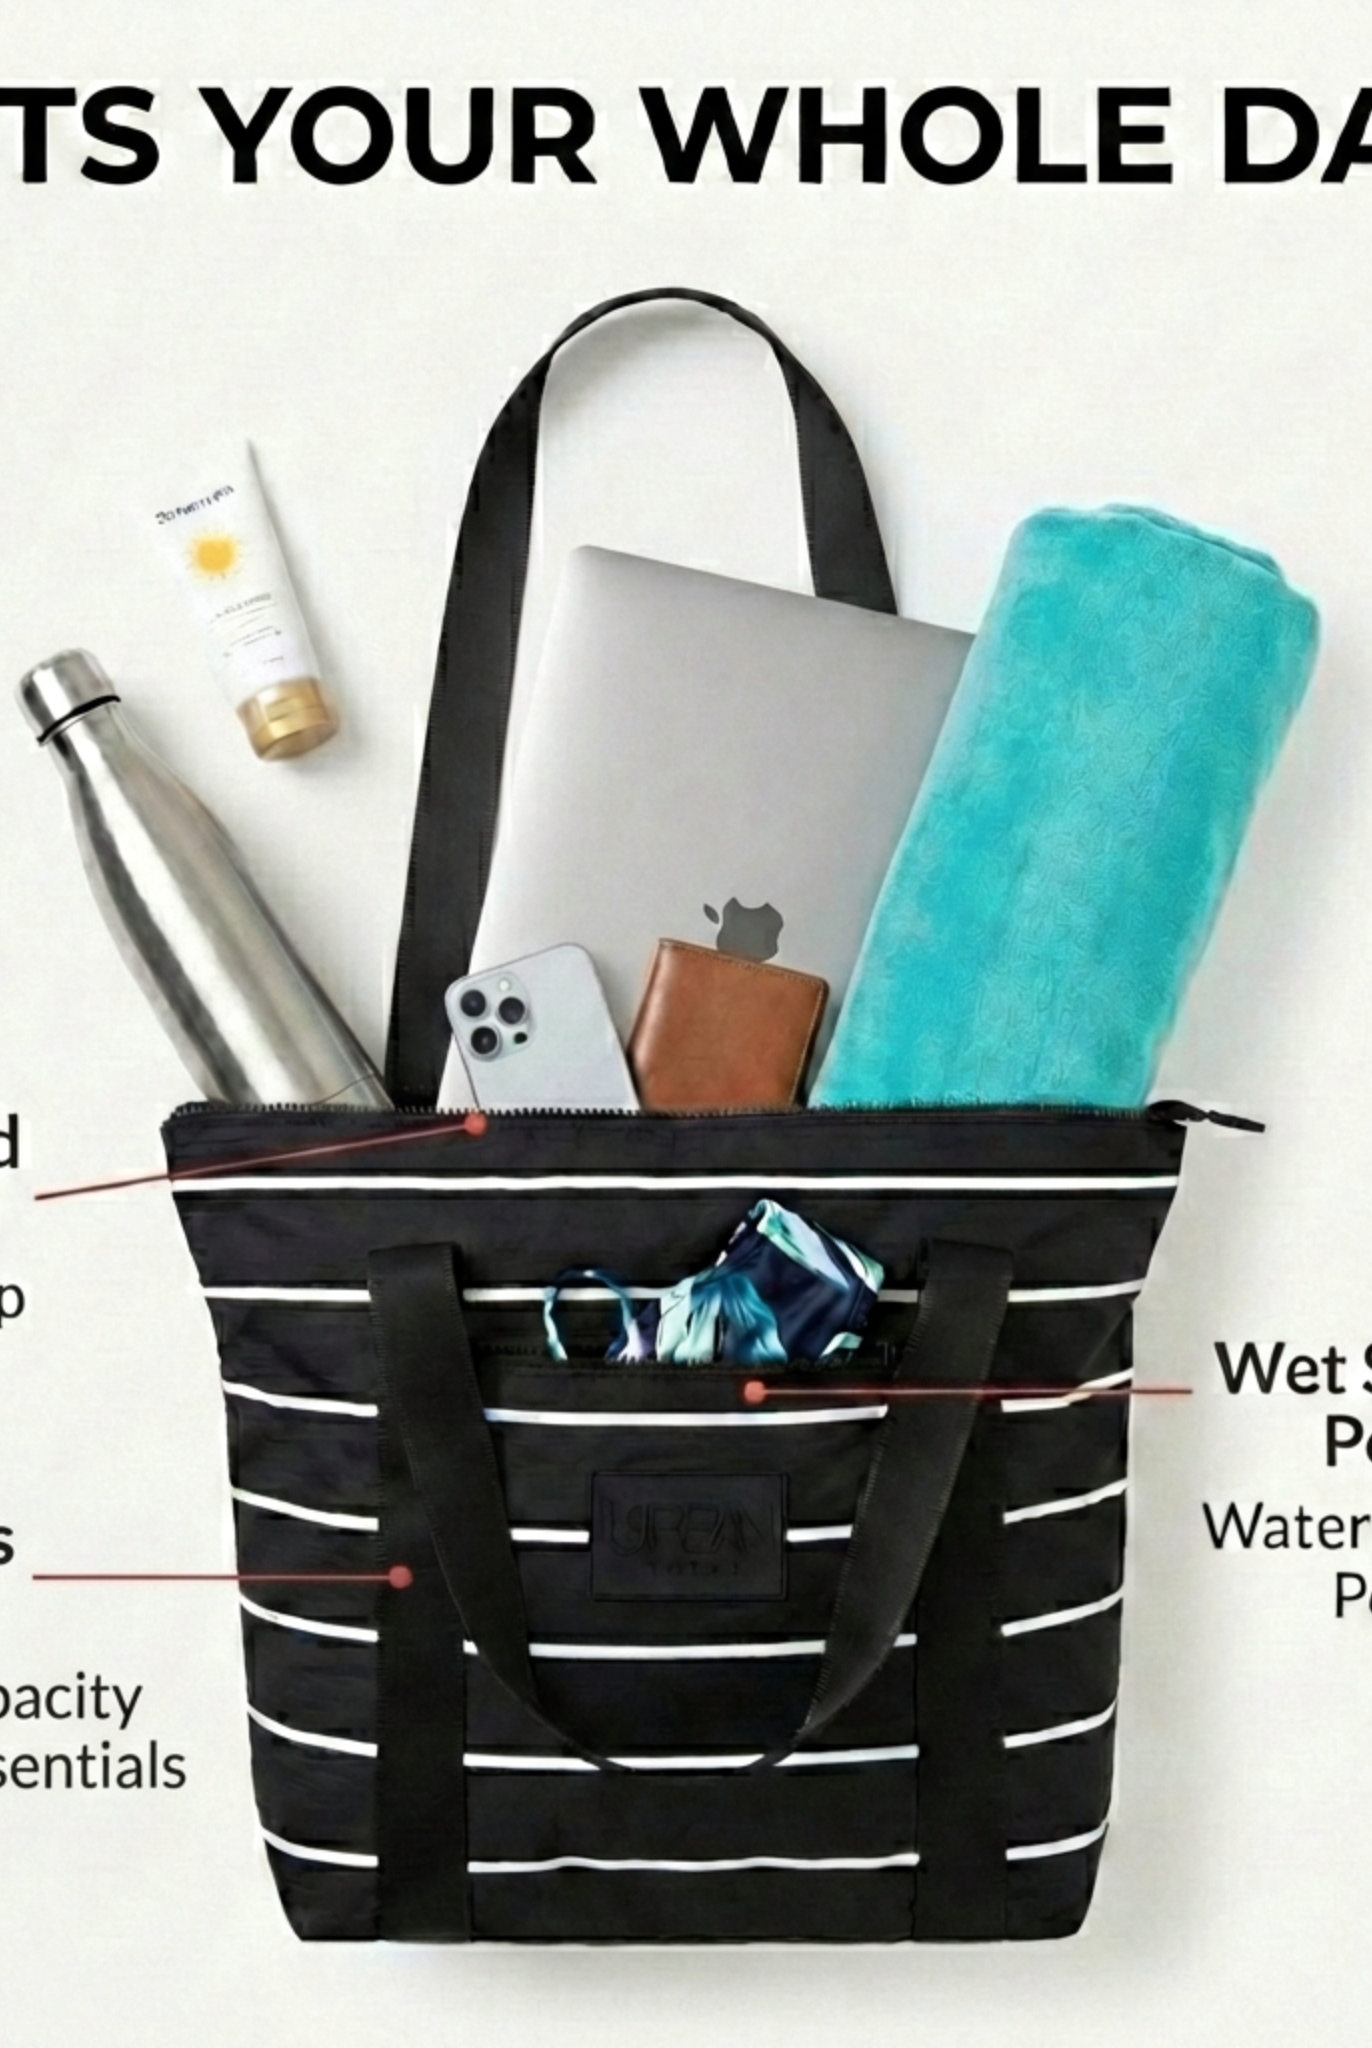
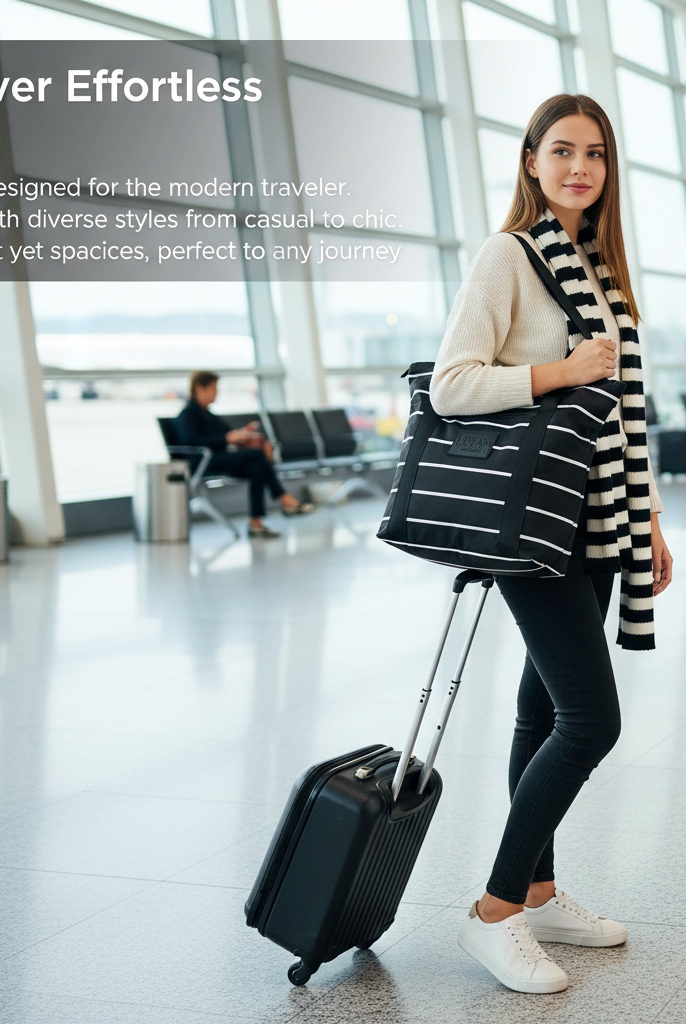
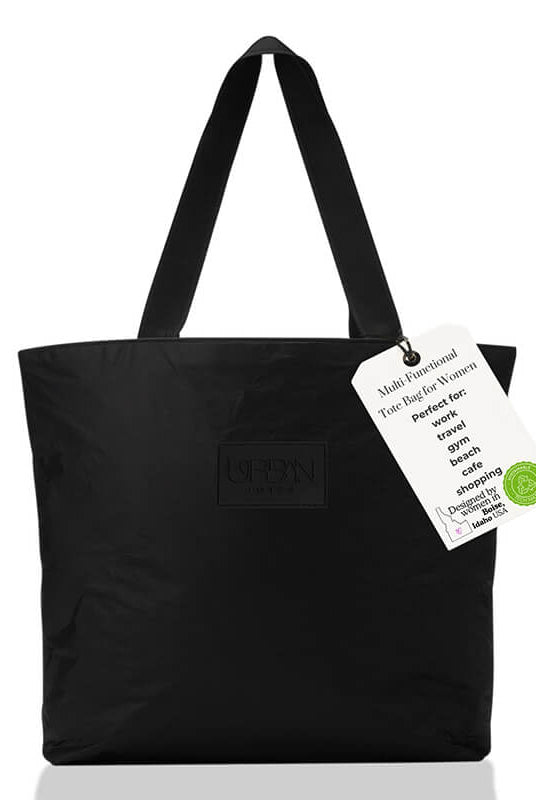
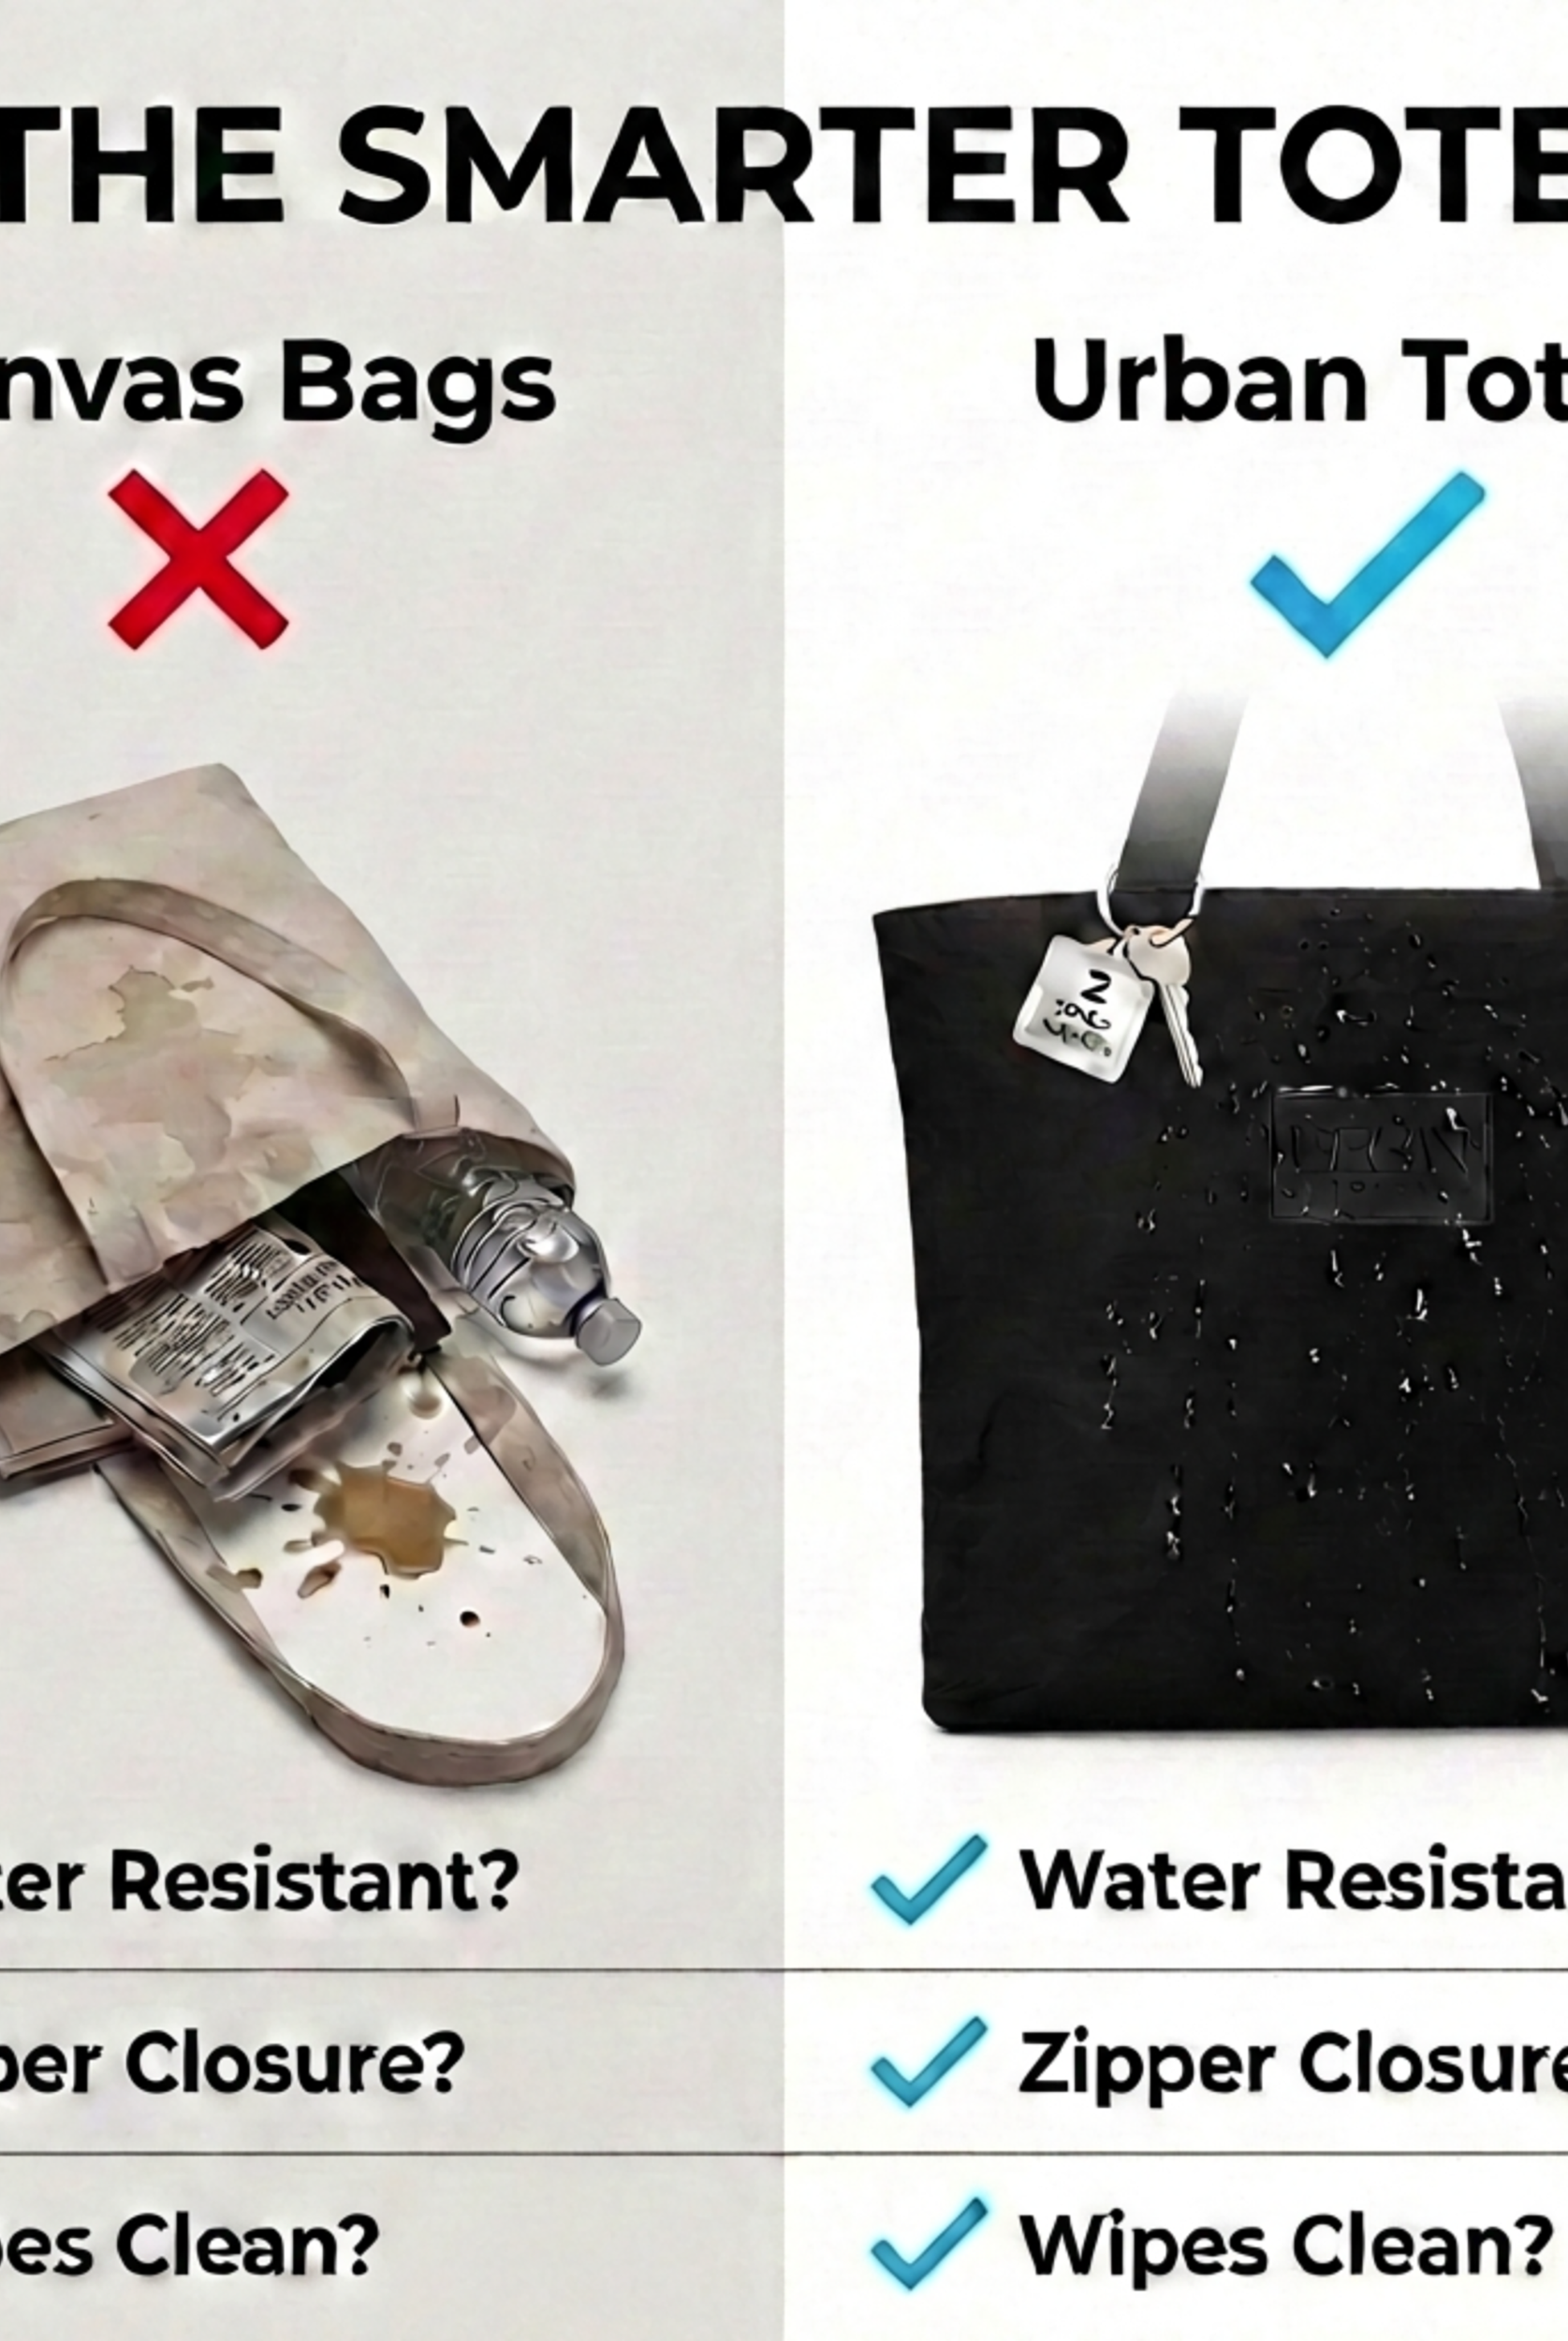
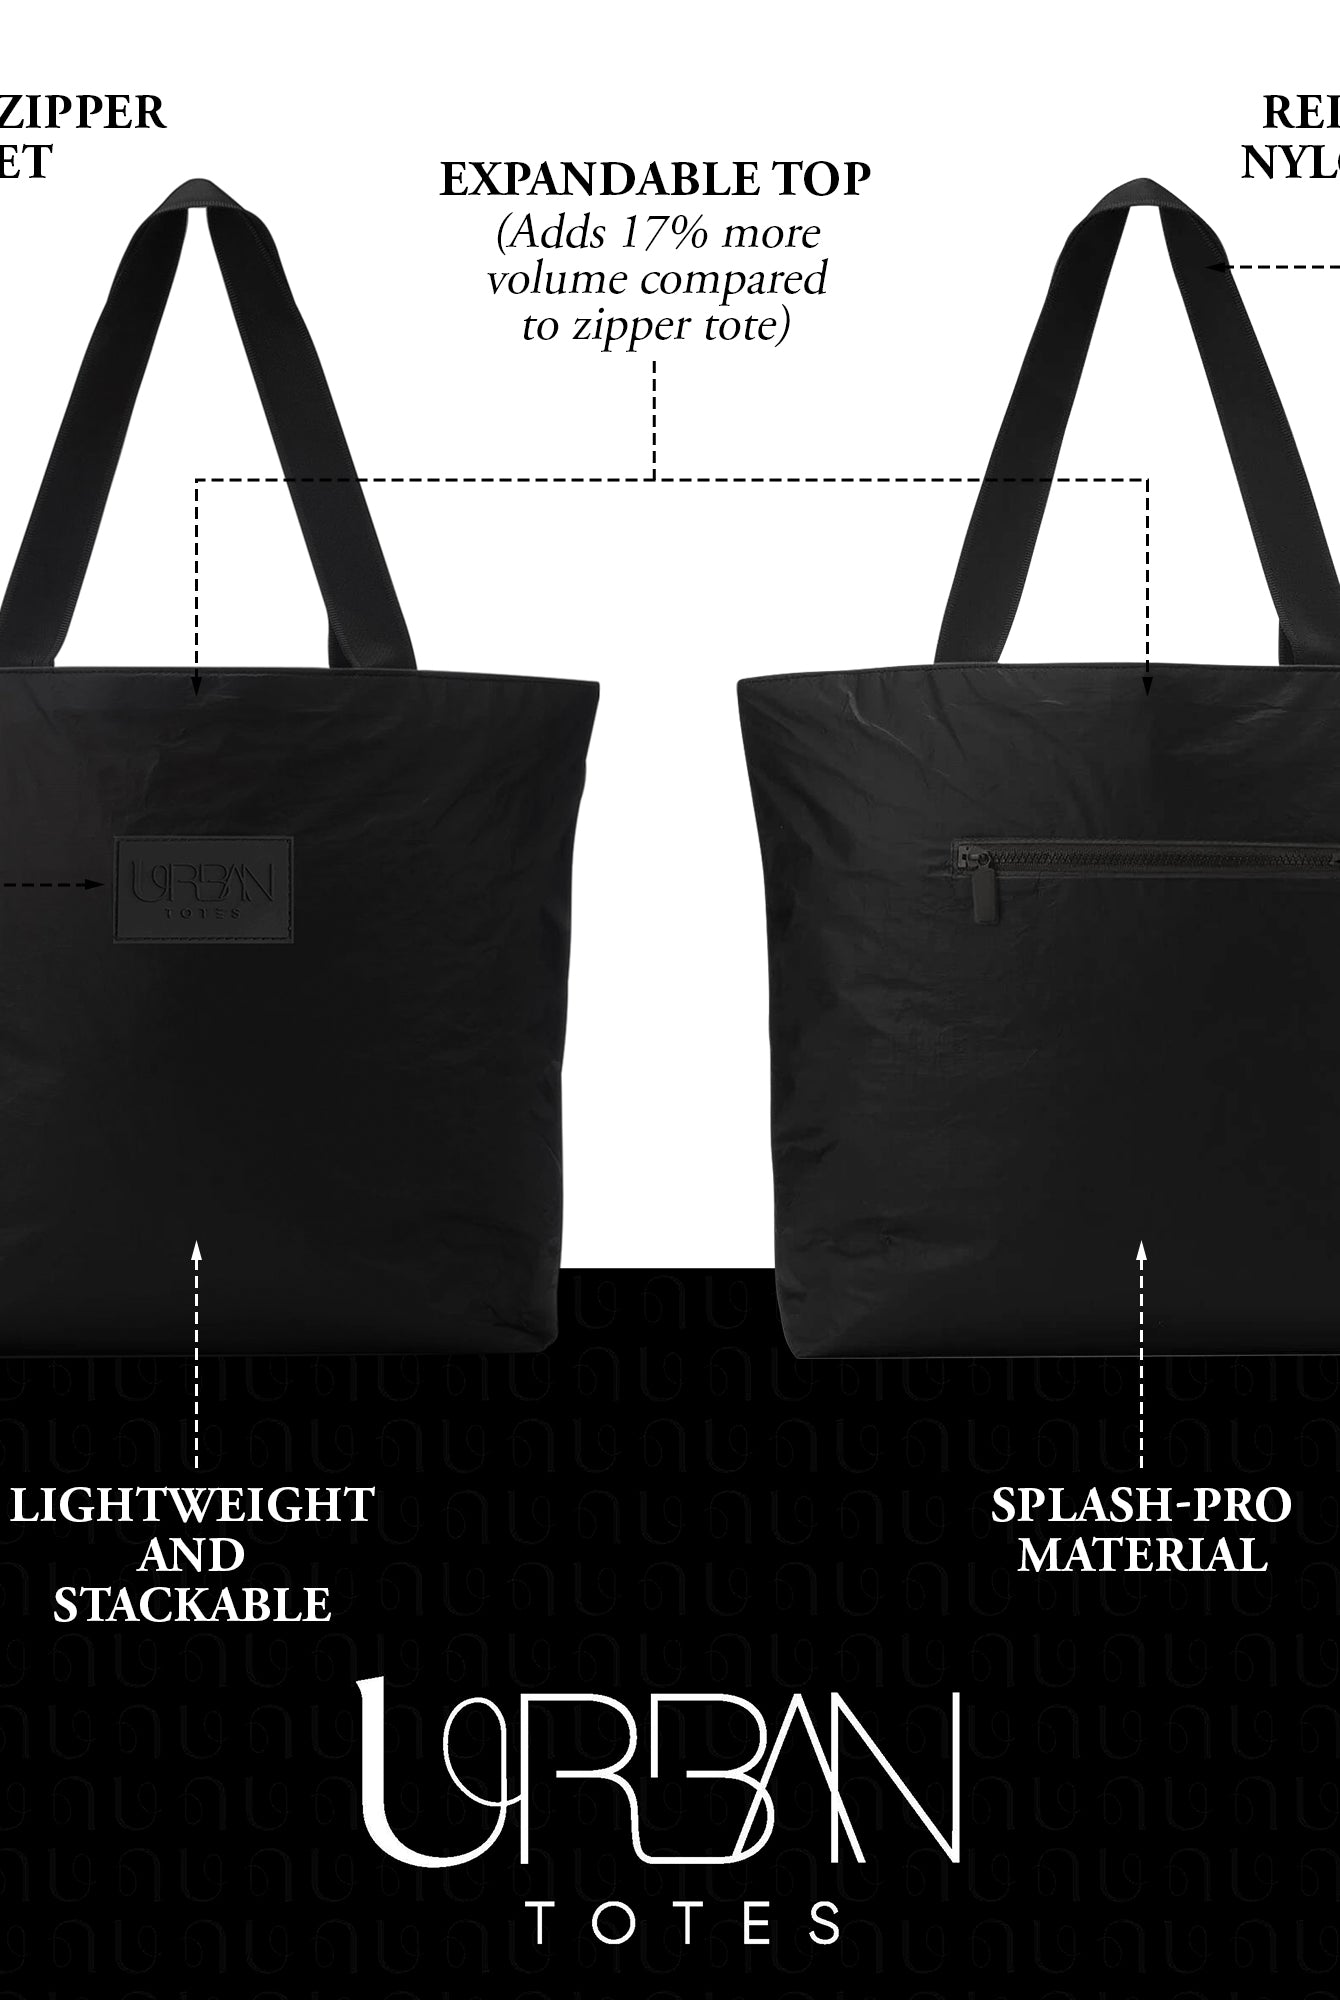
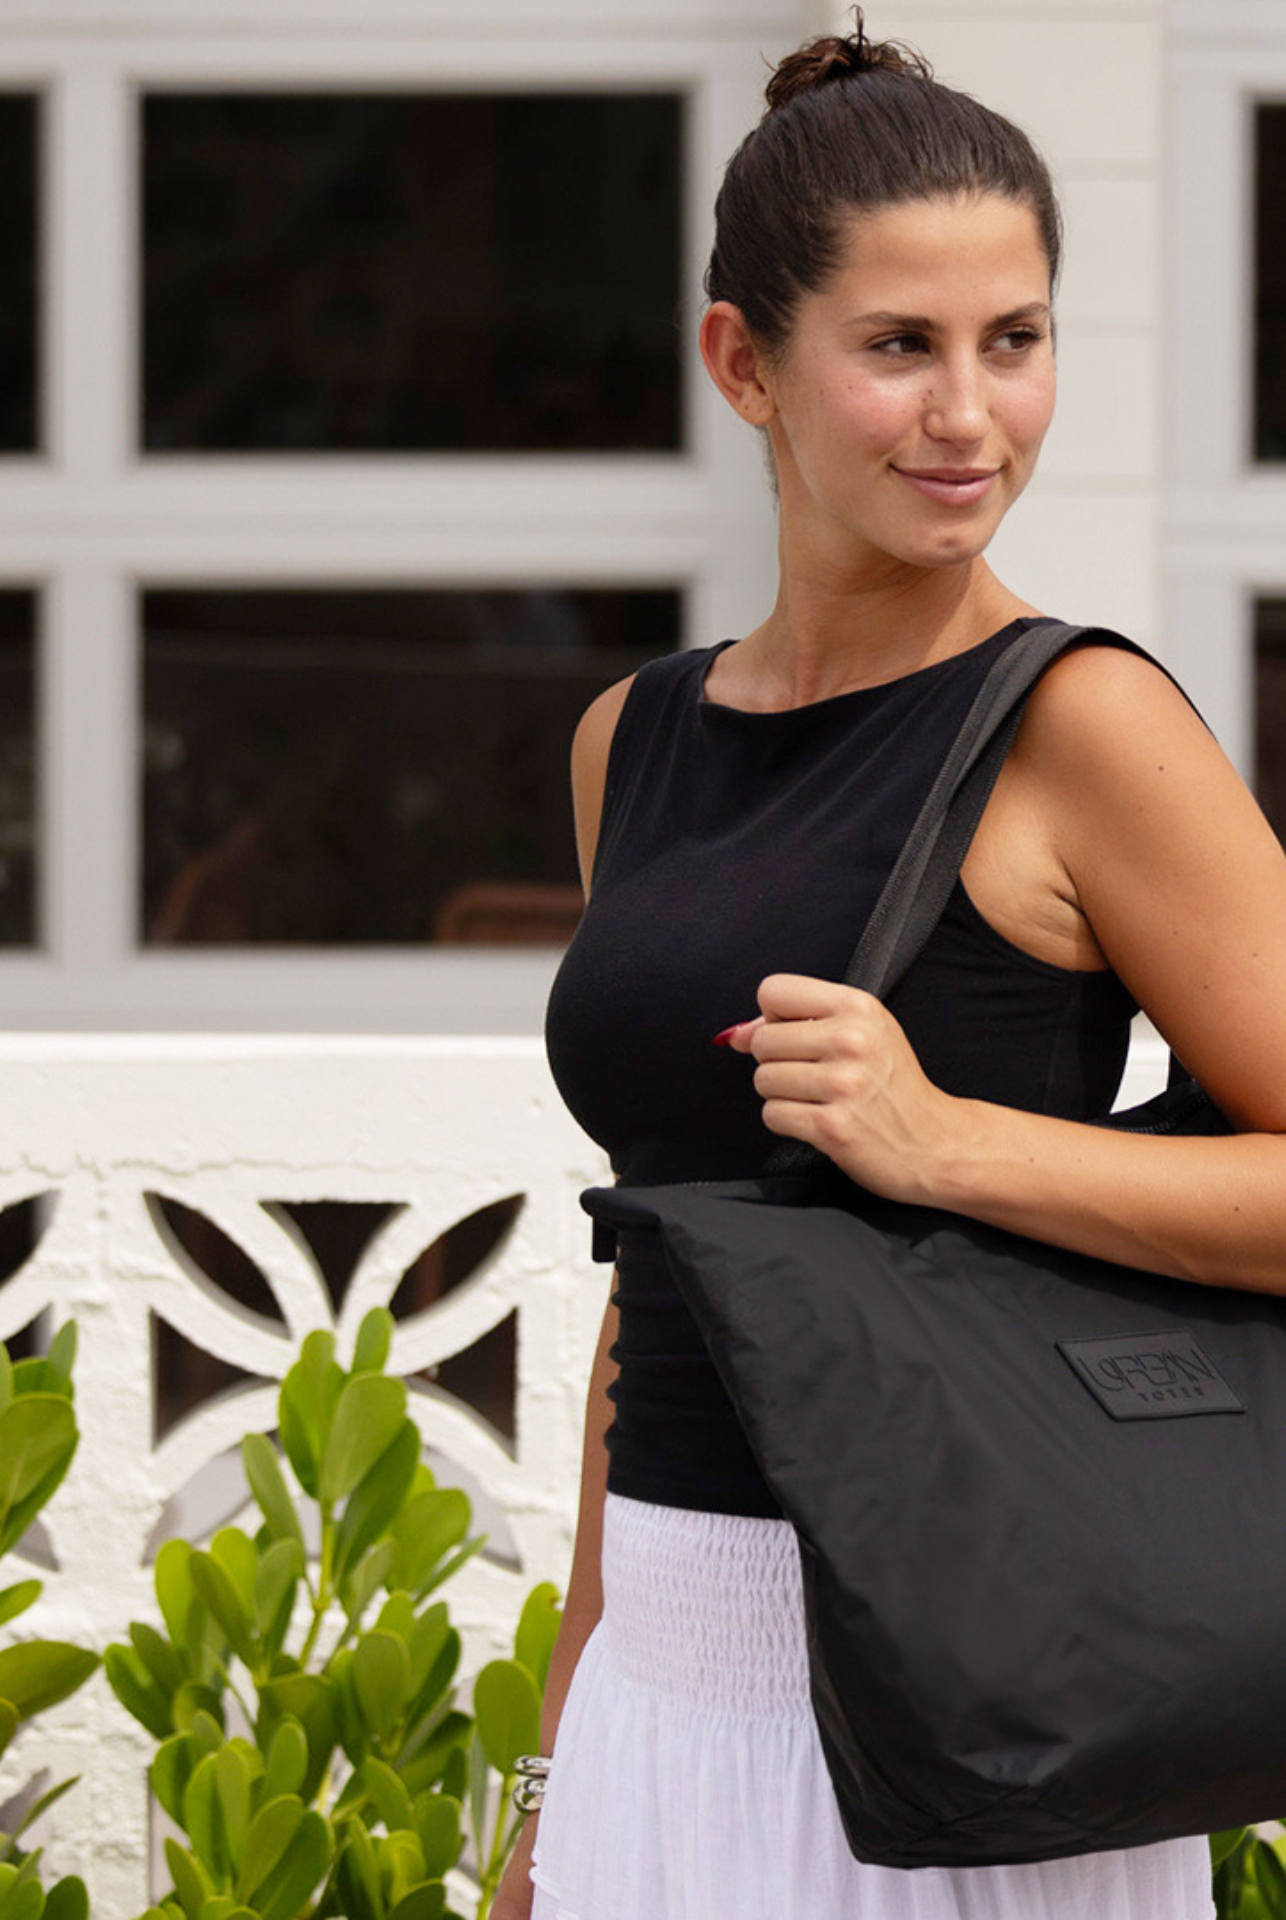
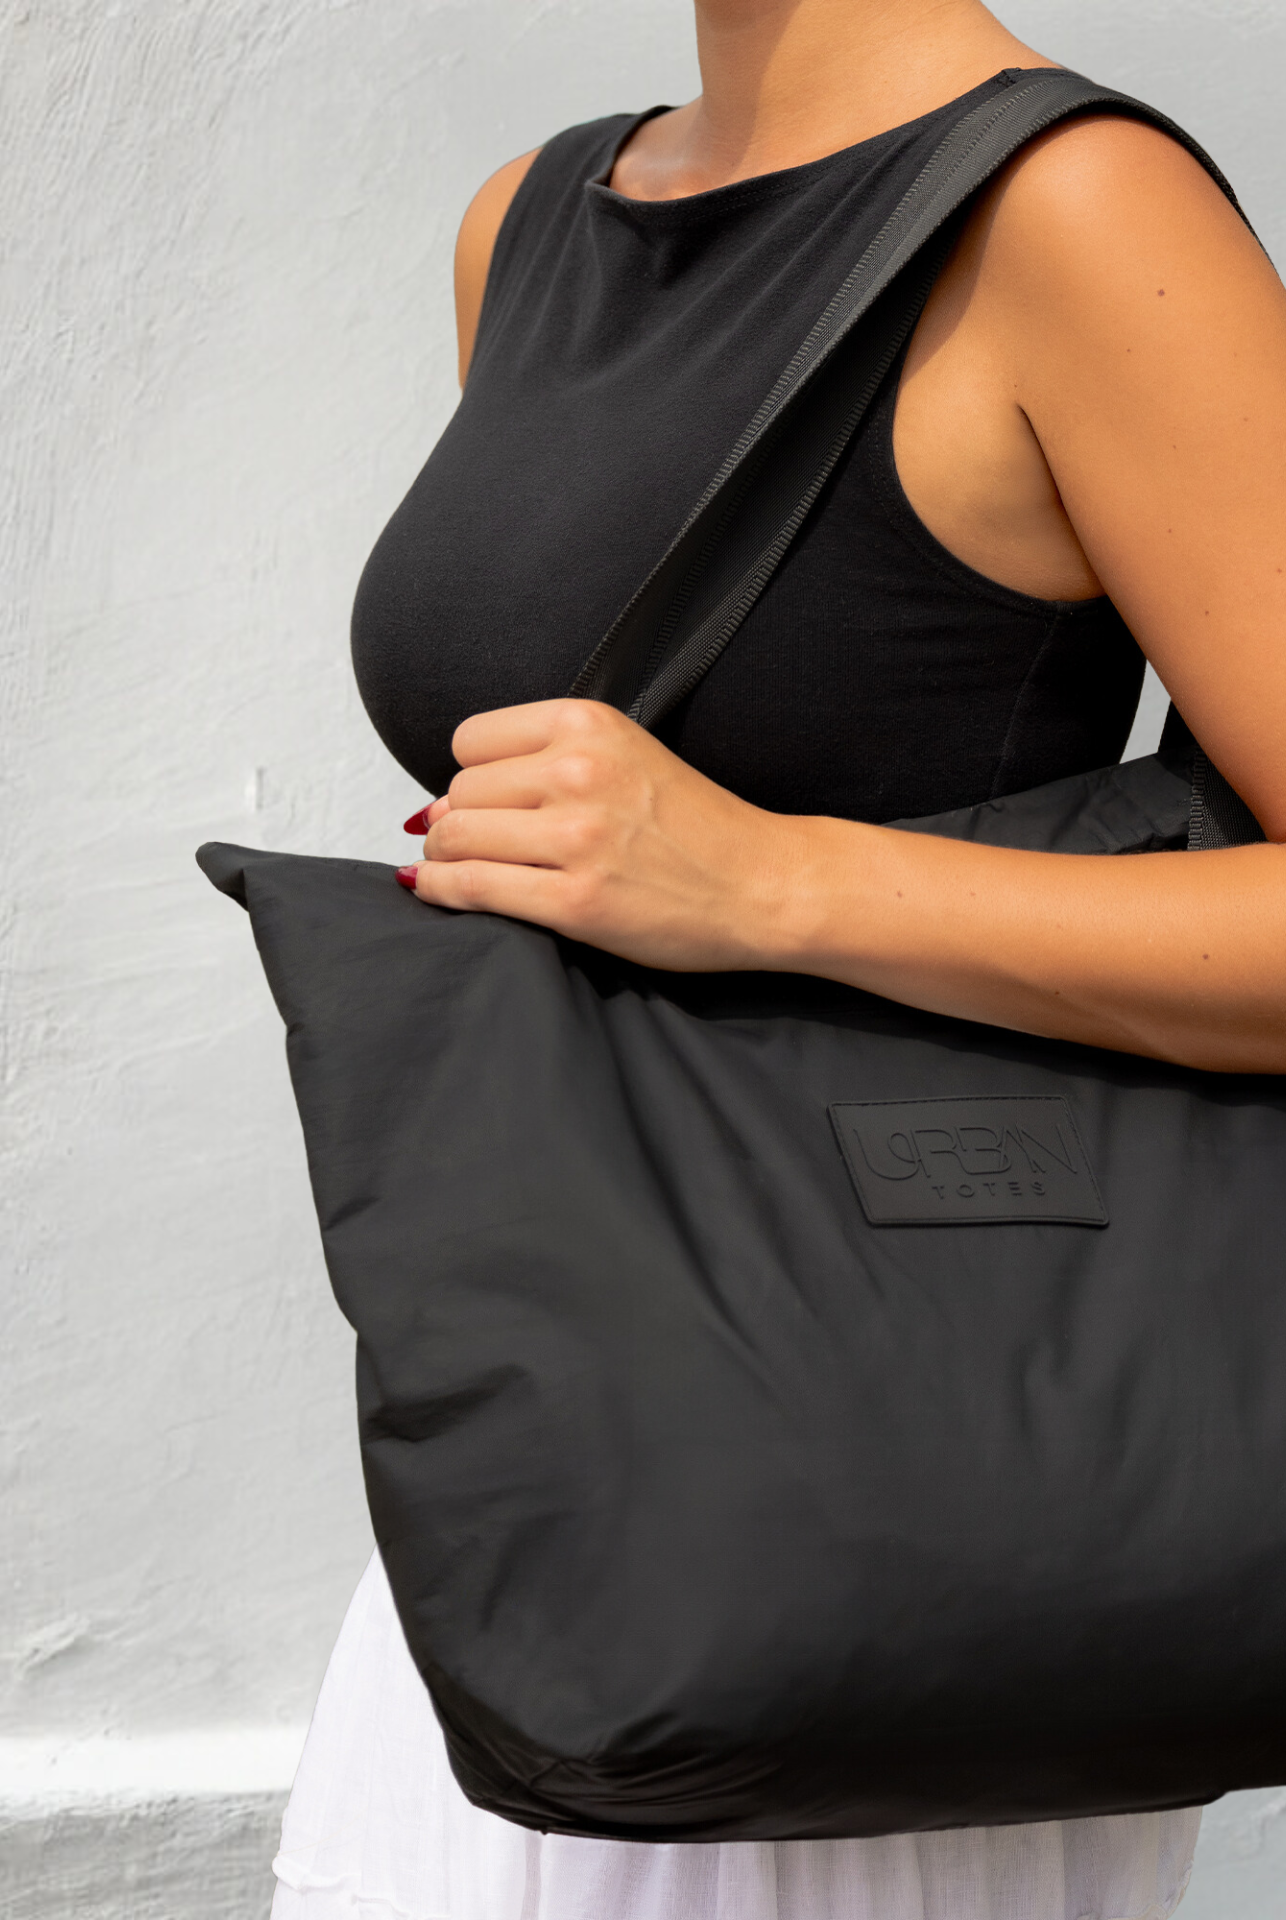
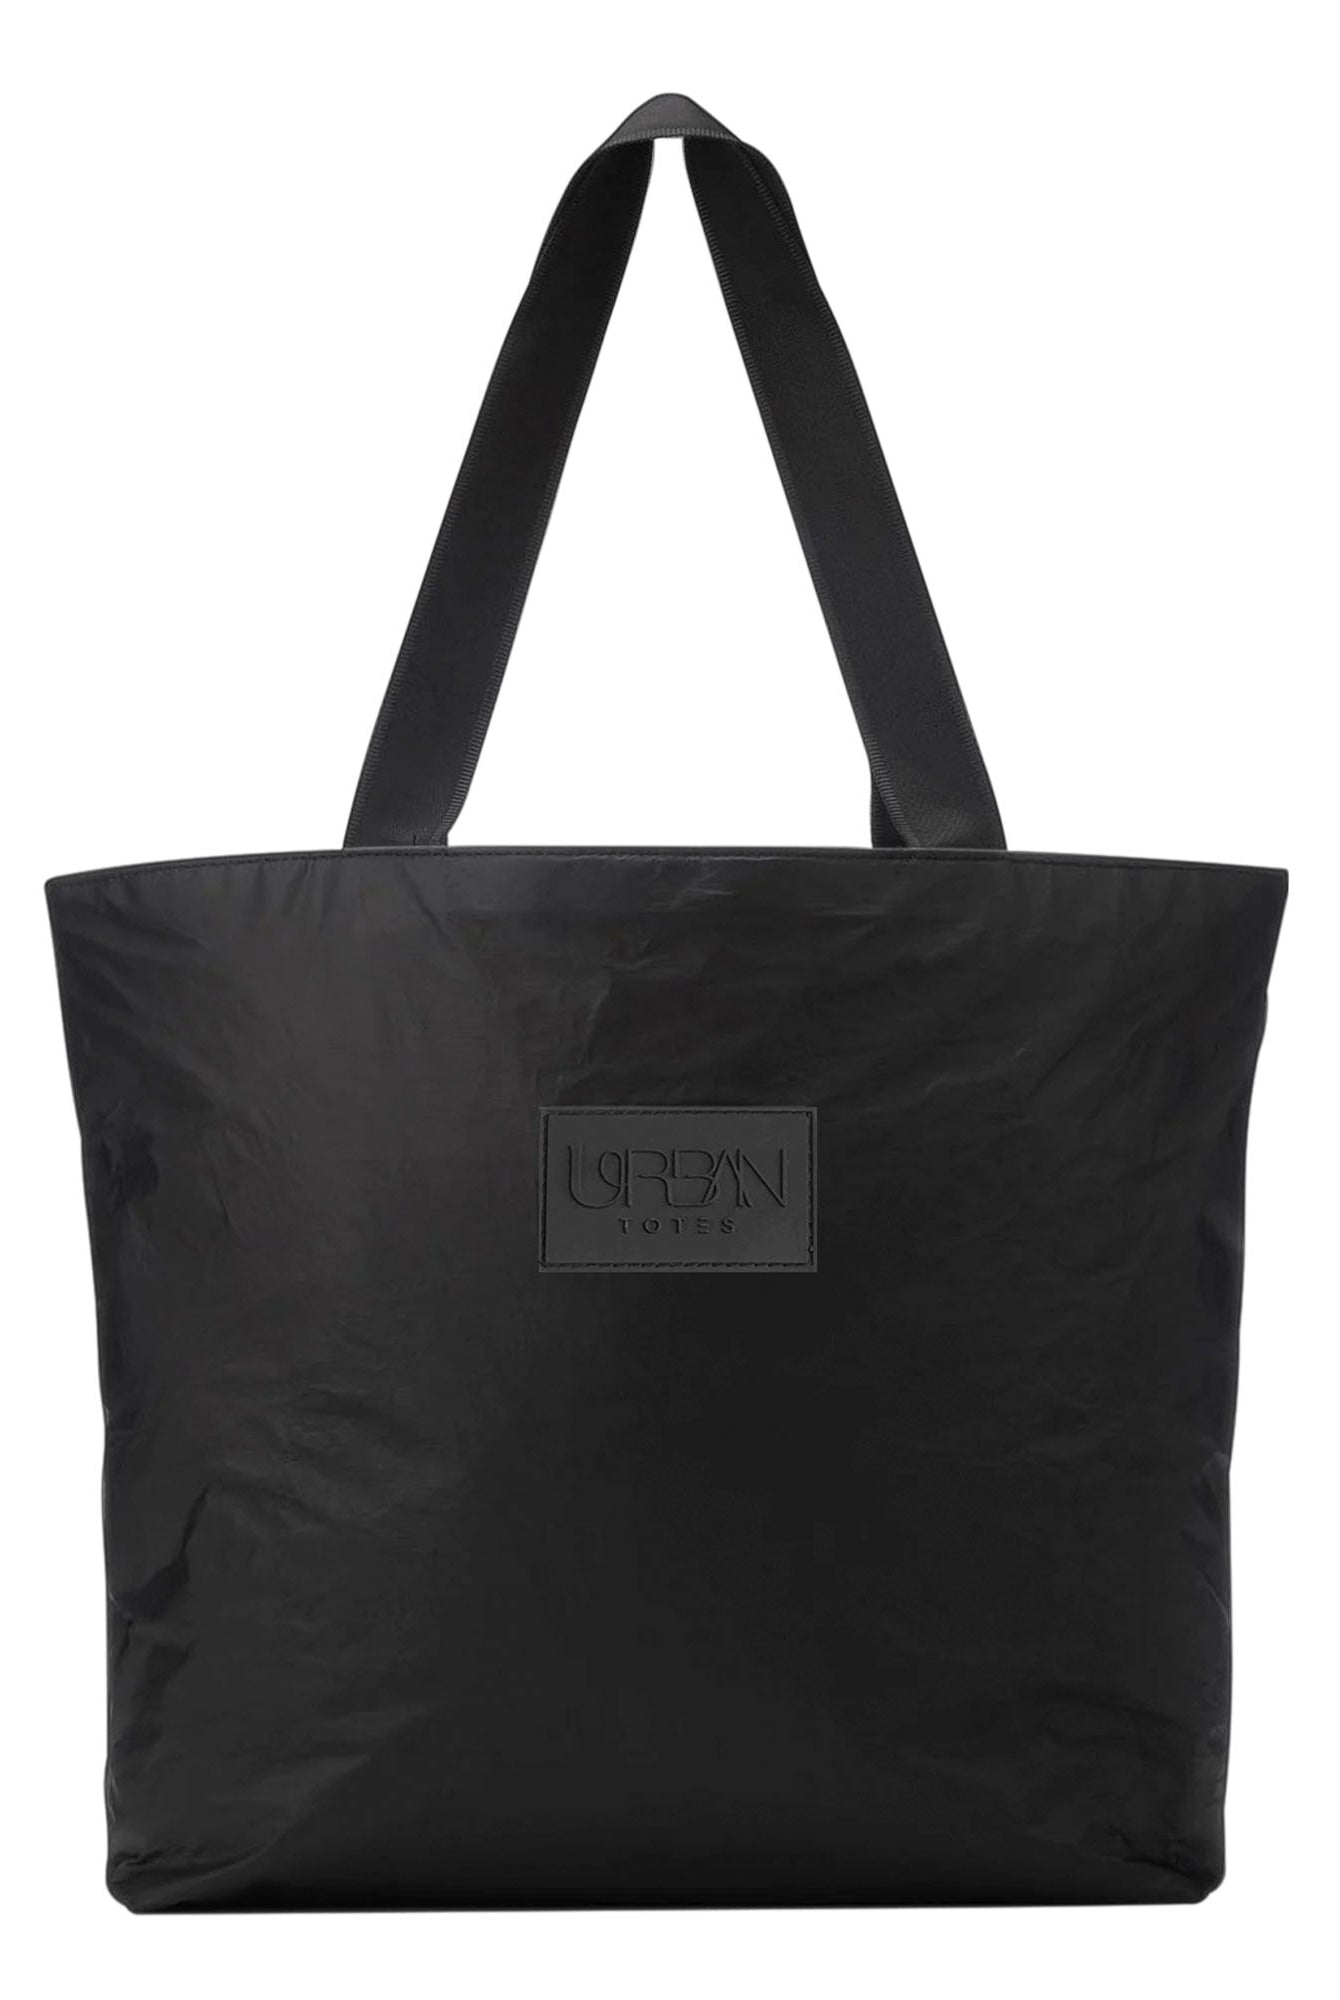
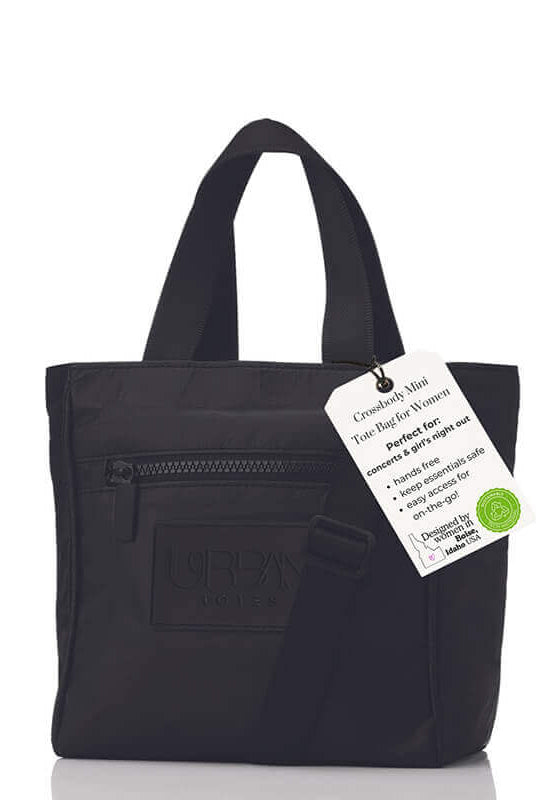
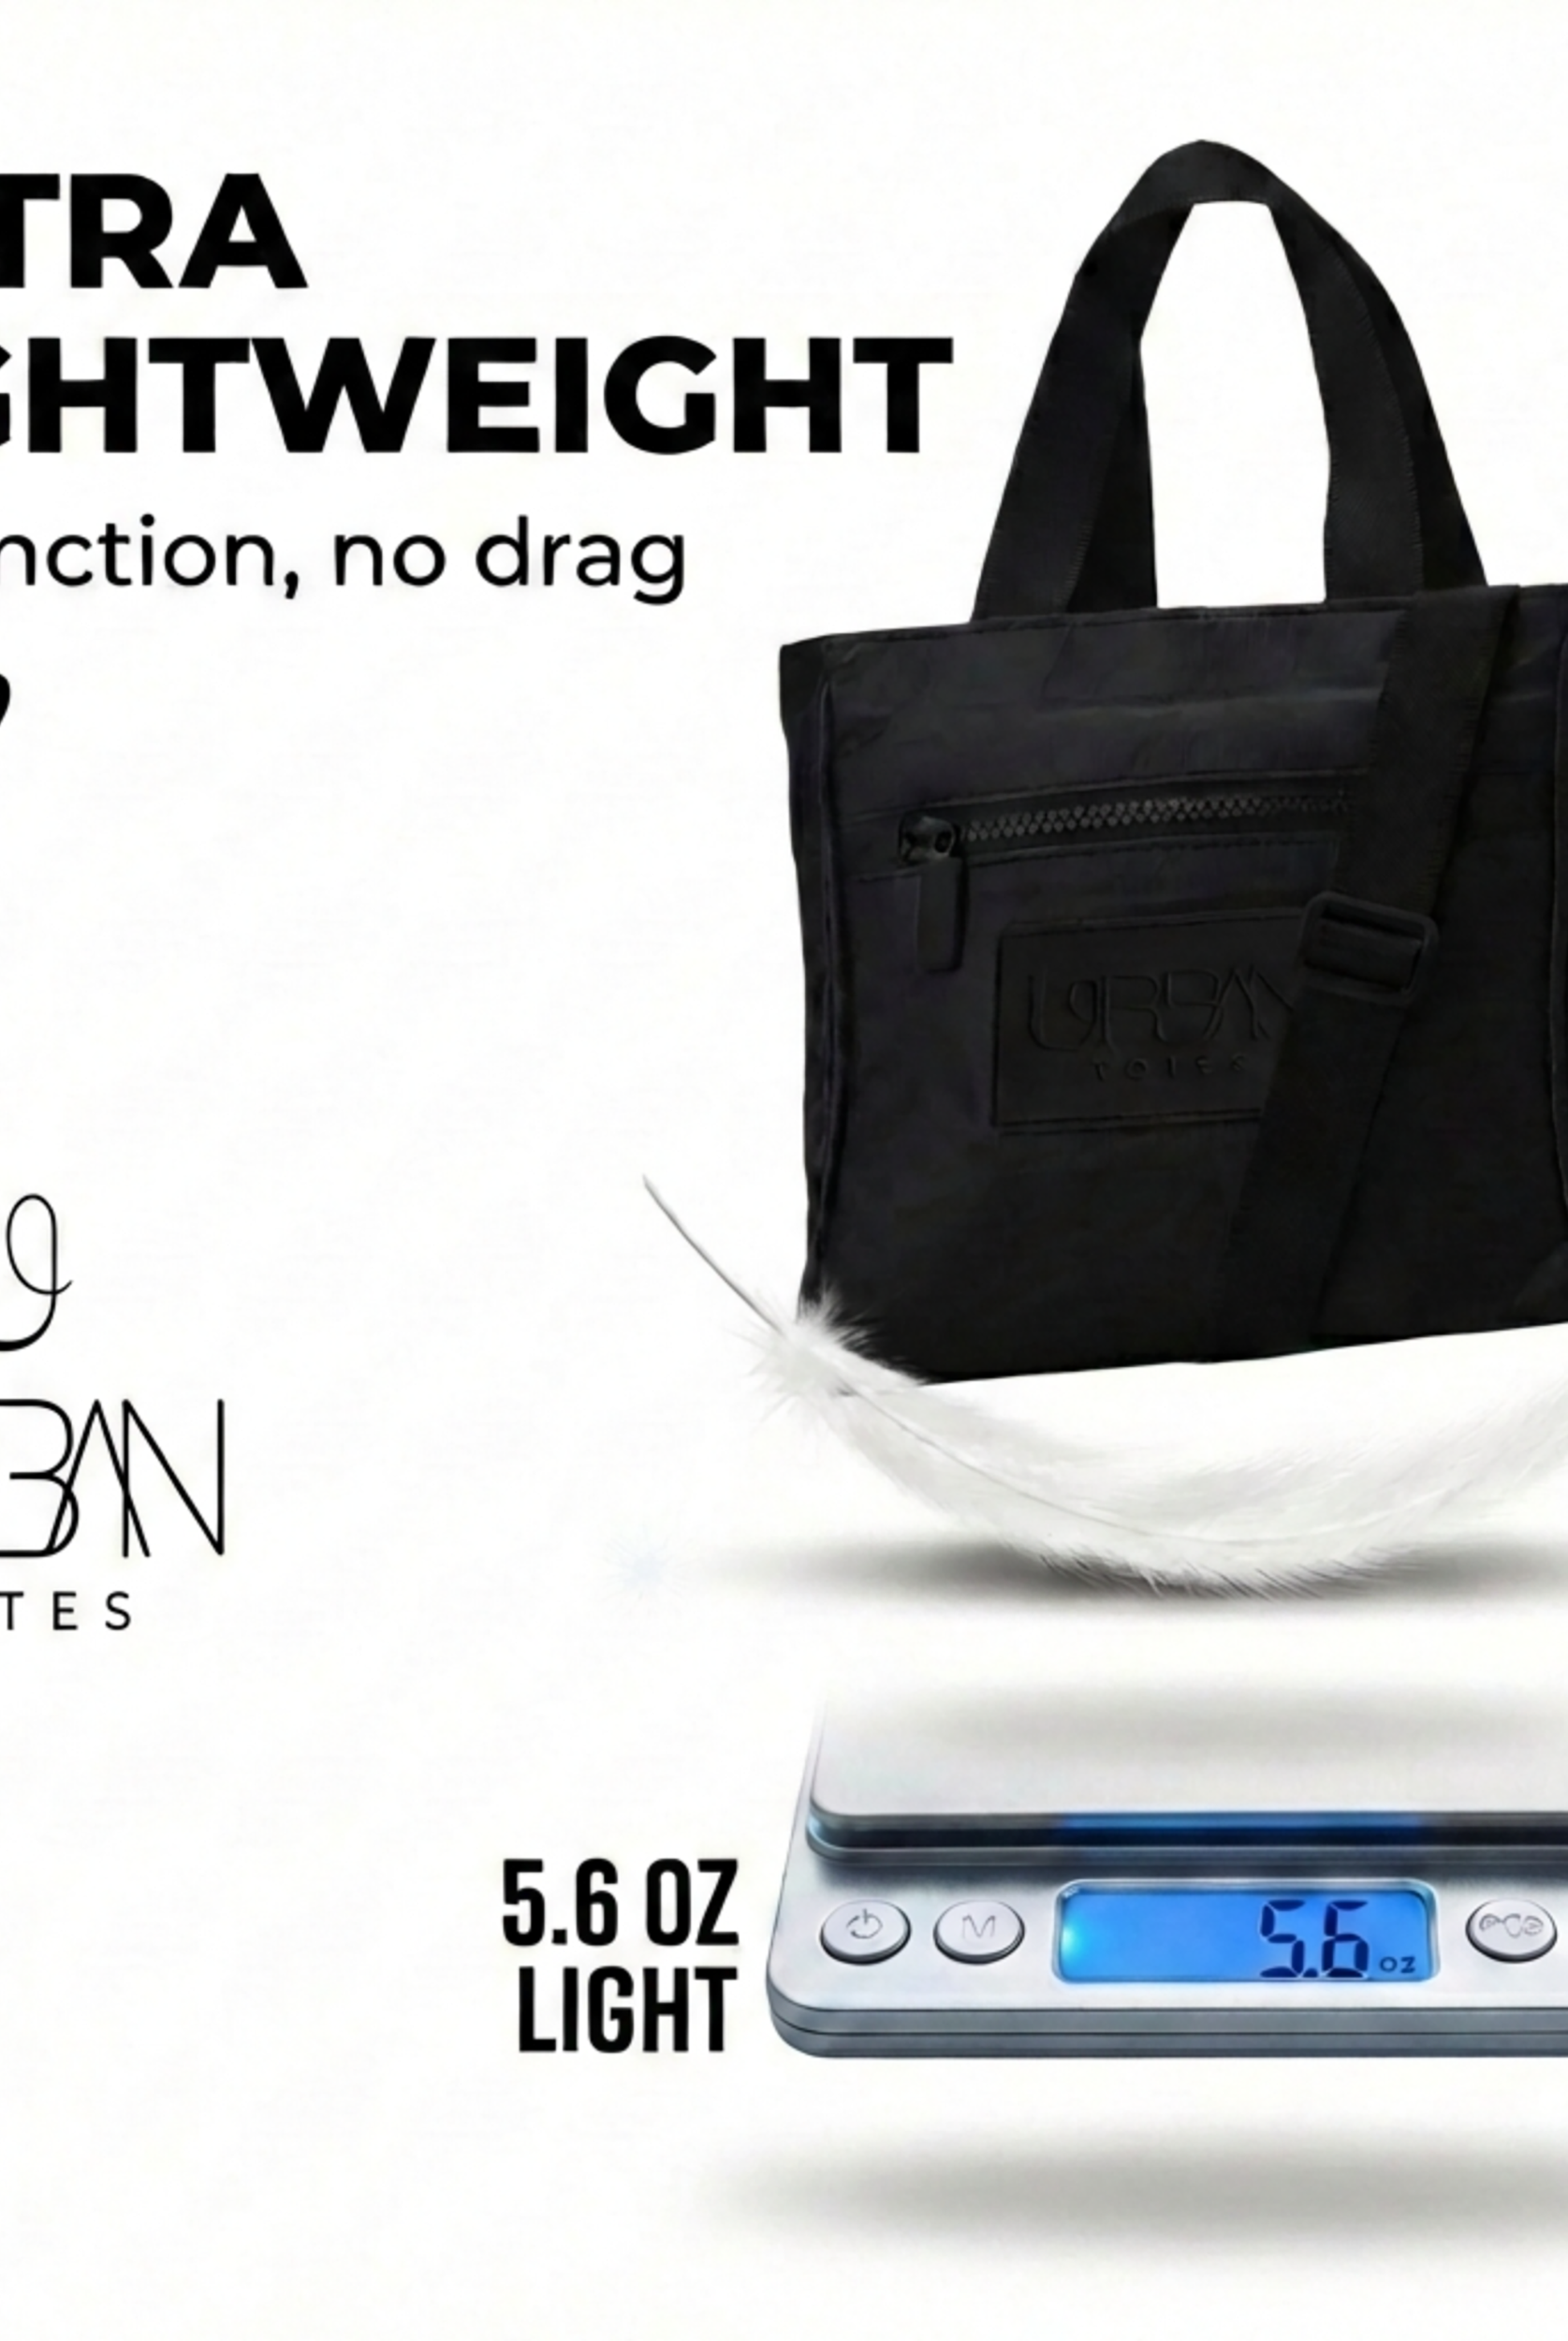
That same idea shows up in the design choices behind a thoughtful bag from a woman-owned brand like Urban Totes, where the focus is on lightweight, water-resistant, packable, foldable, and multi-pocket carry for commuting, travel, errands, and beach days. A handmade version should aim for that same real-life balance. The strap should sit comfortably on the body, the weight should spread without digging into one shoulder, and the pockets should keep the bag from turning into a single deep pit where everything disappears.
A strong bag is not only about capacity. Strap placement changes how the load hangs, strap width changes how pressure feels after a long day, and pocket layout changes whether your phone and keys are easy to reach or buried under everything else. A narrow strap may look neat, but it can bite into the shoulder once the bag is full. A wider strap, a well-placed anchor point, and a sensible interior division make the bag feel calmer in use, the way a good chair supports you without drawing attention to itself.
If you are making one for the first time, you are learning more than assembly. You are learning how size, strap placement, and compartment layout change the way the bag feels once it is loaded. The next choices, fabric, hardware, and interfacing, decide whether the finished piece carries comfortably or hangs off you like an afterthought.
Materials, Notions, and Fabric Choices
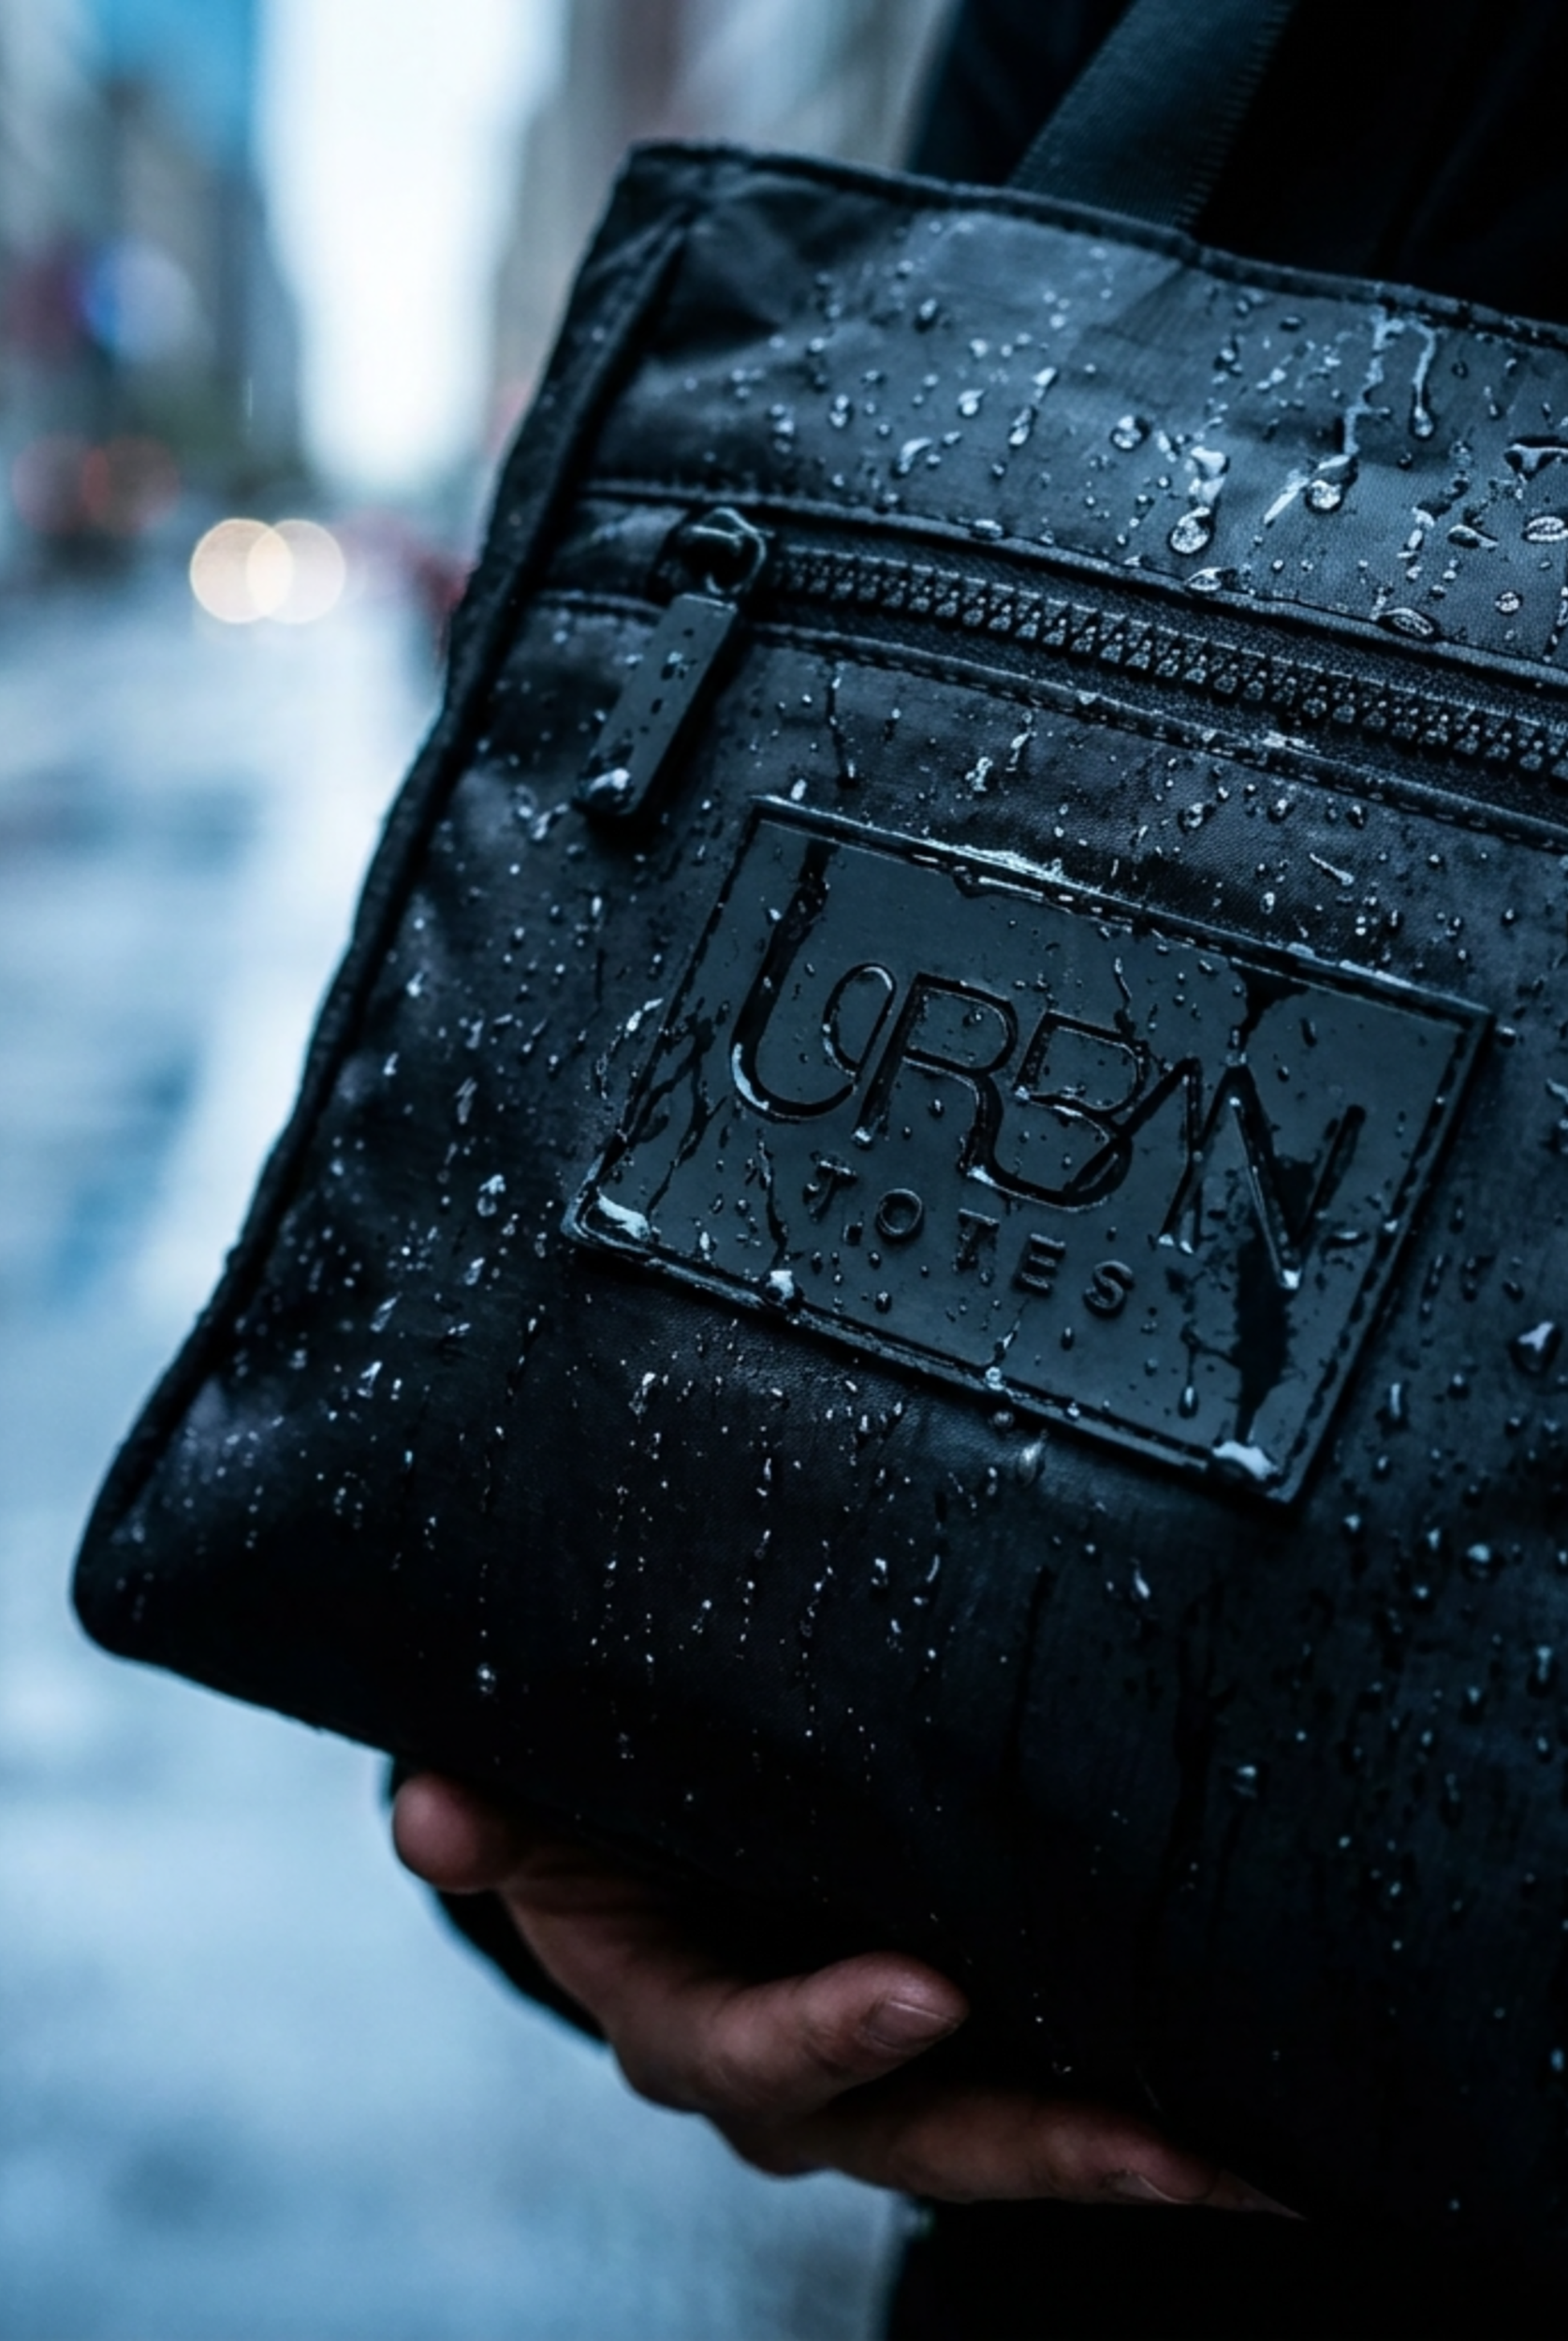
The outside fabric gives the bag its first impression, but the lining, interfacing, and hardware decide how it behaves in daily use. For a crossbody tote bag pattern made for everyday carry, choose water-resistant technical nylon, recycled polyester, or coated canvas for the exterior. These fabrics hold shape better than limp cotton, and they make the finished bag easier to wipe clean after a commute, a beach day, or a coffee spill. If you want to compare how different surface textures and weights change the feel of a finished bag, the Pandemonium Millinery handbag collection is a useful reference point.

What to buy before you start
A slippery lining fabric, such as quilting-weight lining nylon or a smooth poly lining, helps your phone, wallet, and keys slide in and out instead of catching on the inside walls. Use interfacing only where the bag needs support. Pellon 808 gives a firmer hand, SF-101 adds lighter body, and Decovil Light gives a more defined shape to pockets, strap anchors, or the top edge.
A bag can be sewable and still feel wrong in use if the fabric stack is too stiff in one place and too soft in another.
Your notions list should stay practical. Gather coordinating thread, zippers in the lengths your pattern calls for, D-rings or swivel hooks, a strap adjuster, and a turning tool for clean corners and straps. If you are deciding on materials for the body, lining, and support layers, this guide to tote bag material can help you sort through fabric choices before you cut anything.
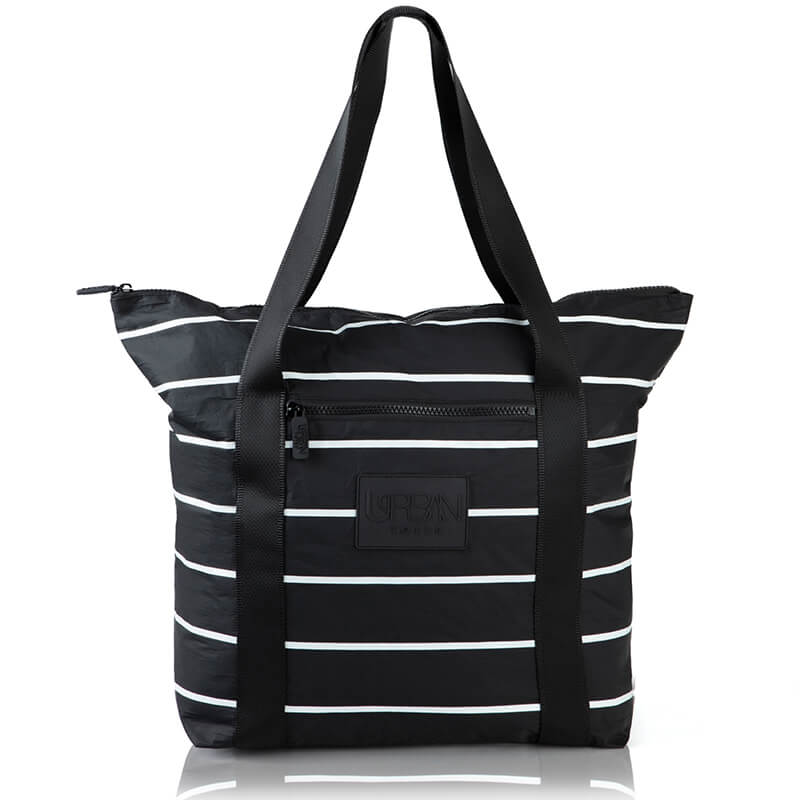
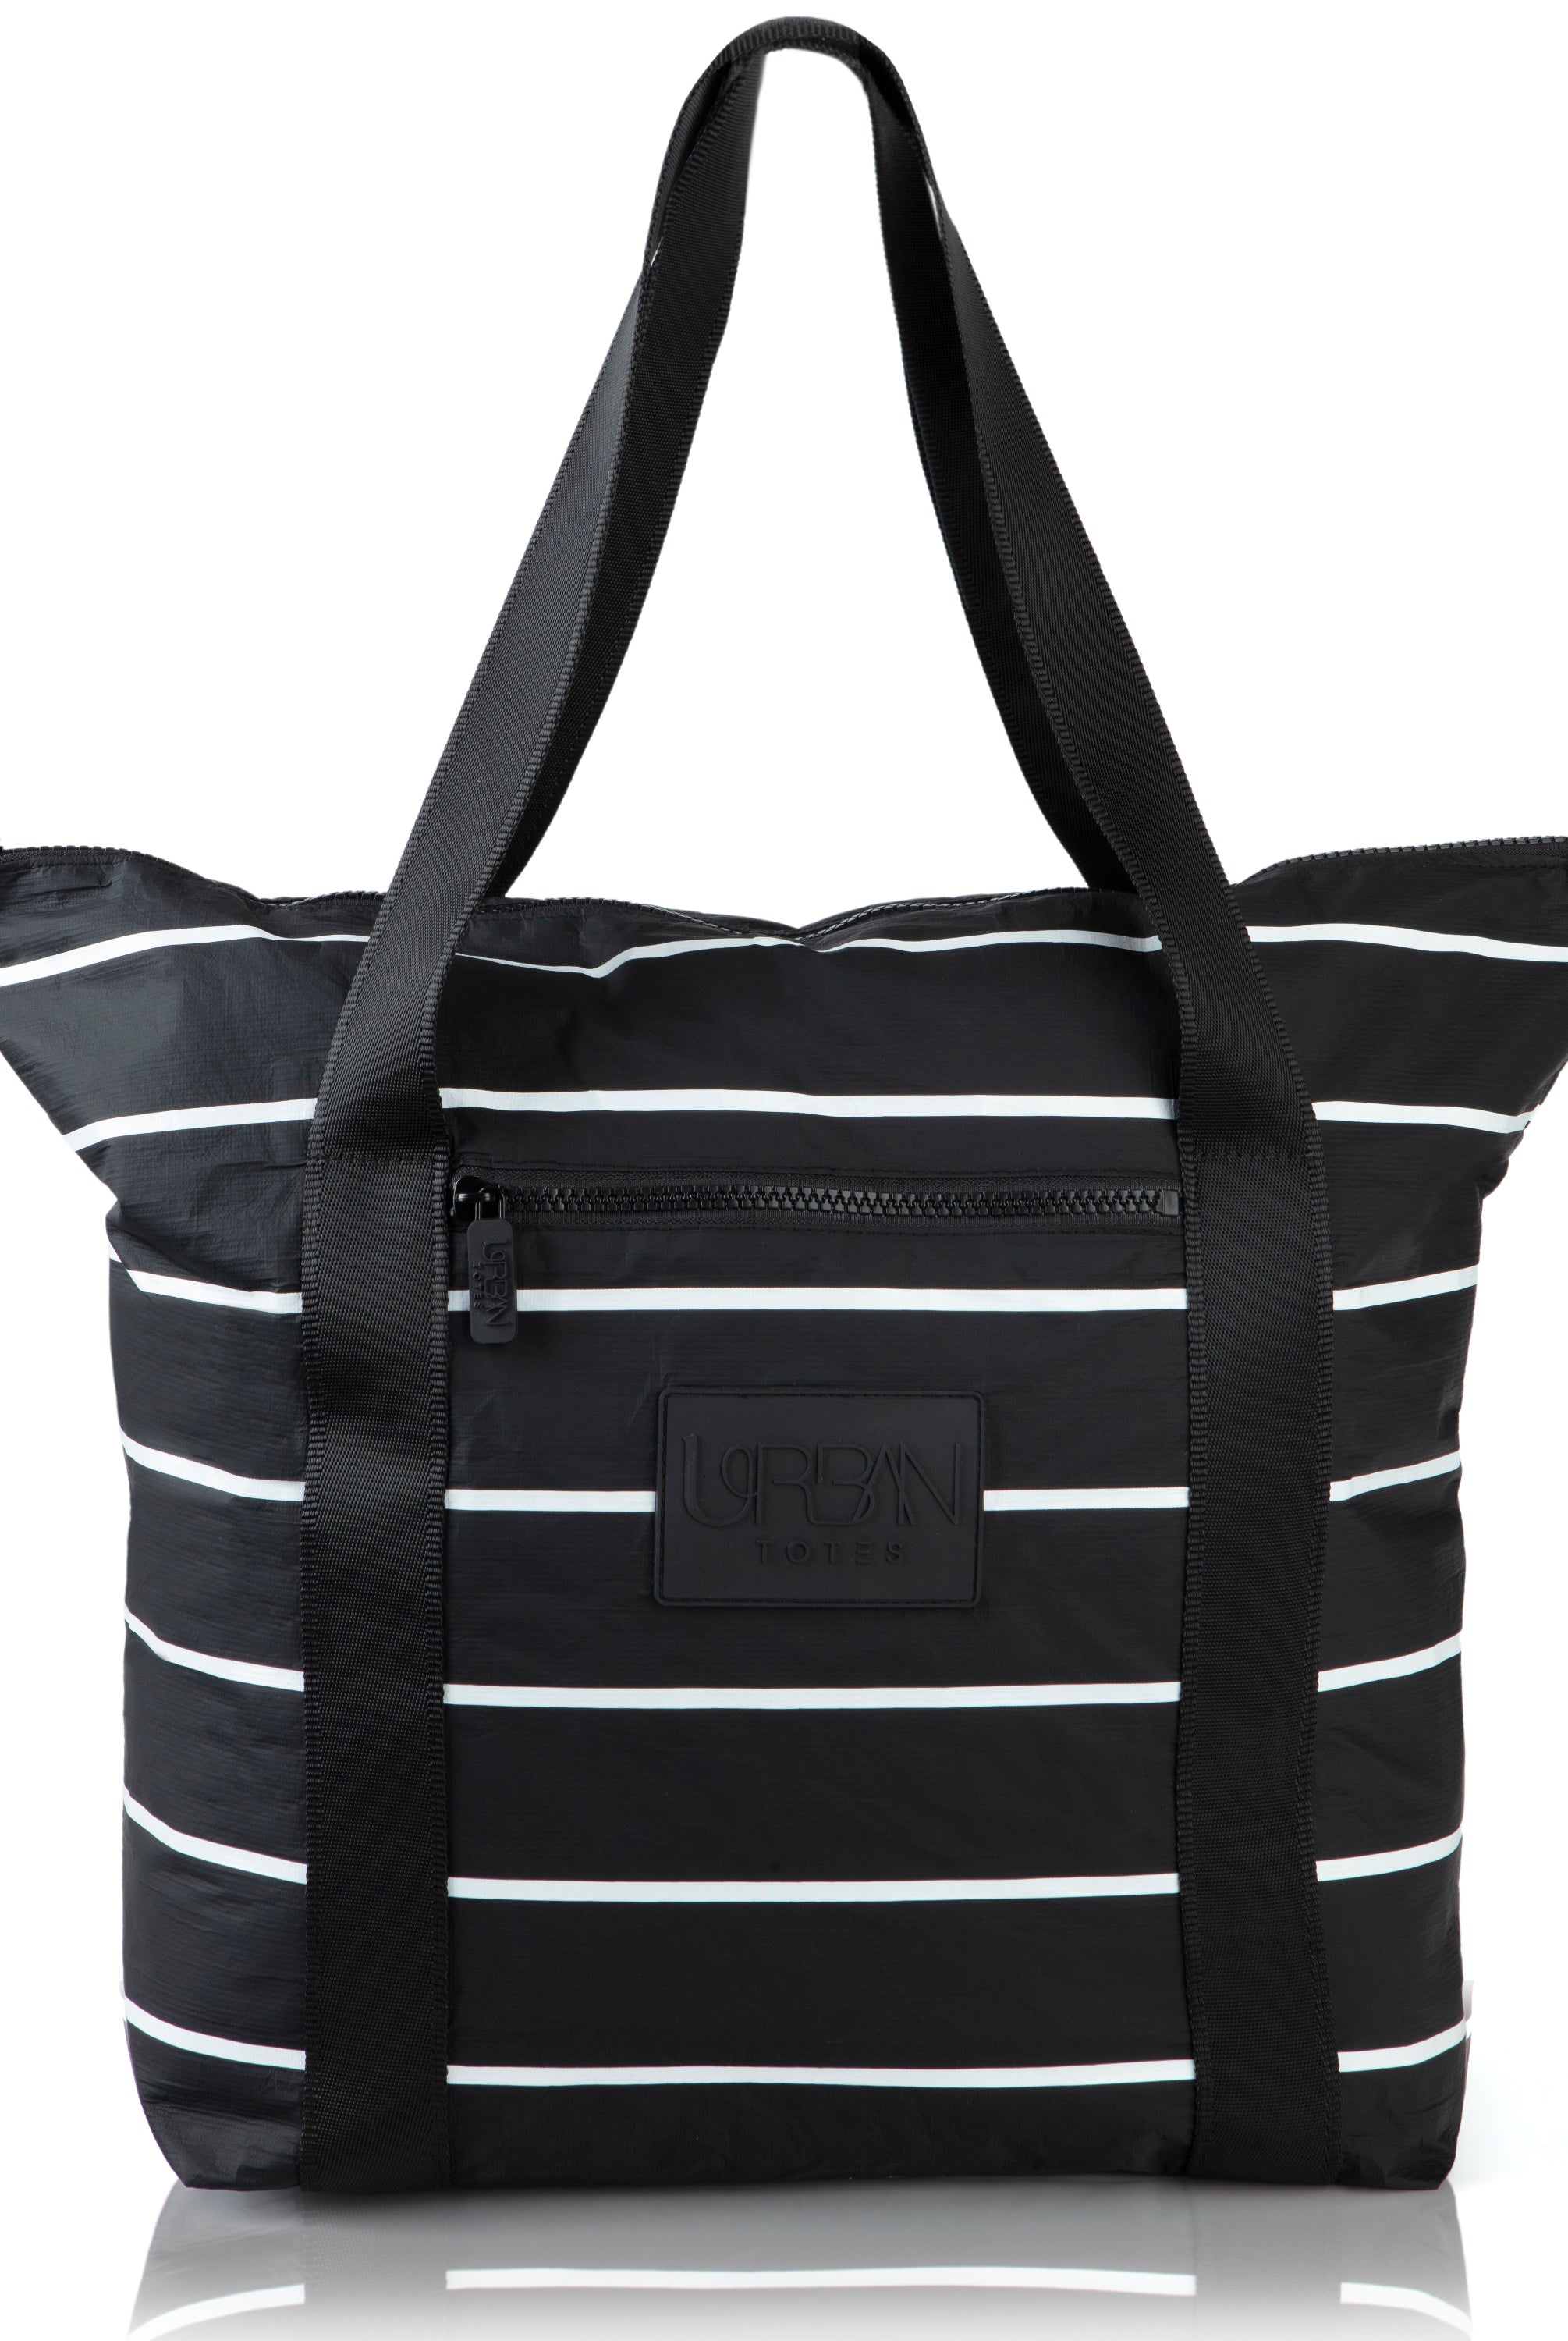
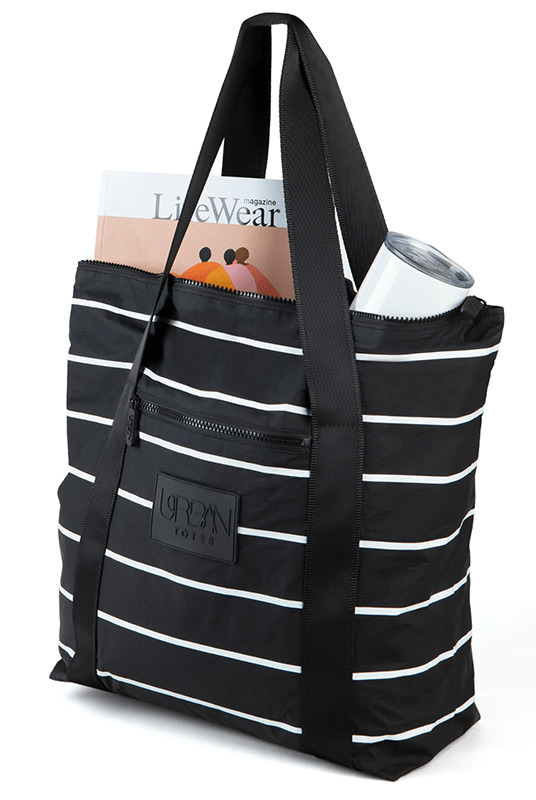
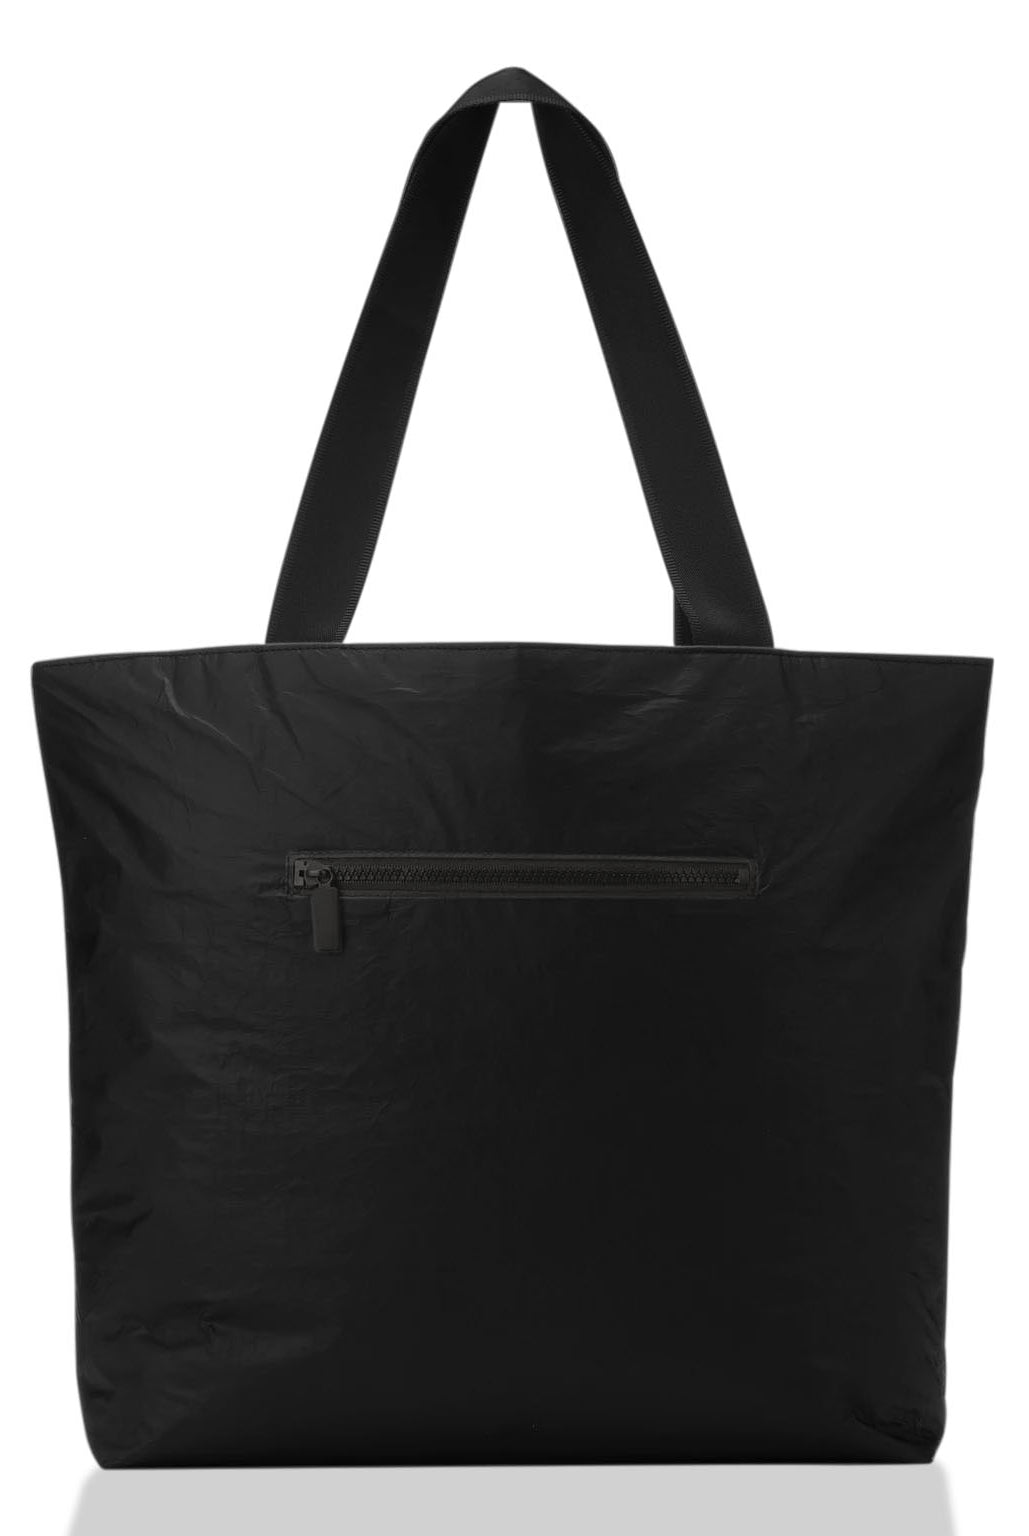
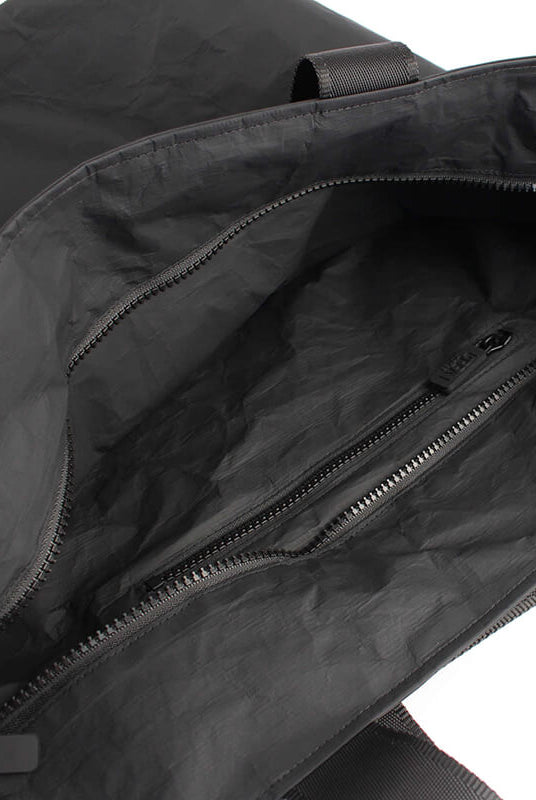
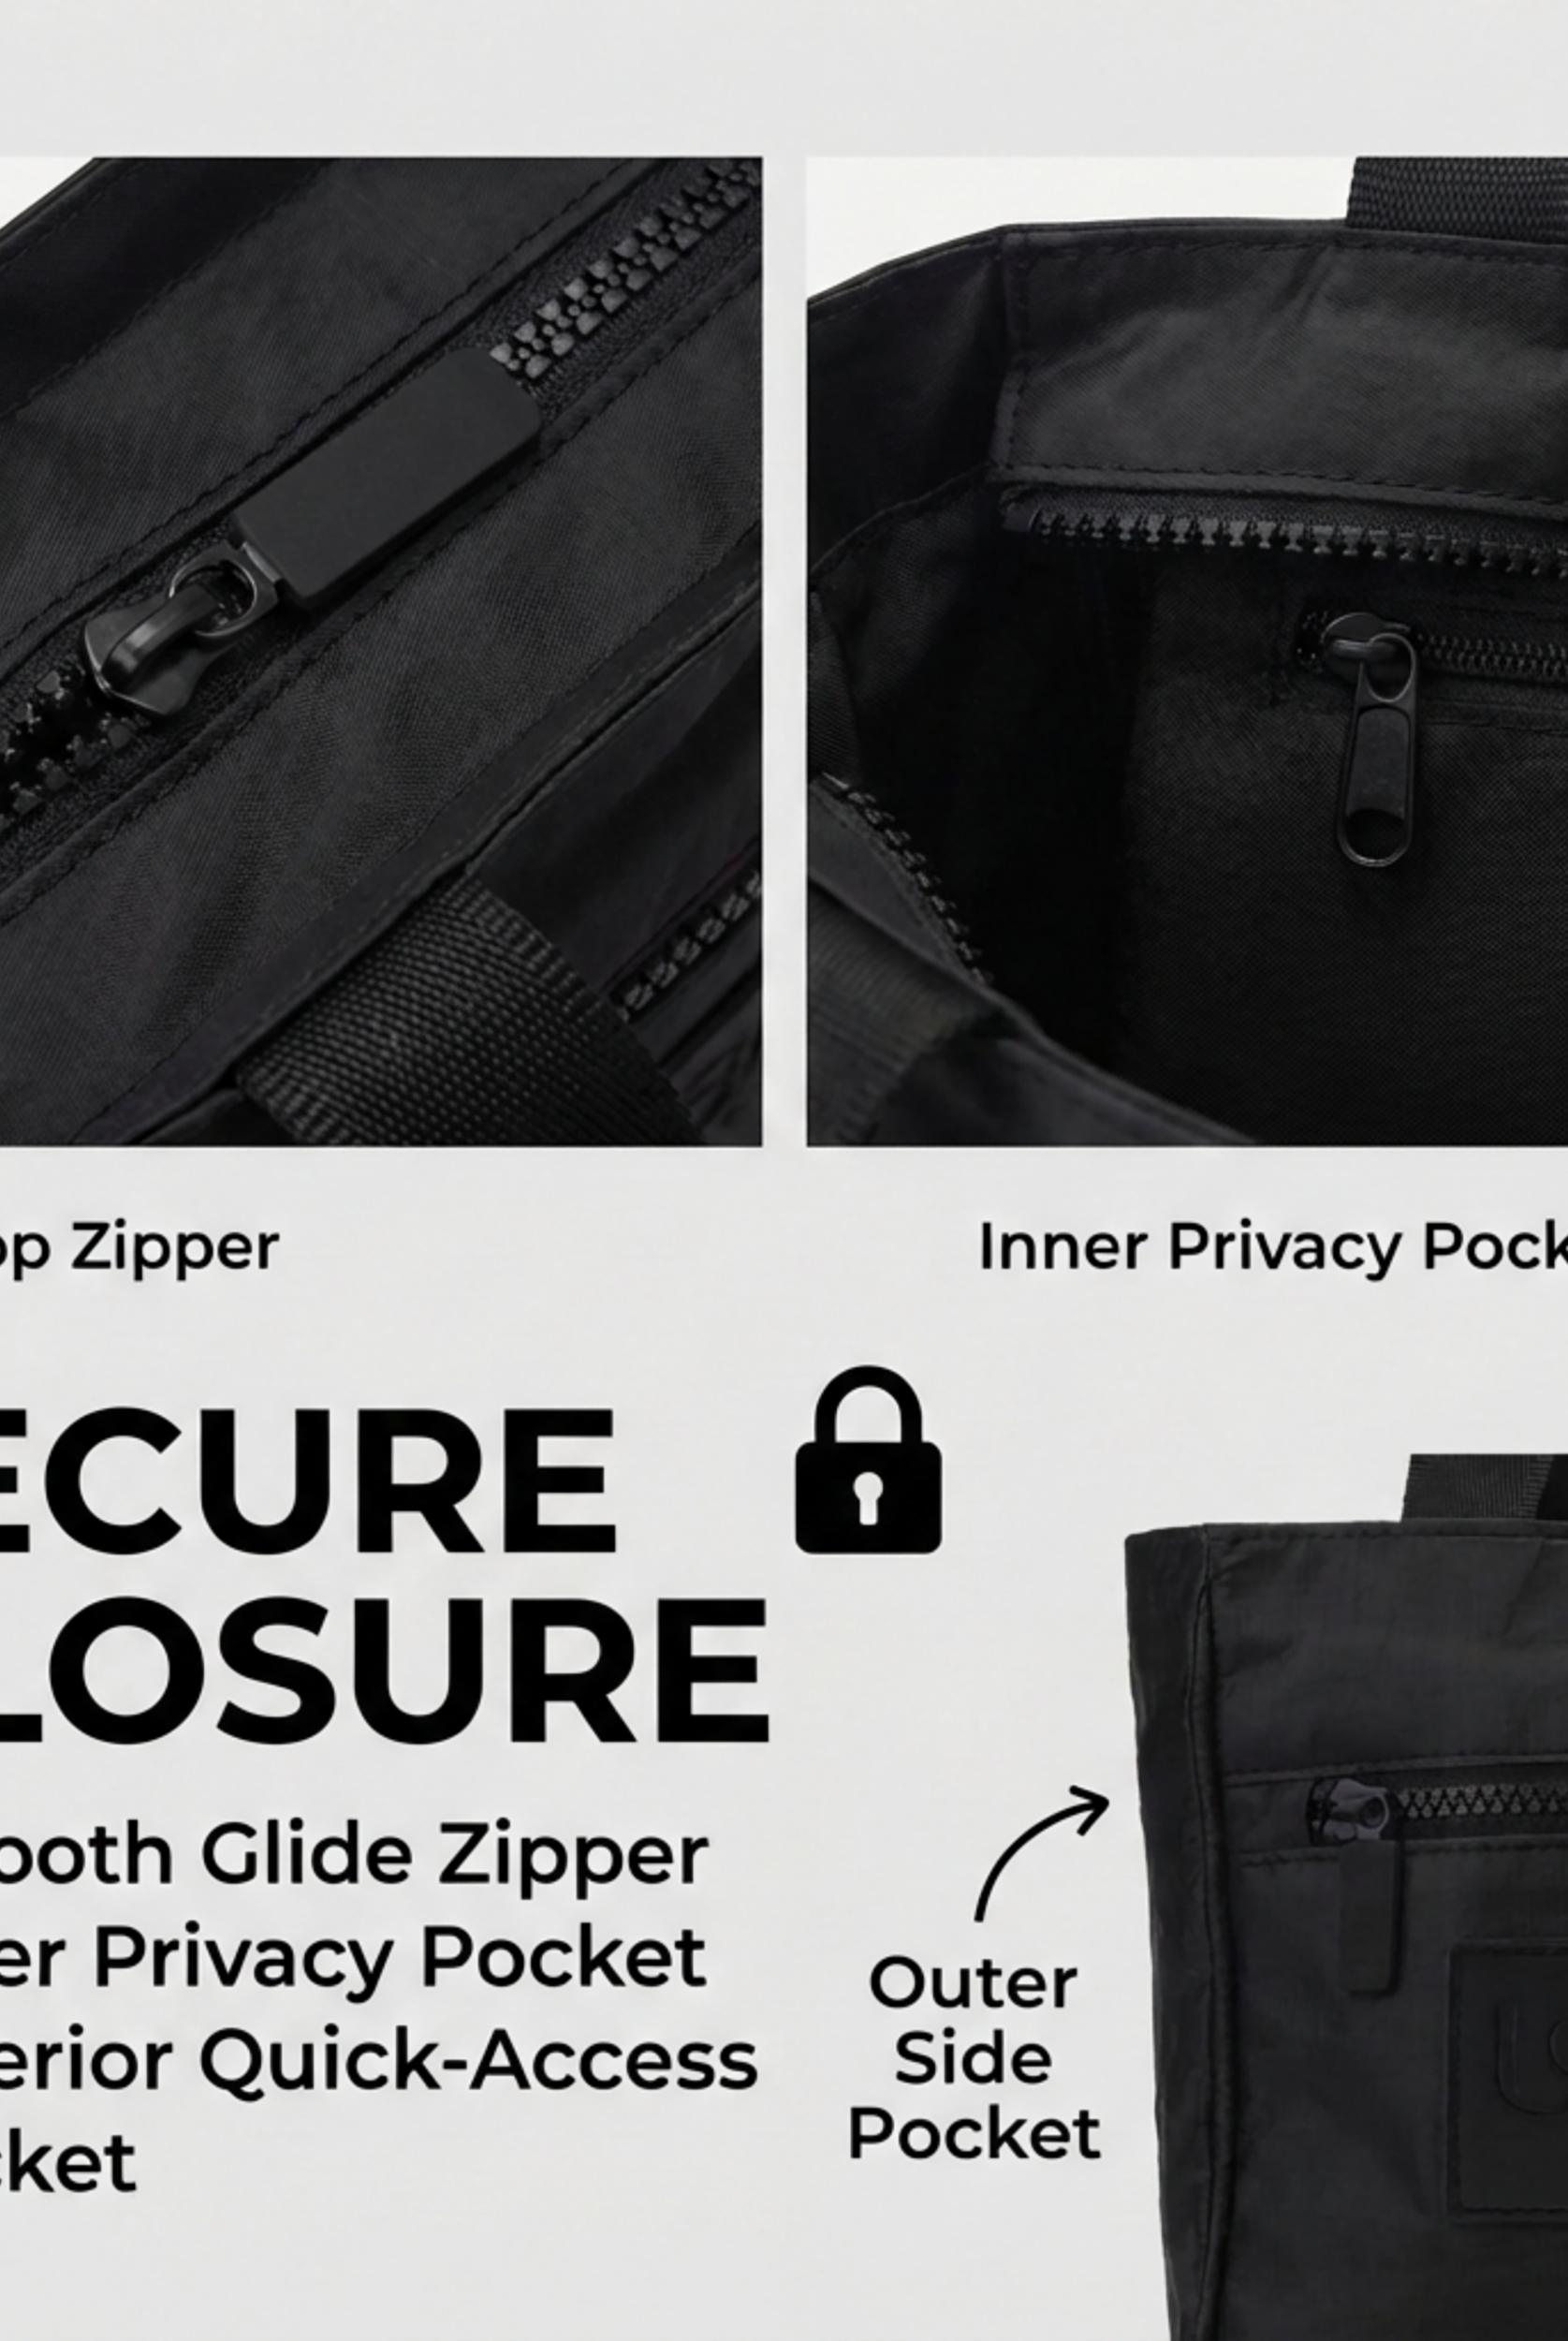
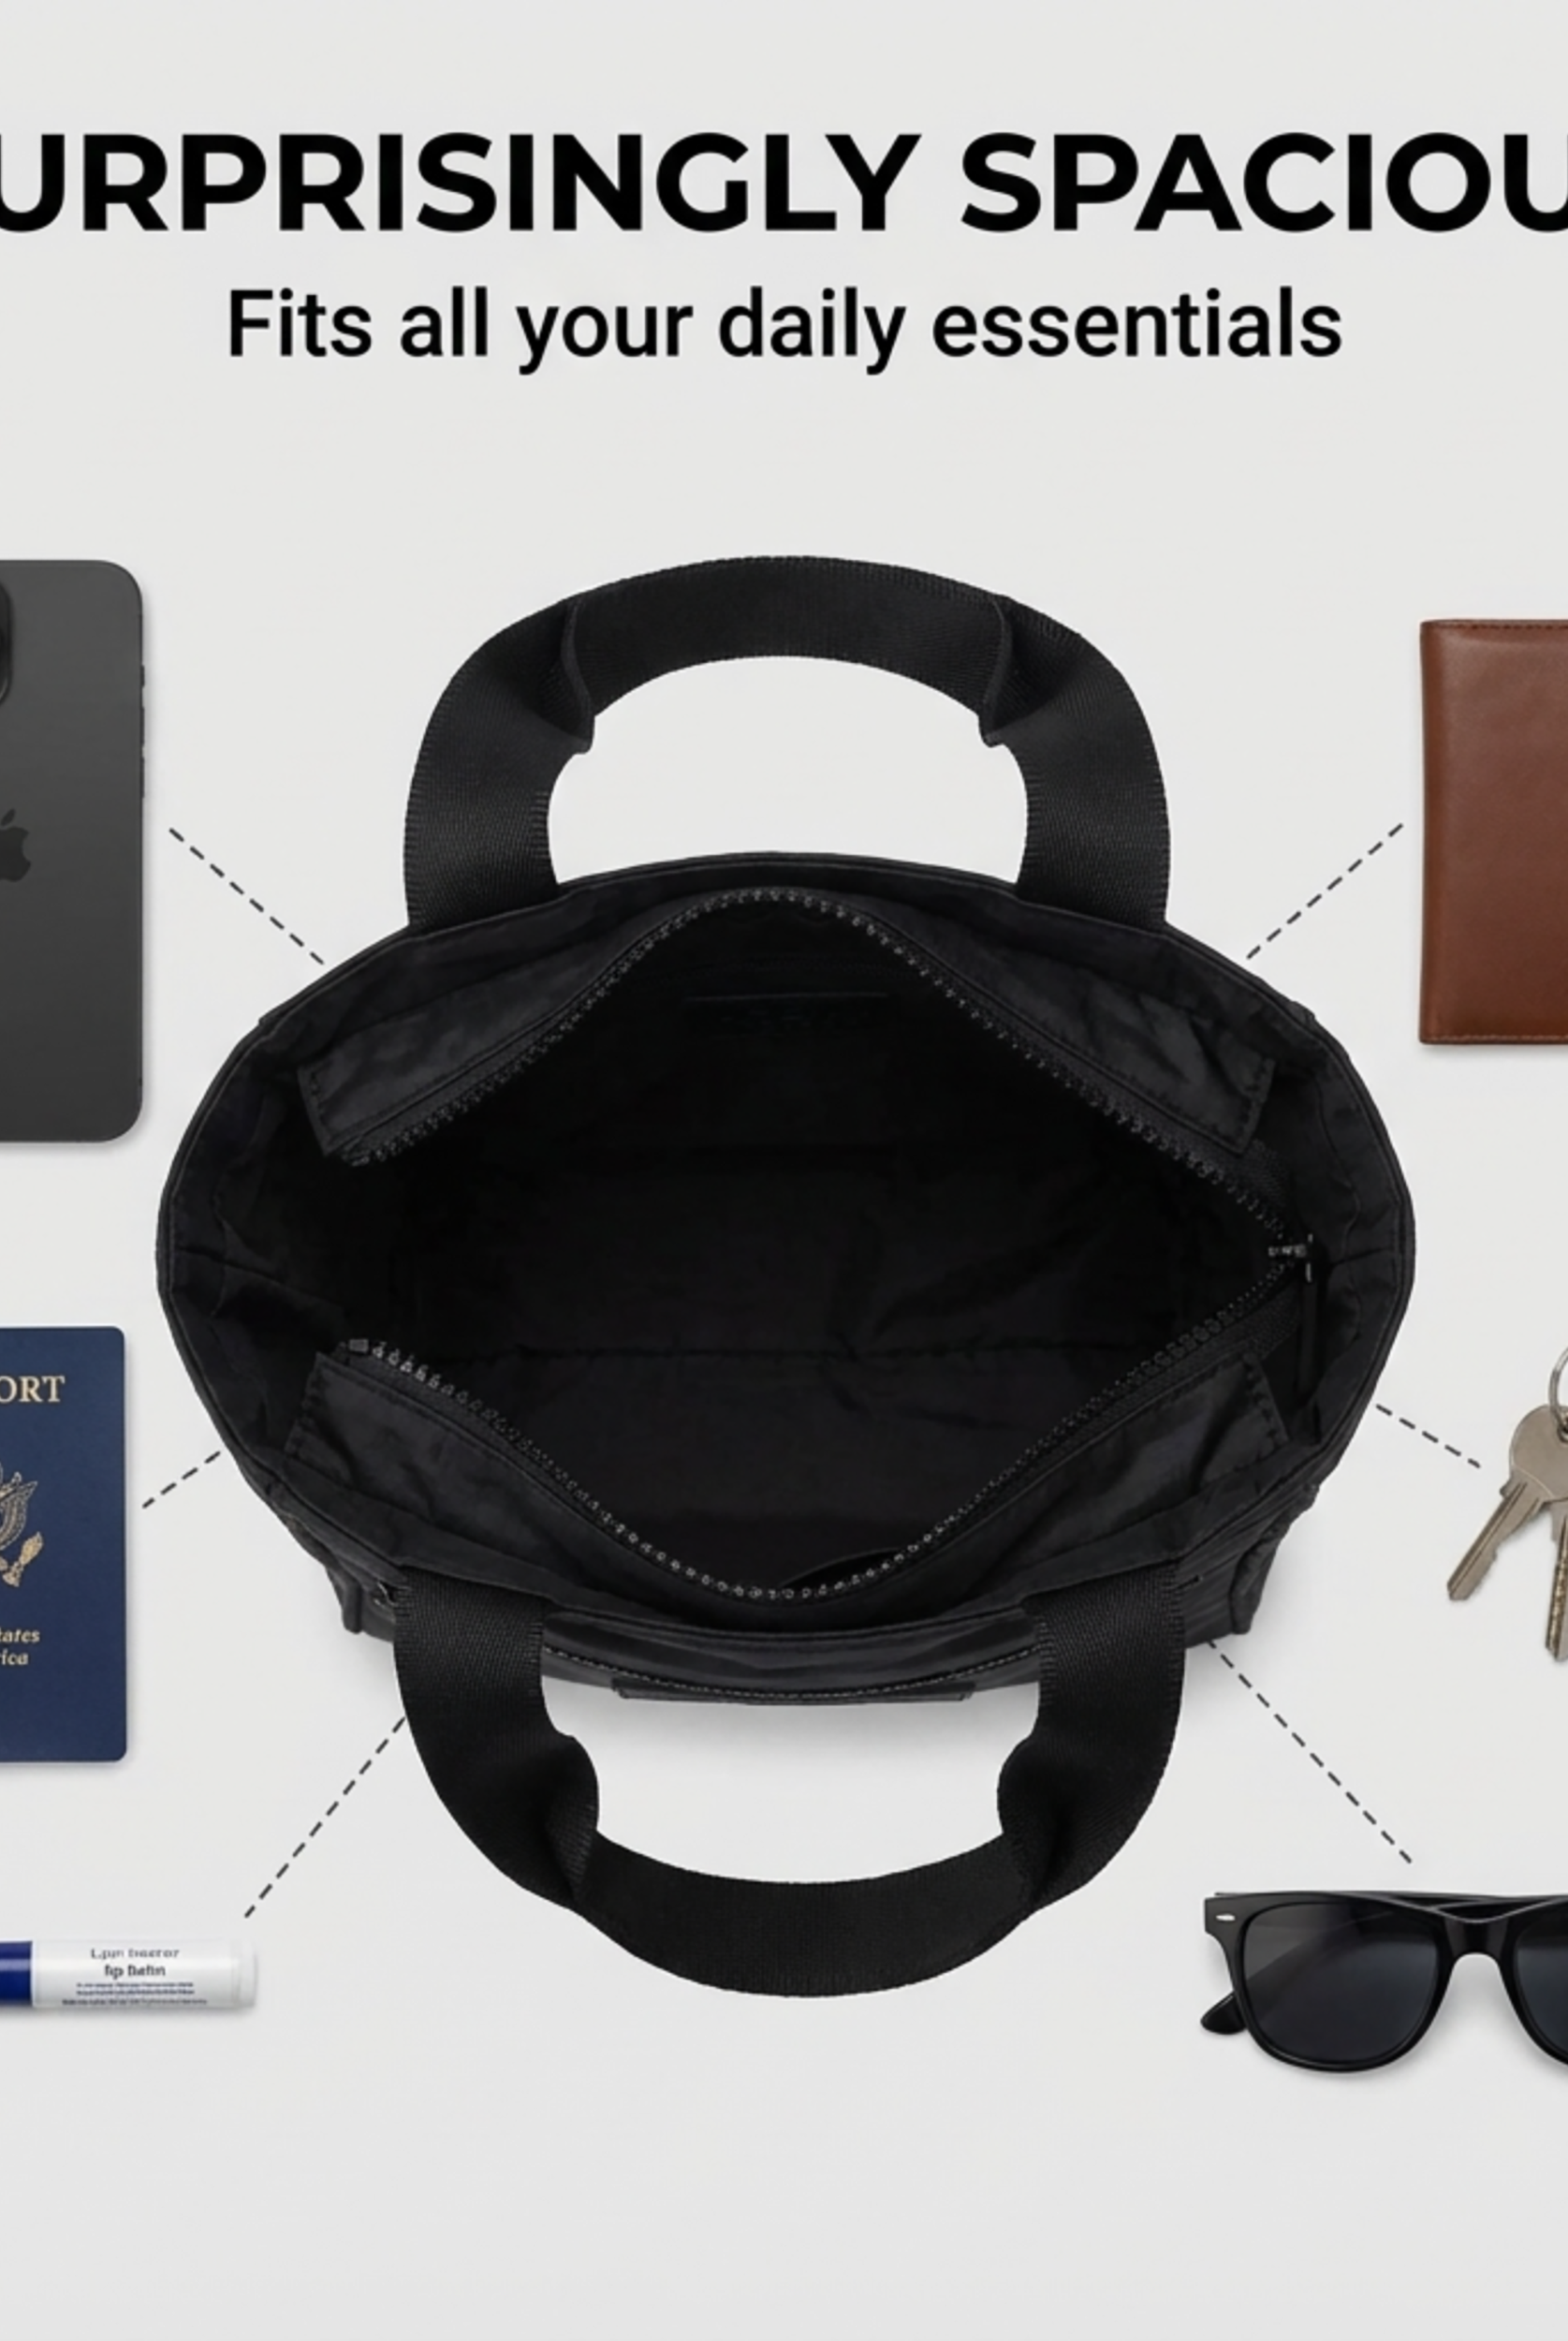
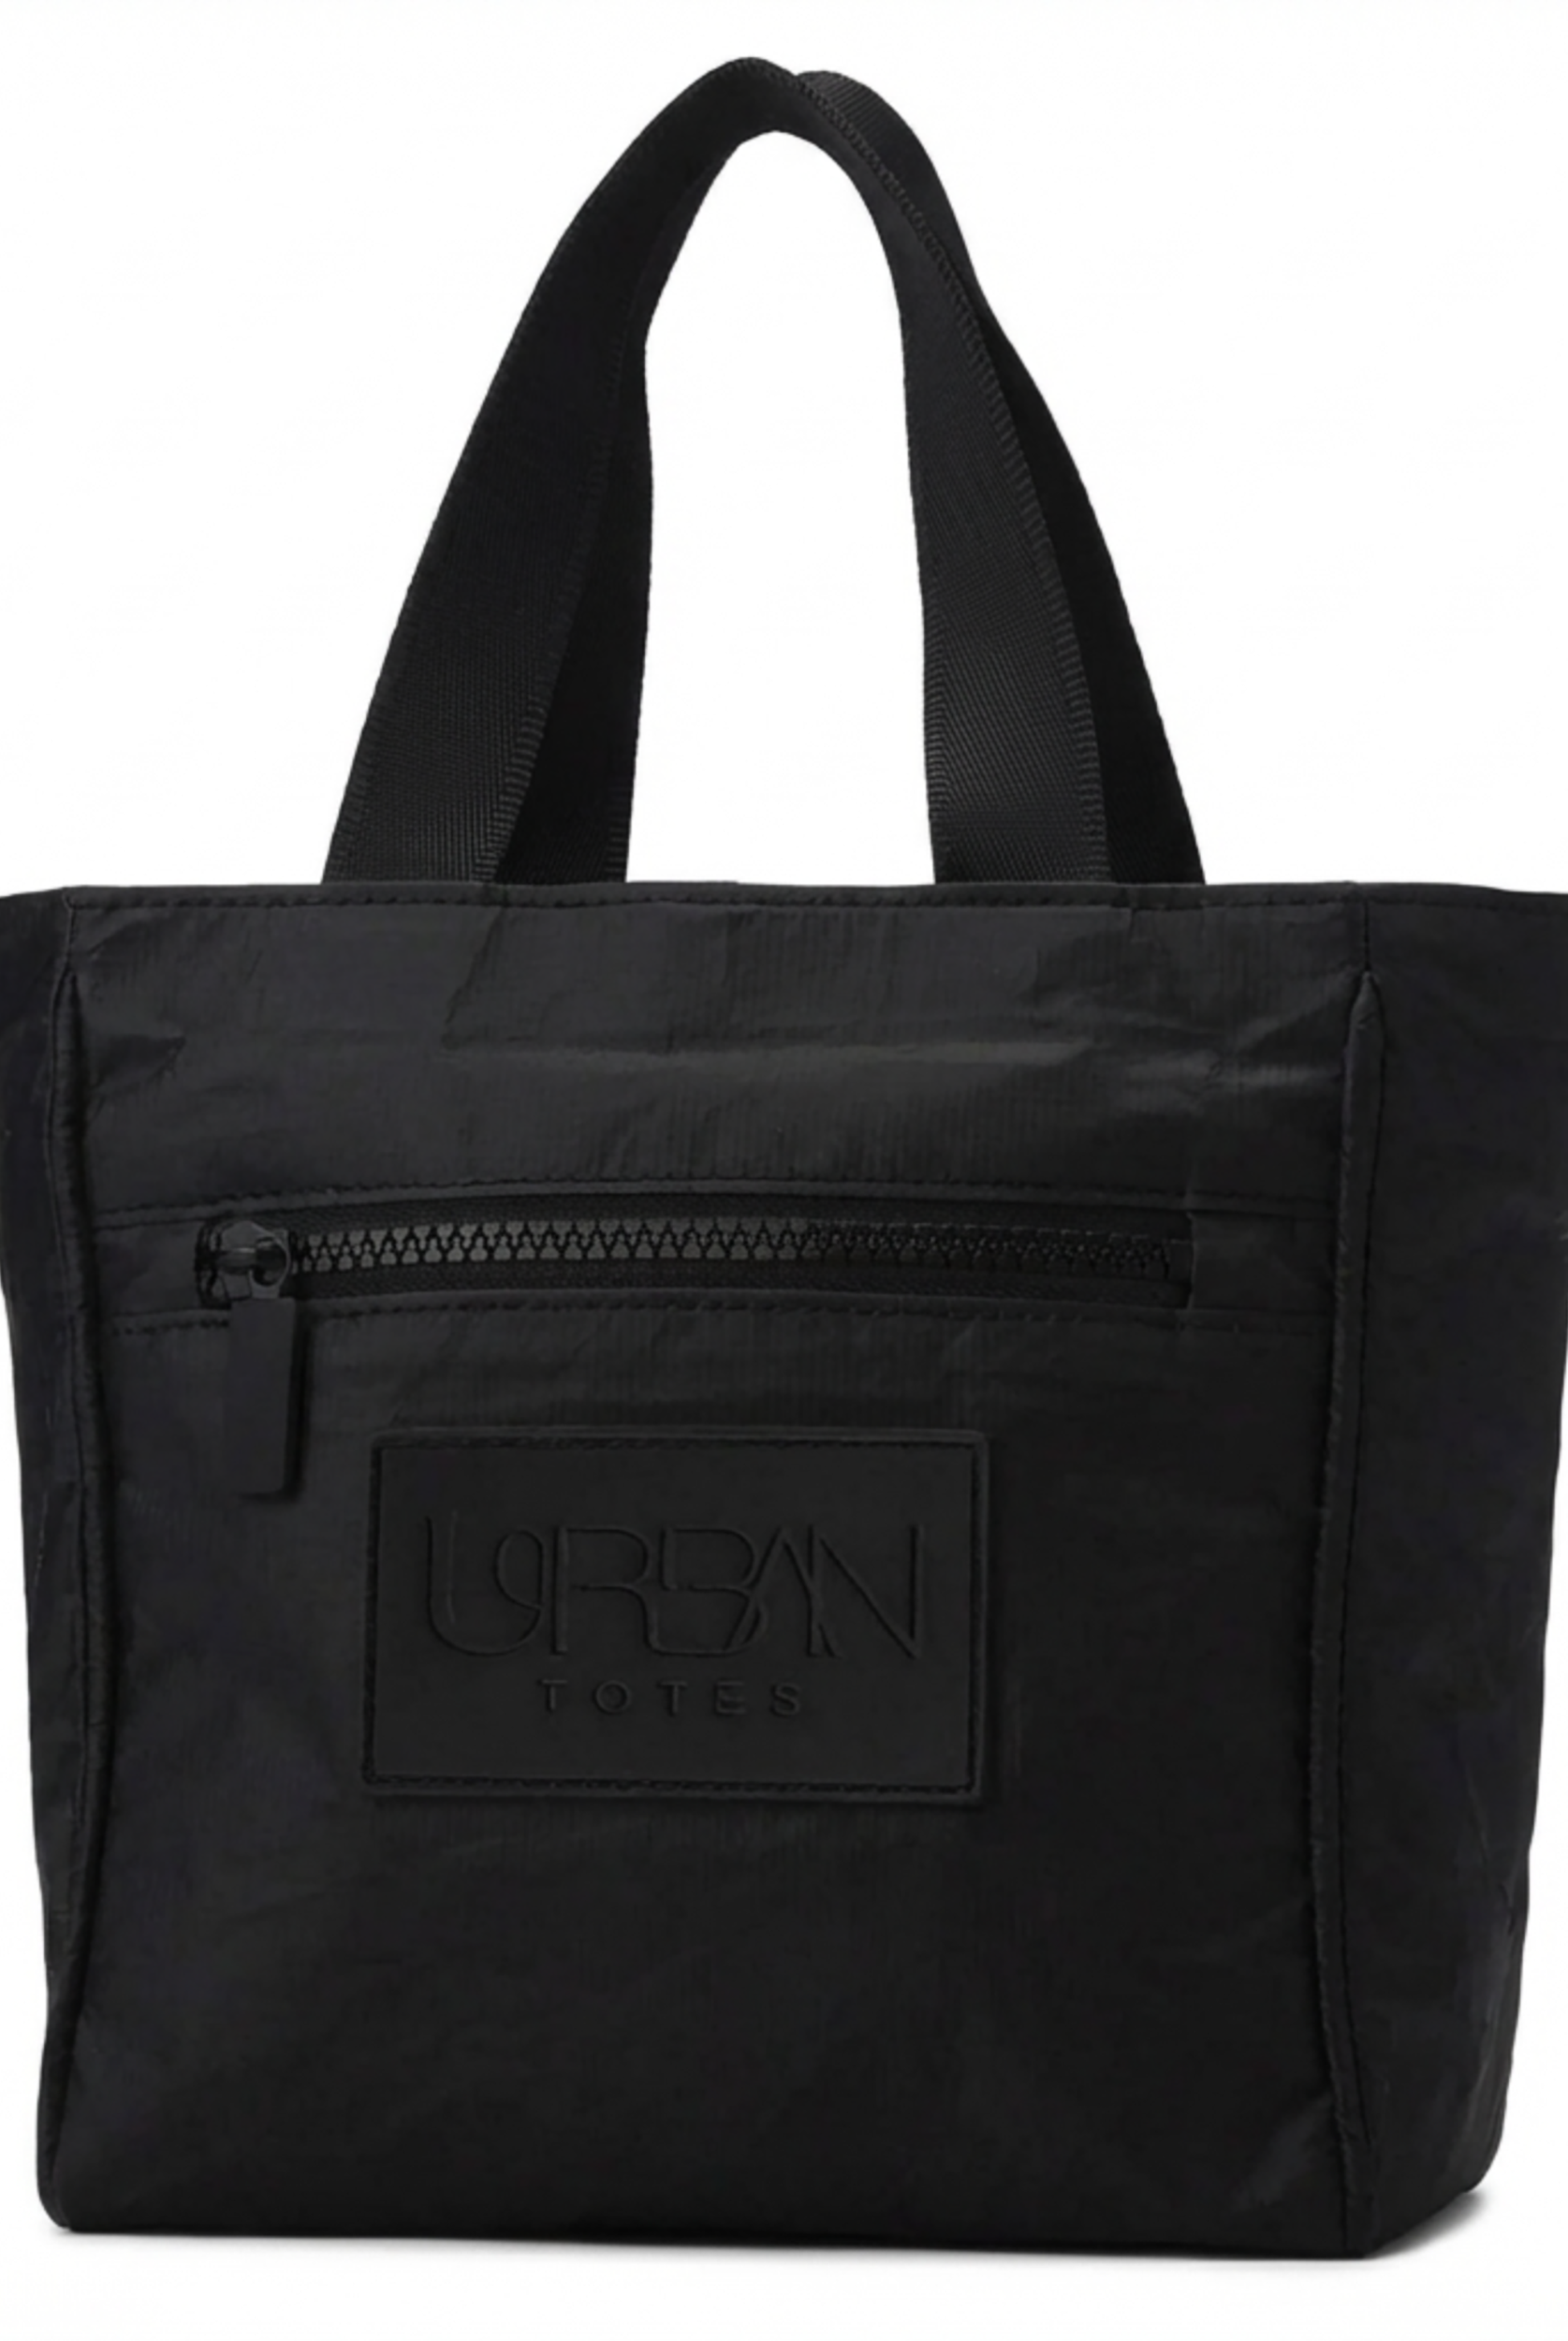
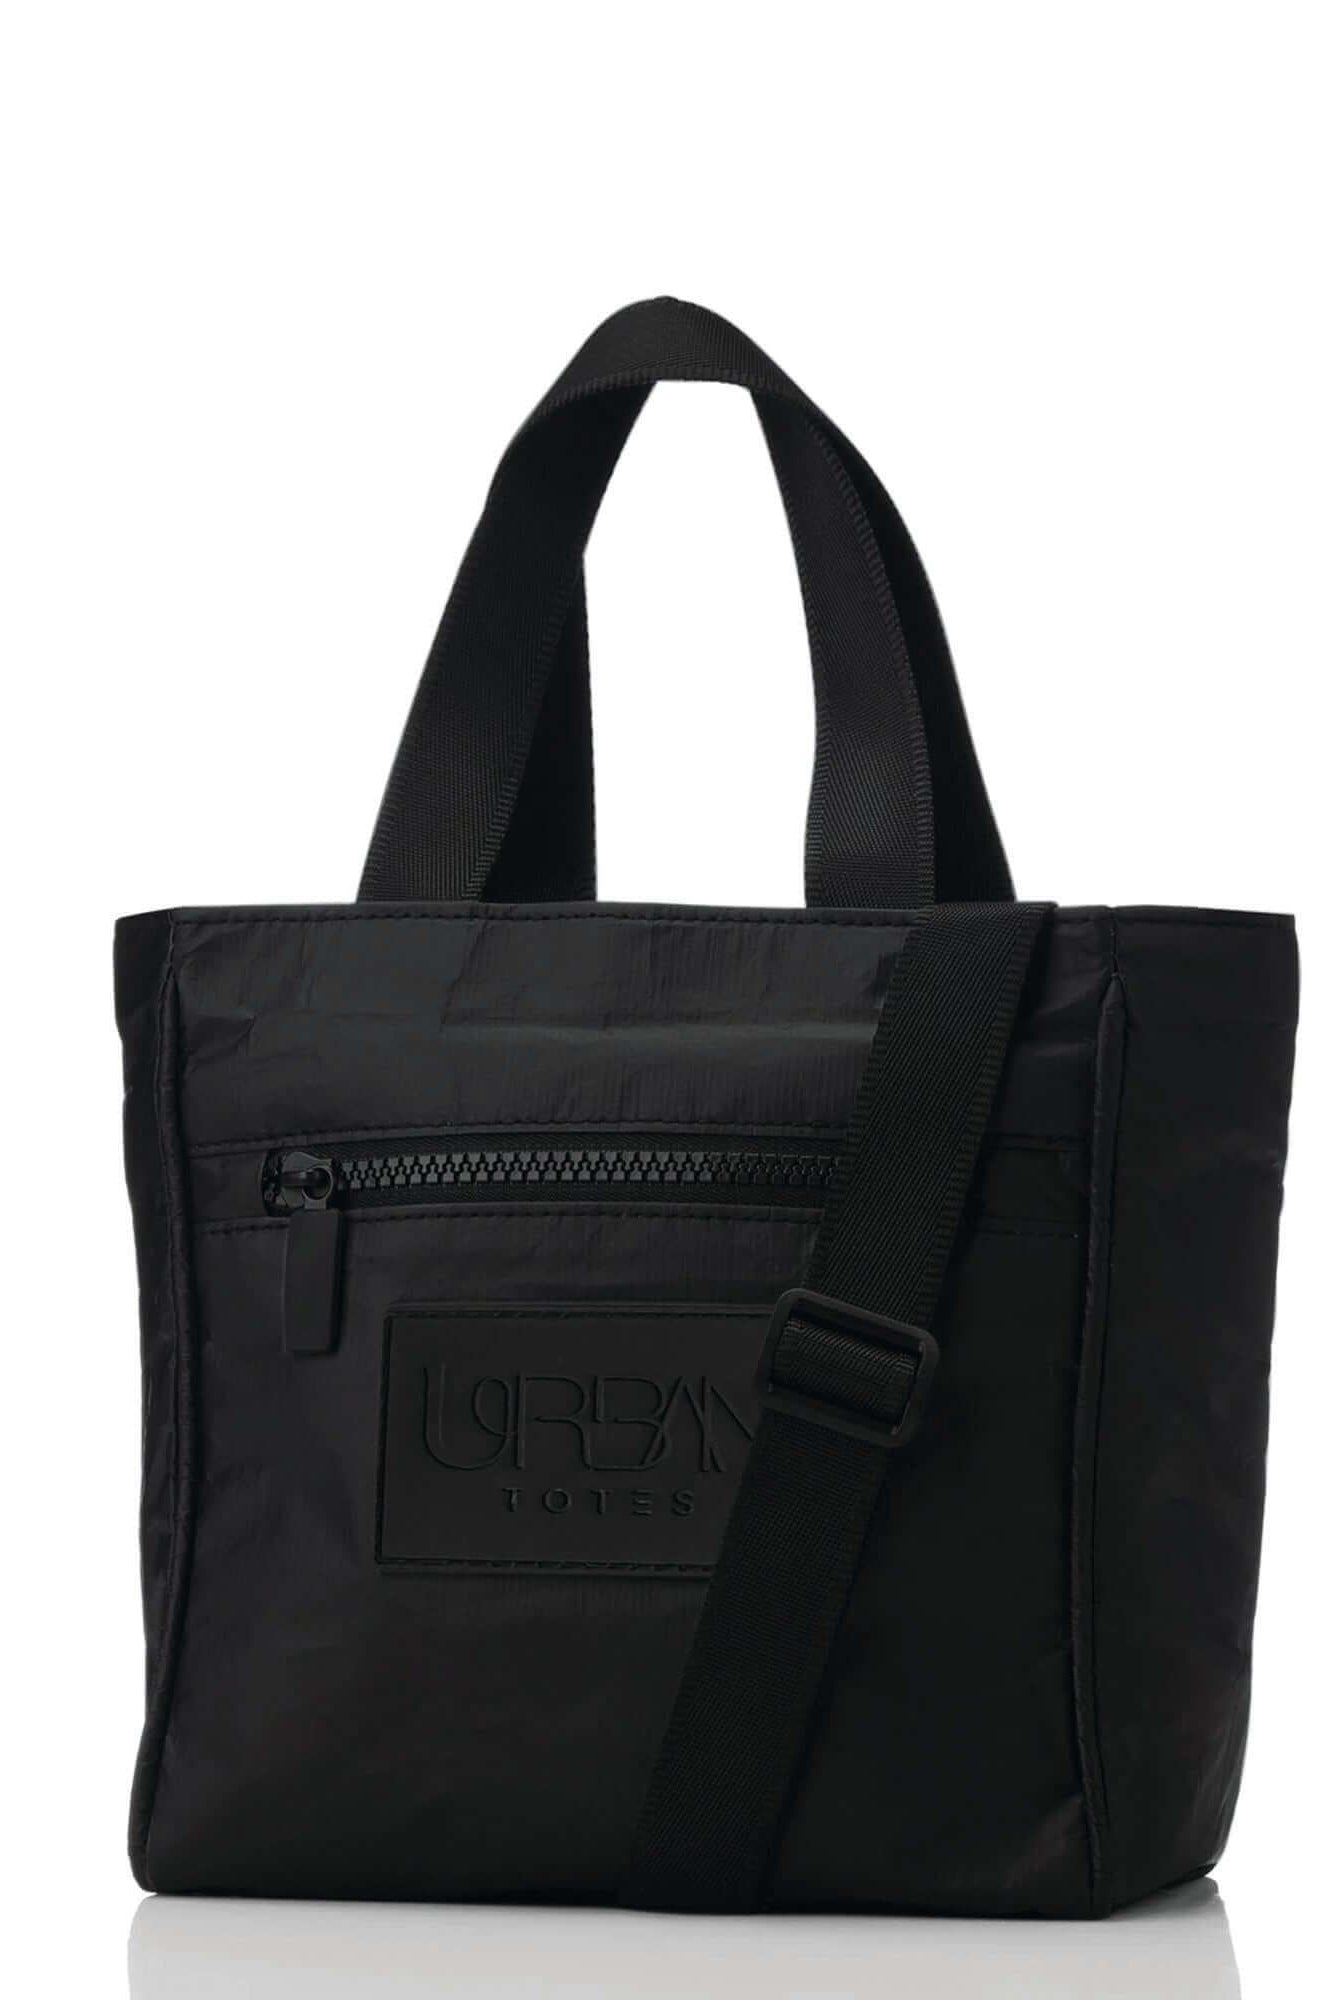
For a real-world example, The Go Anywhere Day Trip Tote Bag by Urban Totes shows a travel-ready tote built for everyday carry with water-resistant materials and a layout designed for organized use.
Yardage and setup notes
A small version uses less fabric than a medium or large version, so do not cut yardage until you have chosen the size you will carry. If you are sewing a fuller tote shape, plan extra fabric for the exterior, lining, and strap pieces. A tighter cut can save scraps, but it can also force awkward pattern placement that makes matching pieces harder.
Screenshot this before you leave for the fabric store:
- Exterior fabric: water-resistant technical nylon, recycled polyester, or coated canvas
- Lining: smooth, slippery lining fabric for easy access
- Interfacing: Pellon 808, SF-101, or Decovil Light as needed
- Hardware: zippers, D-rings or swivel hooks, strap adjuster
- Tools: thread, turning tool, scissors, clips, ruler
If you are planning pocket placement and interior organization, the Urban Totes tote bag compartments guide is a helpful companion read before you start cutting.
Preparing, Printing, and Cutting Your Pattern
The cleanest bag starts before the first cut. Download the PDF, print the test square page first, and check the scale before you assemble anything. If the test square is off, the whole bag shifts, and even a small size error changes how the strap hangs and how the openings line up.
Choosing the size with intention
Use the mini size if you want a light, grab-and-go bag for essentials only. Choose the everyday size if you carry a phone, wallet, keys, a small pouch, and one or two extra items. Pick the weekender version when you want room for travel-day extras without moving into full overnight-bag territory.
A sewing pattern doesn't feel complicated when the pieces are organized. Assemble tiled pages with the registration marks lined up, tape the edges flat, and trim only after the pages are fully joined. If you want a reference for how pattern shapes translate to finished bag proportions, shop tailor dummies at Display Guru can help you think through fit and proportion before fabric ever touches the table.
Cutting layout and marking
On 54-inch-wide fabric, you usually have more freedom to place larger pieces side by side. On 42-inch-wide fabric, you may need to rotate some pattern pieces to keep yardage manageable. Place pieces on the fold only where the pattern calls for it, because shifting a folded edge can throw off symmetry in straps and body panels.
Mark notches, pocket lines, and placement points with tailor's chalk, washable fabric pen, or tiny snips in the seam allowance. Use the marking method that shows up clearly on your fabric without bleeding into the finished face. One detail matters more than beginners expect, the boxed-corner squares need to be cut at the exact size specified or the finished depth changes.
For example, some instructions use 1 1/2-inch square corner cuts, and that square controls the shape of the bottom. The seam allowance is often 1/2-inch, so keep that consistent unless your pattern says otherwise. That consistency is what makes the panels meet neatly when the bag turns right side out.
If you're comparing layouts, remember this simple rule, cut the largest pieces first, then nest the smaller ones into the remaining space. It's the easiest way to avoid waste without forcing the grainline into a bad angle.
Sewing the Bag Step by Step
Start by preparing the exterior pieces and any pockets, because those layers are easier to manage before the bag becomes a tube. Sew pockets to the panels first, then install zippers into the exterior and lining sections while the pieces are still flat. That sequence keeps the zipper tape visible, straight, and far less frustrating to handle.
Build the bag in a clean order
Sew with right sides together using a 1/2-inch seam allowance unless your pattern says otherwise. Backstitch at the beginning and end of each seam, especially on pocket edges, zipper ends, and strap anchors. If your bag has curved corners, clip carefully so the seam can turn smoothly instead of pulling at the fabric.
A lot of sewists rush the zipper because they want to get to the bag shape quickly. Use a zipper foot when you topstitch close to the teeth, and keep the fabric flat so the seam doesn't ripple. If you need a model for a similar construction mindset, the pickleball bag pattern for quilters is another example of how strap and pocket placement affect the finished carry experience.
Order of operations
- Prep the exterior and lining. Fuse interfacing where the pattern calls for support.
- Install the zippers. Attach them to the exterior and lining panels while everything is flat.
- Sew interior zippered pockets. Finish the pocket bags before closing the lining.
- Join the main body seams. Sew exterior pieces and lining pieces separately.
- Box the corners. Match the seams and stitch across the exact corner square.
- Attach strap anchors. Secure tabs or hardware before closing the top edge.
- Join lining and exterior. Sew around the top with the 6-inch opening left in the lining.
- Turn and finish. Pull the bag right side out, shape the corners, and close the gap by hand.
Construction rule: if a seam needs to stay strong under load, reinforce it before turning the bag, not after it starts to strain.
The liner opening matters more than it sounds like it should. A 6-inch opening gives you enough room to turn the bag without stretching the seam allowance into a permanent wobble. After turning, press the top edge, then hand-stitch the opening closed with an invisible ladder stitch or slip stitch for a clean finish.
Once the body is closed, box the corners and check the symmetry from both sides. If the corners are uneven, fix them now while the inside is still accessible. A final press sets the seams and helps the bag take its intended shape instead of collapsing at the top.
Sizing and Fit Variations That Actually Matter
The way a bag feels on the body comes down to three things, strap drop length, strap width, and gusset depth. Those choices matter more than decorative details because they change where the weight sits, how the bag swings, and whether it stays comfortable after an hour of wear or starts feeling annoying by lunch.
Strap length and width
For most adult torsos, a 20- to 22-inch drop lands in a sweet spot for crossbody wear. If you're petite, shorten the strap 2 inches so the bag doesn't sit too low and bang against your hip. If you're tall, add 2 inches so the strap doesn't ride up under your arm. For a true messenger carry, extend it to 24 inches.
Strap width changes load distribution too. A 1-inch-wide strap spreads weight better than a 3/4-inch strap when you're carrying a tablet and a water bottle. The narrower strap can look sleek, but once the bag gets loaded, the wider version usually feels better across the shoulder and chest.
Gusset depth and capacity
A 2-inch gusset gives you more room, but it also adds bulk and weight. A 1-inch gusset keeps the profile sleeker, yet it limits how much the bag can hold before it starts to bulge. If you want the bag to hold structure without feeling stiff, use the gusset depth as your first adjustment before changing the overall width.
| Crossbody Tote Sizing at a Glance | Width | Height | Gusset Depth | Best For |
|---|---|---|---|---|
| Mini | Smaller footprint | Shorter body | 1 inch | Essentials only |
| Everyday | Moderate carry room | Medium height | 1 to 2 inches | Daily use |
| Weekender | More surface area | Taller body | 2 inches | Travel extras |
If you want a simple visual anchor for strap fit, the Urban Totes adjustable shoulder strap guide can help you think through how a strap should sit when you're moving, not just standing still.
A bag that fits your routine feels effortless. A bag that's too deep, too narrow, or hanging from the wrong drop length keeps reminding you it's there. The goal is to make the pattern respond to your body, not force your body to adjust to the pattern.
Finishing Techniques for a Professional Look
The bag now starts looking like something you'd reach for every day instead of something that just survived assembly. Topstitching, hardware, and edge finishing are the details that give the bag structure, clarity, and a more polished feel. They also make it easier to keep shape at the seams where the bag takes the most stress.

Topstitching and edge finishing
Use a longer stitch length, around 3.0 to 3.5mm, for visible topstitching. That length looks cleaner on bag fabric and gives the seam a strong, defined line. A zipper foot helps you stitch close to the zipper teeth without fighting the bulk of the tape.
For exposed edges, you can finish with bias tape, a Hong Kong finish, or simple pinking and topstitching. Bias tape works when you want a tidy interior edge, Hong Kong finish is great for a more refined inside, and pinking plus topstitching is fine when the fabric doesn't fray aggressively.
The top edge should feel stable in your hand. If it sags before the bag is even loaded, it needs more support at the top seam.
Hardware and stress points
When you install D-rings, sew them into a strong fabric tab first, then attach the tab to the bag so the hardware doesn't pull directly on the seam. Thread the adjustable slider carefully so the strap lays flat and doesn't twist at the buckle. At stress points, use bartacks or multiple rows of stitching to keep the hardware from shifting when the bag is full.
Place interfacing at the top edge if your bag tends to collapse when opened. That extra support keeps the mouth of the bag crisp and helps the zipper lie flat. Finish with steam and a pressing cloth so the seams set without scorching the outer fabric.
Optional upgrades are easy to add if you like a more organized interior. A key clip saves time at the bottom of the bag, a hidden phone pocket keeps your screen from floating around with everything else, and a removable base shaper adds just enough structure to keep the bottom from drooping.
Troubleshooting Common Sewing Problems
Most bag problems come from a small mistake that repeated itself through the construction, not from one disastrous moment. A twisted strap usually means the strap was sewn flat instead of looped correctly before turning. Unpick it, loop the strap flat, clip it in place, and resew so the twist is gone before the hardware goes on.

Fix the problem at the root
A puckered zipper almost always points to a stabilizer or interfacing issue. Add a small strip of interfacing behind the zipper tape if the fabric is soft or stretchy, and check your needle choice before blaming the zipper itself. If seams pucker, slow down and see whether the fabric is feeding evenly through the machine.
Straps that pull out under load need stronger anchoring. Add bartacks or several rows of stitching where the strap meets the body, because those points take the most strain when the bag is full. If the bag still won't hold its shape, revisit gusset depth, interfacing weight, and whether a base insert would help keep the bottom from collapsing.
Common fixes at a glance
- Twisted strap: unpick, flatten the loop, and resew before attaching hardware.
- Puckered seam: add interfacing, fine-tune machine tension, and use a finer needle if needed.
- Weak strap anchors: reinforce with bartacks or multiple rows of stitching.
- Collapsed body: increase structure at the top edge or add a base insert.
- Visible turning gap: close it by hand with an invisible slip stitch instead of topstitching over it.
If the lining peeks through the turning gap, don't rush the close. A hand-finished slip stitch disappears more cleanly than a machine seam and keeps the inside edge neat. That one detail makes the whole bag feel more intentional.
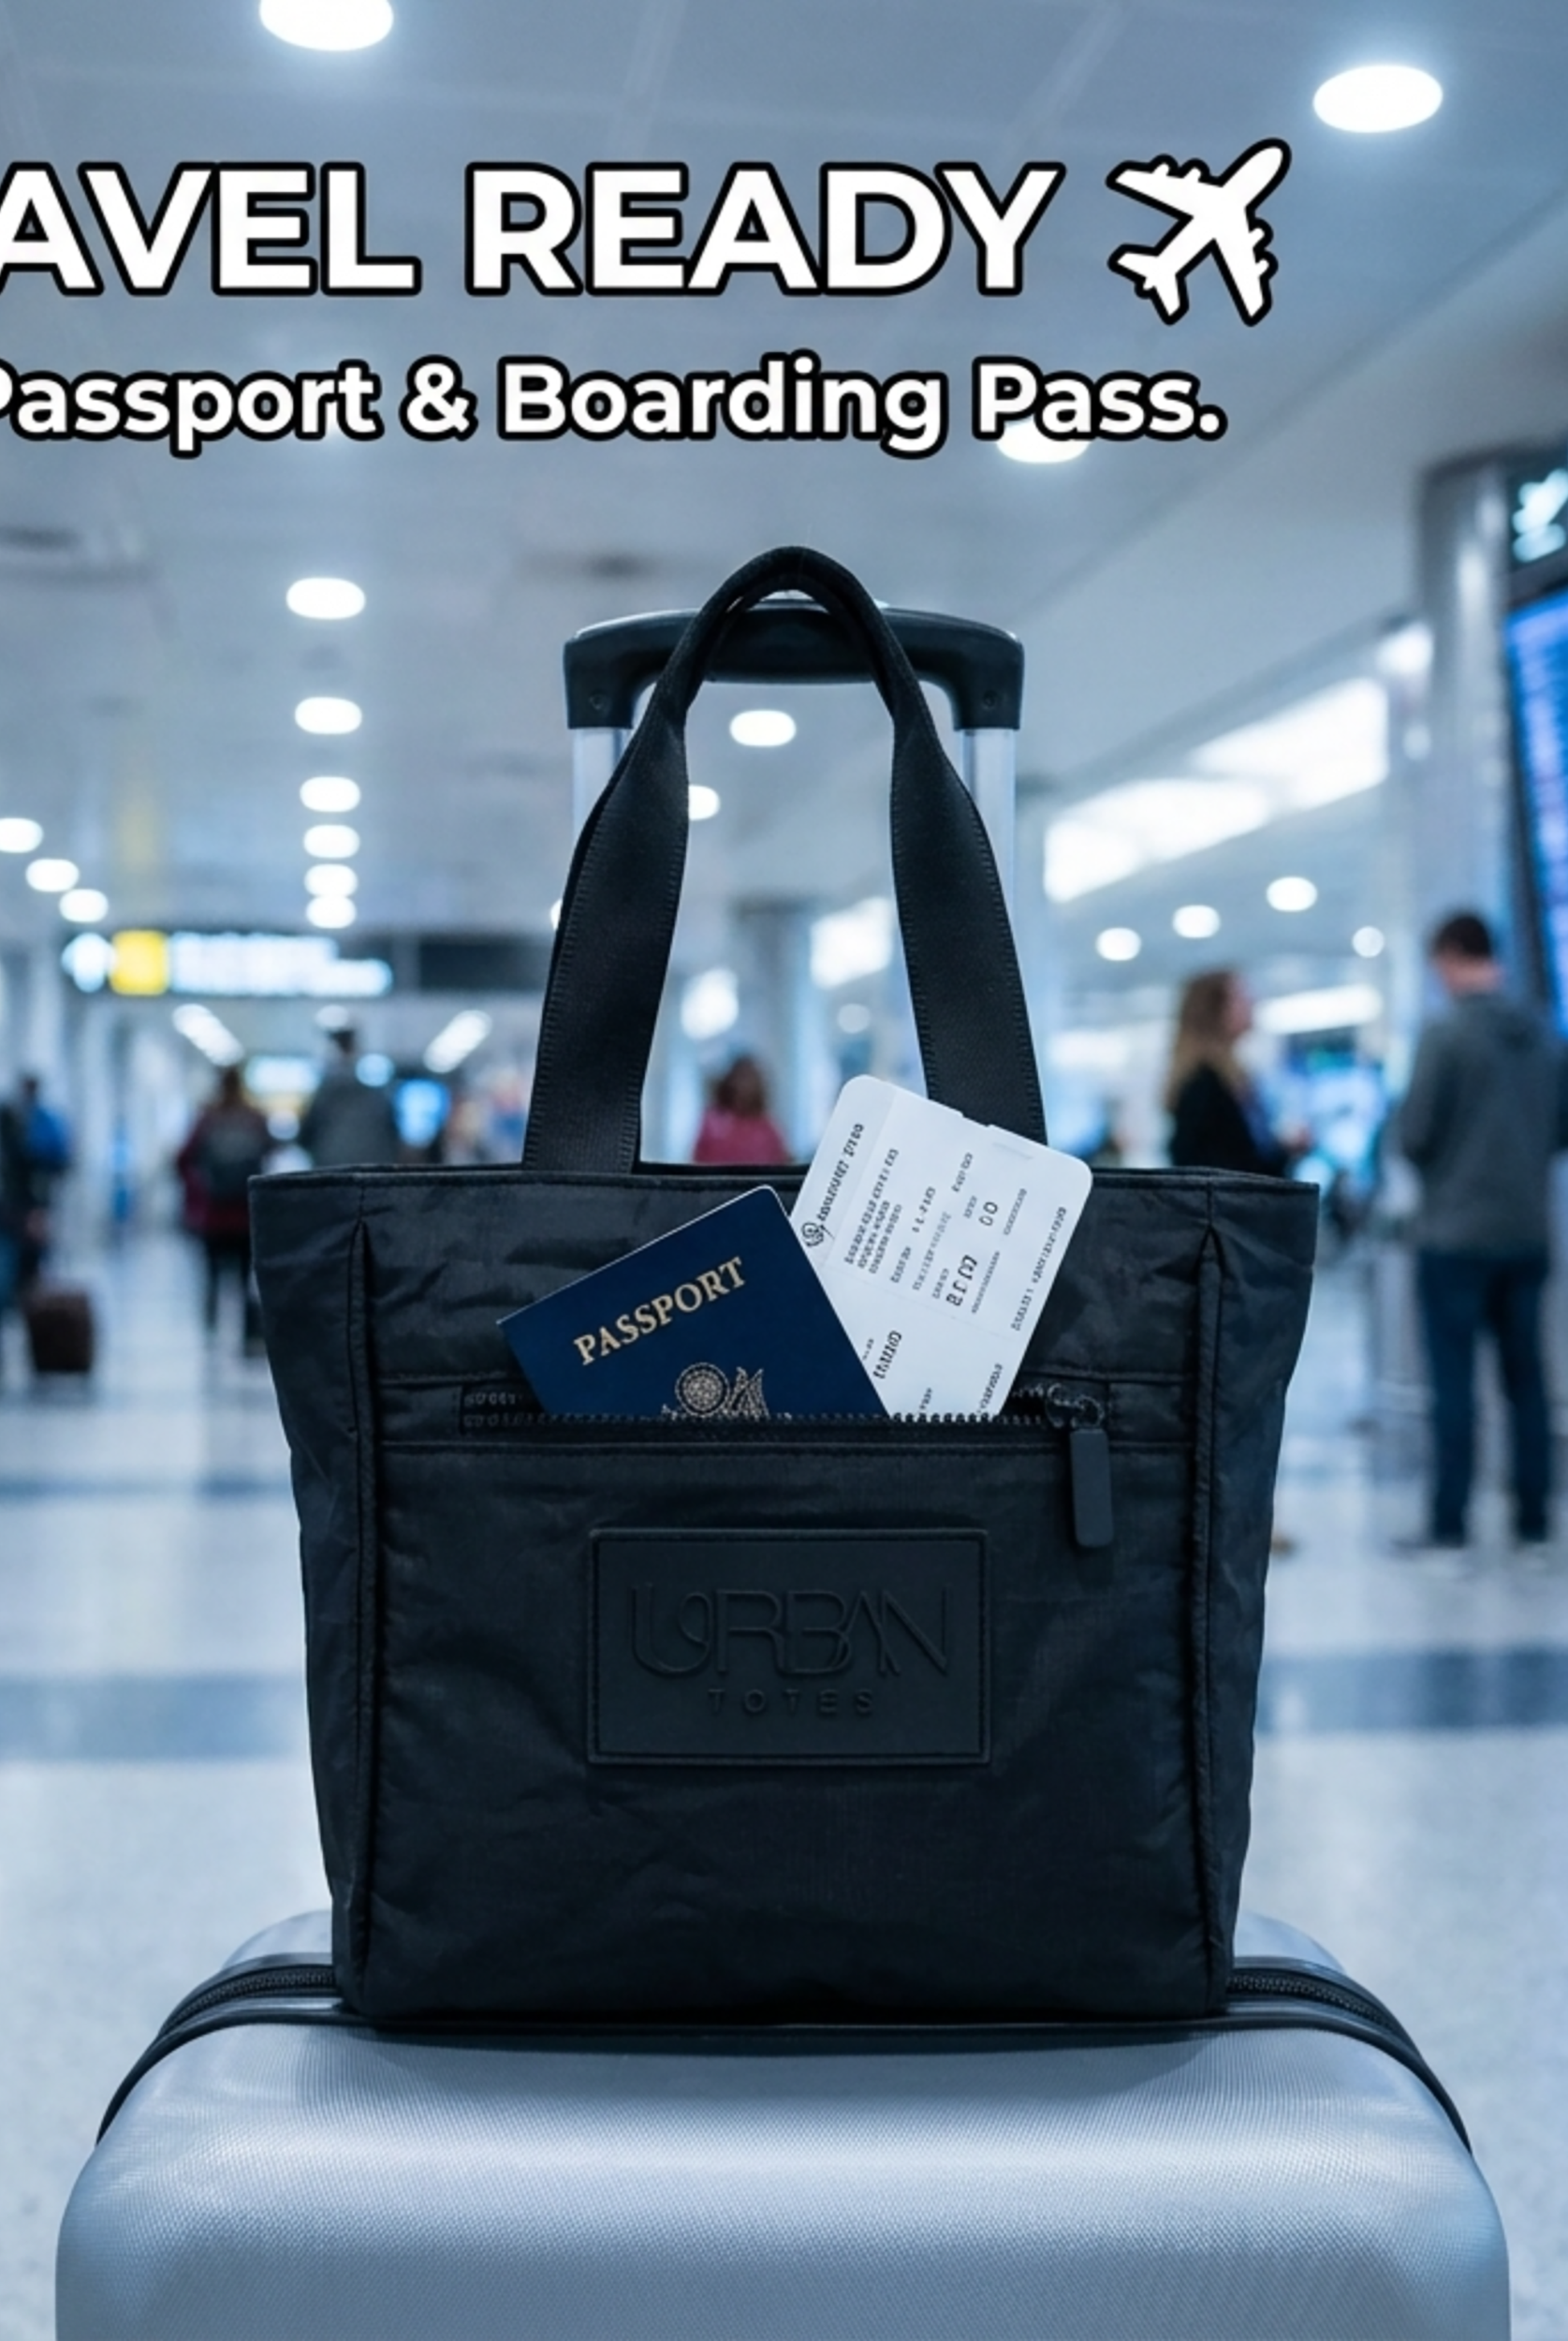
These fixes matter because the bag is meant to move through real days. A weekend traveler can roll through an airport with a tablet, passport, snack stash, and boarding pass tucked in the exterior pocket. A beach-day mom can carry sunscreen, a wet swimsuit in a small pouch, and a book while the water-resistant exterior handles splashes, as outlined in the Urban Totes water-resistant material guide. A daily commuter can grab coffee with one hand while the crossbody strap keeps the bag secure and the interior zip pocket protects a wallet and phone.
Care is simple, which is part of the appeal. Wipe the bag clean with a damp cloth, machine wash on cold in a mesh bag if the fabric allows it, and air dry flat so the shape stays crisp. Sew it once, then let it earn its place in your routine.
Urban Totes makes water-resistant, lightweight, packable, and foldable bags with smart compartments for women who need their everyday carry to keep up. If you're ready for a bag that fits commuting, travel, errands, and beach days with the same easy energy, visit Urban Totes and find the one that matches how you live.