It's 7:10 a.m., the car is already running, and the bottle is still on the counter because yesterday it rolled loose, cracked its lid, and left a damp streak across a phone. A crossbody bag with water bottle pocket only earns its place when that pocket matches the bottle you carry all day, not the one a listing vaguely promises.
Shoulder-slung bags started as a practical answer for people who needed both hands free. Historical accounts trace the form through military pouches, postal satchels, and messenger bags, then into city commutes, as described in the origins of bags. A bottle pocket is the same idea updated for school runs, terminals, and sidewalks. Size it by ounces, milliliters, diameter, and handle clearance. Then check balance and the exact water-resistance wording before you buy.
Table of Contents
- Bottle Sizes That Fit a Crossbody Pocket
- Why Placement and Balance Matter More Than Volume
- Water Resistance Ratings Explained for Real Days
- Organization Features Worth Looking For
- Matching the Bag to Your Day
- Airport Routine and Packing Steps
- Keeping the Pocket Clean and Working Long Term
- Measure Your Bottle Before You Buy
Bottle Sizes That Fit a Crossbody Pocket
Start with the bottle you already own. Record its capacity in ounces and milliliters, widest diameter, height with the lid on, and the clearance its handle or wide lid needs. Those measurements tell you more than a listing that only says the pocket fits a water bottle.
- Capacity in ounces and milliliters. Write down both; “medium” is not a measurement.
- Maximum diameter. Measure the widest point, including a sleeve or grip.
- Height with the lid on. A bottle can clear the pocket opening yet stick out enough to catch on a coat.
- Handle or wide-lid clearance. A handled tumbler needs an opening wide enough for its handle to pass, not just a deep pocket.
Real-world bottle testing illustrates why capacity alone can mislead: one tested carrier held bottles and tumblers up to 32 oz, but its pocket was too narrow for handled tumblers and needed an adjustable opening to secure smaller bottles. A separate compact sling is designed for roughly 16 to 24 oz bottles and cannot take a 64-oz bottle. Check the pocket's measurements against your bottle, including the opening, rather than relying on capacity labels.
Fit at a glance
| Bottle size | Capacity | Crossbody pocket fit | Practical note |
|---|---|---|---|
| 16 oz | 473 mL | Often a compact fit | Keeps the bag light and close to the body |
| 20 oz | 591 mL | Check the bottle's diameter and the pocket's opening | A practical size to test for commuting |
| 24 oz | 710 mL | Check diameter and handle clearance | A tumbler handle may not pass through the opening |
| 25 oz | 750 mL | Test the fit before buying | Leave room to insert and remove it smoothly |
| 32 oz | 946 mL | Fits some tested pockets; handled tumblers may not fit | Adds bulk; verify dimensions first |
| 64 oz | 1.9 L | Too large for many compact crossbody pockets | Better suited to a tote |
Capacity gives you a starting point, not a fit guarantee. Two bottles holding the same amount can have different diameters, lid heights, and handles. A 16 oz (473 mL) bottle is often easier to place in a compact pocket; a 20 oz (591 mL) or 24 oz (710 mL) bottle needs a closer dimension check. A 25 oz (750 mL) bottle also needs enough space for a smooth in-and-out motion. Test that motion, rather than checking only whether the bottle drops in once.
Practical rule: Maximum volume is the wrong buying metric. A 32 oz bottle may fit and still make the bag bulky or uncomfortable.
Choose the bottle you will carry from drop-off through the commute, then compare its measurements with the pocket. A 64 oz (1.9 L) jug is better carried in a tote than against your hip.
Why Placement and Balance Matter More Than Volume
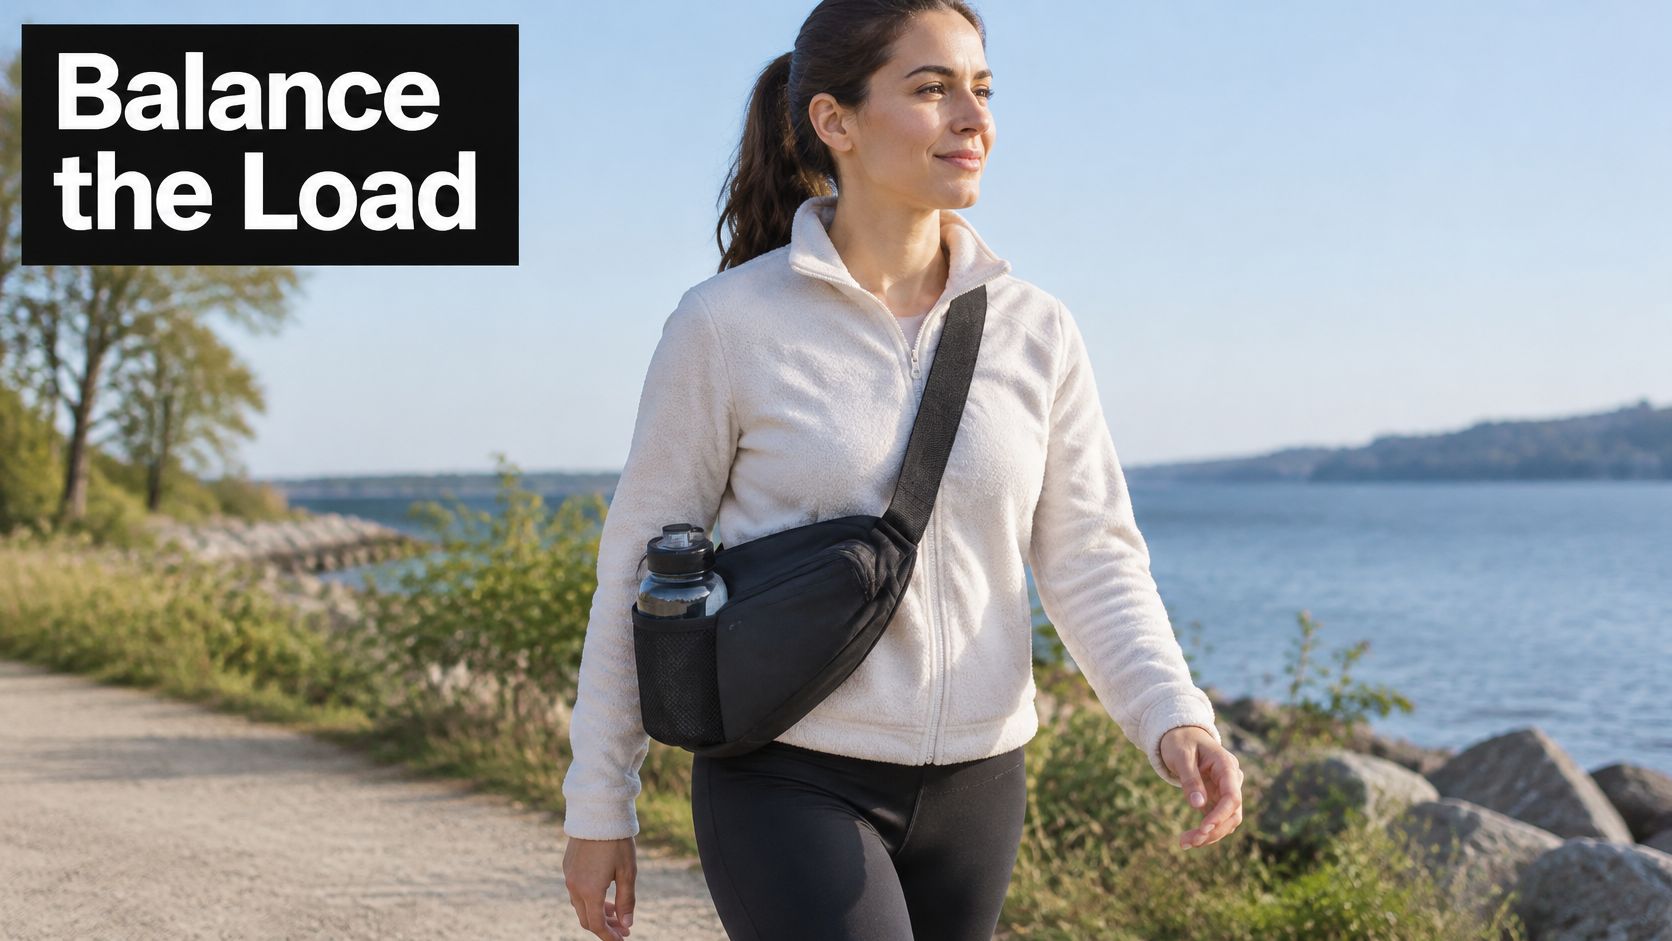
On a crowded commute, a bottle swinging against your hip can make a compact bag feel awkward before it feels heavy. Treat the bag as a load-management system, not extra storage. A full 500 mL bottle adds about 0.5 kg of concentrated mass. In an exterior side pocket, that weight sits away from your torso, increasing pull on the strap and making the bag swing as you walk.
Keep the bottle close to the body panel and the bag snug against your torso. Placement changes how the load moves, even when the bottle's weight stays the same.
What the carrying research shows
A 2017 comparison of shoulder and cross-body carrying found that cross-body carrying reduced activity in the right trapezius and left erector-spinae muscles, as the load's center of gravity shifted toward the unloaded side. Same-side carrying placed more demand on those muscles and was associated with greater asymmetry. For a bottle-pocket bag, the practical lesson is to keep the load stable and close to your body, rather than letting it hang out from the bag's edge.
A dedicated pocket can keep a bottle from rolling through the main compartment, shifting the contents, or pressing against fragile items. It also makes the bottle's position predictable, so you can check how it affects the bag's balance when packed.
Design choices you can check in the shop
- Pocket near the center of mass: A well that protrudes beyond the bag's edge can swing more than one set close to the body panel.
- Wide adjustable strap: A wider strap spreads pressure. Adjust its length so the bag sits at your hip rather than low on your back. Follow a clear guide on how to adjust bag straps before a long walk.
- Elastic or structured retention: Secure the bottle so it does not oscillate when you bend for a stroller or reach for a suitcase handle.
Try the bag with the bottle and everyday items you plan to carry. Walk for ten minutes and notice whether the bag swings, the strap slips, or the bag twists. Check whether the strap creeps toward your neck. Those signs point to a pocket position or bag shape that does not work well with that bottle. A bag that stays close and steady may hold less, but it can be more comfortable to carry through a full day.
Water Resistance Ratings Explained for Real Days
A jacket that sheds a light drizzle is not a jacket you would trust on a river crossing. Bags get sold with the same blur. Surface repellency means water beads on the face of the fabric. Resistance to penetration means water does not pass through under pressure. Condensation, a splash from a puddle, and a wet bottle pressed into the pocket are pressure problems, not sprinkle problems.
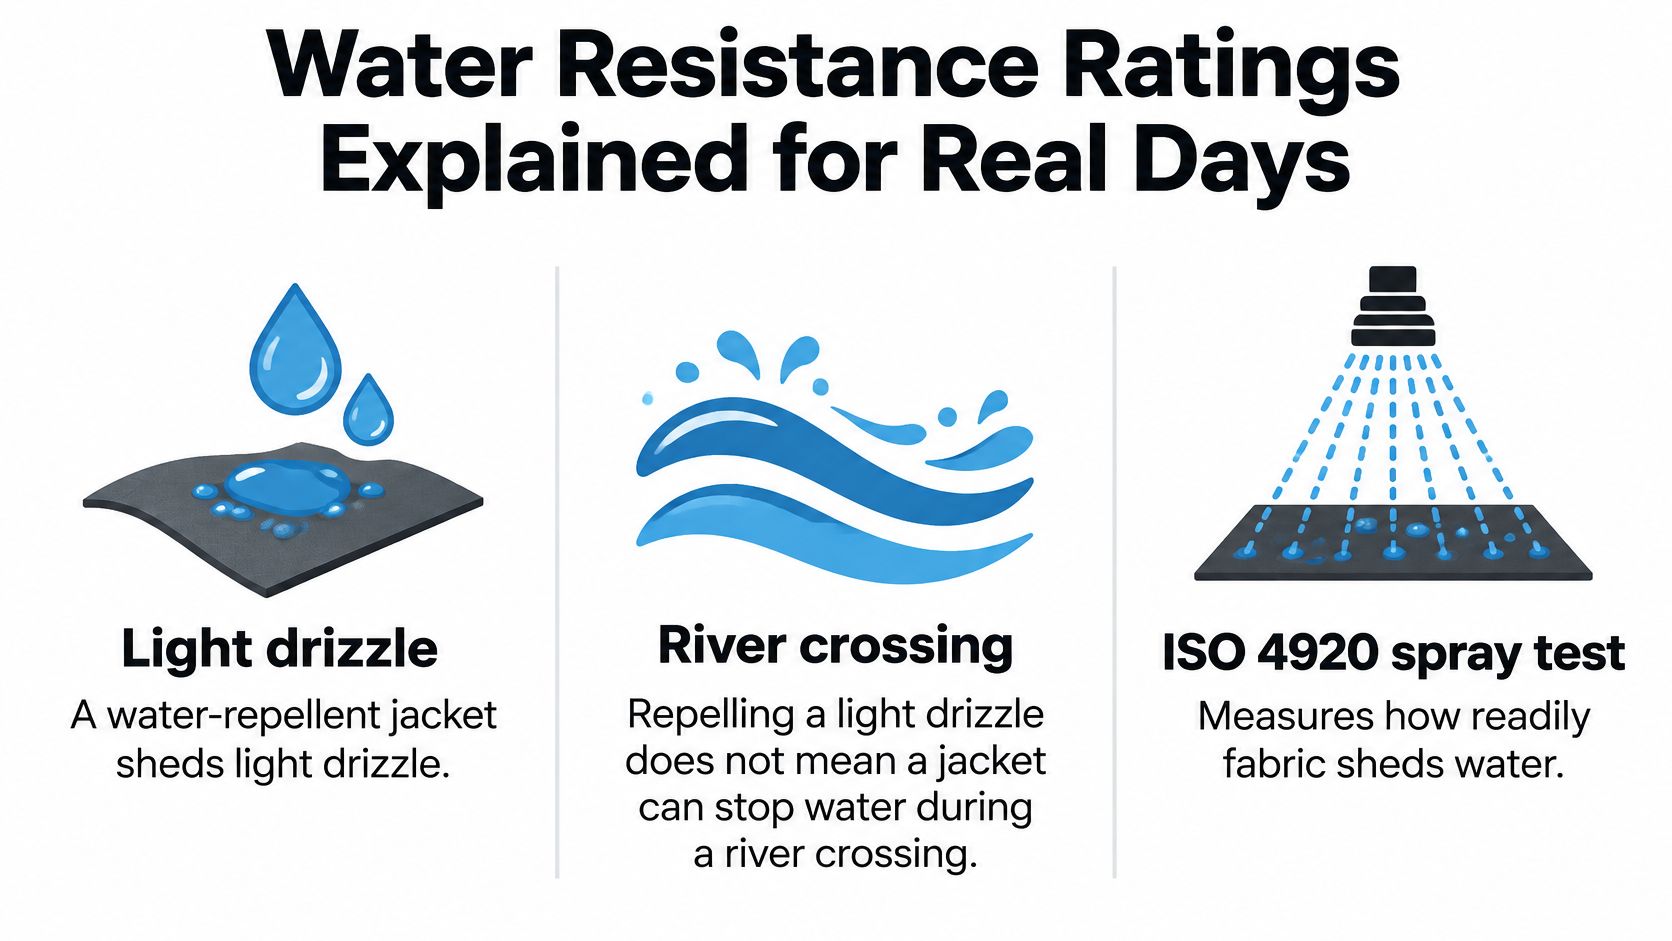
Spray tests such as ISO 4920 measure how readily water wets the fabric surface. They do not predict whether rain will pass through. Hydrostatic methods such as ISO 811 or AATCC 127 raise water pressure until leakage occurs. CDC and NIOSH barrier summaries treat hydrostatic results in water-column centimeters as an indicator, with 20 cm categorized as low resistance and 50 cm as moderate resistance in that framework. A textile technical note places about 5,000 to 10,000 millimeters in the range commonly linked with light rain and urban use, while heavier outdoor conditions generally need higher ratings, as outlined by hydrostatic-head guidance for fabric.
What each line on a spec sheet means
| Test or rating | What it measures | What it tells you |
|---|---|---|
| Spray test (ISO 4920 or similar) | How readily water wets the fabric surface | Shows surface repellency, not penetration |
| Hydrostatic test (ISO 811 or AATCC 127) | Water pressure reached before leakage | Shows whether water passes through the material |
| Hydrostatic range of about 5,000-10,000 mm | Pressure range linked to light rain and urban use | Suited to commutes and errands, not immersion |
| Full pocket assembly test | Fabric, seams, zipper area, elastic and drainage together | Ask brands for this result to judge real bottle-pocket performance |
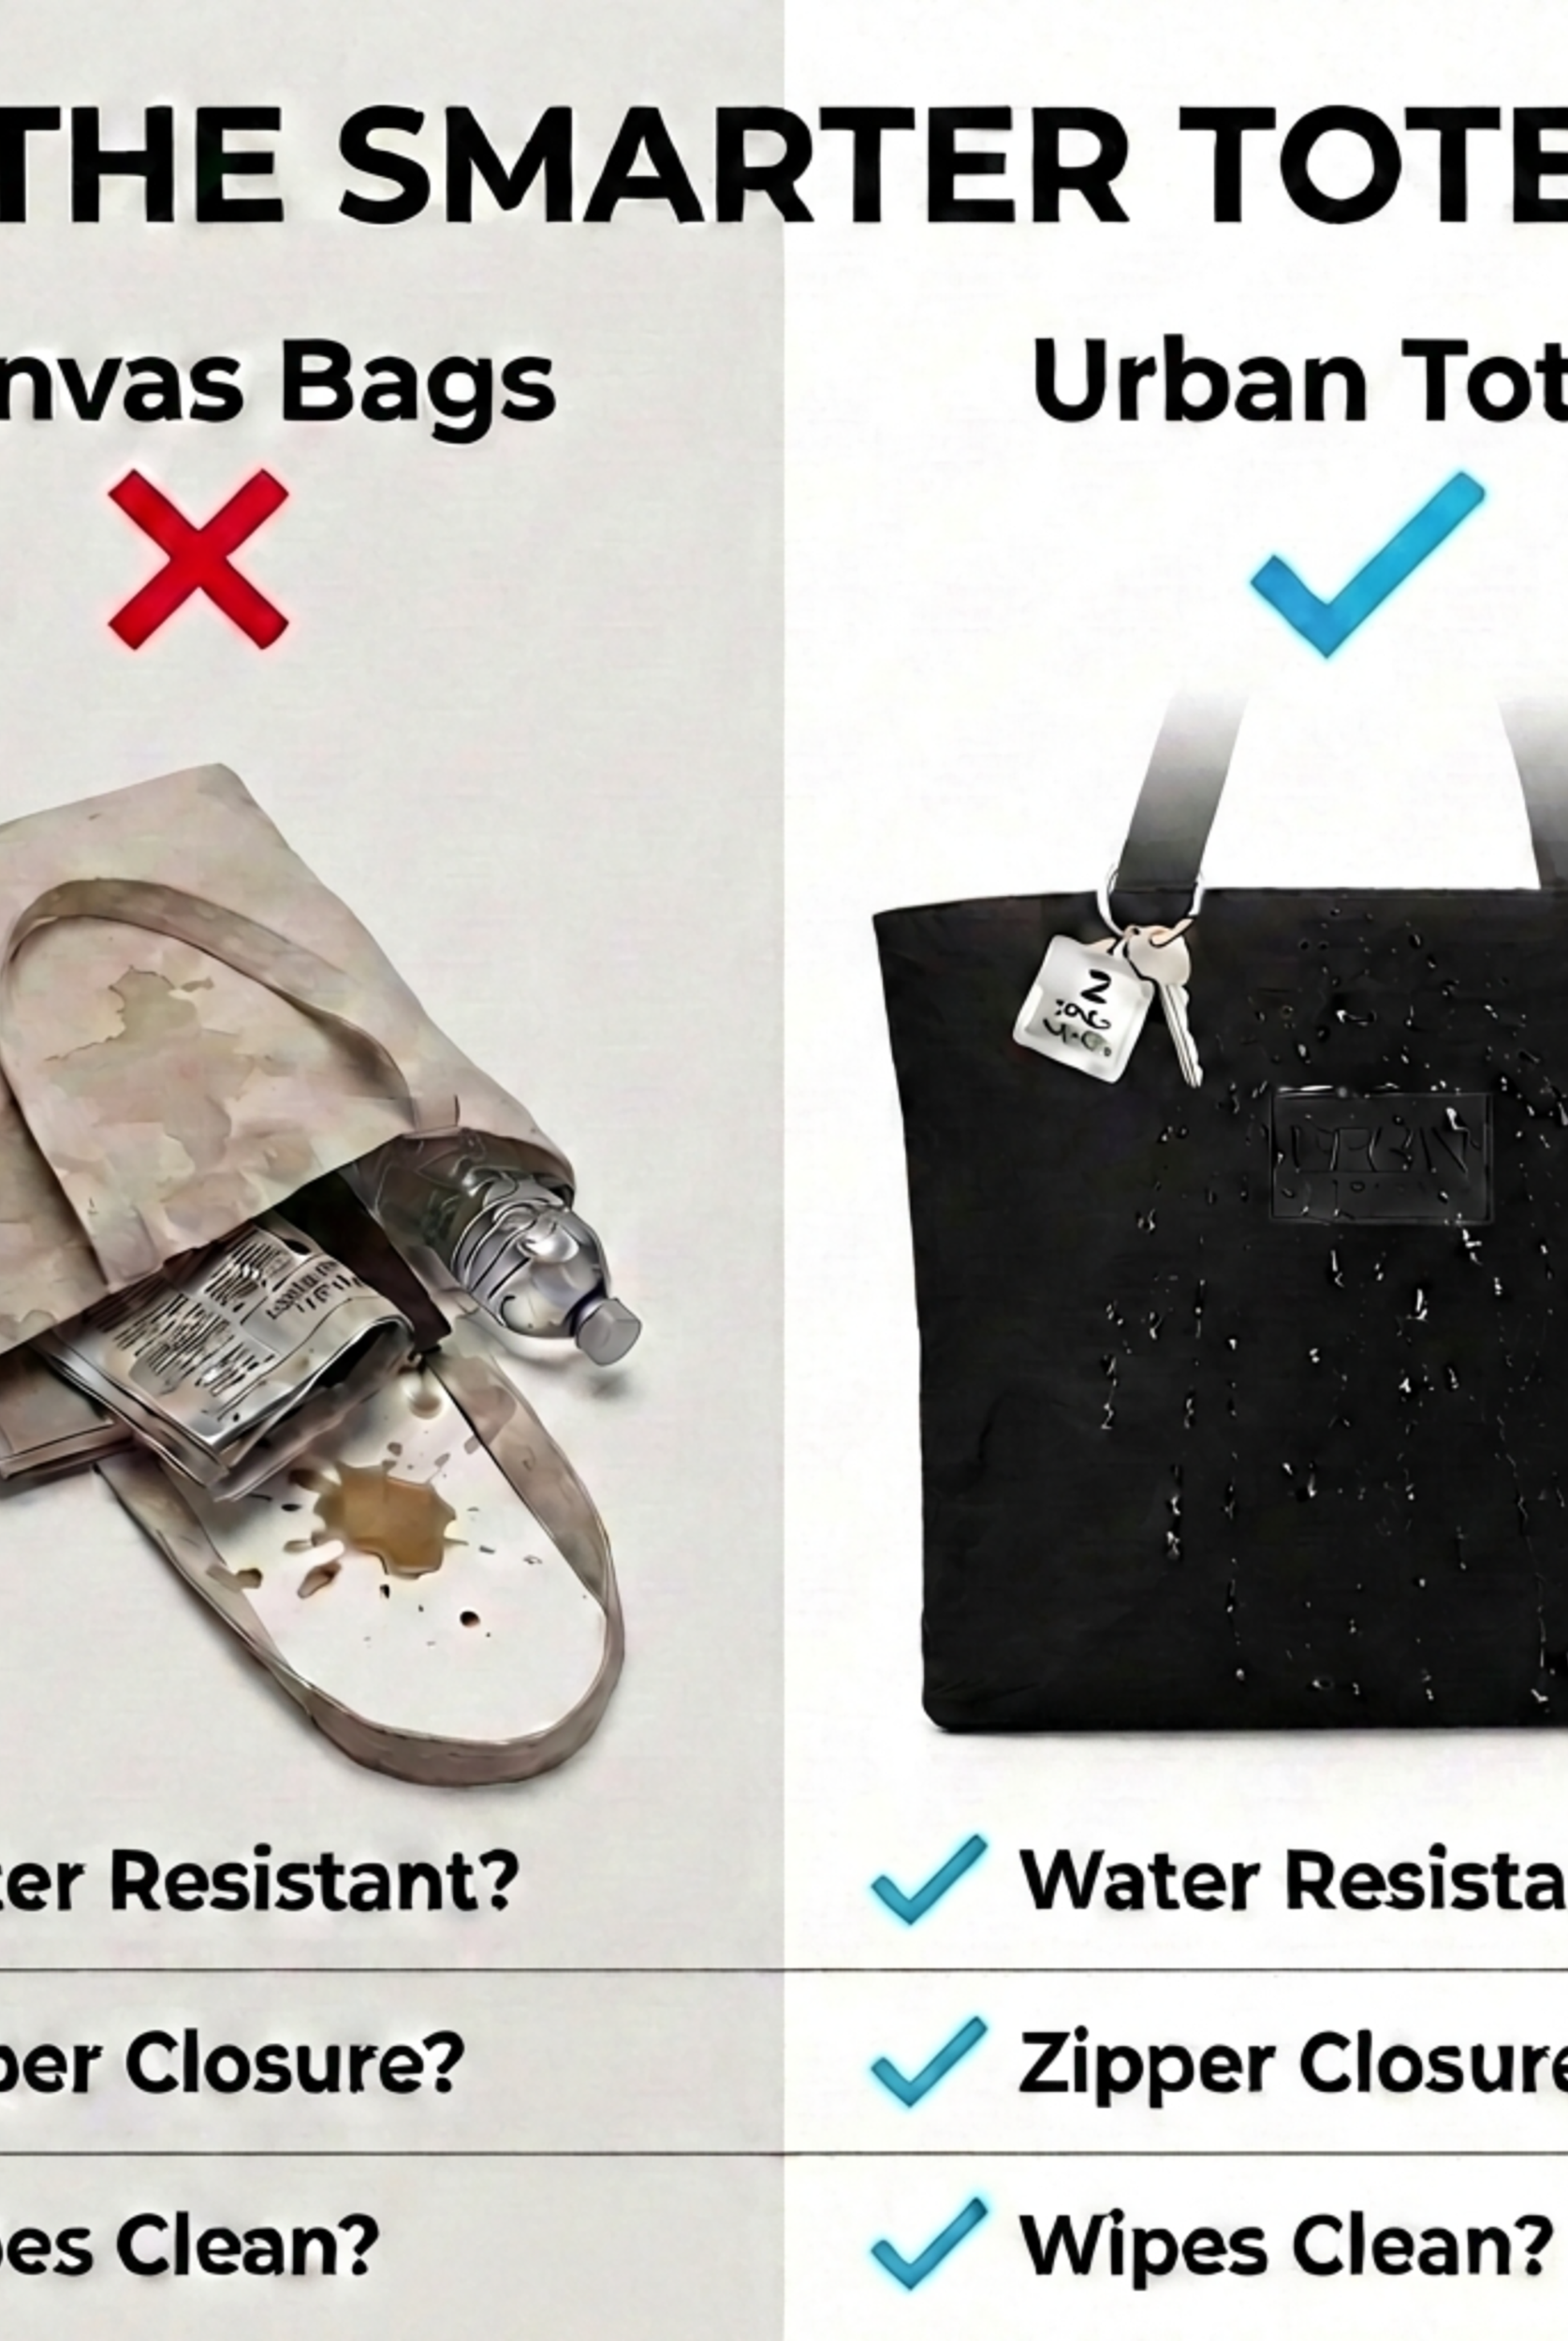
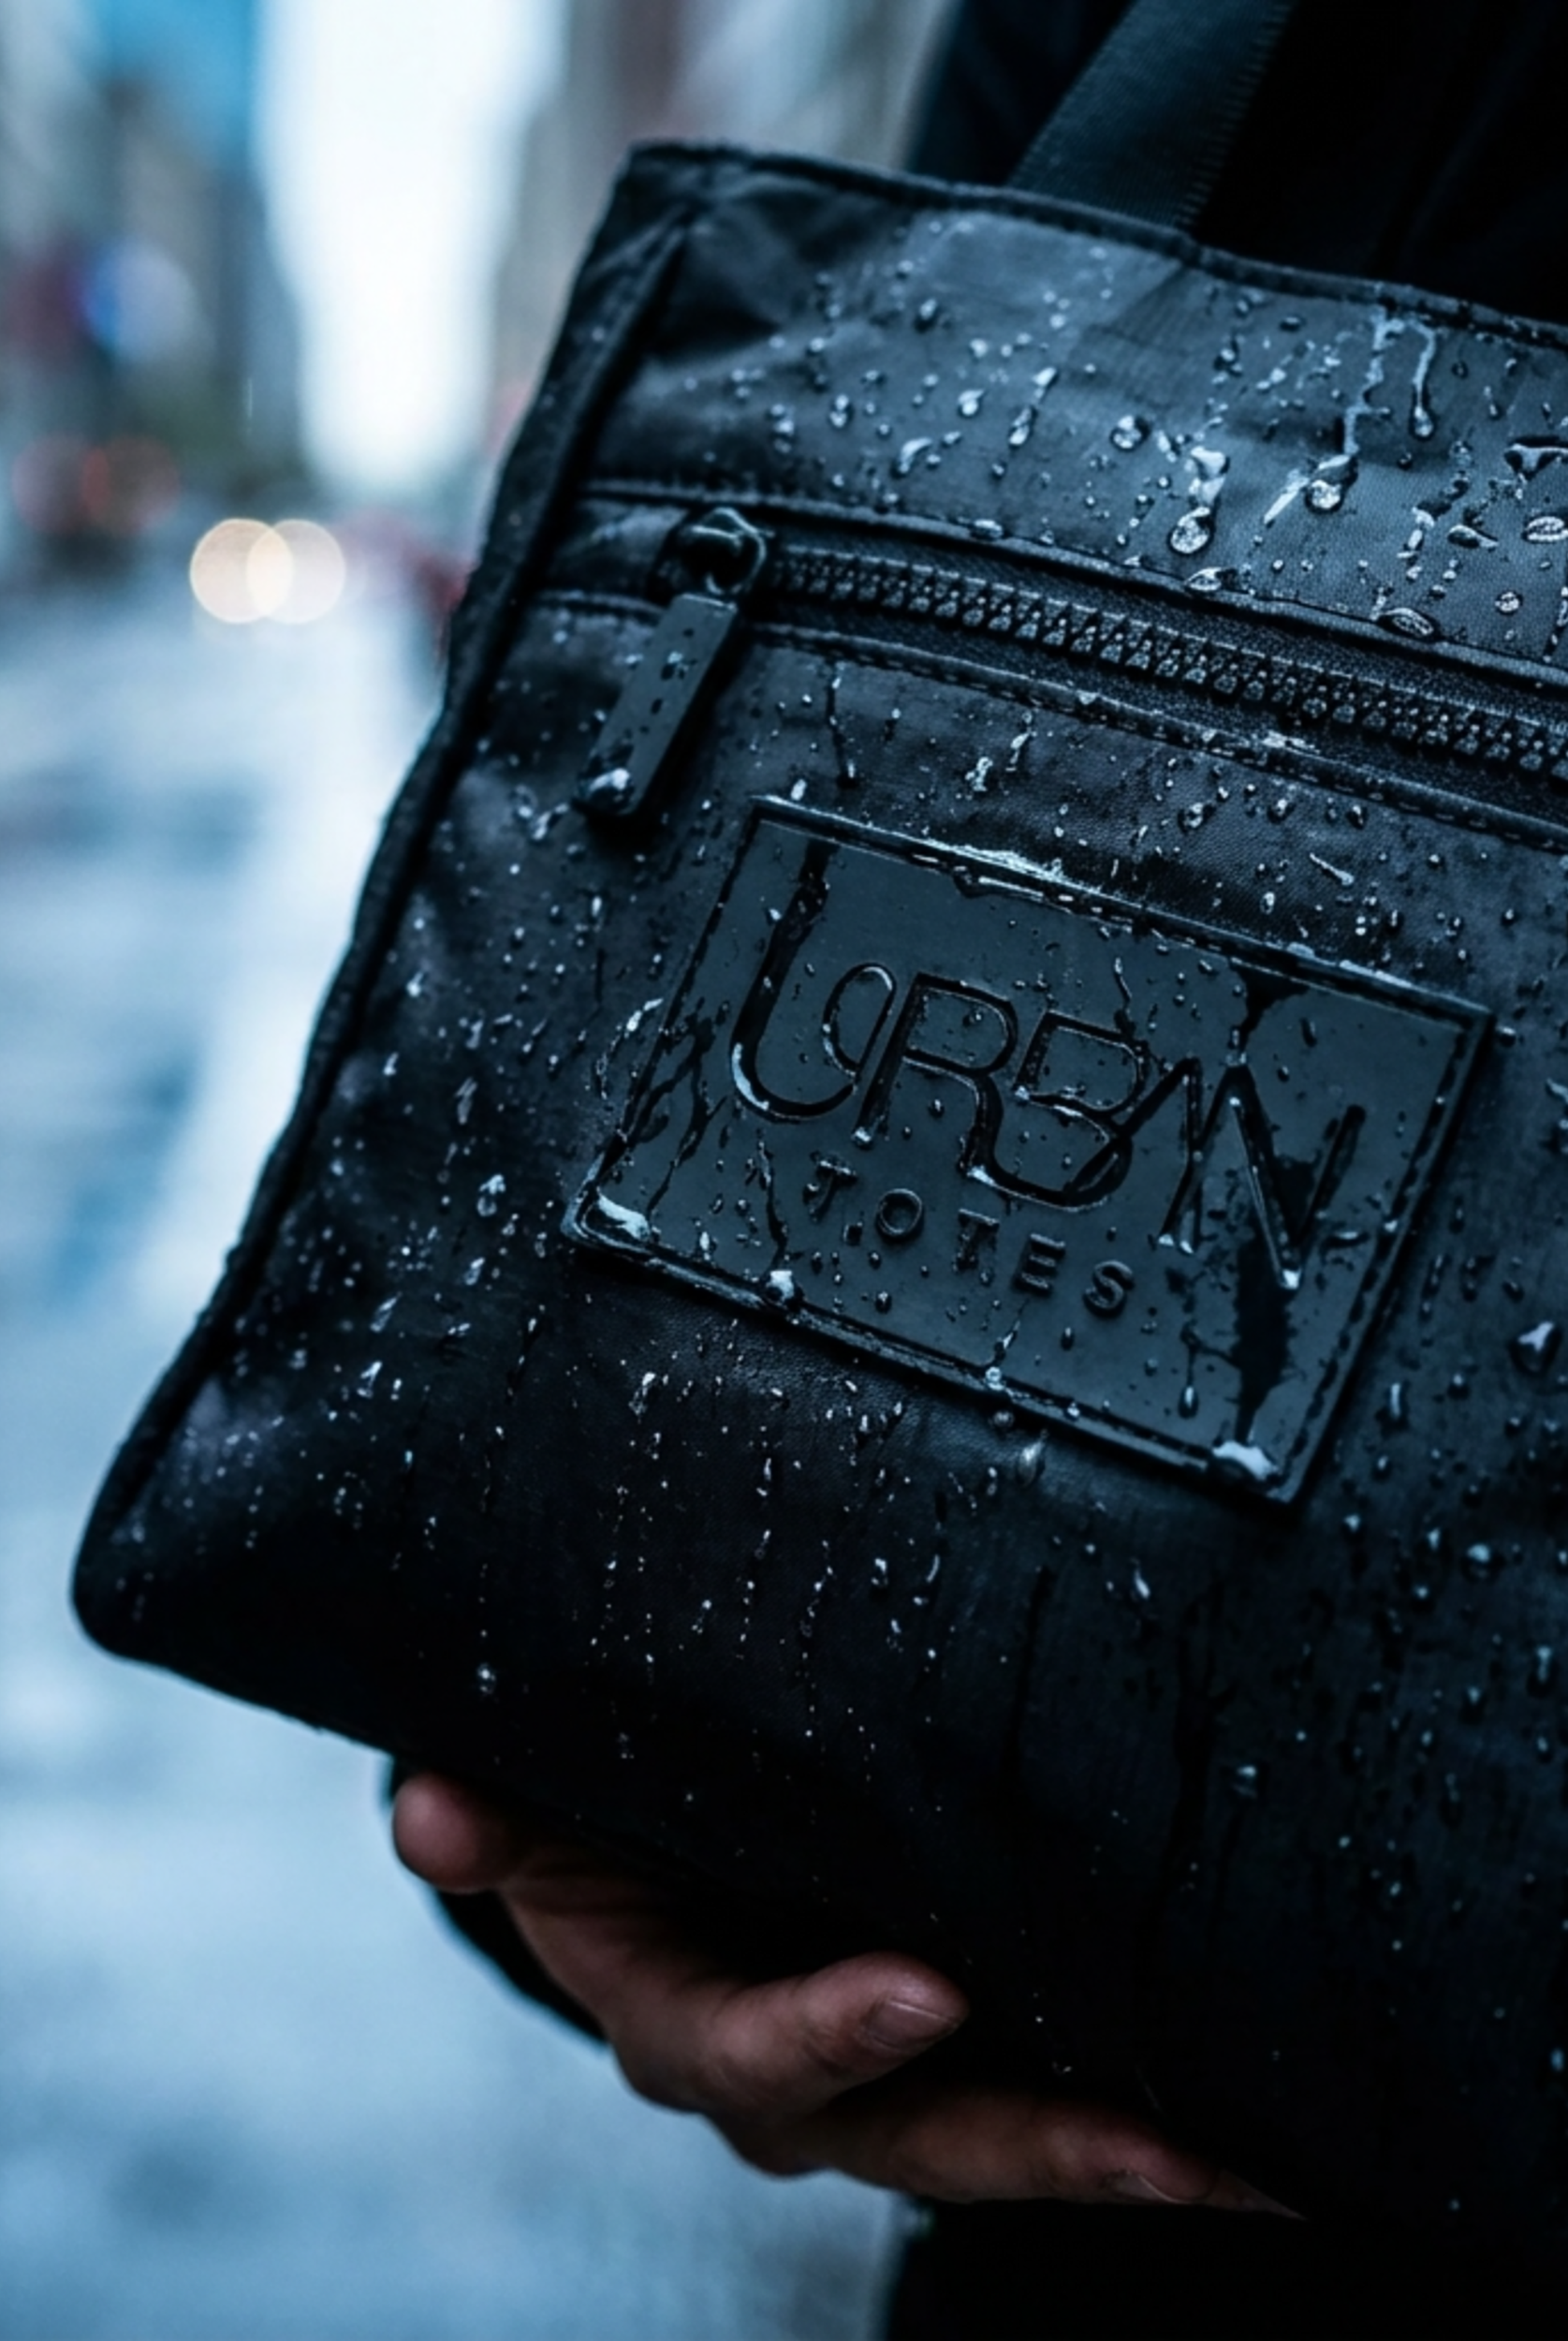
A fabric number does not protect a finished pocket. Seams, the zipper area, elastic binding, and whether water can drain all change the result once a cold bottle is pressed into the well. Ask for the test method and the result. Call the bag water-resistant unless seams and closures have been validated to a waterproof standard. A water-resistant crossbody bag write-up is useful when it names the test, not when it only says the cloth "handles weather."
A material rating alone does not guarantee full-bag protection on a wet sidewalk or a damp playground.
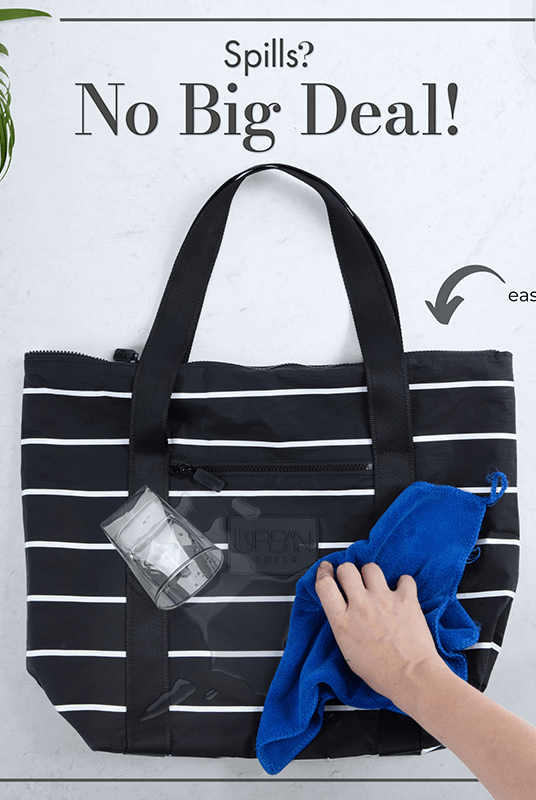
If a reusable cap leaks, a separate leak-isolation liner keeps that water off phones and documents. Water-resistant or splash-resistant construction can help with light rain, wet benches, and incidental drips. It is not a promise about immersion or a hard storm.
Organization Features Worth Looking For
The bottle is the item most likely to be wet. It should not share a cavity with a wallet, keys, a charger, or paperwork. On a school-run morning that means reaching for keys without unzipping a compartment that smells like yesterday's condensation.
The one-hand test is simple. Keys in one hand, bottle in the other, eyes on the crosswalk.
- Dedicated upright bottle pocket: A secure opening, snug enough that the bottle does not rattle when you jog for a bus. If it sloshes free, the pocket is a hole, not a holder.
- Quick-access exterior zip: Phone and keys live here so you are not opening the main compartment at a checkout.
- Interior zip for cards: Small valuables stay shut when the bag tips on a bus seat.
- Zipper closure on the main compartment: Open tops look easy until a crowd or a sudden stop dumps a lip balm and a notebook.
- A slim sleeve, if you carry a tablet or notebook: One divider beats a stack of tiny slots you will never use.
- Leak-isolation liner or removable pouch: This is the backup when a cap weeps onto the lining. It should come out for a rinse.
More pockets add weight, seams, and places for crumbs. A few well-placed ones beat a grid of empty slots. If you want a fuller map of what earns its keep, look at how a crossbody bag with pockets separates wet, daily, and valuable items instead of stuffing them into one well.
The trade-off shows up on long days. Every extra zip is another thing to fail, and every padded wall steals a little of the compact shape that keeps the bag from swinging. Stop adding features once the one-hand test already passes.
Matching the Bag to Your Day
At school drop-off, the snack bag, sippy cup, and wipes all need space away from the bottle. A separate bottle pocket keeps the bottle upright and helps keep the wipes dry. That separation matters more on a busy day than extra storage you will not use.
The National Academies hydration reference reports that adequately hydrated adult women consume about 2.7 liters, or 91 ounces, of total water daily from food and beverages. This is a population figure for healthy, generally sedentary adults in temperate climates, not an individual prescription. Heat and extended activity can raise needs, while thirst is a useful guide for most healthy people. Choose a pocket around the bottle you carry, rather than sizing the bag by a general daily intake figure.
For longer efforts, some people compare hydration backpacks or handheld bottles. A compact crossbody can suit shorter outings when you want a bottle at your hip alongside a wallet, without carrying a full pack.
What each routine needs
| Routine | Must-have feature | Carry tip |
|---|---|---|
| Commuter with train or bus | Secure zip closure and upright bottle pocket | Keep the bottle outside the main compartment for quick sips |
| Caregiver on school runs | Quick-reach exterior pocket and easy-clean lining | Store snacks and wipes apart from the bottle |
| Weekend traveler | Empty-bottle access at security and foldable build | Empty the bottle before screening and refill airside |
| Gym or outdoor day | Wide adjustable strap and separate wet-item pocket | Keep sweaty gear away from electronics |
| Style-conscious minimalist | Slim profile with one well-placed pocket | Pick a smaller bottle to keep the silhouette clean |
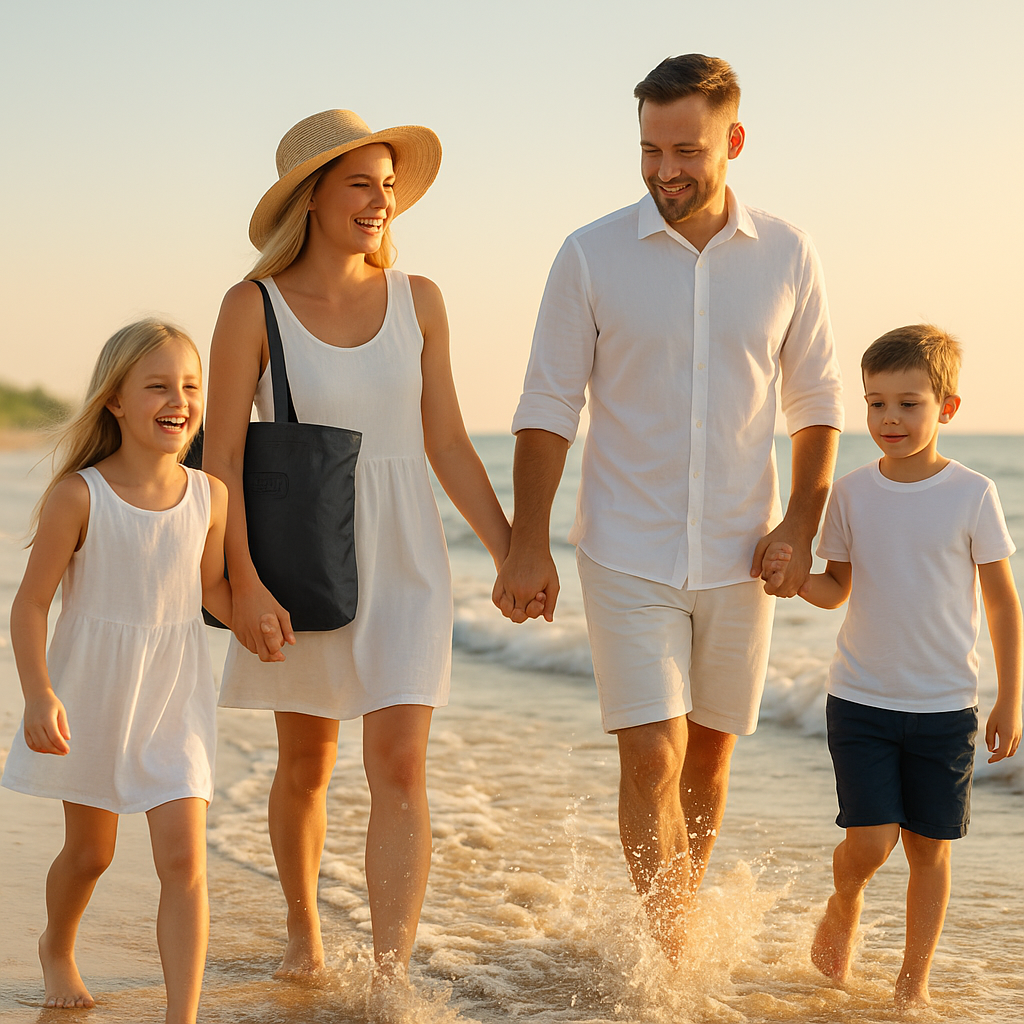
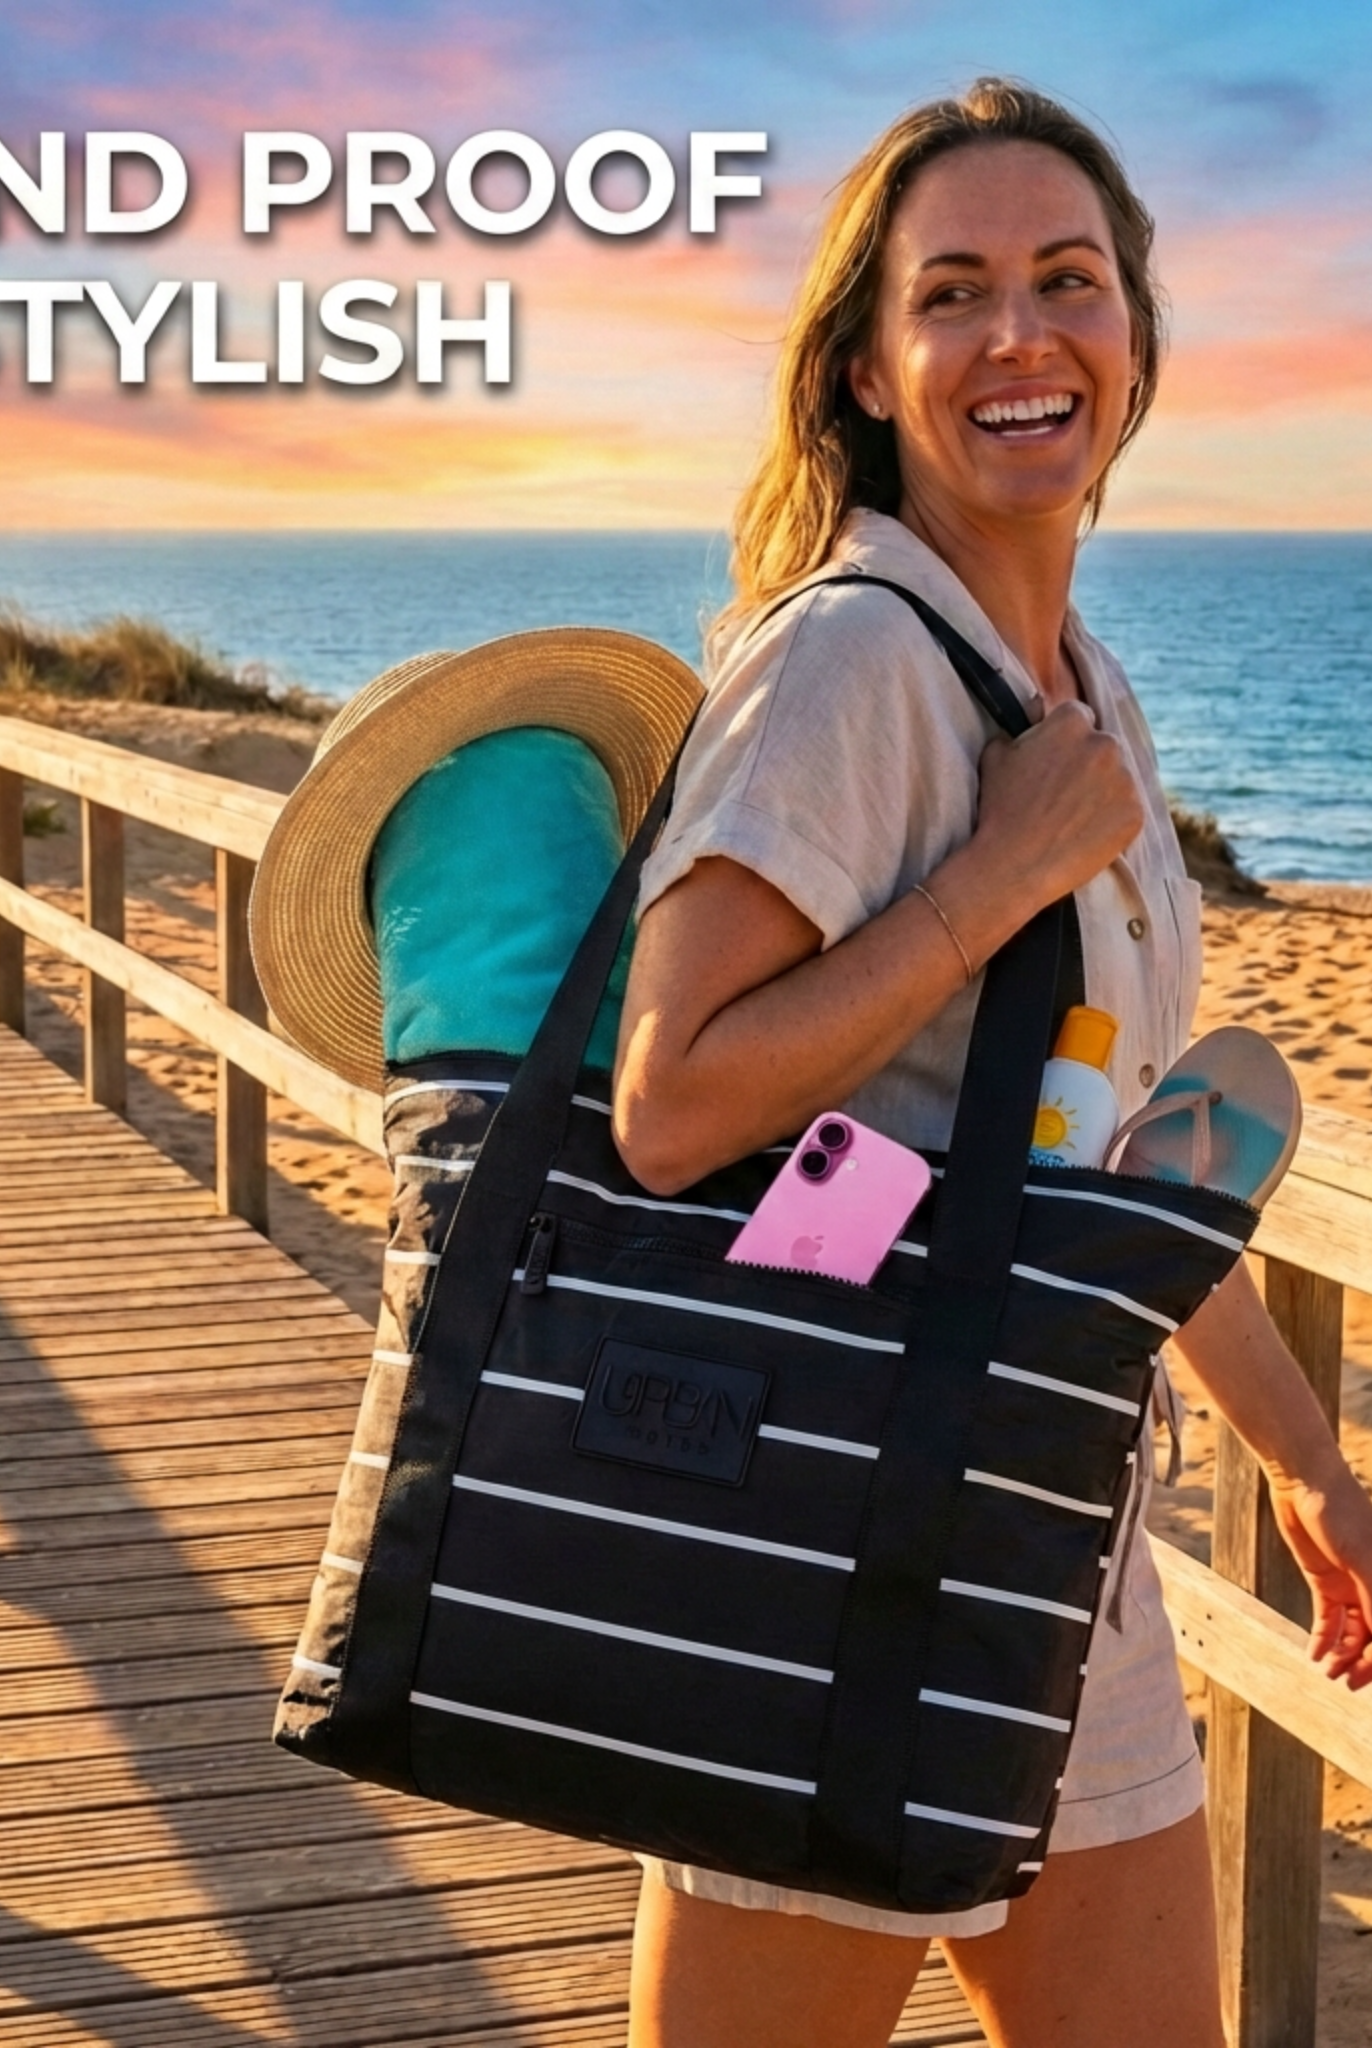
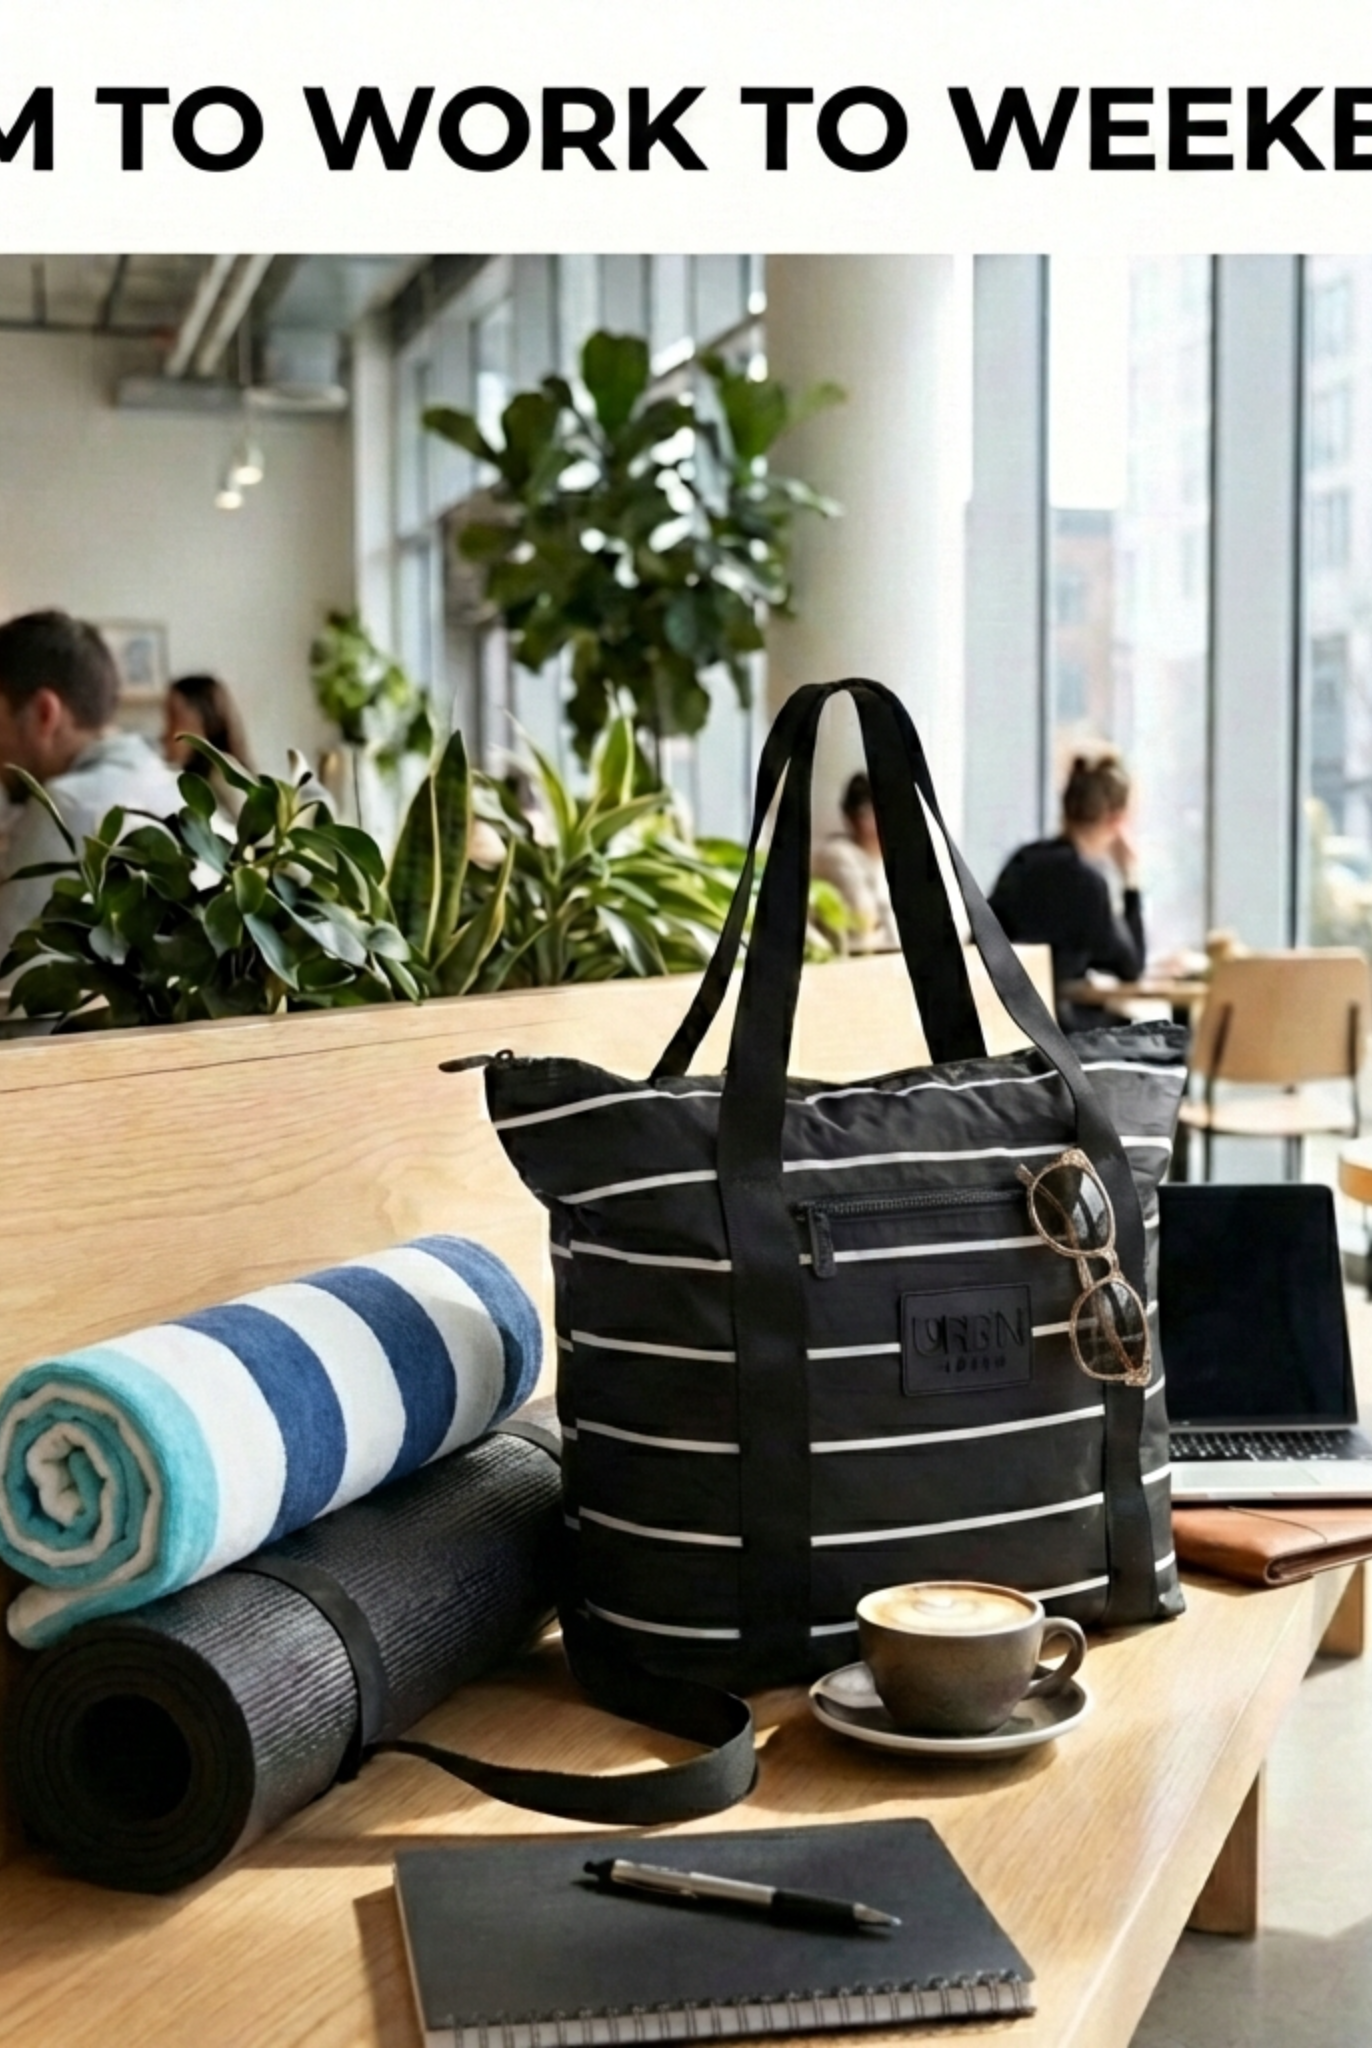
A commuter may prefer a bottle that fits securely without pressing against a laptop sleeve. At a farmers market, a lightweight, packable bag is easier to swing forward while browsing. For a gym visit, separation between sweaty gear and electronics matters more than a slim profile. A beach-day parent and a weekend traveler can use the same bag family with different bottles, depending on what else each needs to carry. Check the bottle's diameter and handle clearance against the pocket, then consider how its weight will sit at your hip. A full-size bottle may work for one routine; a smaller one can make the same bag more comfortable for another.
Airport Routine and Packing Steps
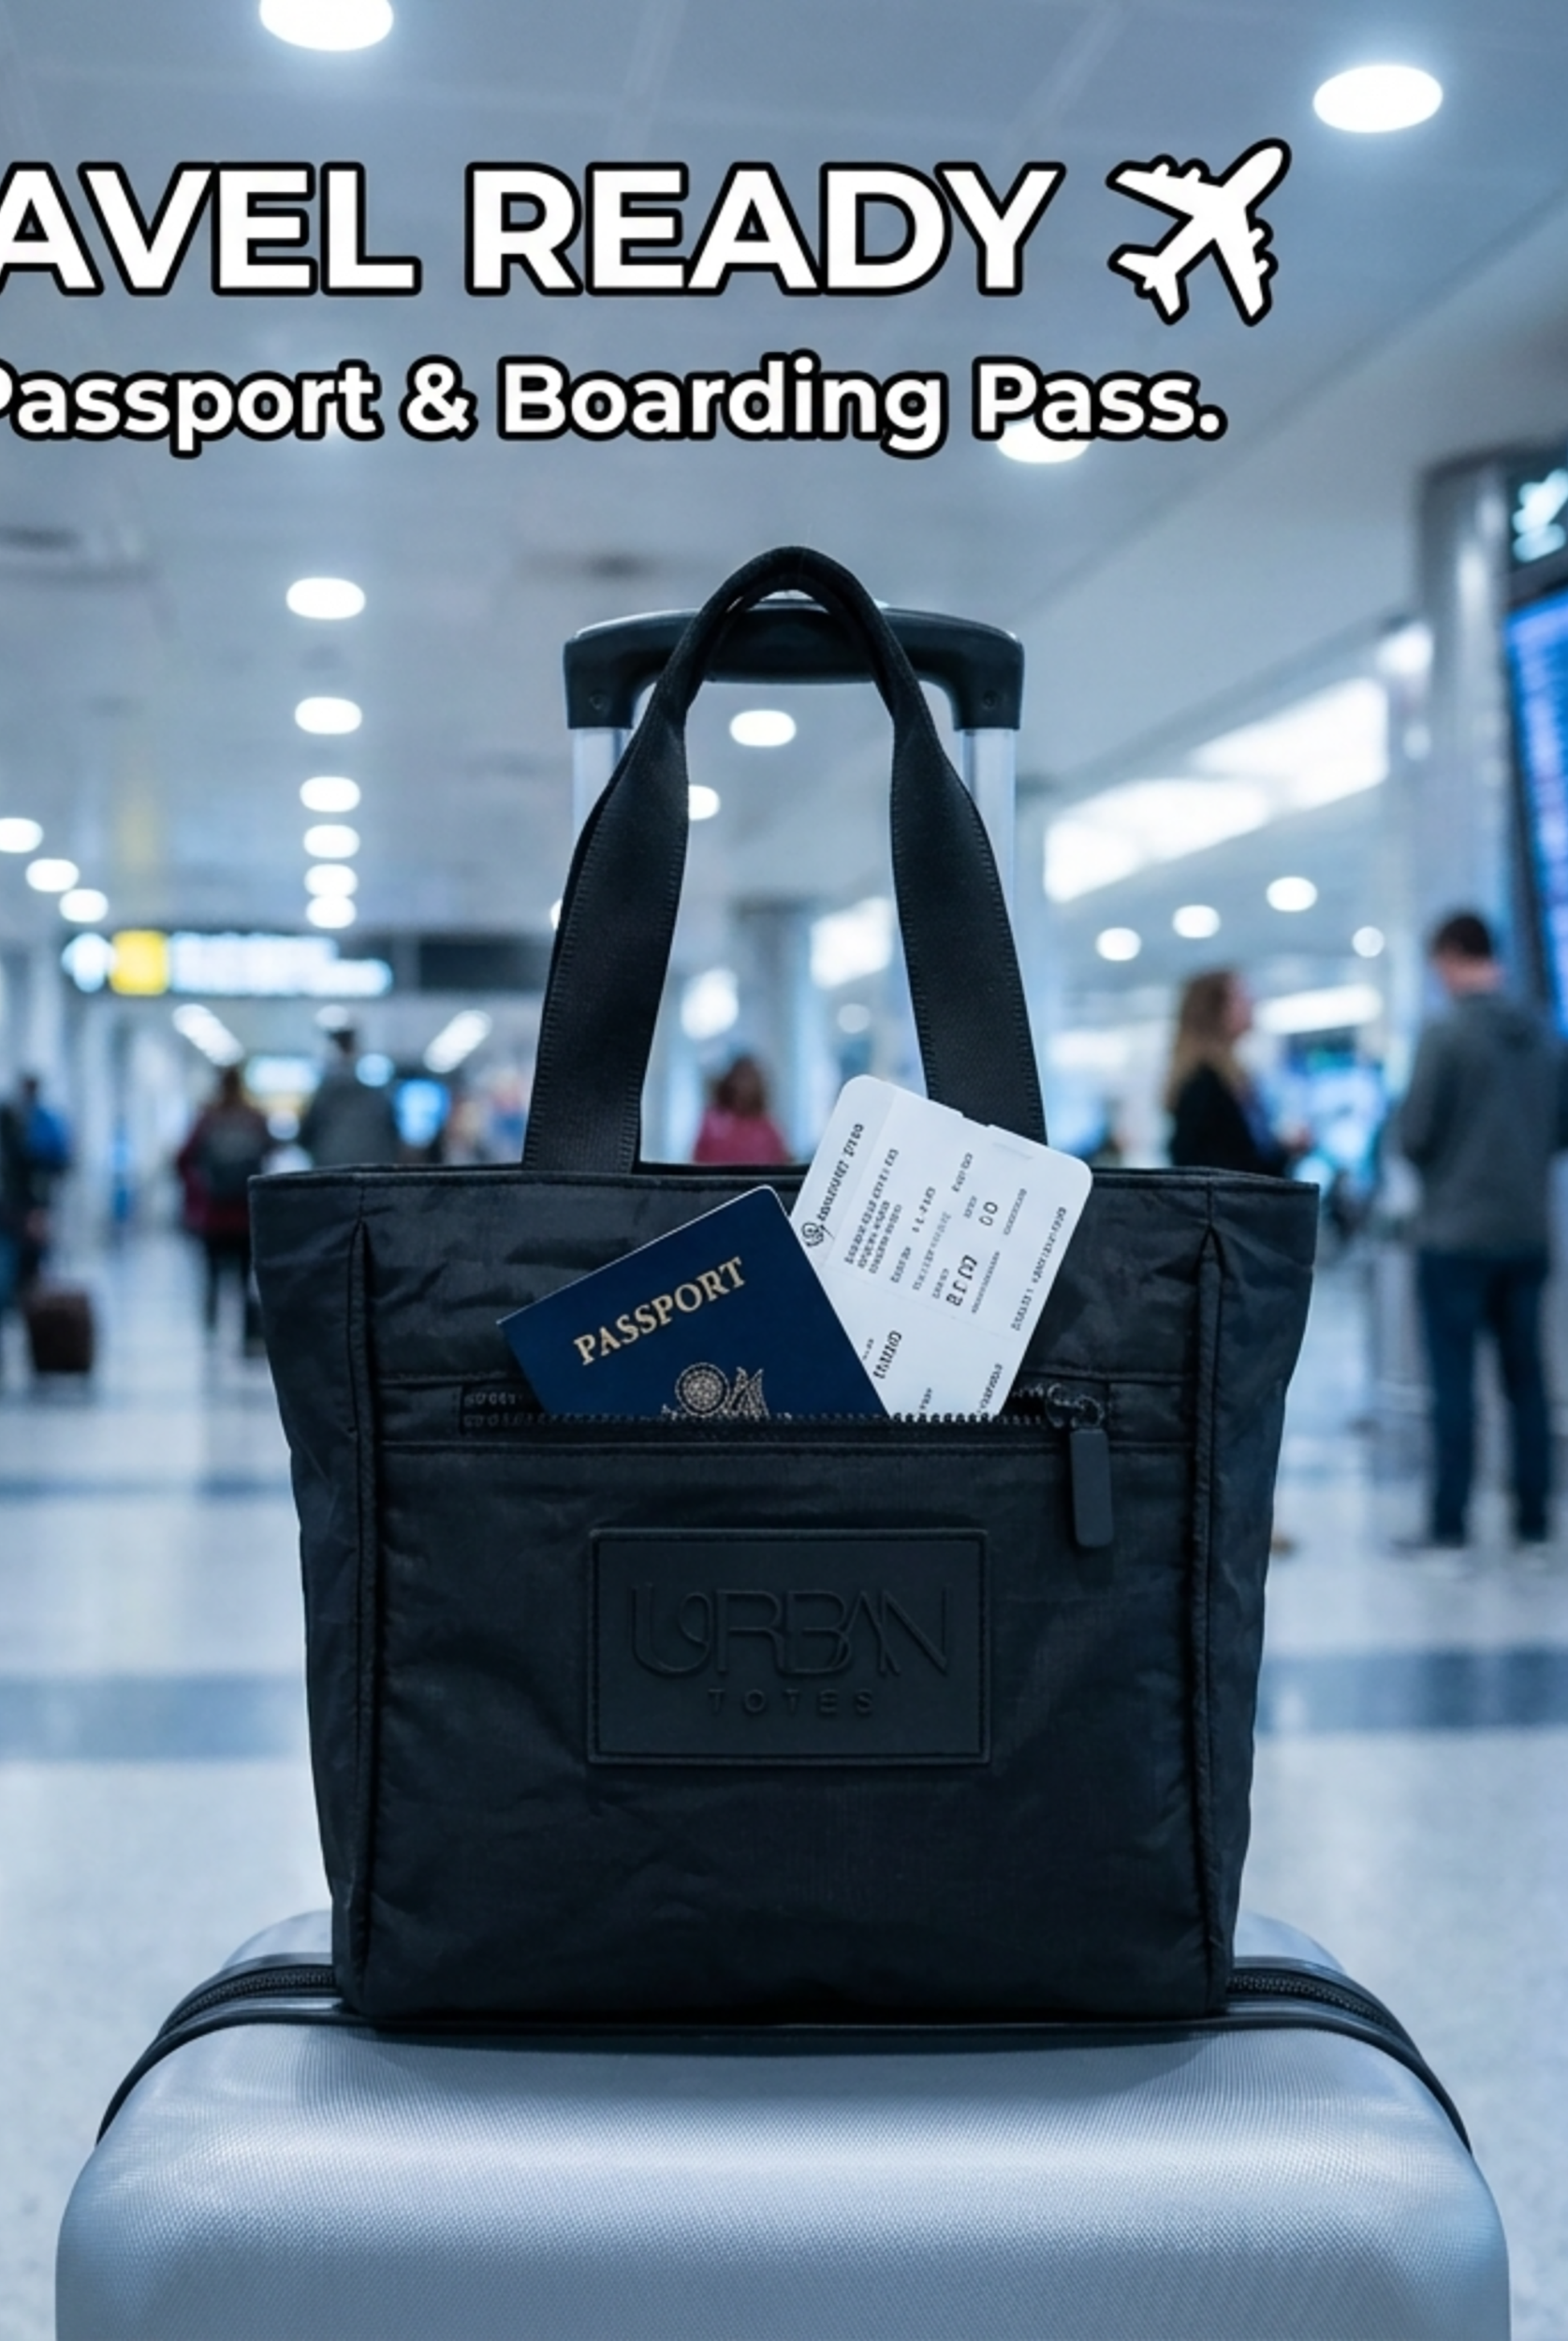
A full bottle buried beneath a sweater can stall you at security. Before joining the line, take the bottle out of the exterior pocket and empty it. The pocket should release it without making you unpack medication, keys, or a charger.
The U.S. Department of Transportation says filled water bottles over 3.4 ounces cannot pass through the checkpoint. Empty reusable bottles and insulated containers can go through screening, then be filled after security. For carry-on liquids, TSA packing guidance says containers must be 3.4 ounces or less and fit in one clear, quart-sized bag. Check the carry-on luggage liquid limit before packing liquids for a connection.
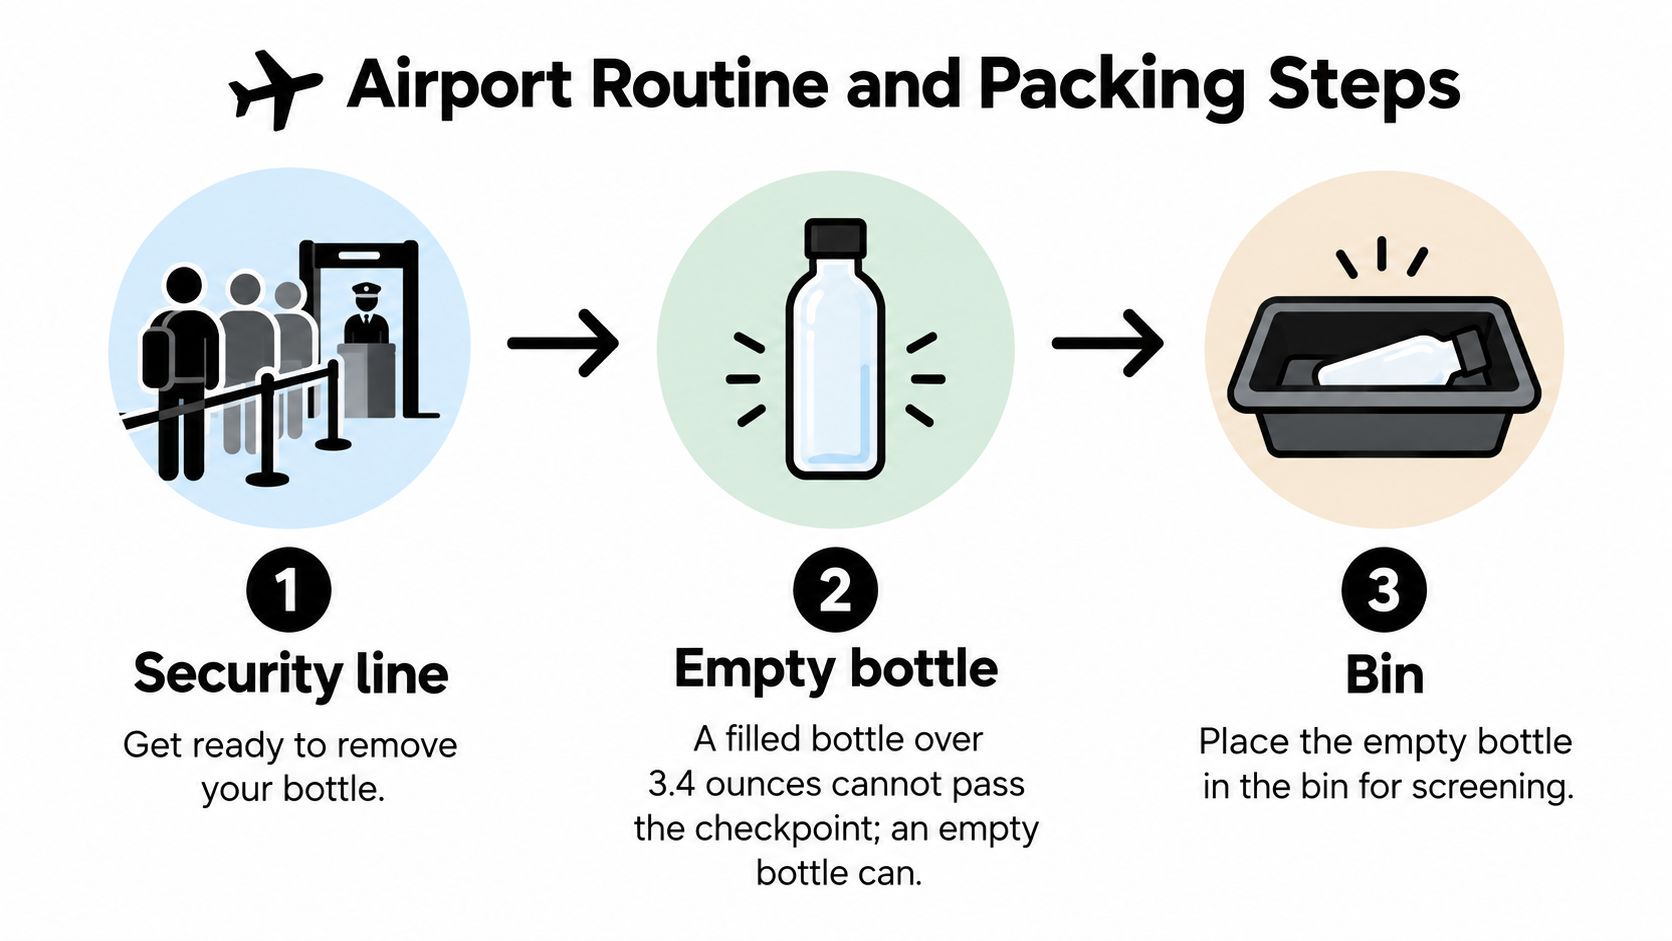
The order that keeps the line moving
- Empty the bottle at home or before you reach the checkpoint.
- Keep it in the exterior pocket for quick removal.
- Place the crossbody in the bin with the bottle pocket accessible.
- Refill at a station after screening.
- Return the bottle to its pocket before boarding, rather than leaving it loose during the seat-back shuffle.
Flying from Calgary? Use this pre-departure checklist for Calgary Airport alongside your bottle routine. Terminal layout can affect where you empty and refill, so leave the bottle easy to reach.
Packing once the bottle has a home
- Heavier items near the center: Keeping weight close to your body reduces the bag's swing.
- Soft clothing rolled: Rolls fill gaps without creating a hard lump against the bottle.
- Phone and boarding pass in the outer pocket: You can reach them without opening the main zipper at the gate.
- Chargers in an interior pocket: Separating cables from the bottle helps keep them away from condensation.
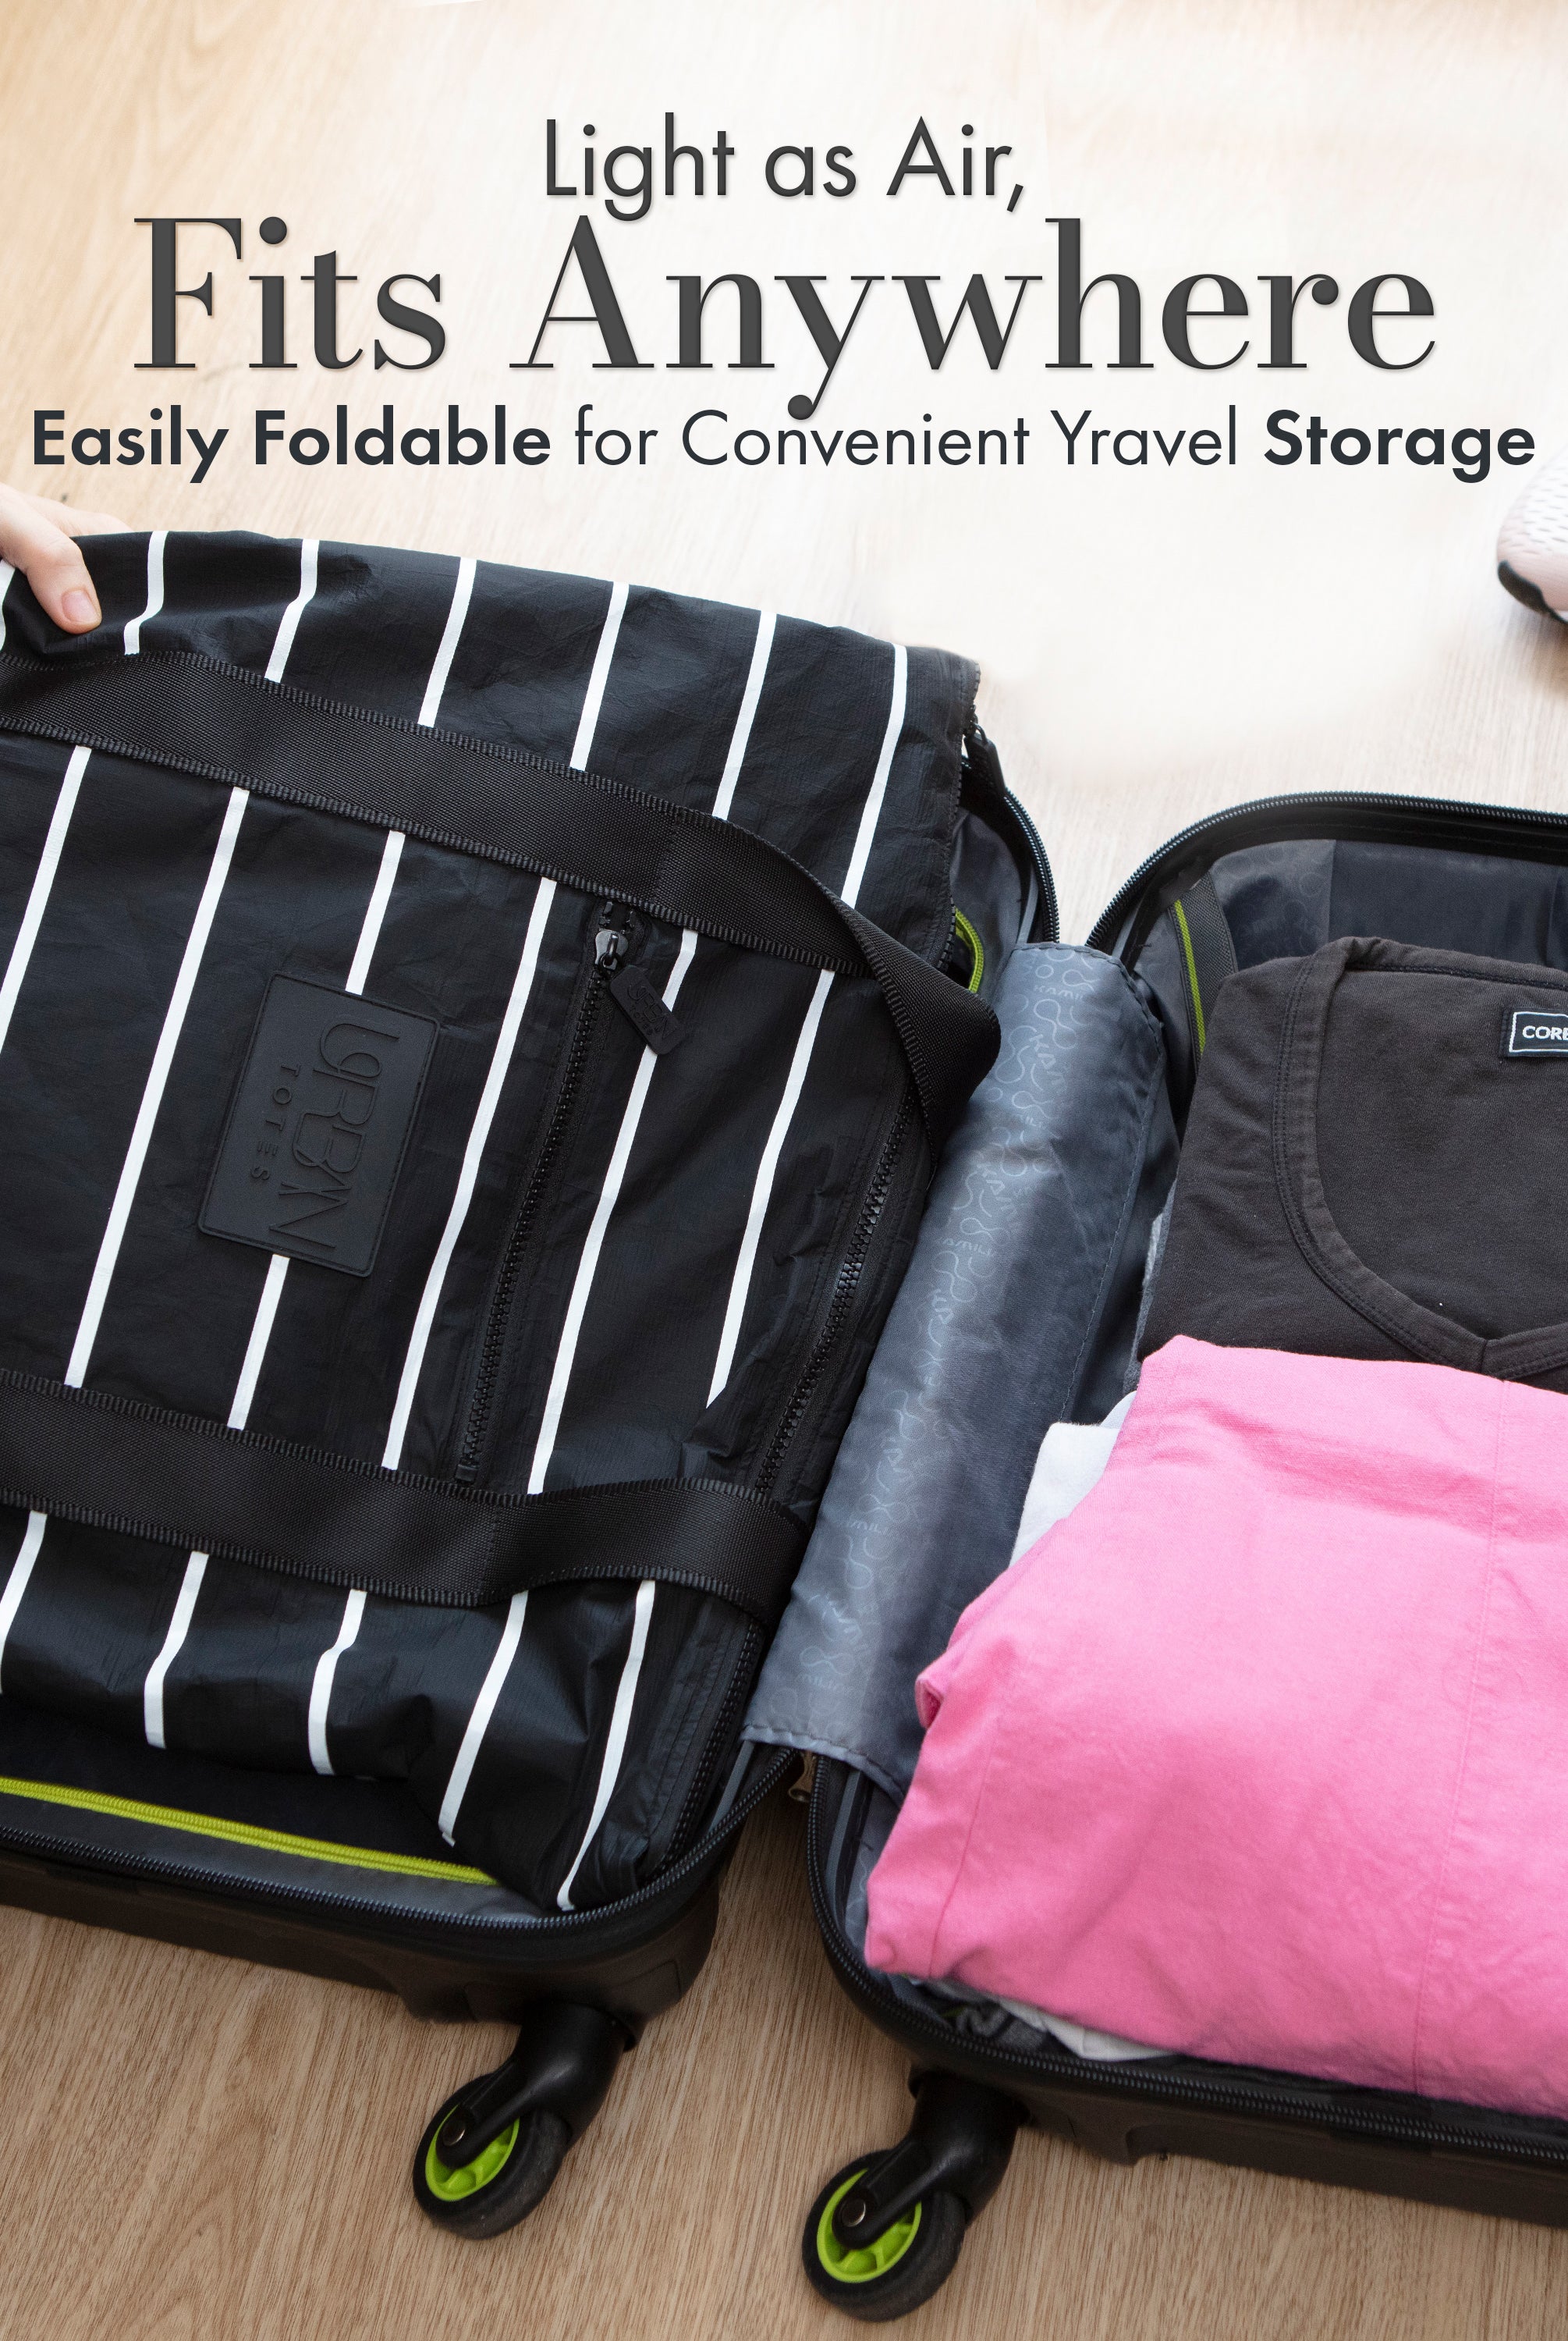
A foldable, travel-ready crossbody still earns its space after landing. Match the pocket to the bottle you carry, then check that the loaded bag stays balanced against your body. A pocket that holds a bottle securely at home should also let you remove it quickly at the checkpoint.
Keeping the Pocket Clean and Working Long Term
A leak or a rainy walk is what tests the pocket's shape, not the first unboxing. Care is how you keep the grip, the zip, and the lining trustworthy.
- Wipe the lining with a damp cloth and mild soap after any spill so sugar and sunscreen do not set.
- Read the care label before a machine wash. A structured bag and a soft nylon sling do not want the same cycle. A plain guide to how to clean nylon helps when the label is brief.
- Air dry the bag flat, away from direct heat. Heat can warp a structured shape.
- Empty the bottle pocket after use and leave the zipper open for an hour so trapped moisture can leave.
- Check the elastic or retention band monthly. Stretched elastic loses its grip and the bottle starts to swing.
- Rinse the leak-isolation liner after a cap leak. Replace it if it smells or tears.
- Look at zipper teeth and the stitching at the pocket corners, where stress collects when you yank a tight bottle free.
- Store the bag loosely folded or hung. Do not crush it under heavier luggage.
A bag that is emptied, dried, and glanced over after each wet day is the one you will trust on the next school run.
Measure Your Bottle Before You Buy
Before choosing a crossbody, measure the bottle you plan to carry on a regular day. A slim bottle that works for a school run may be a poor fit if you usually bring a handled tumbler on a commute.
- Check the bottle's specifications for ounces, milliliters, diameter, height, and handle clearance. Compare those measurements with the bag's stated pocket dimensions, if provided.
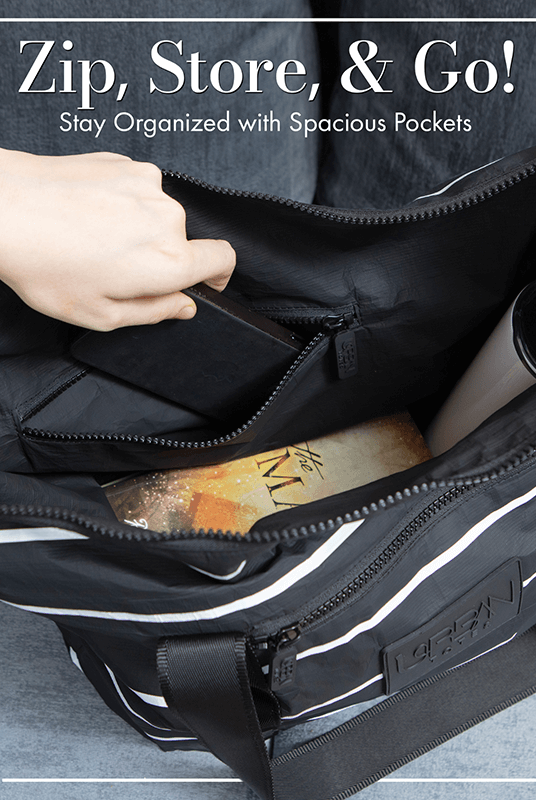
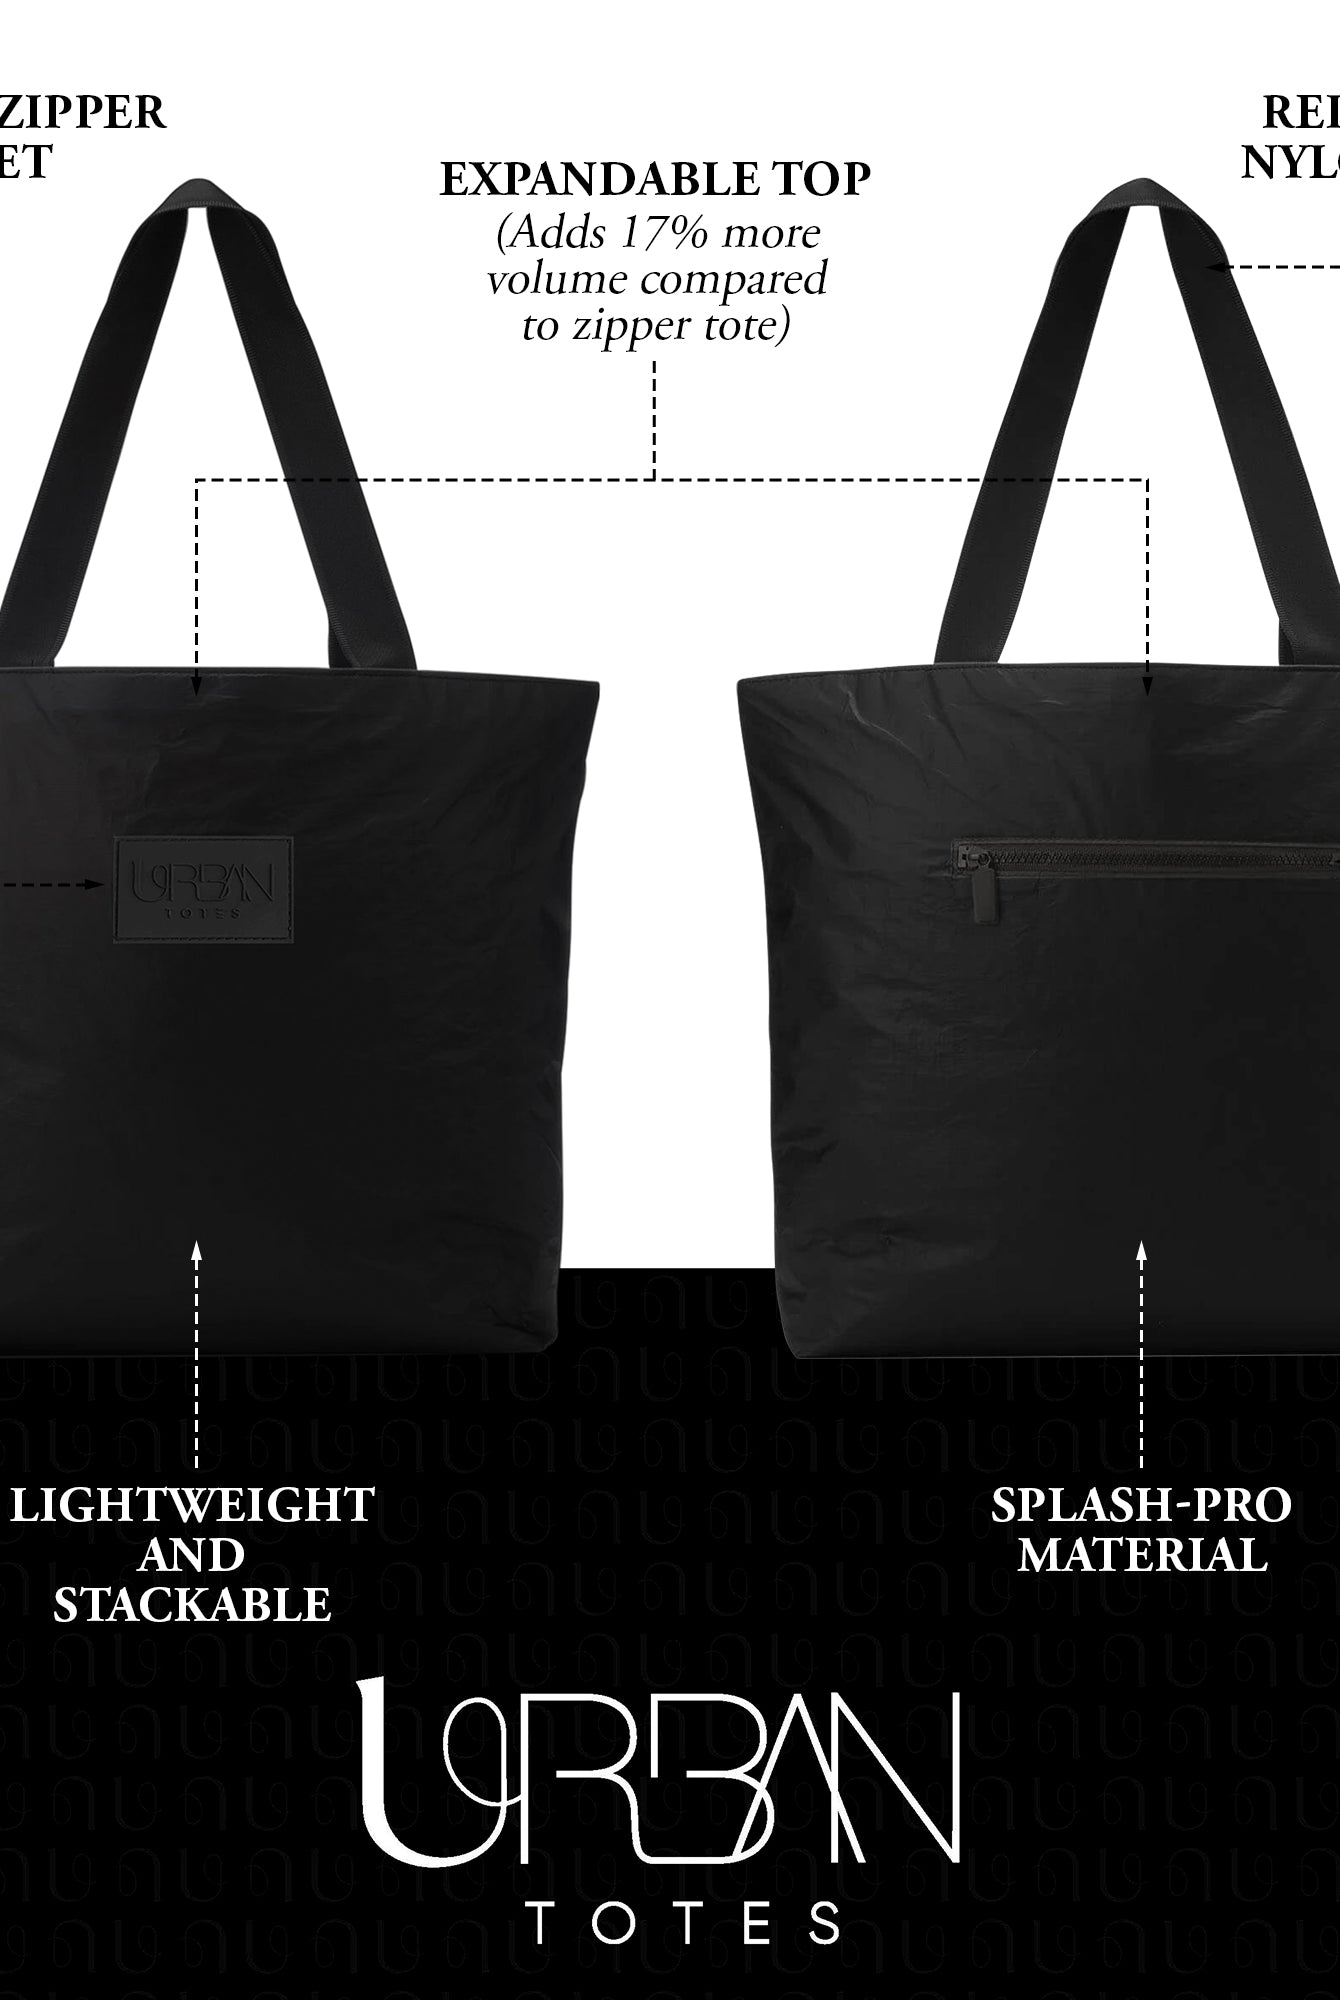
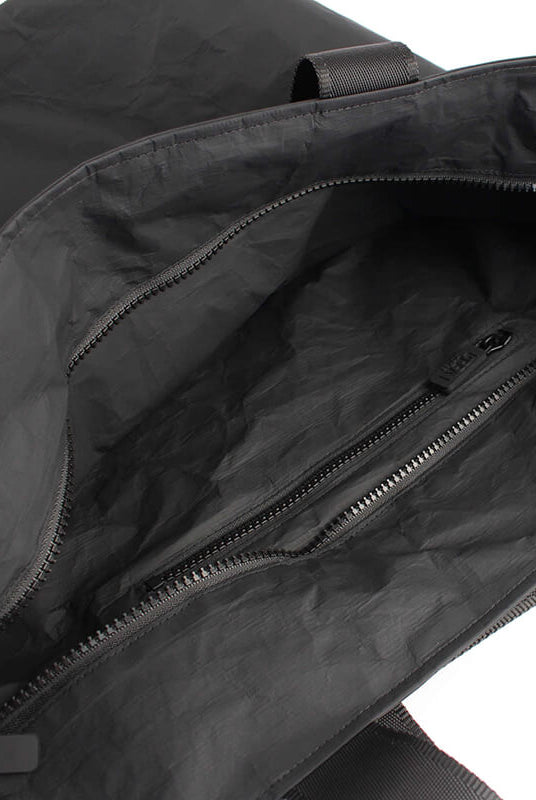
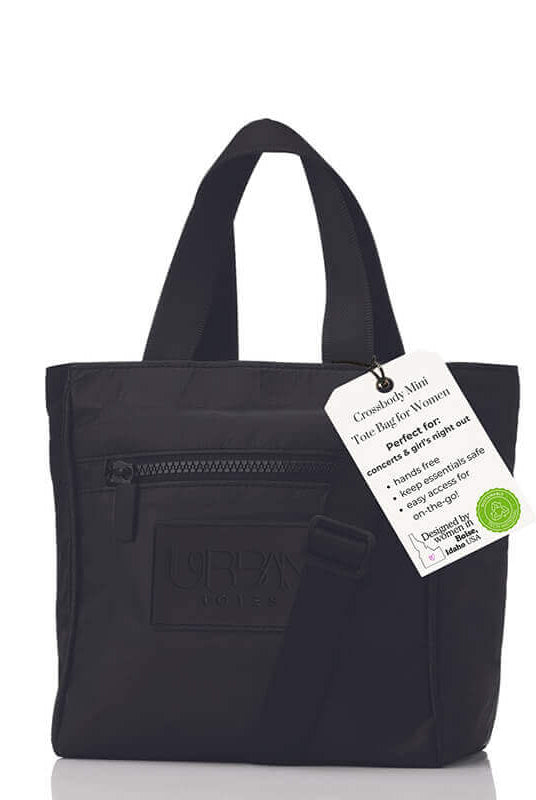
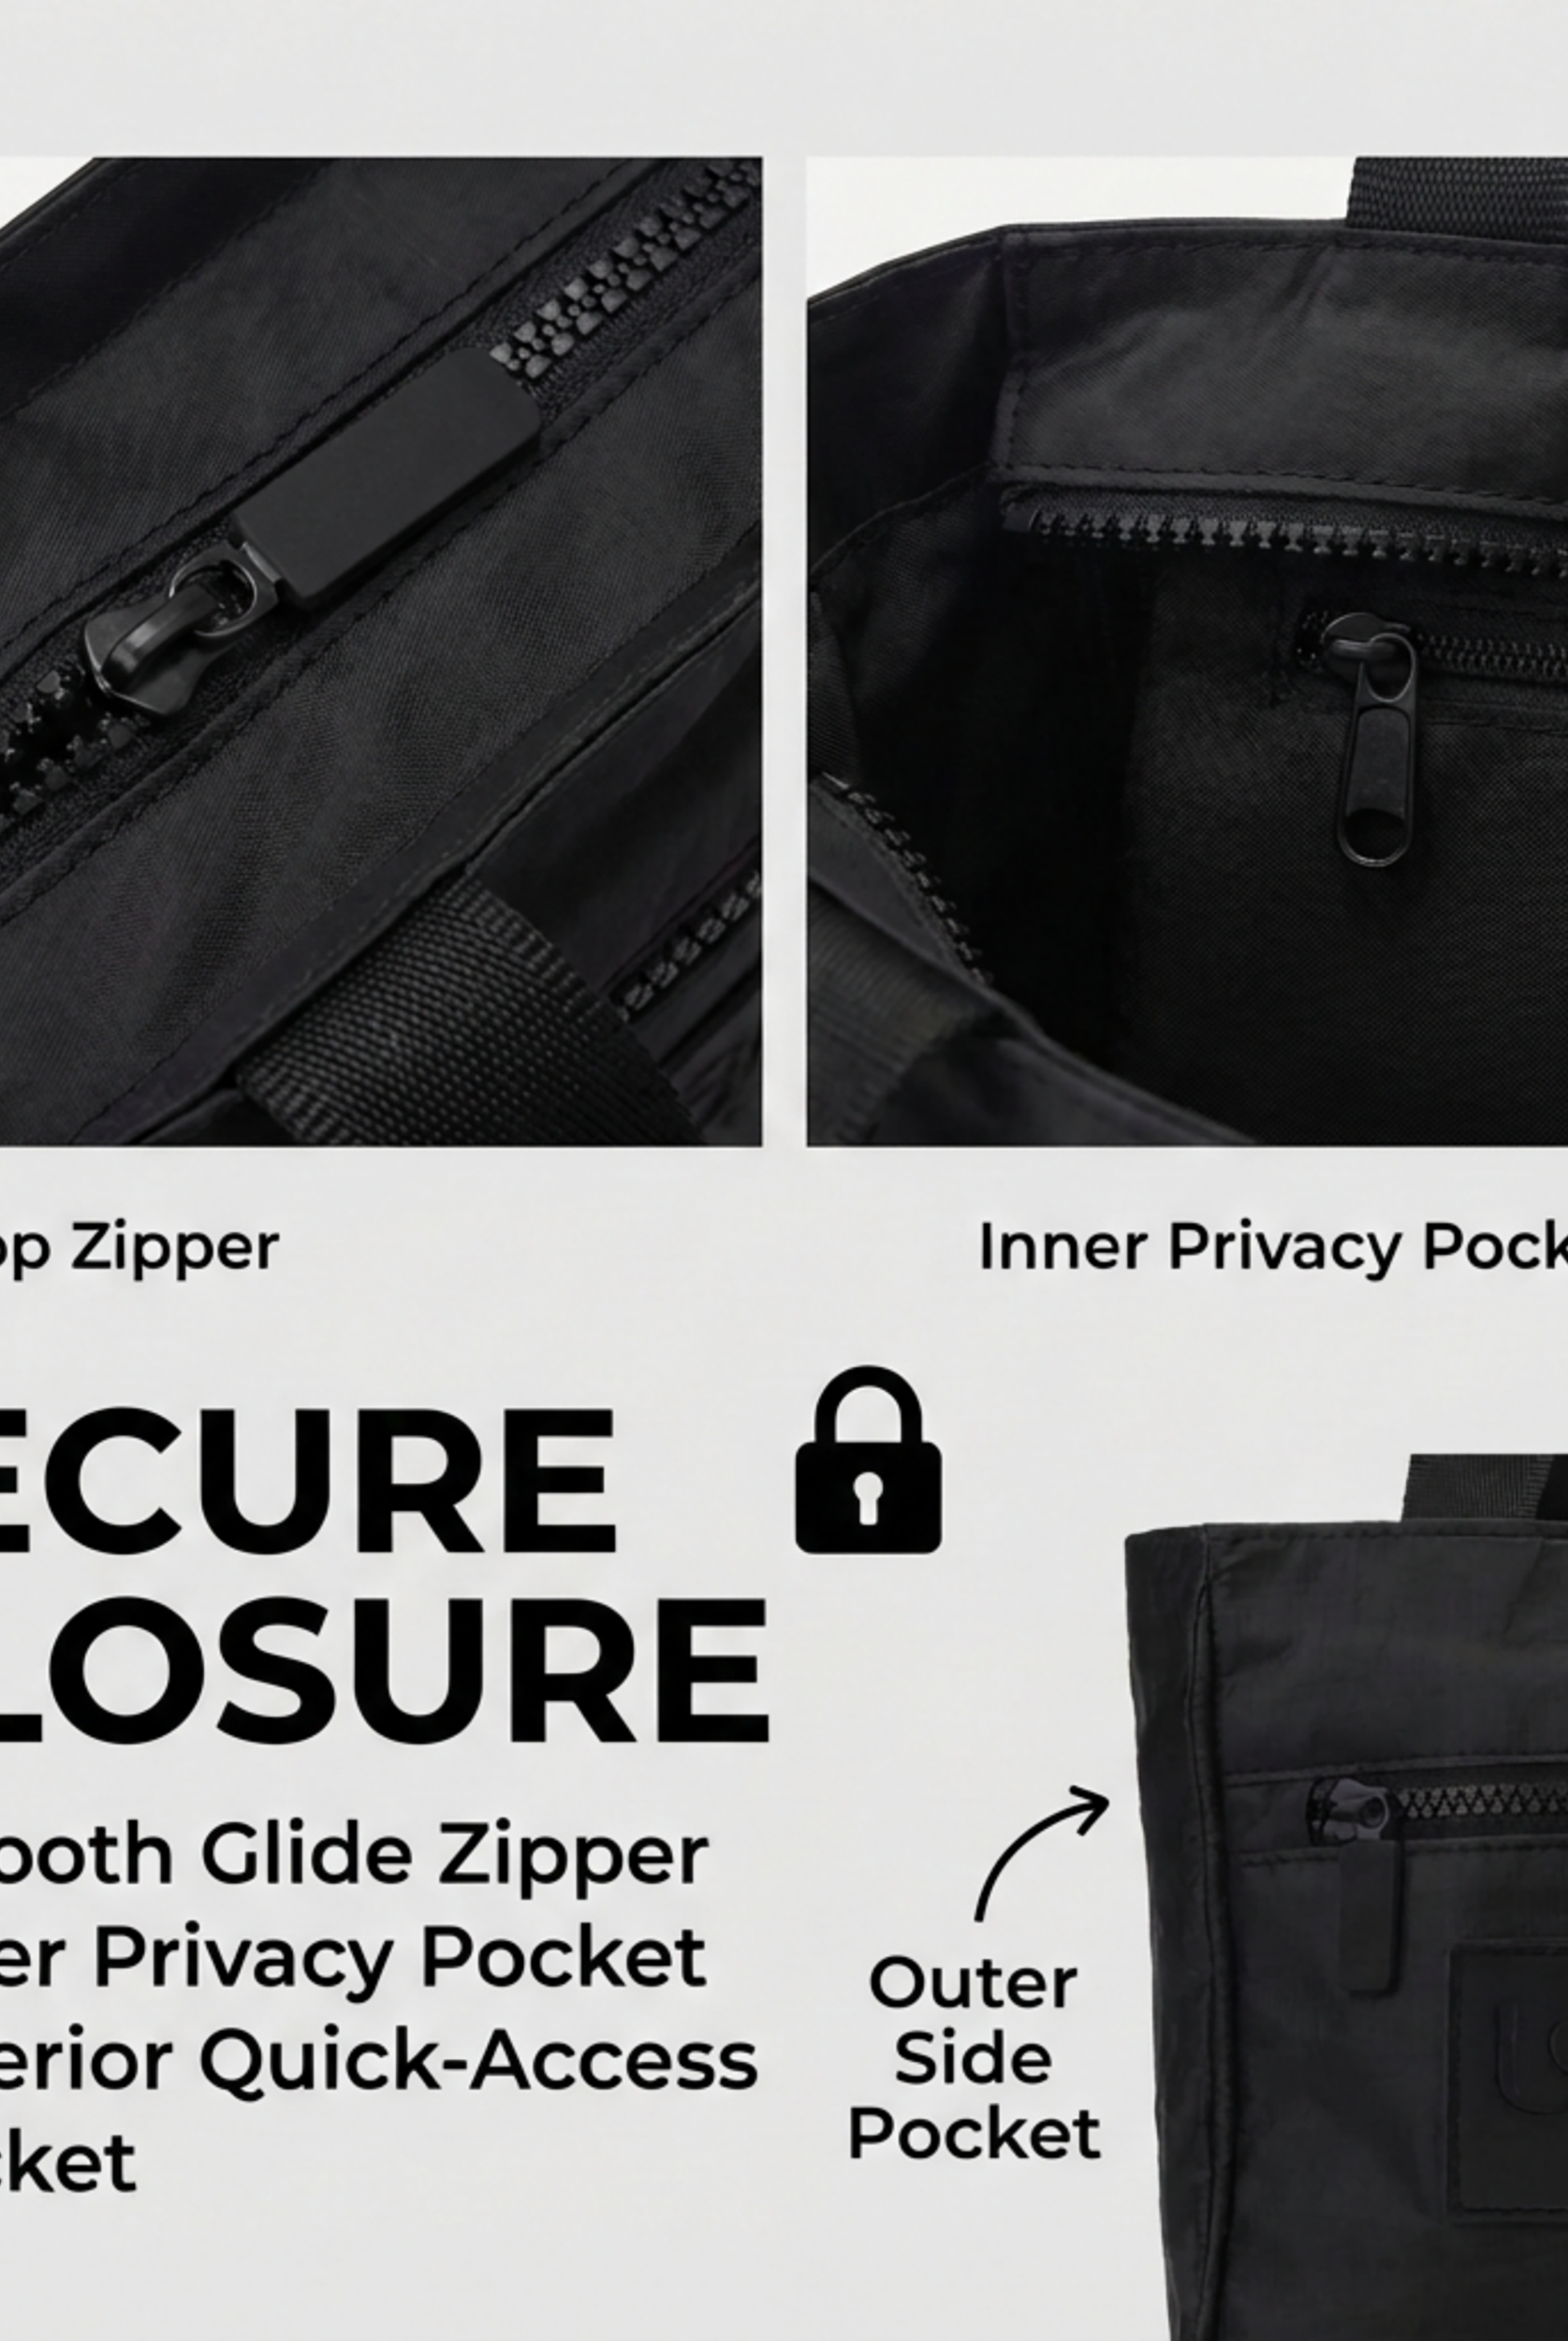
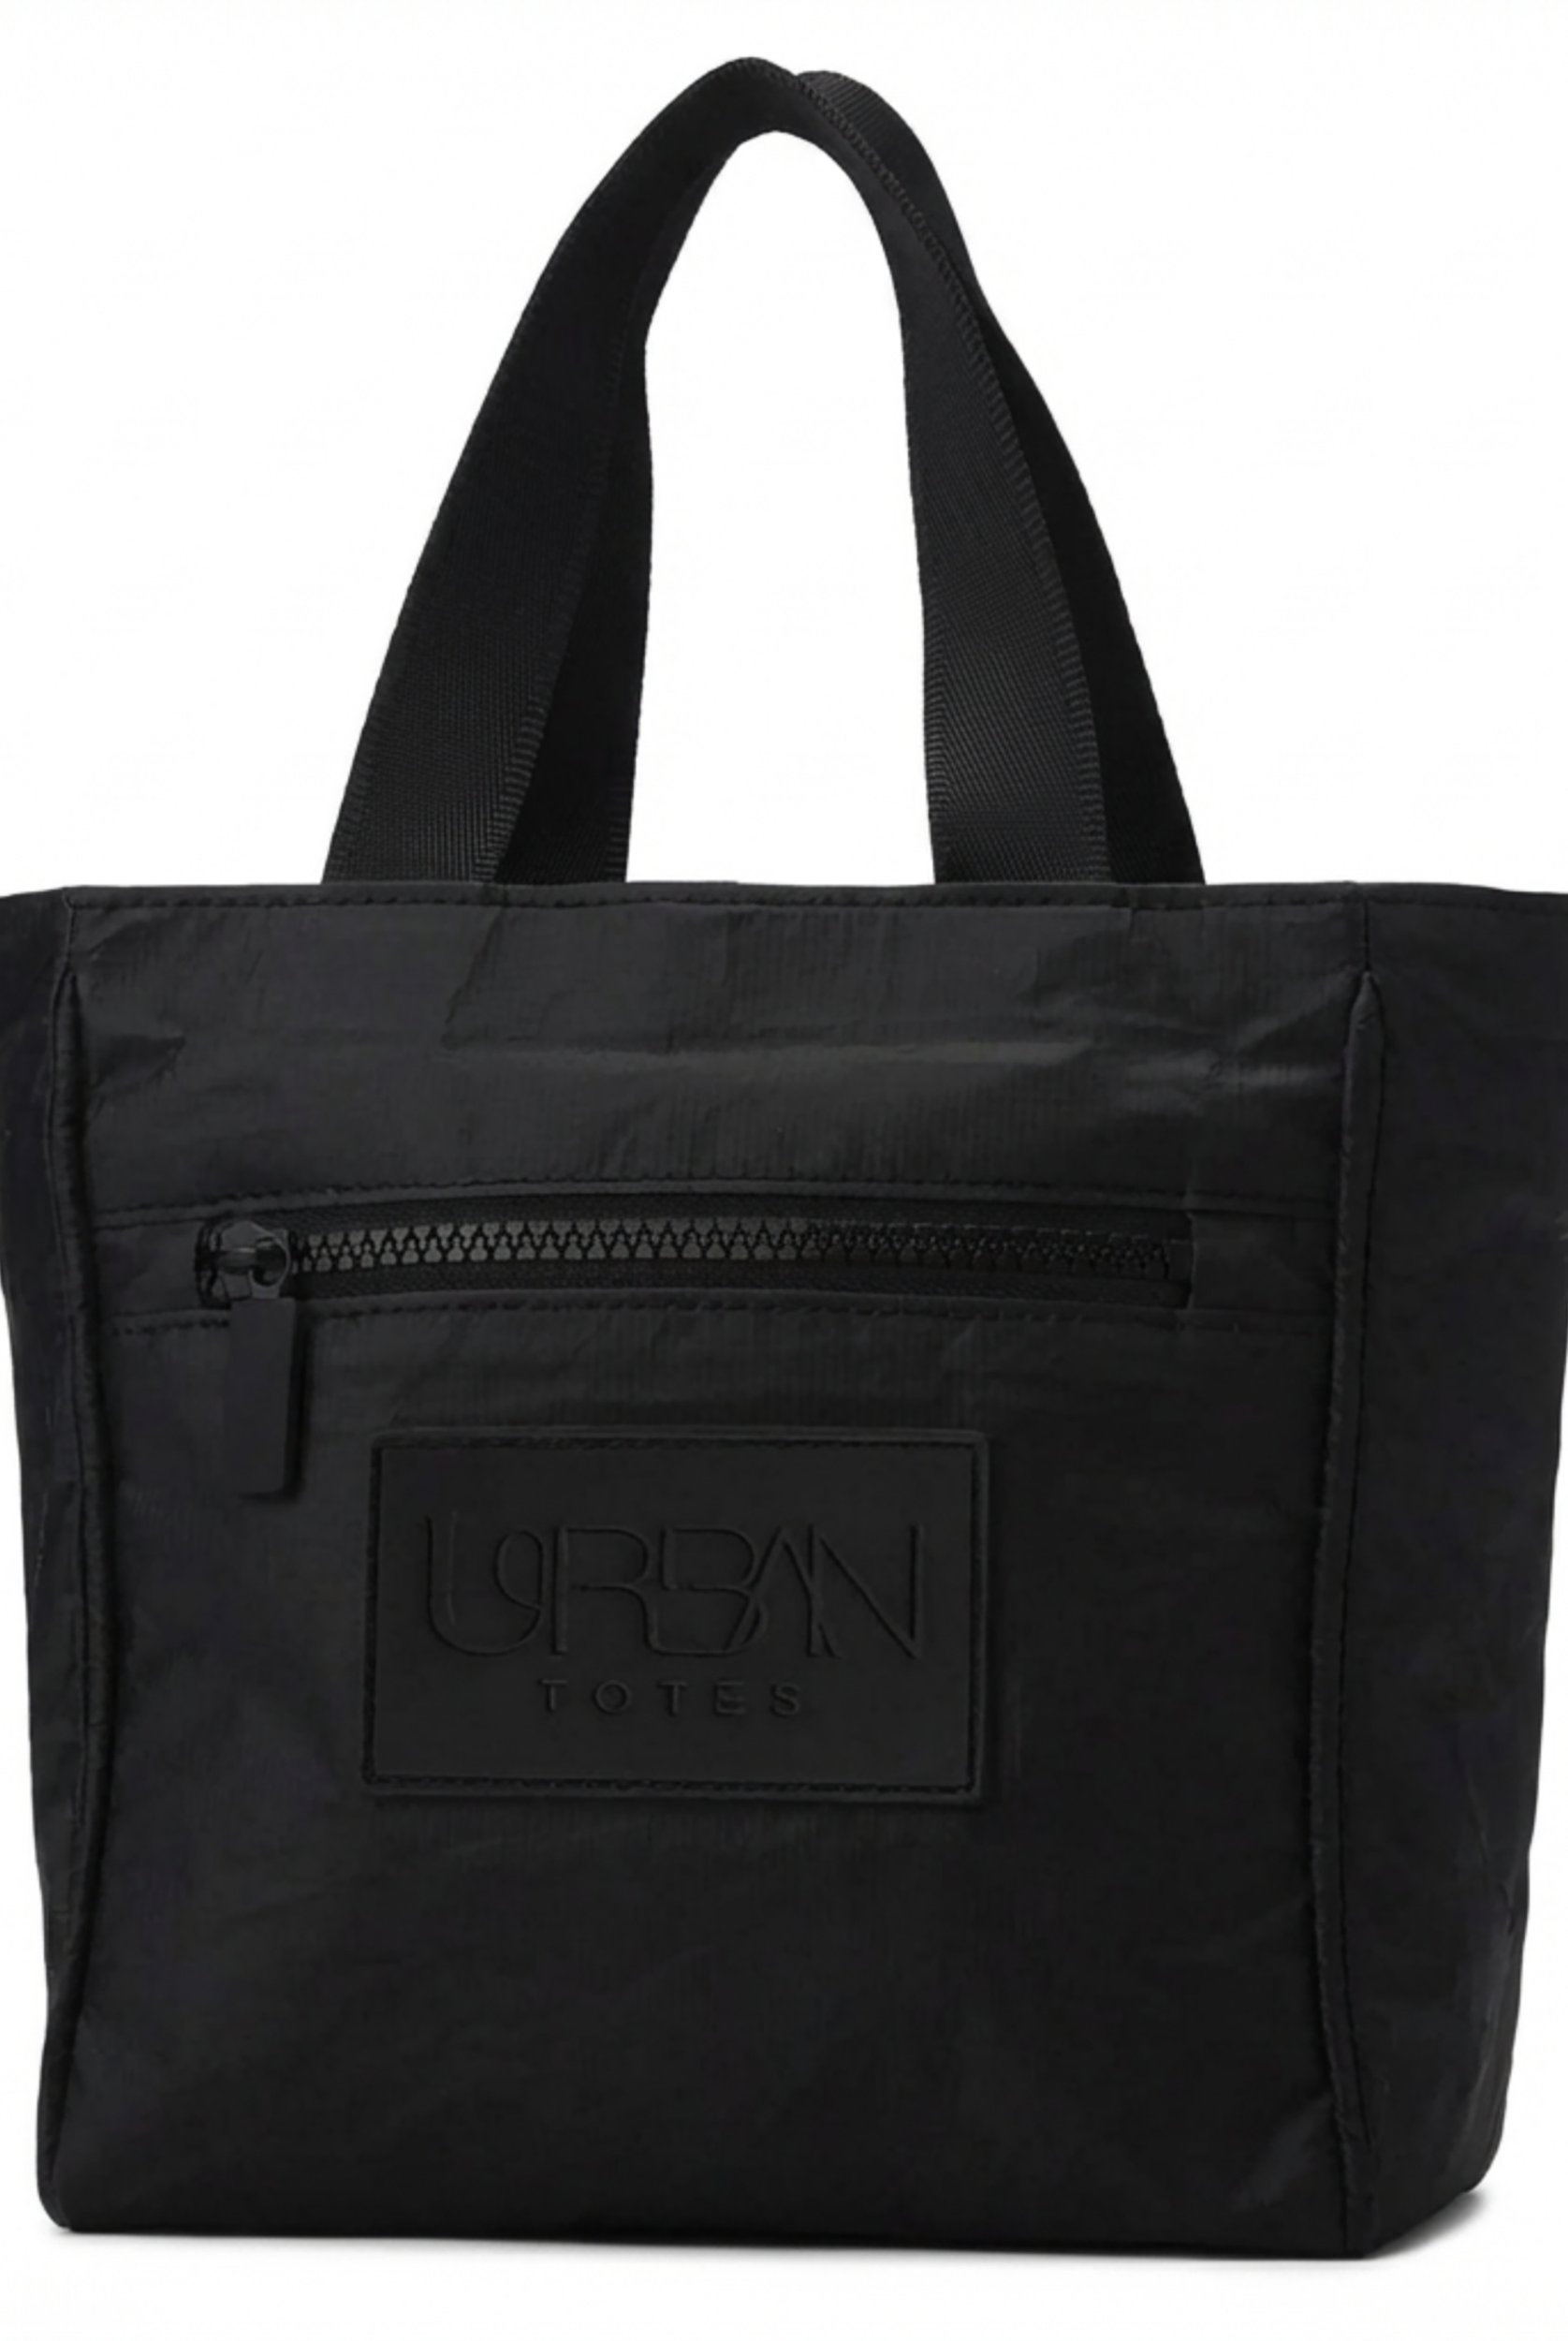
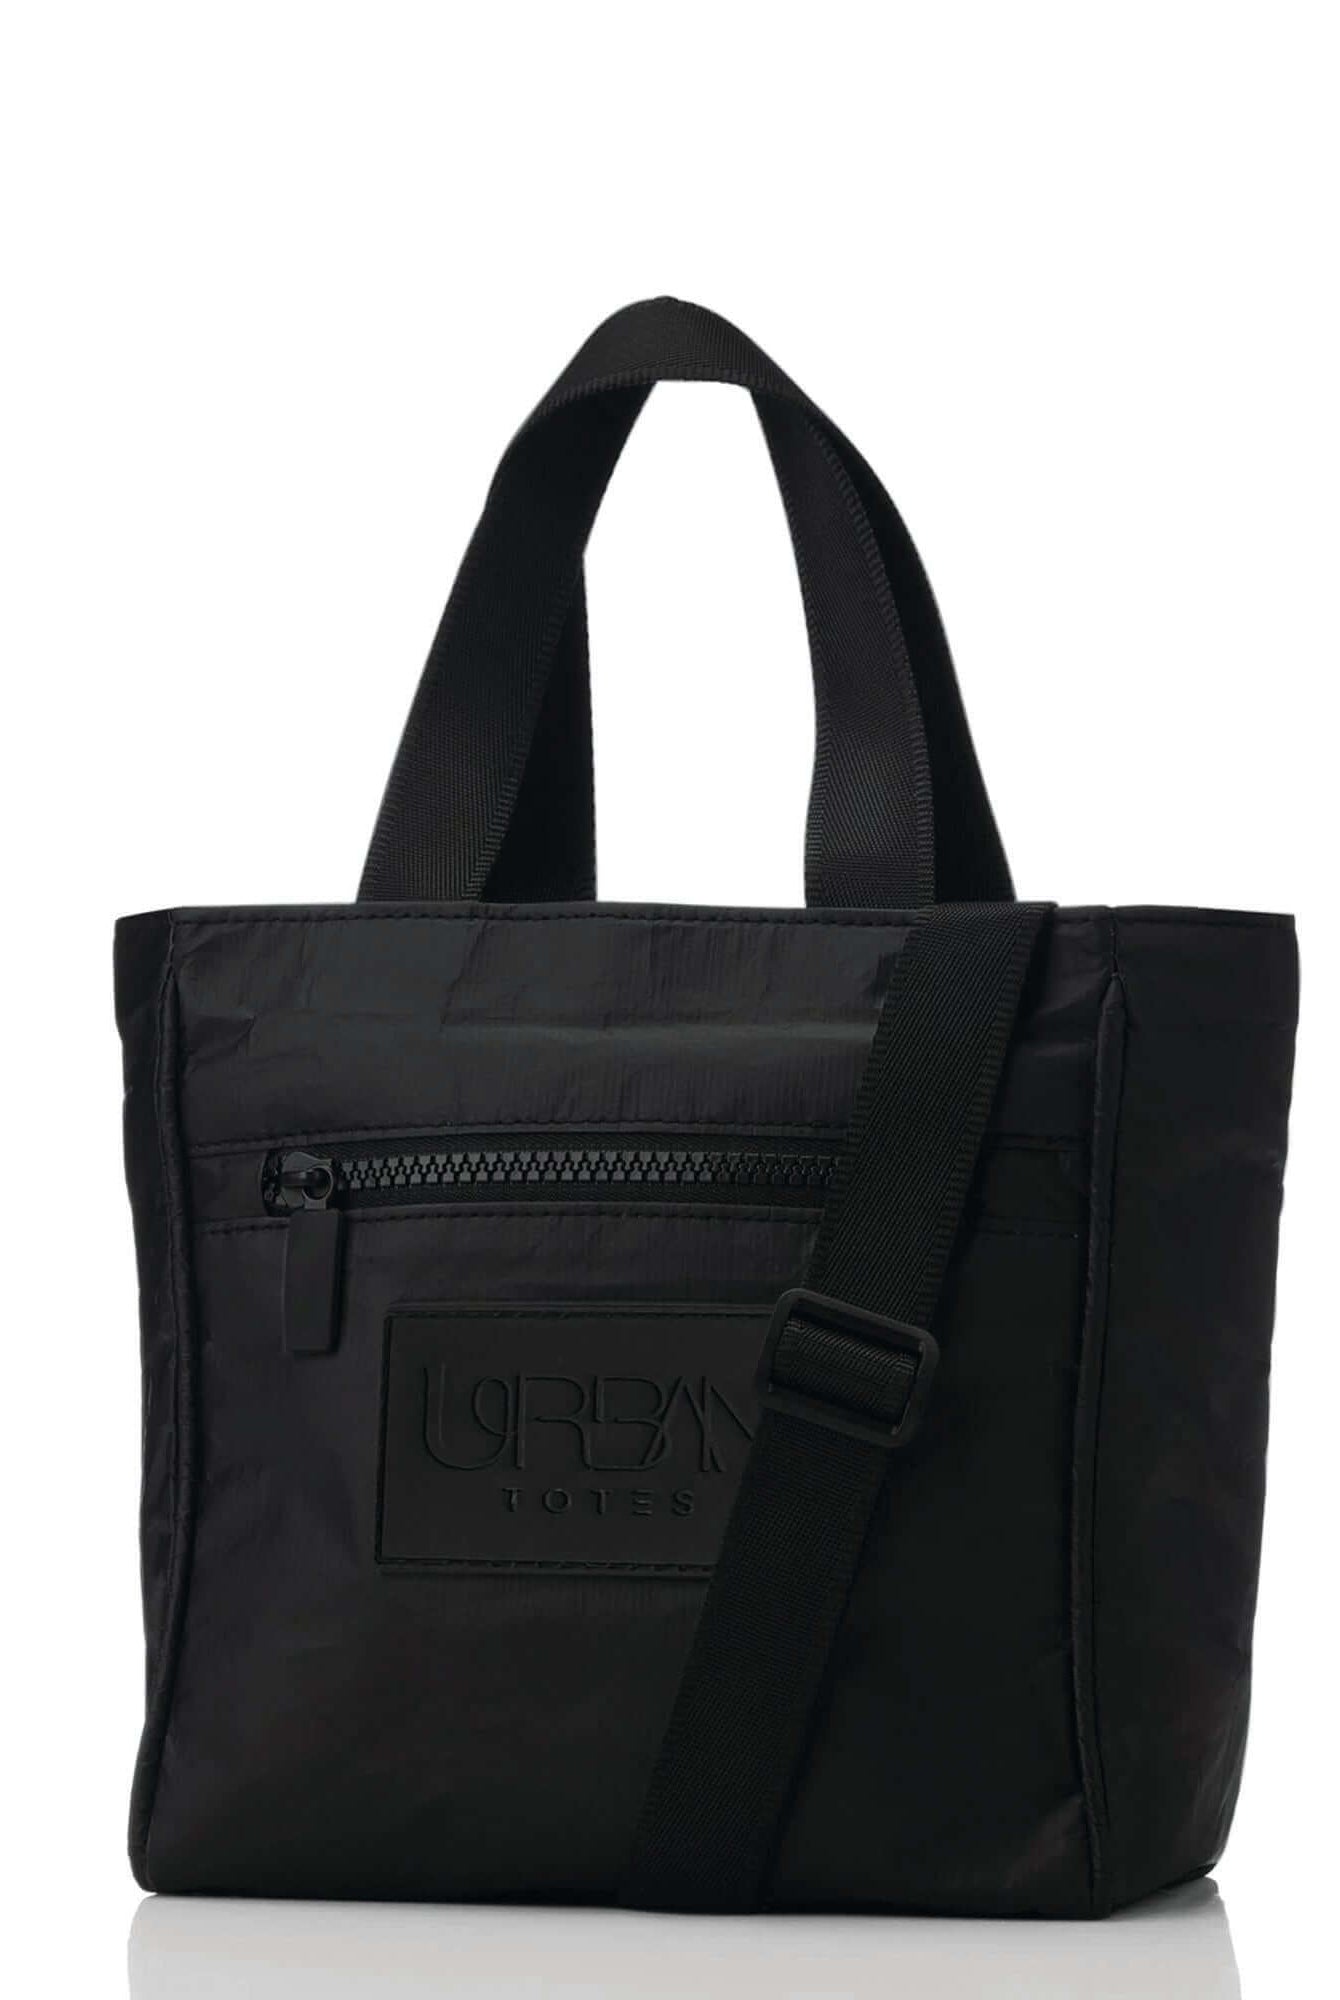
- Look for product details about pocket placement, closure, and strap adjustment. The Crossbody Tote Bag Mini Purse has an outside zipper pocket, an inside zipper pocket, an easy-access exterior pocket, and a removable strap. Confirm the pocket measurements with the seller before relying on a photo to judge fit.
- Check whether any water-resistance claim names a test method and result. Vague wording alone does not tell you how the bag will handle a wet commute.
- Load the bag as you normally would and walk with it. Notice whether the bottle swings, the strap slips, or you can reach the bottle with one hand.
- Check that the strap adjusts to your frame and sits comfortably when the bag is loaded. A bottle can fit and still make the bag awkward to carry.
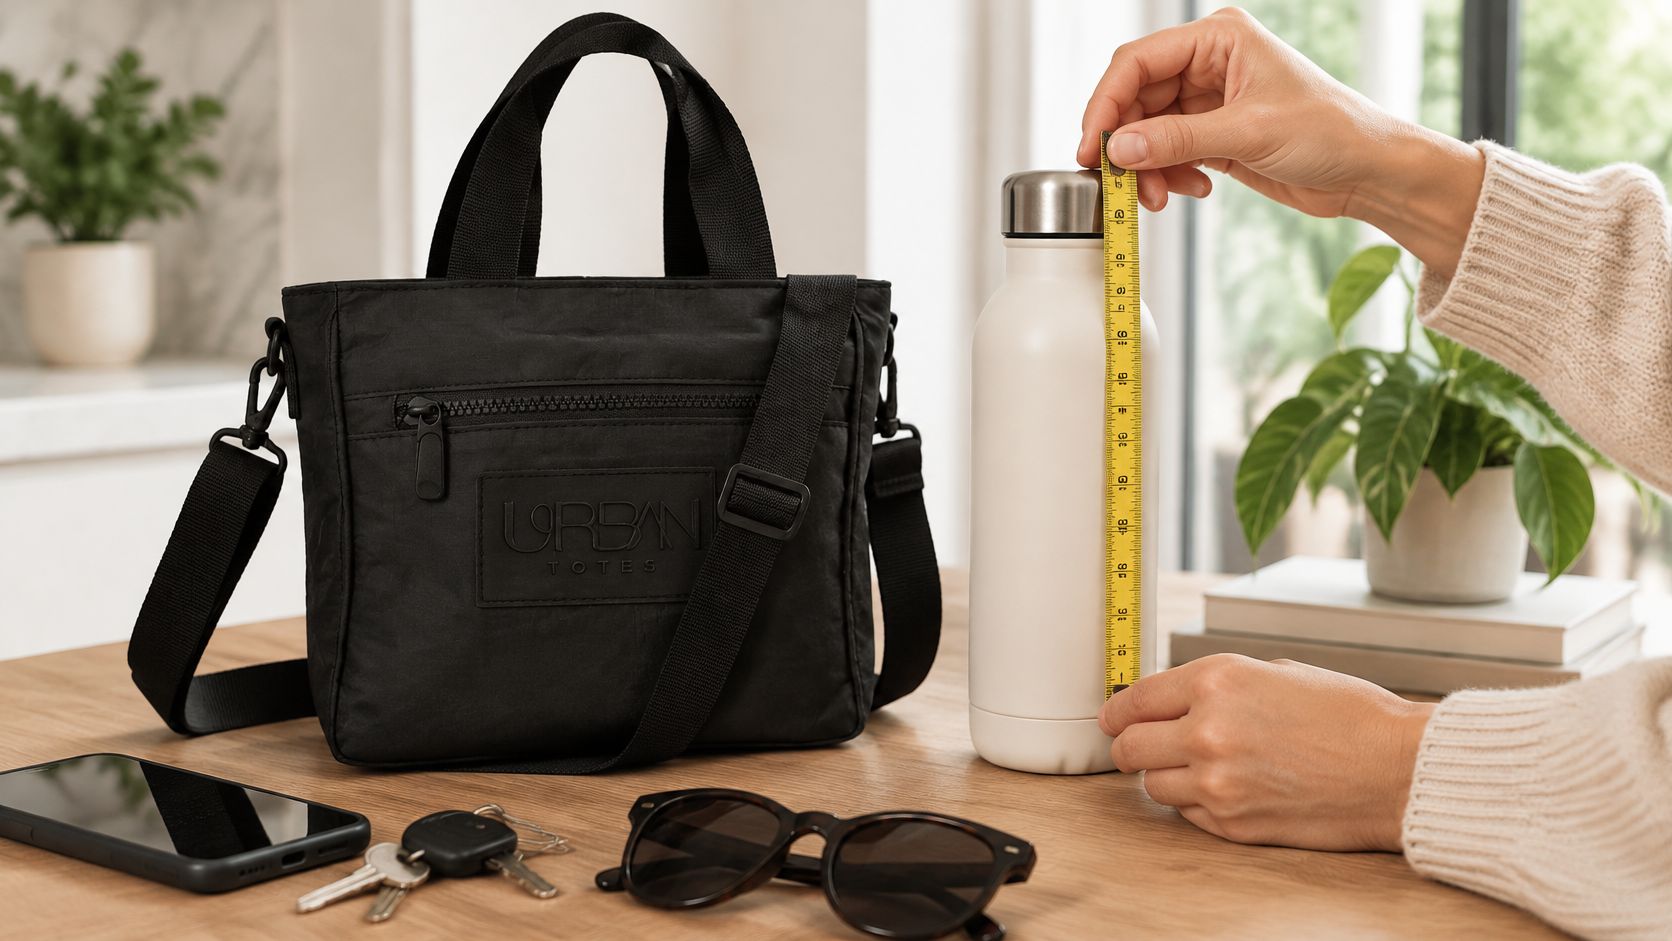
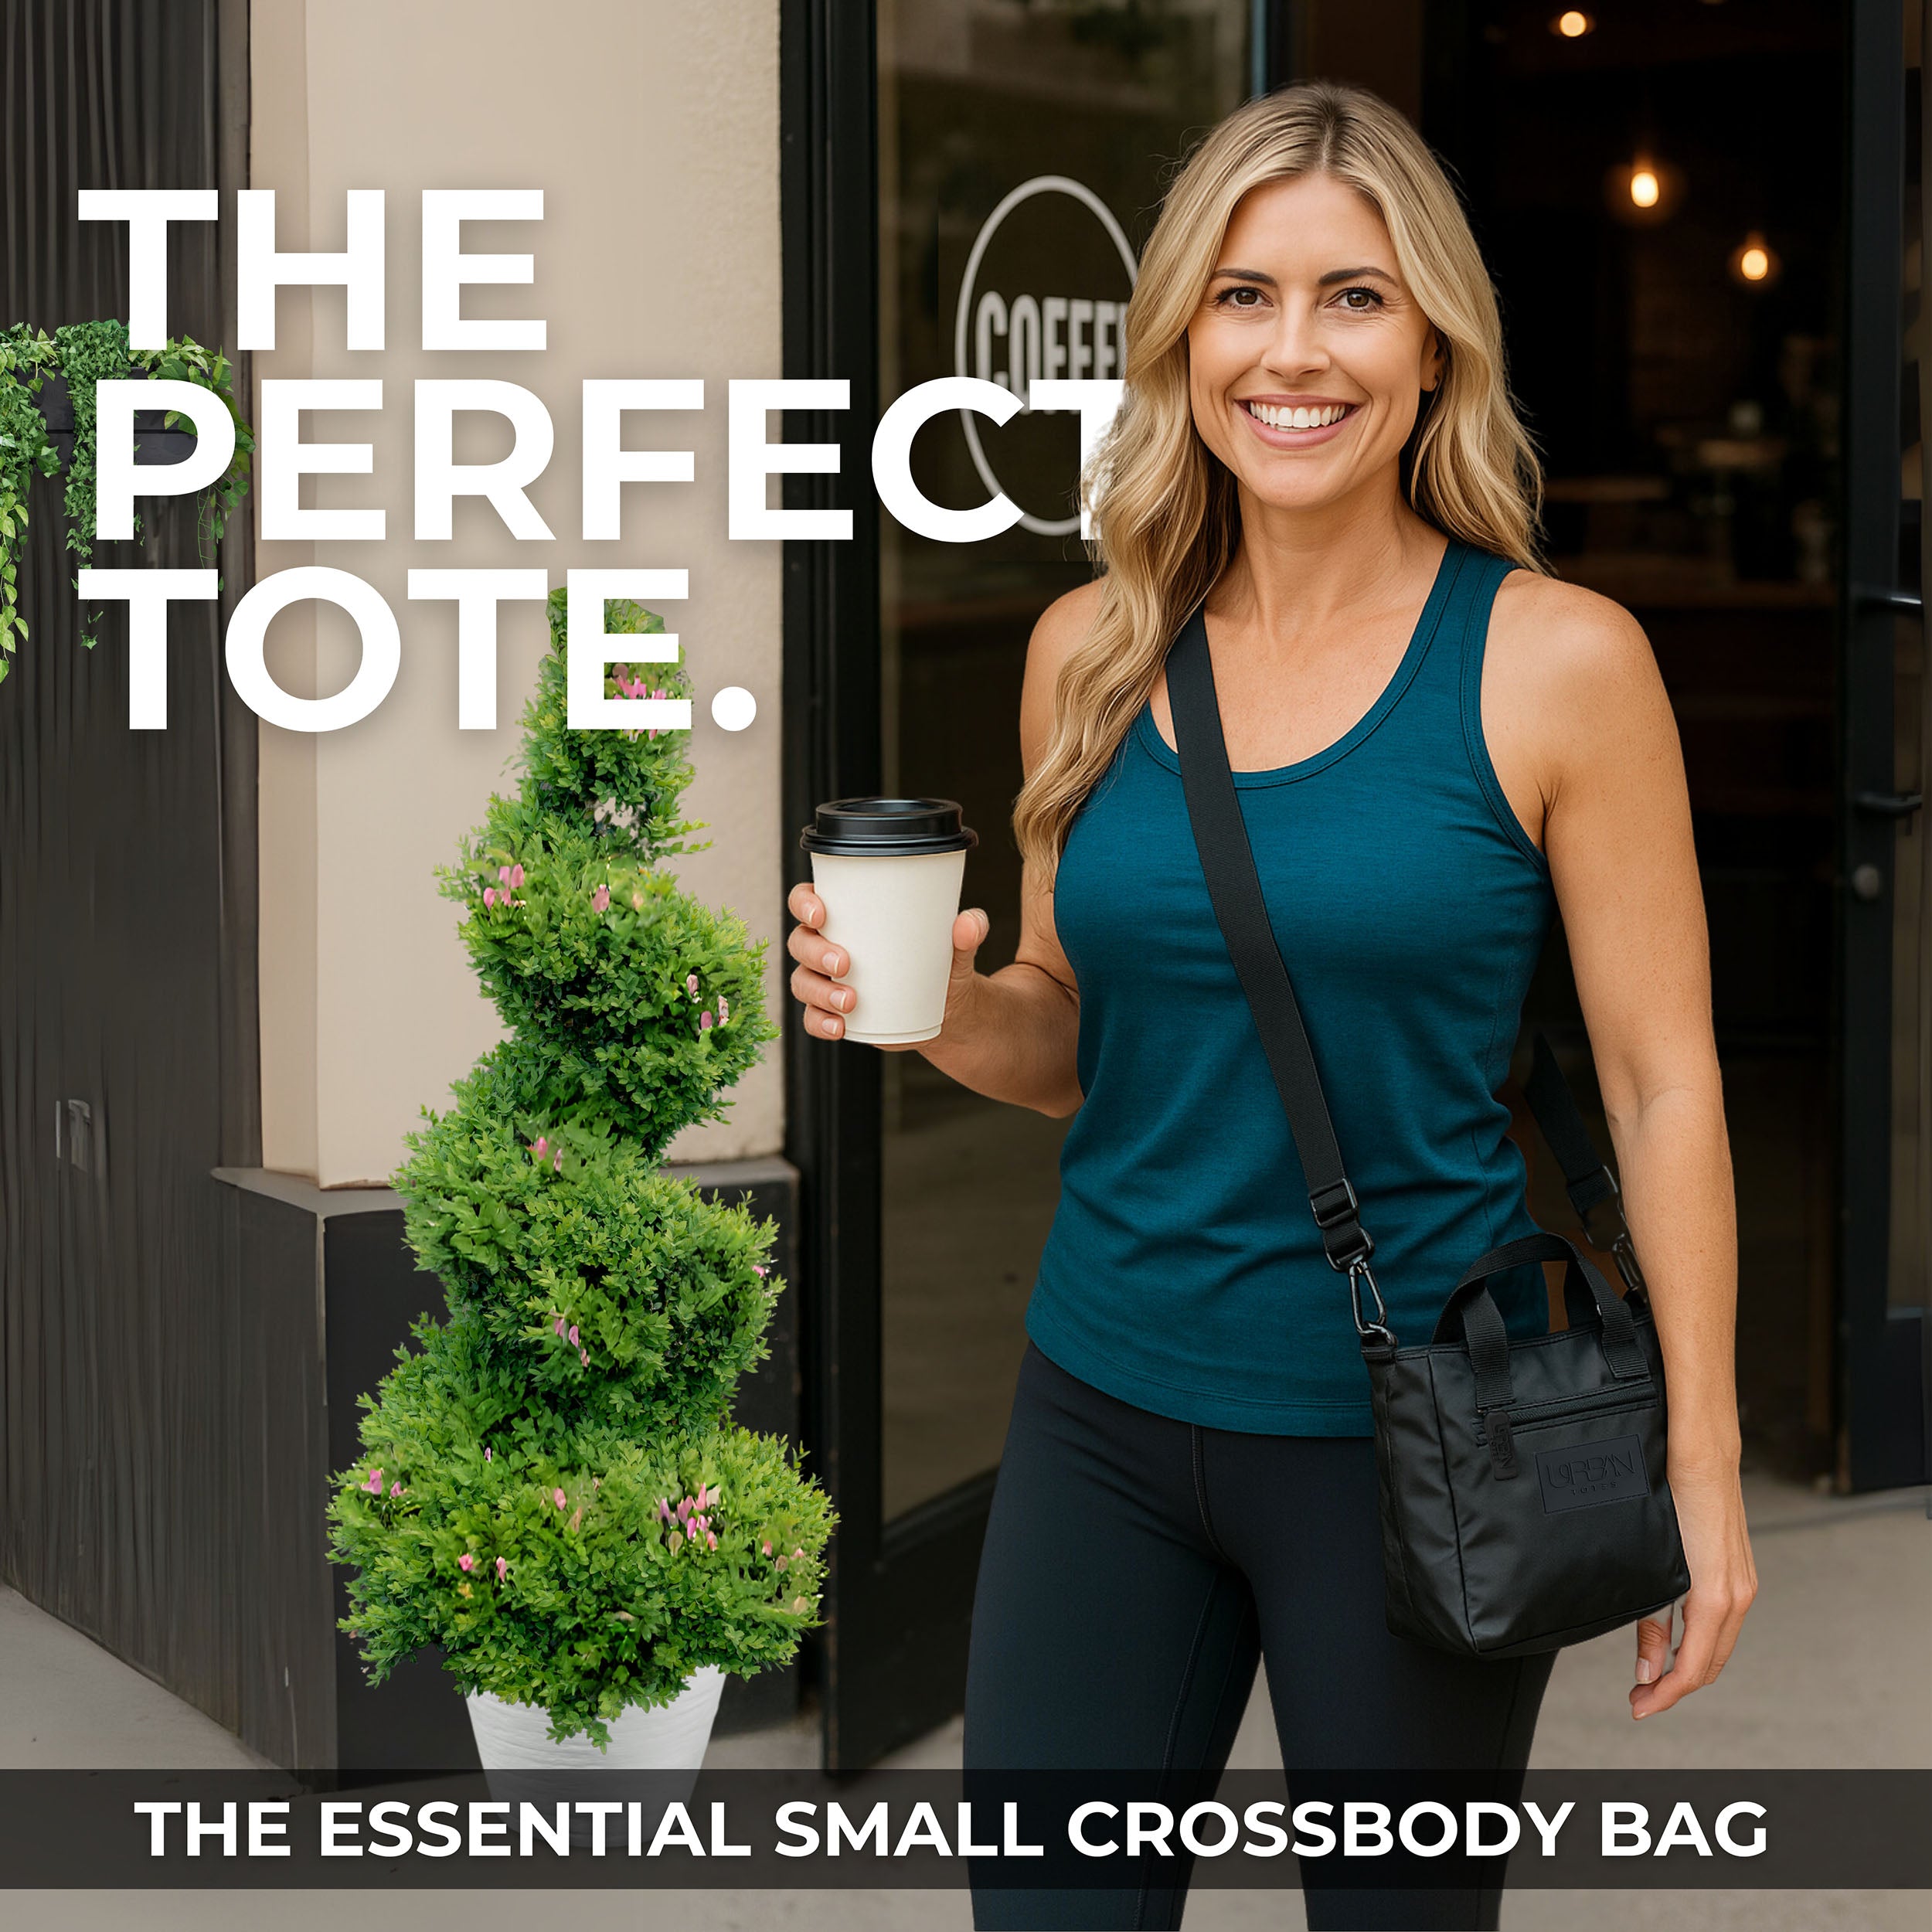
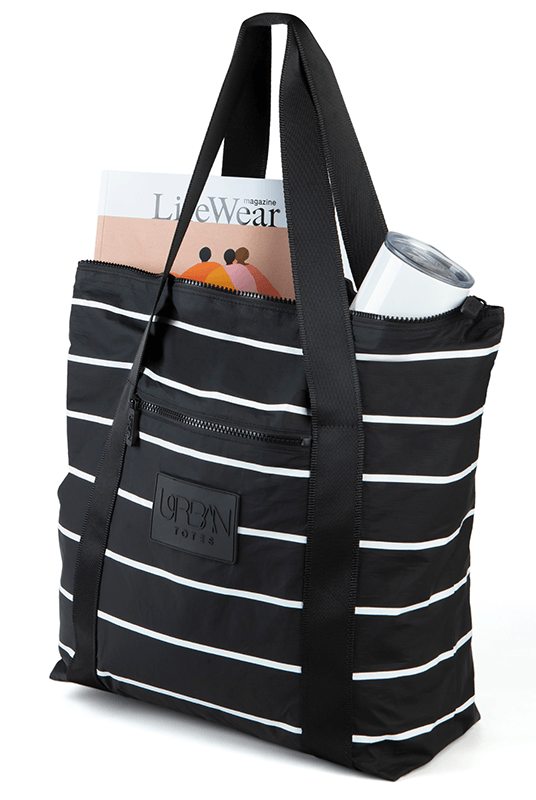
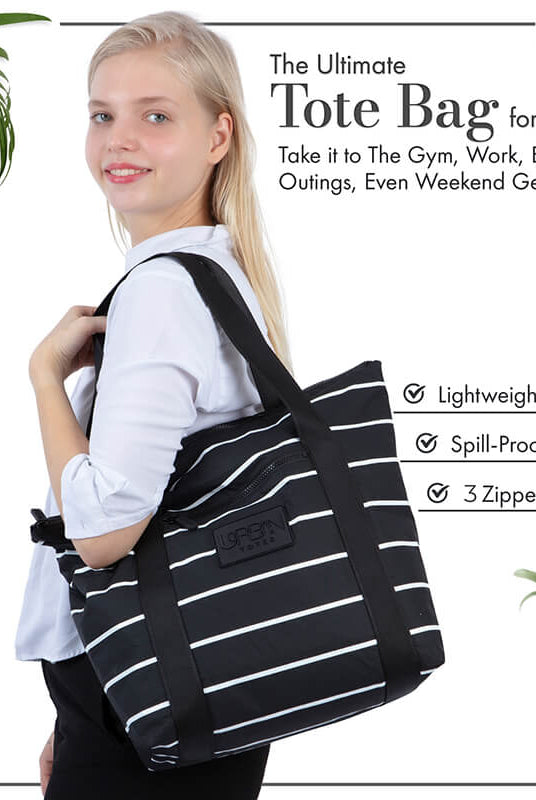
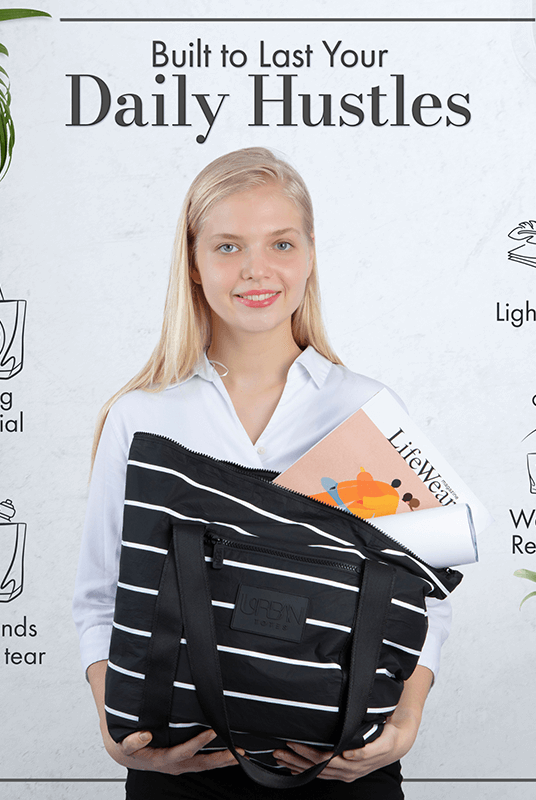
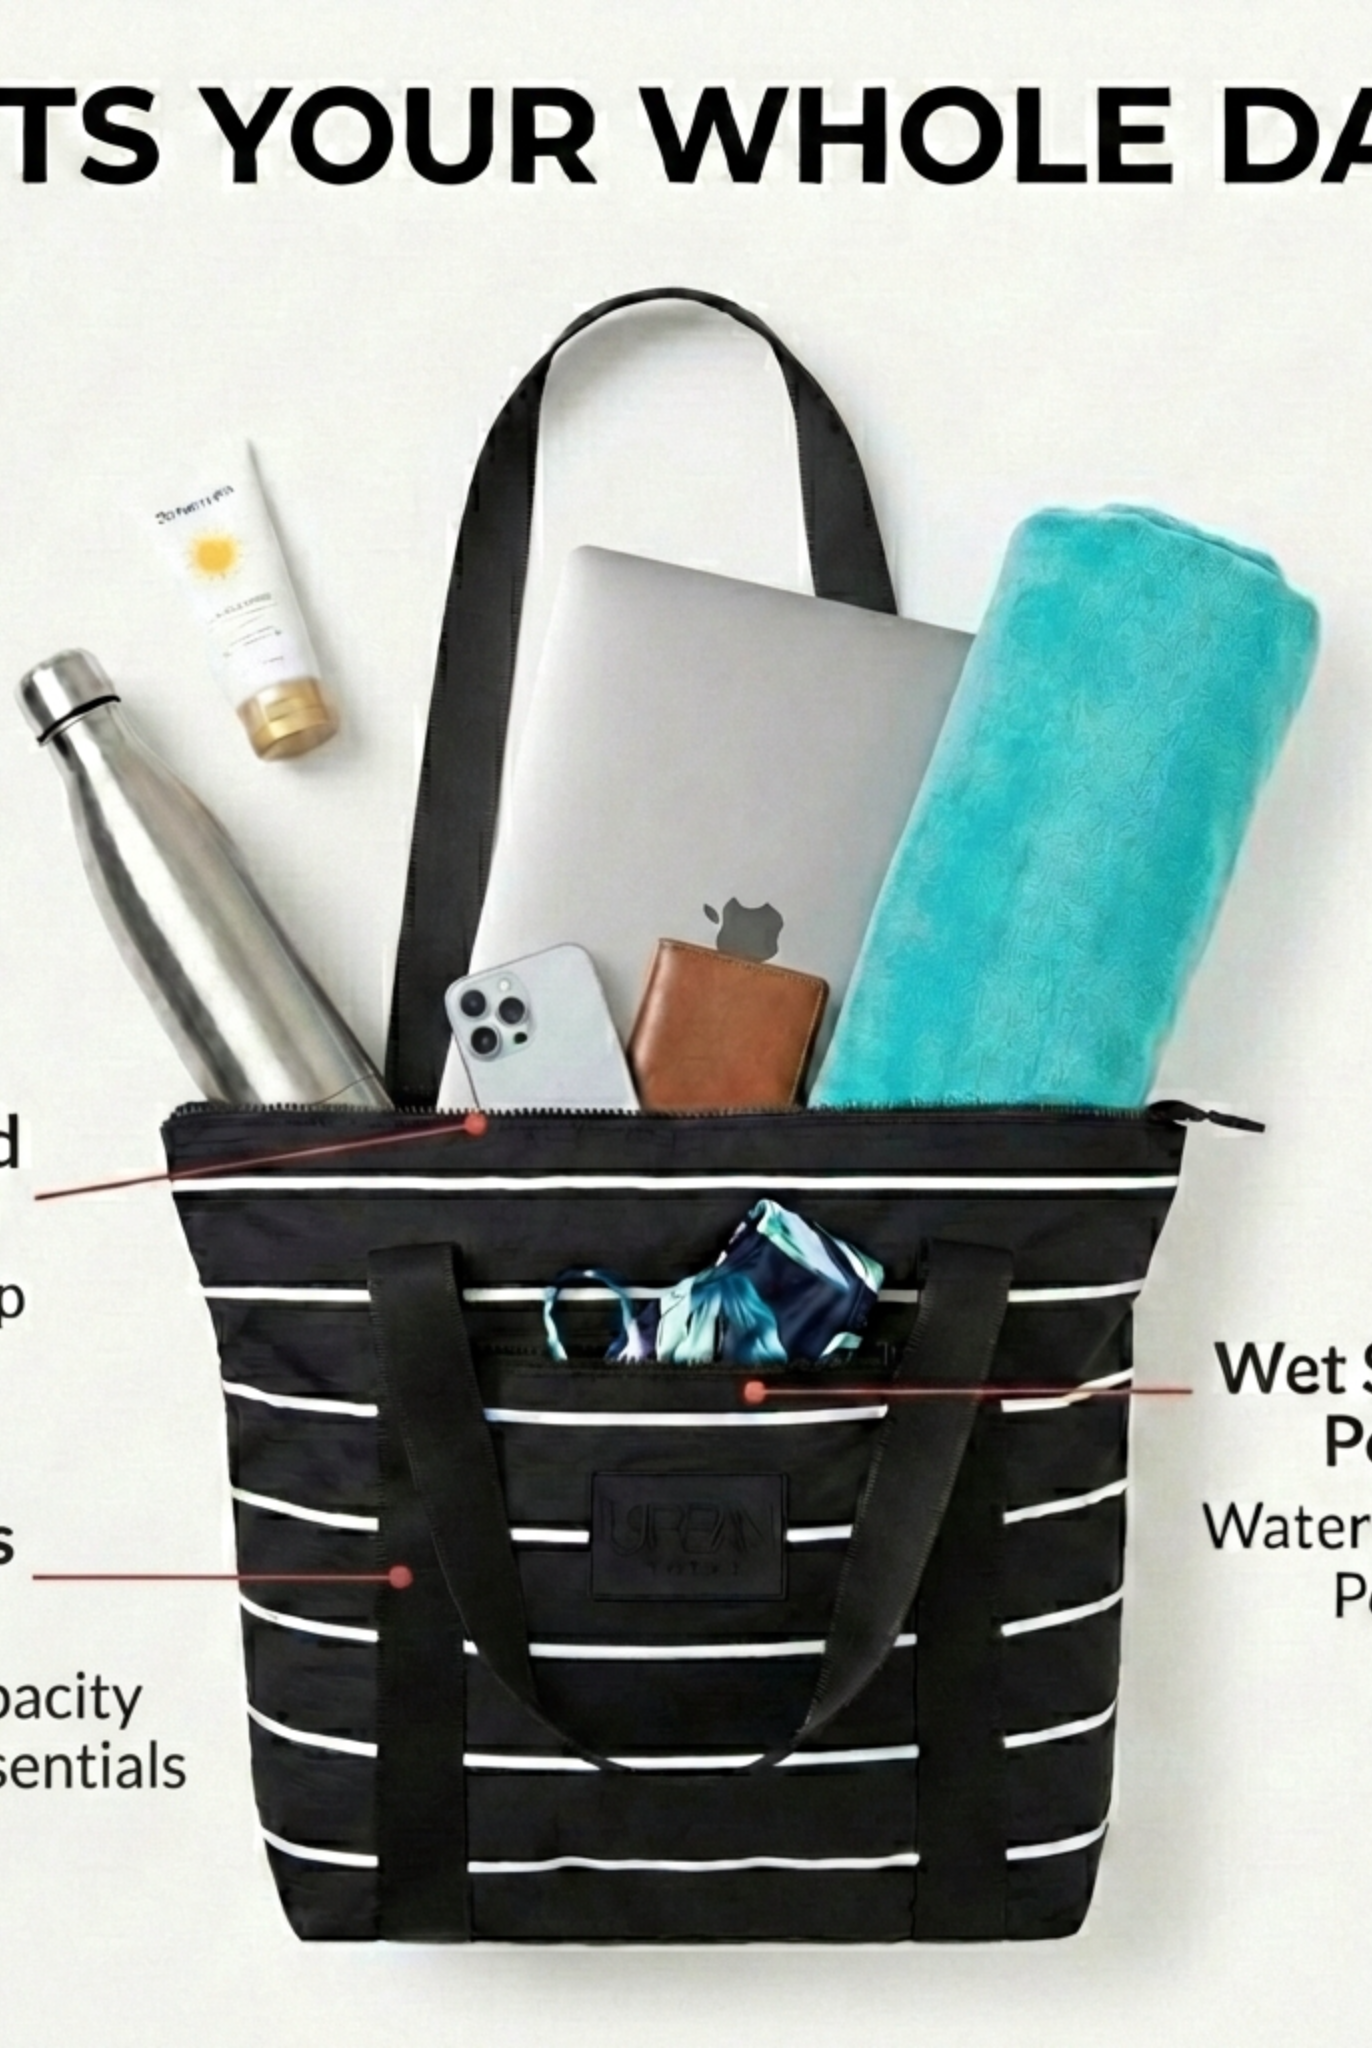
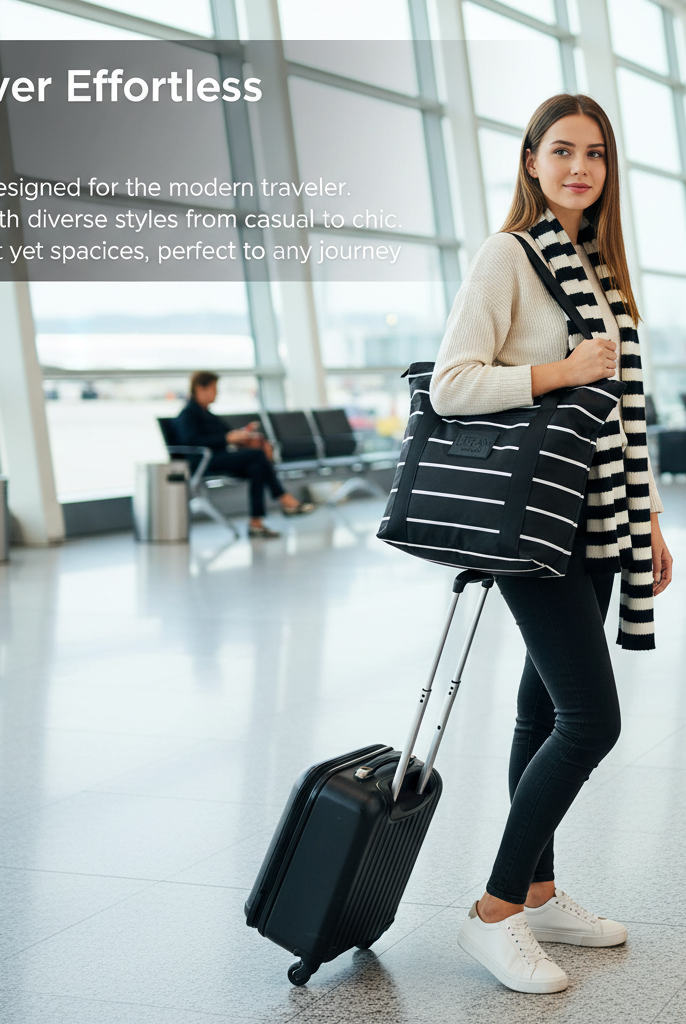
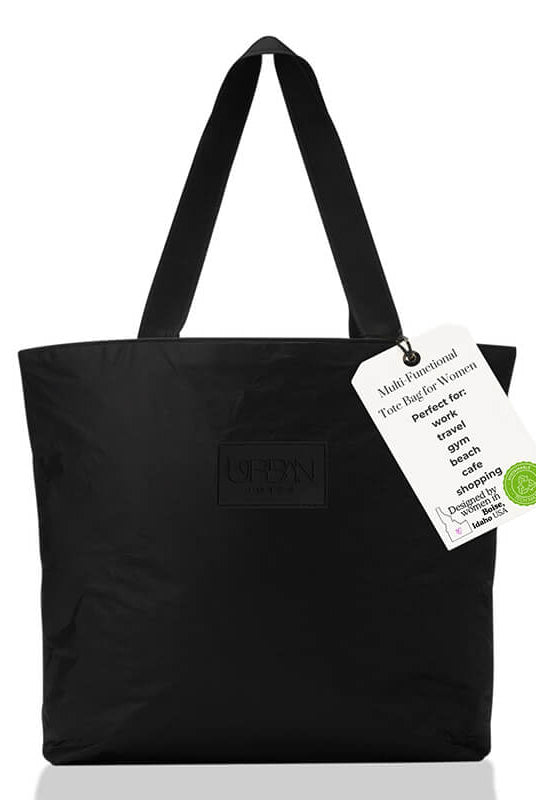
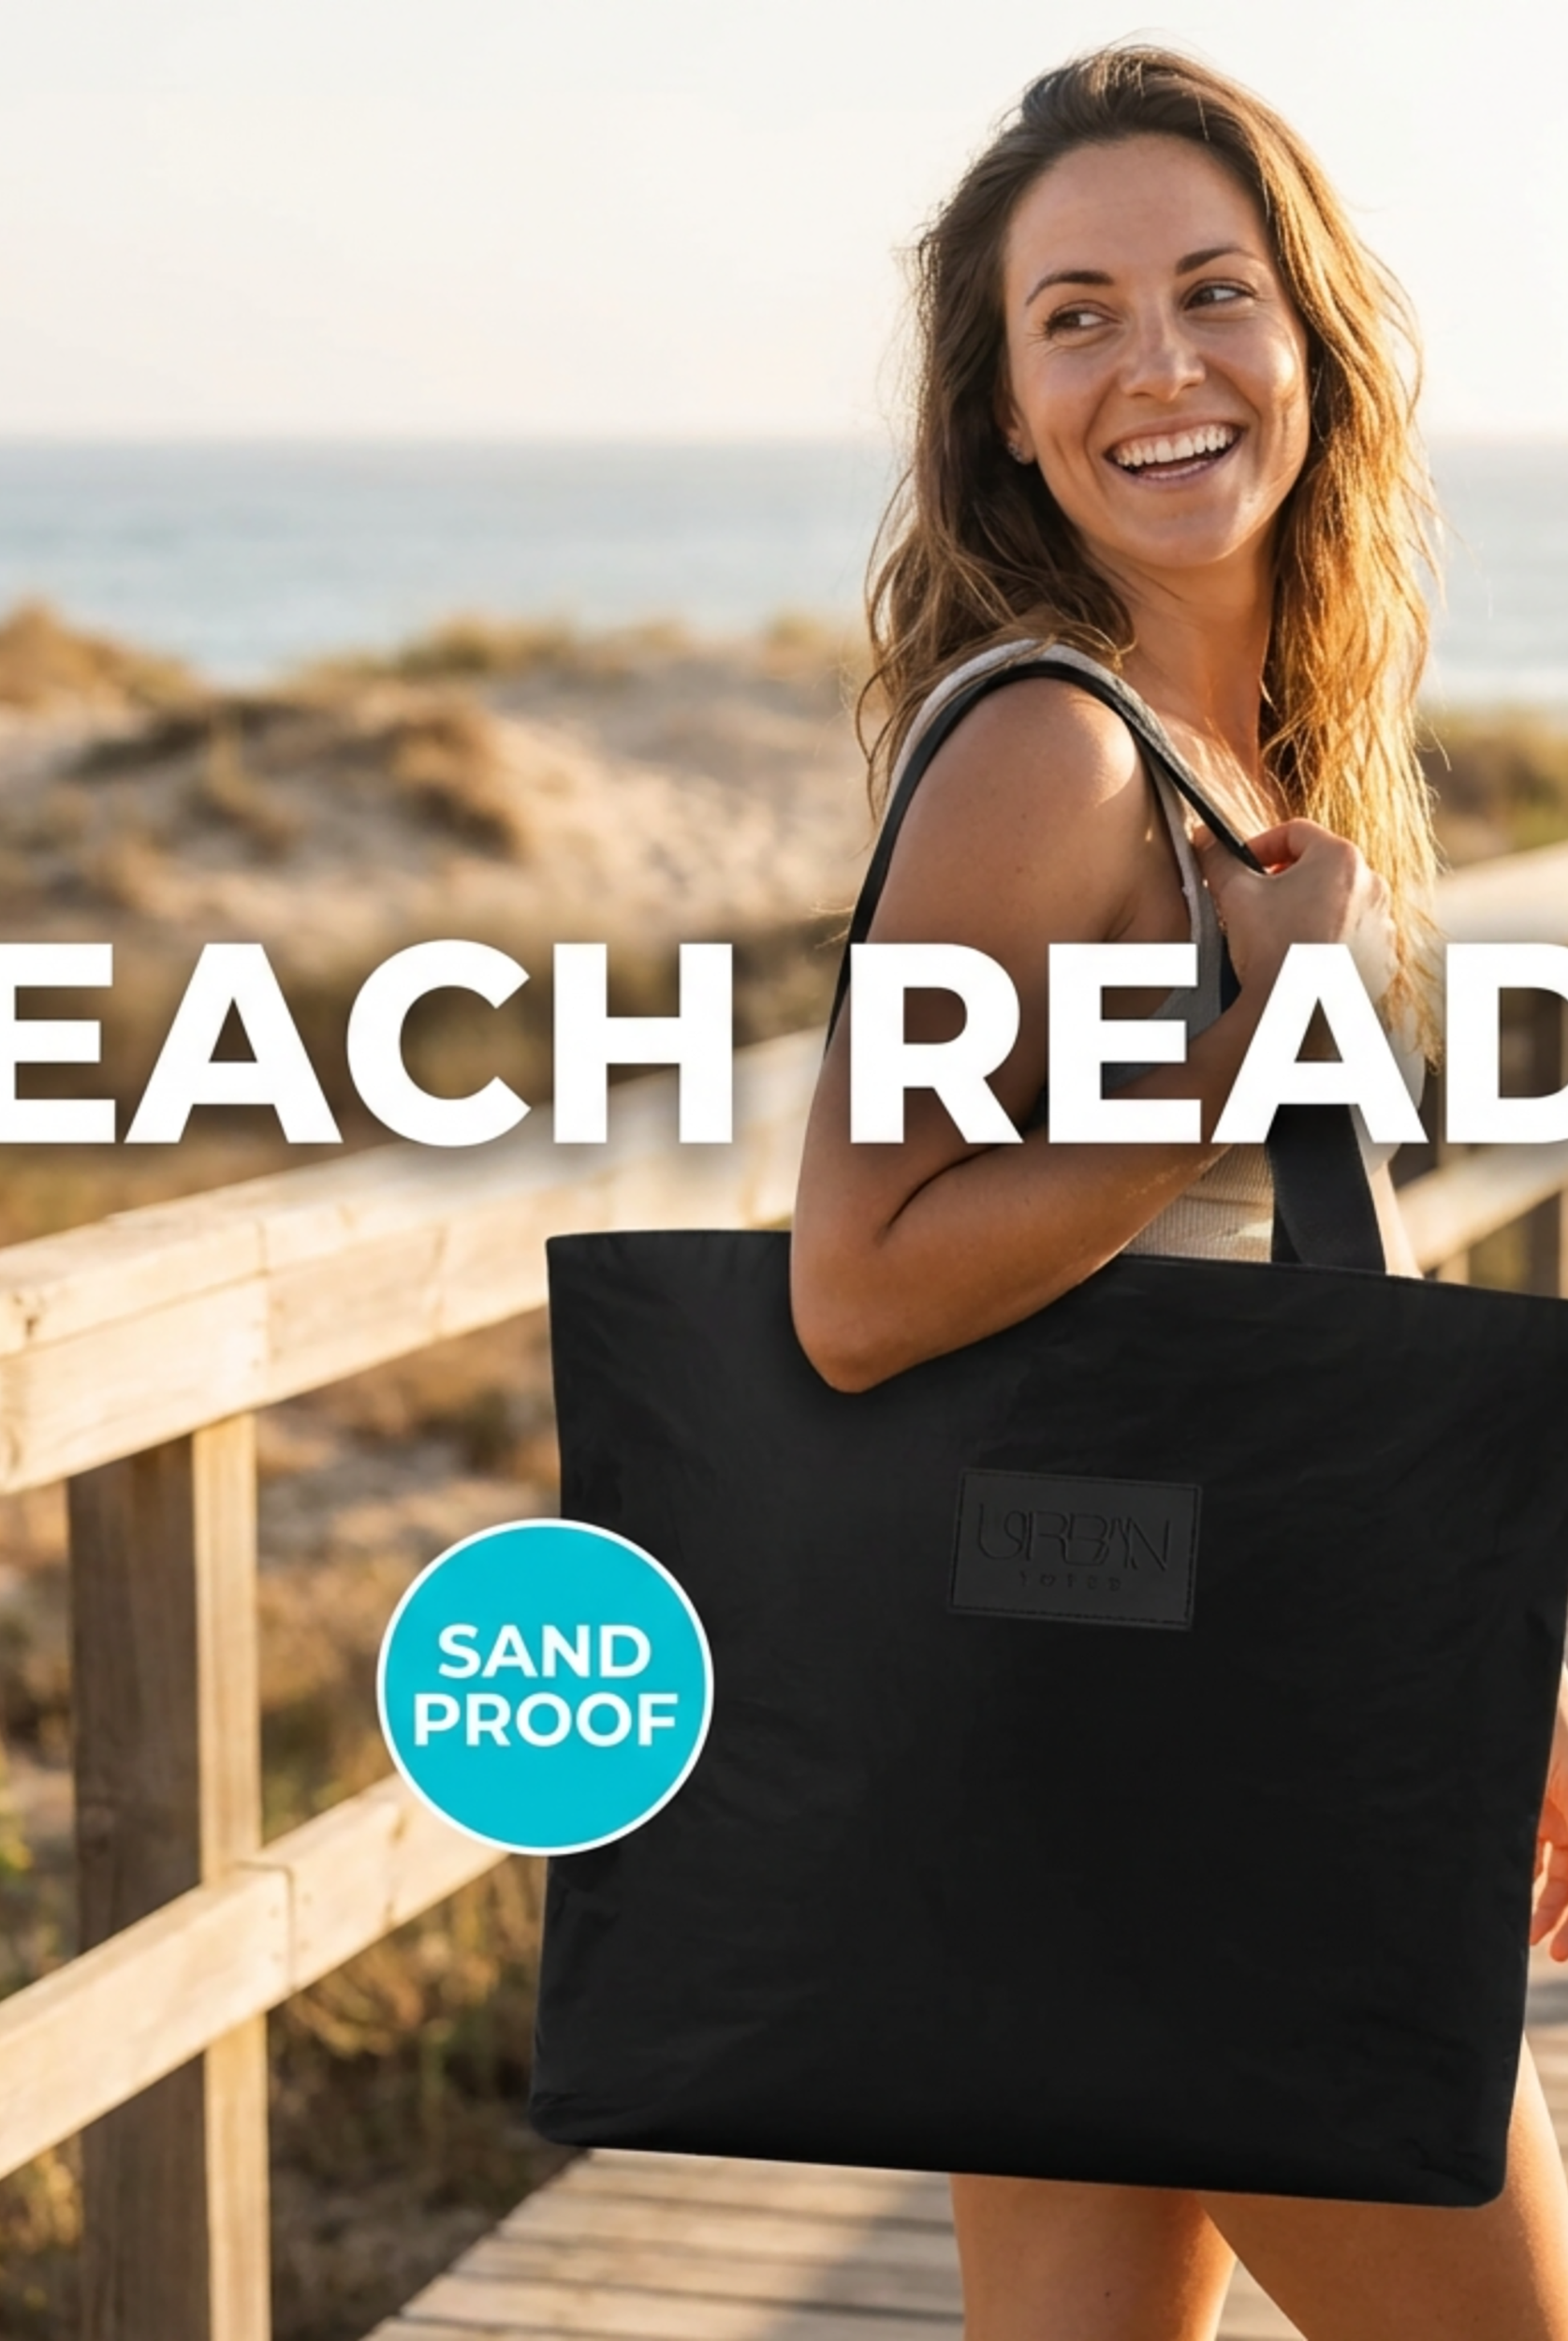
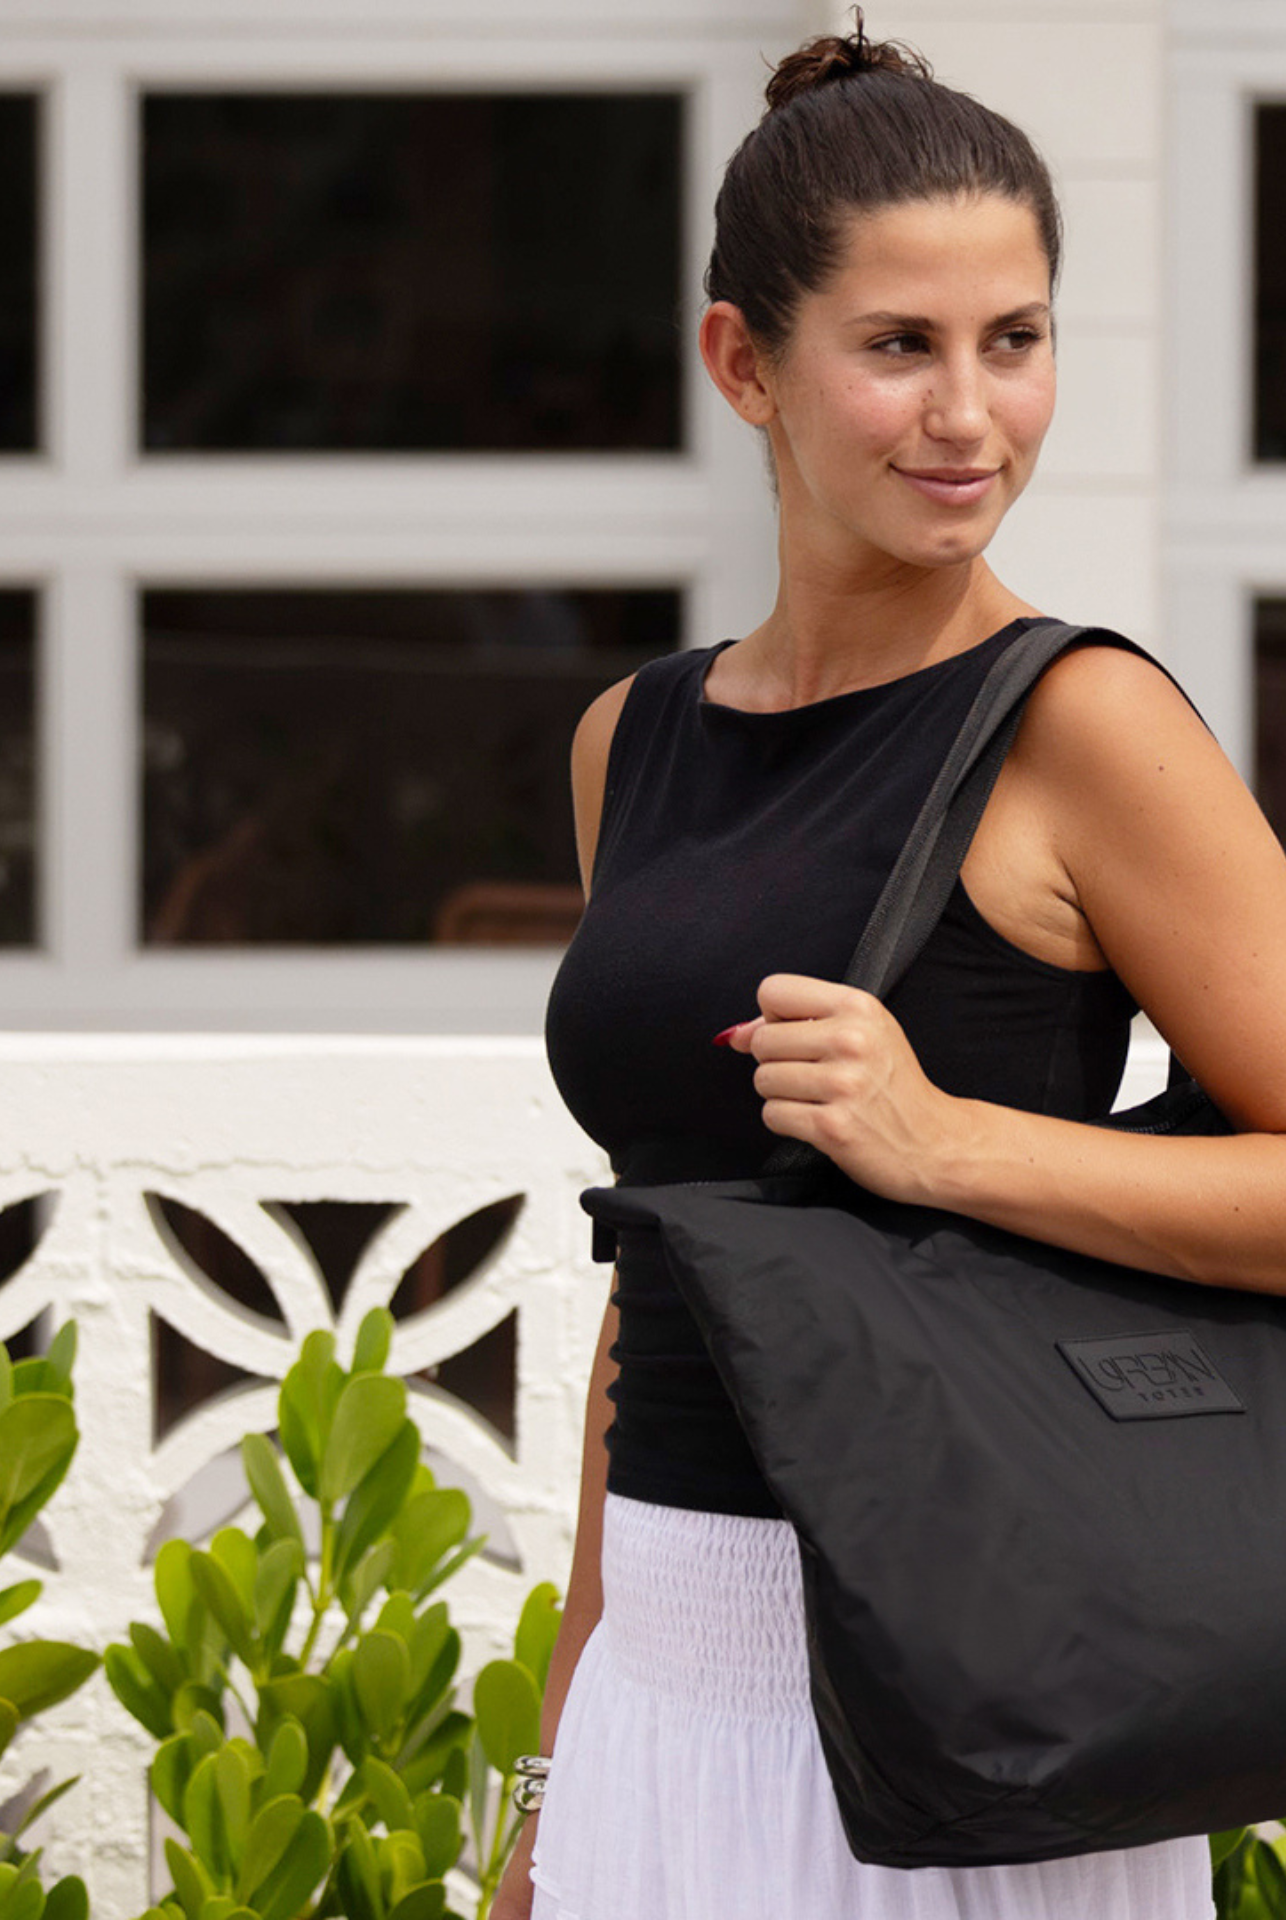
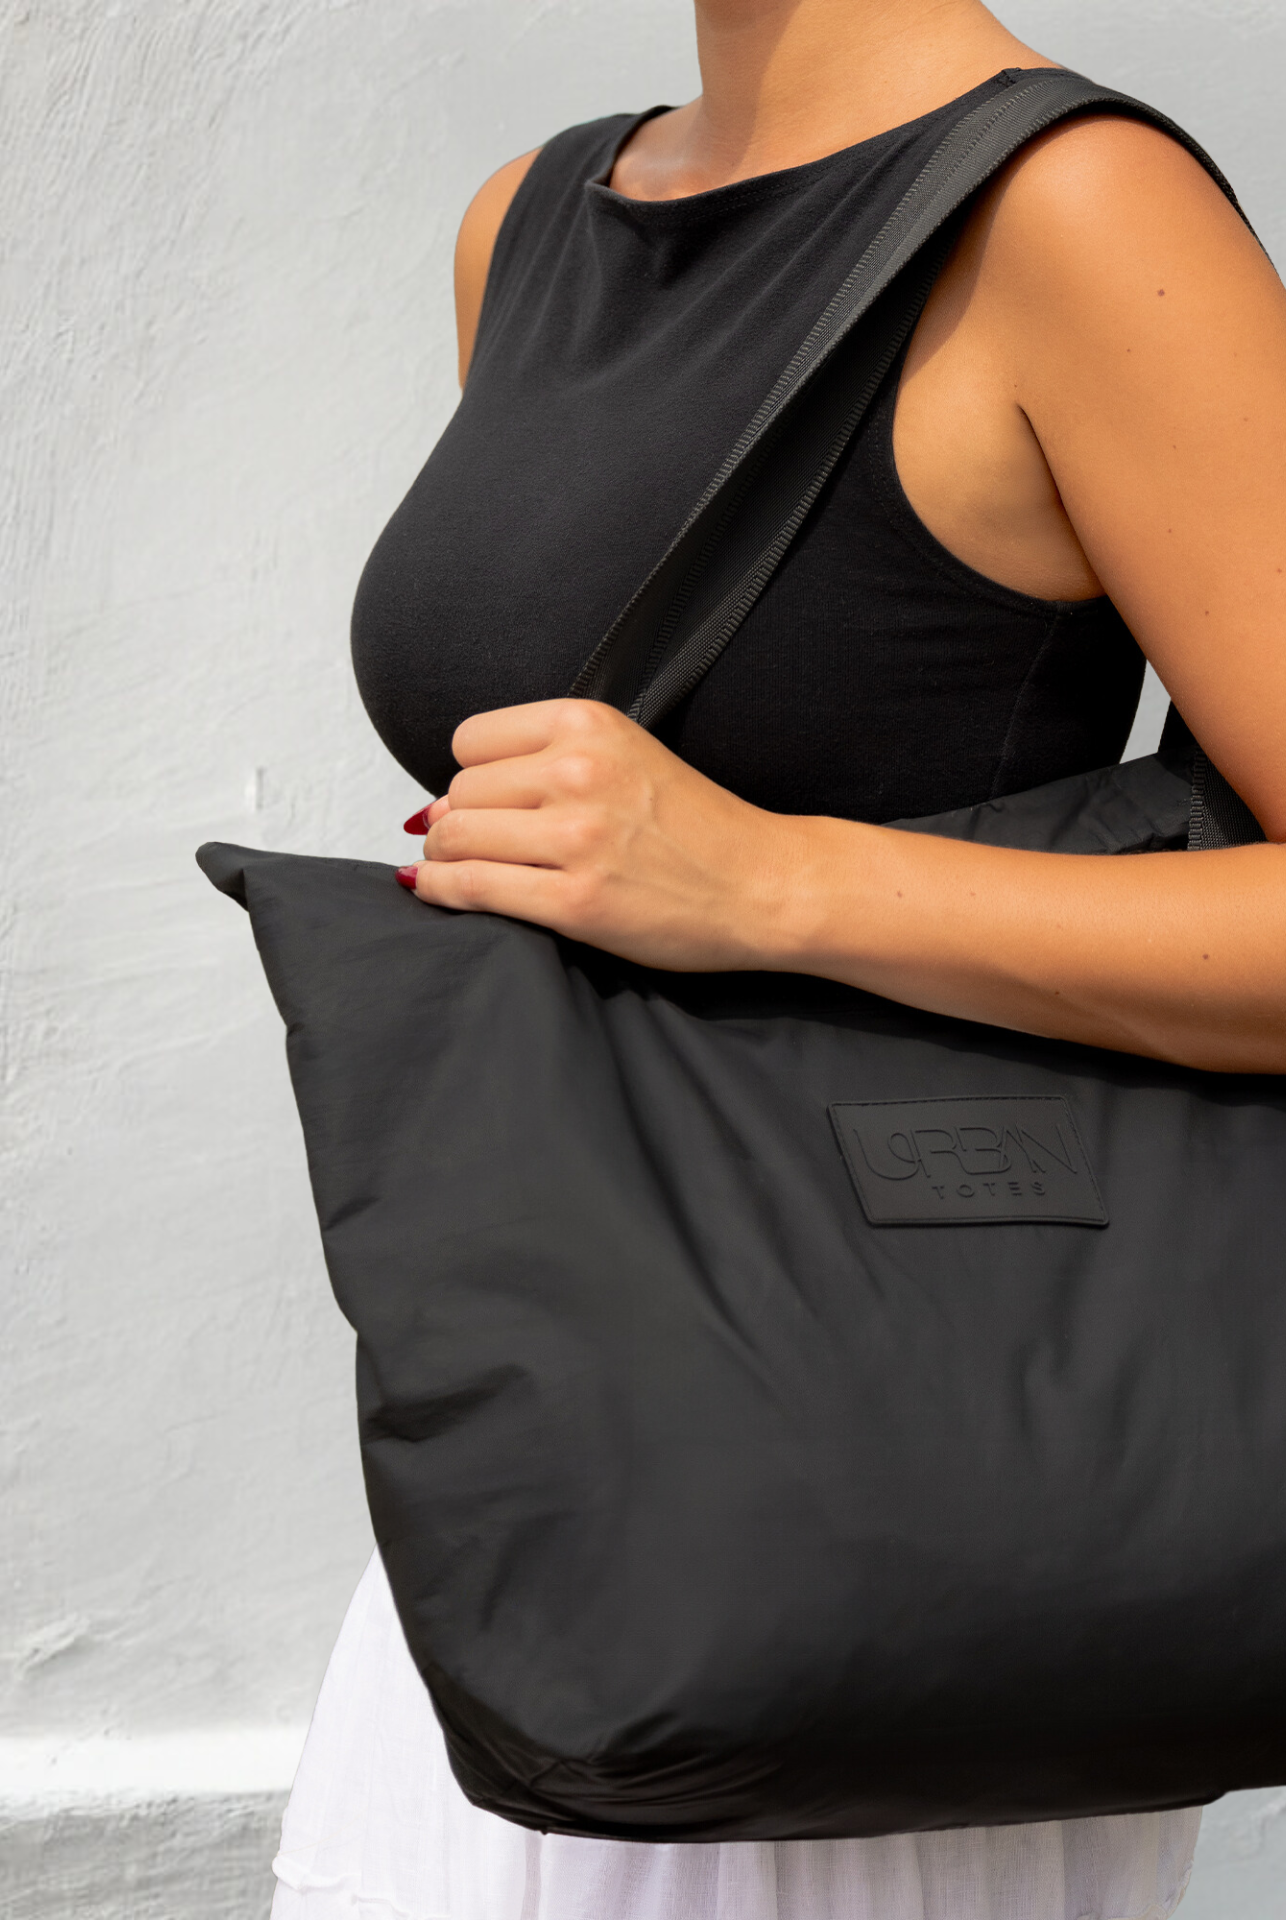
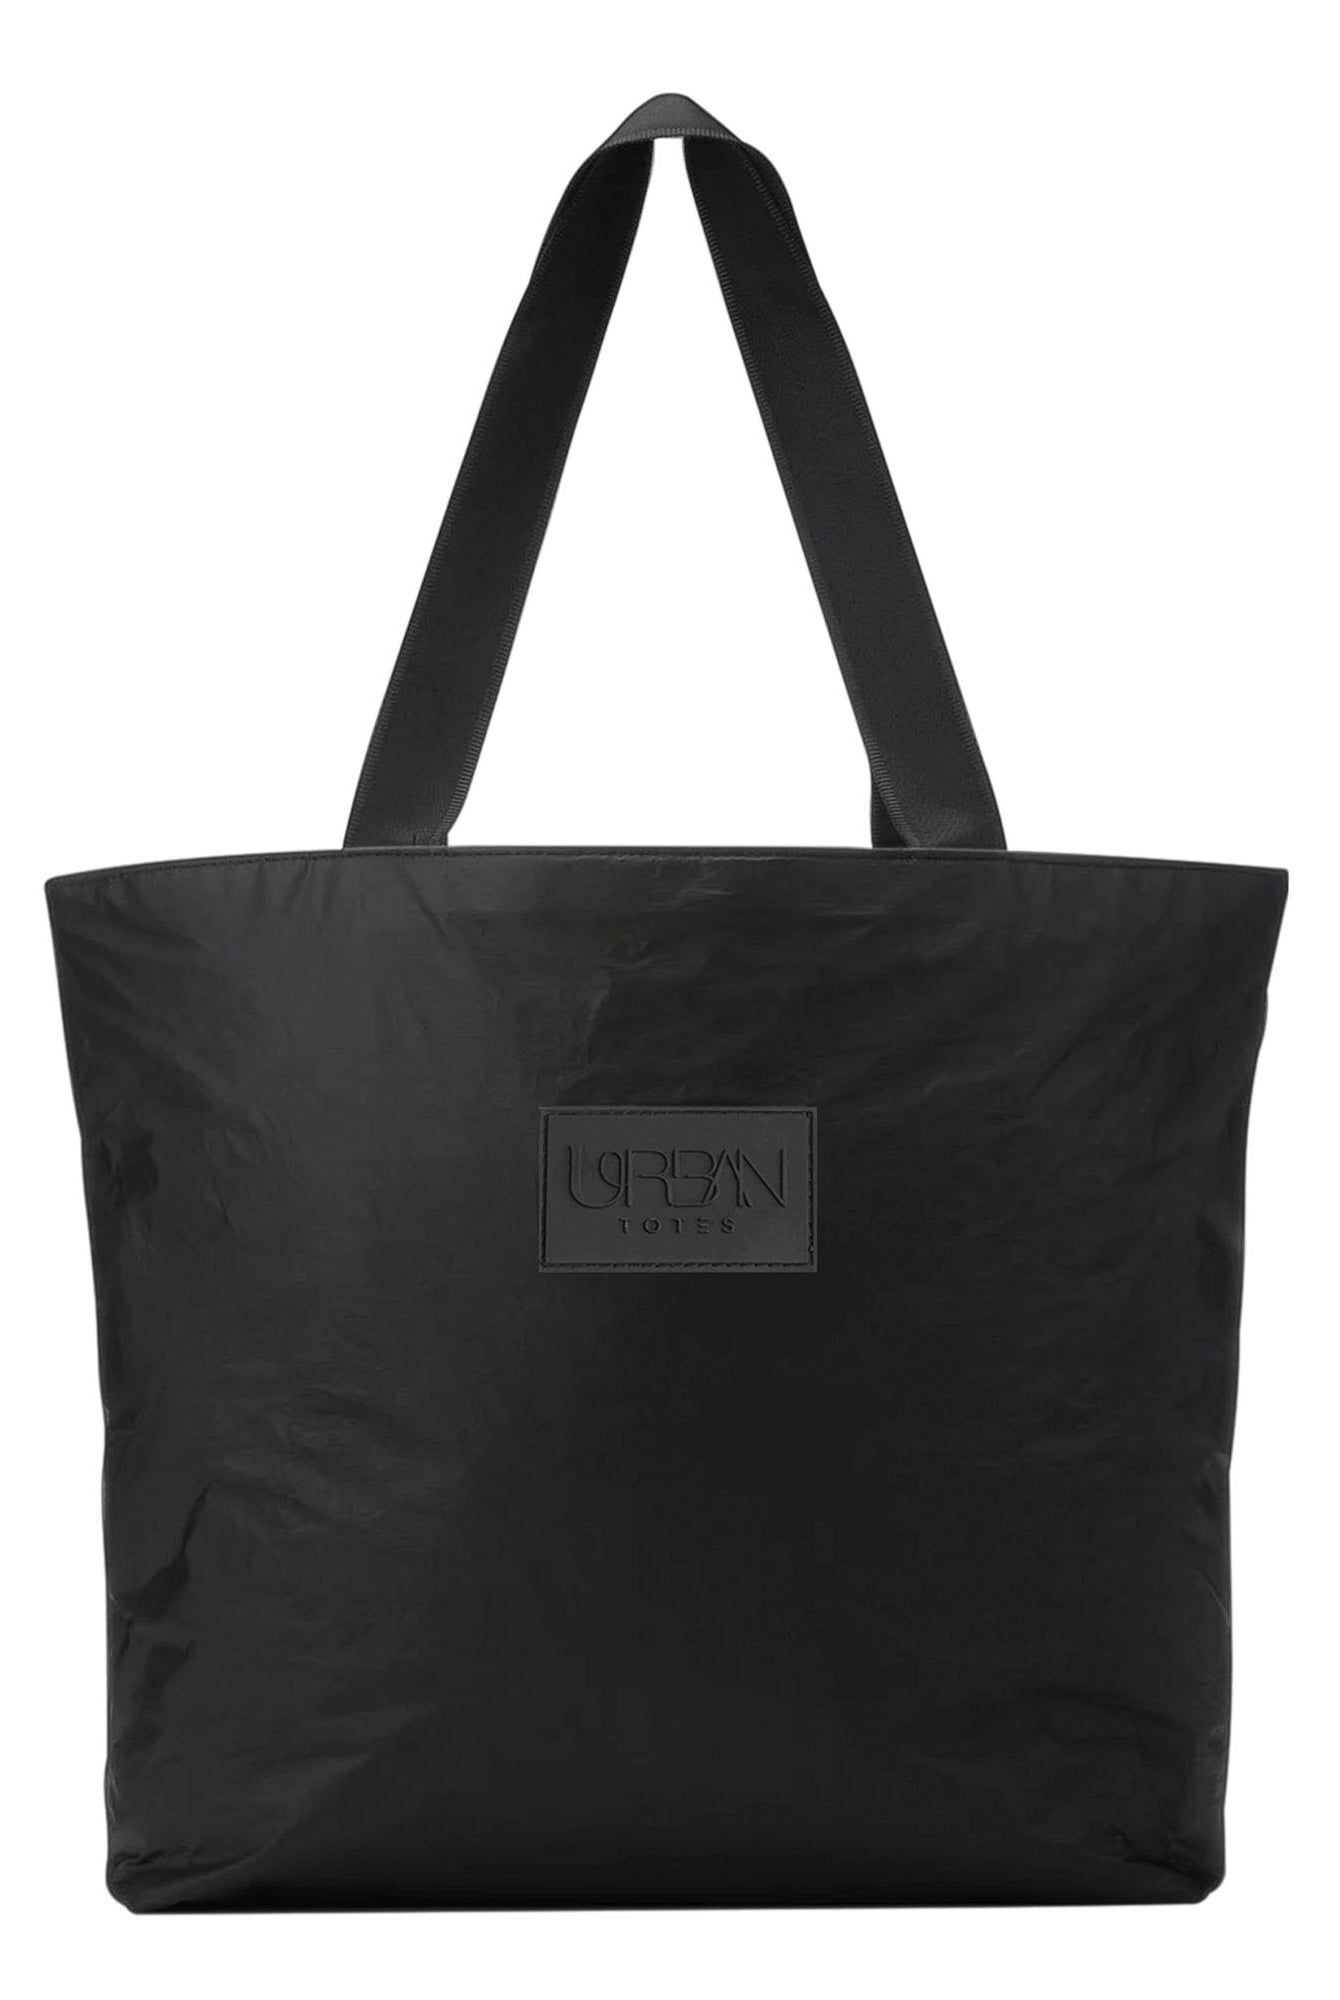
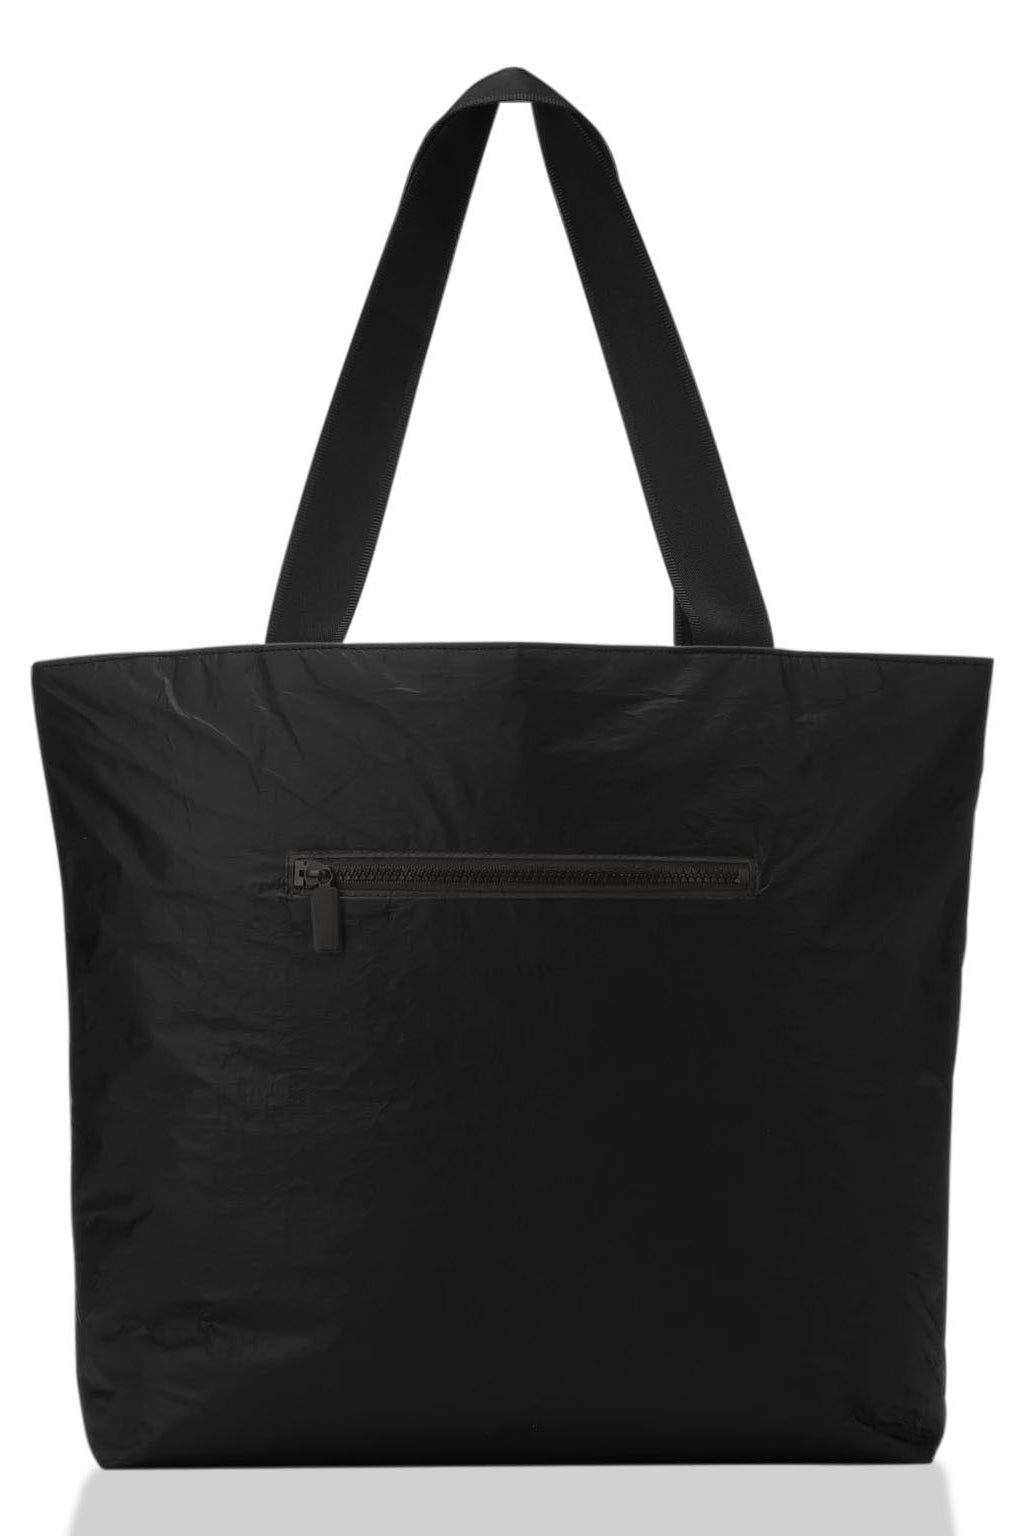
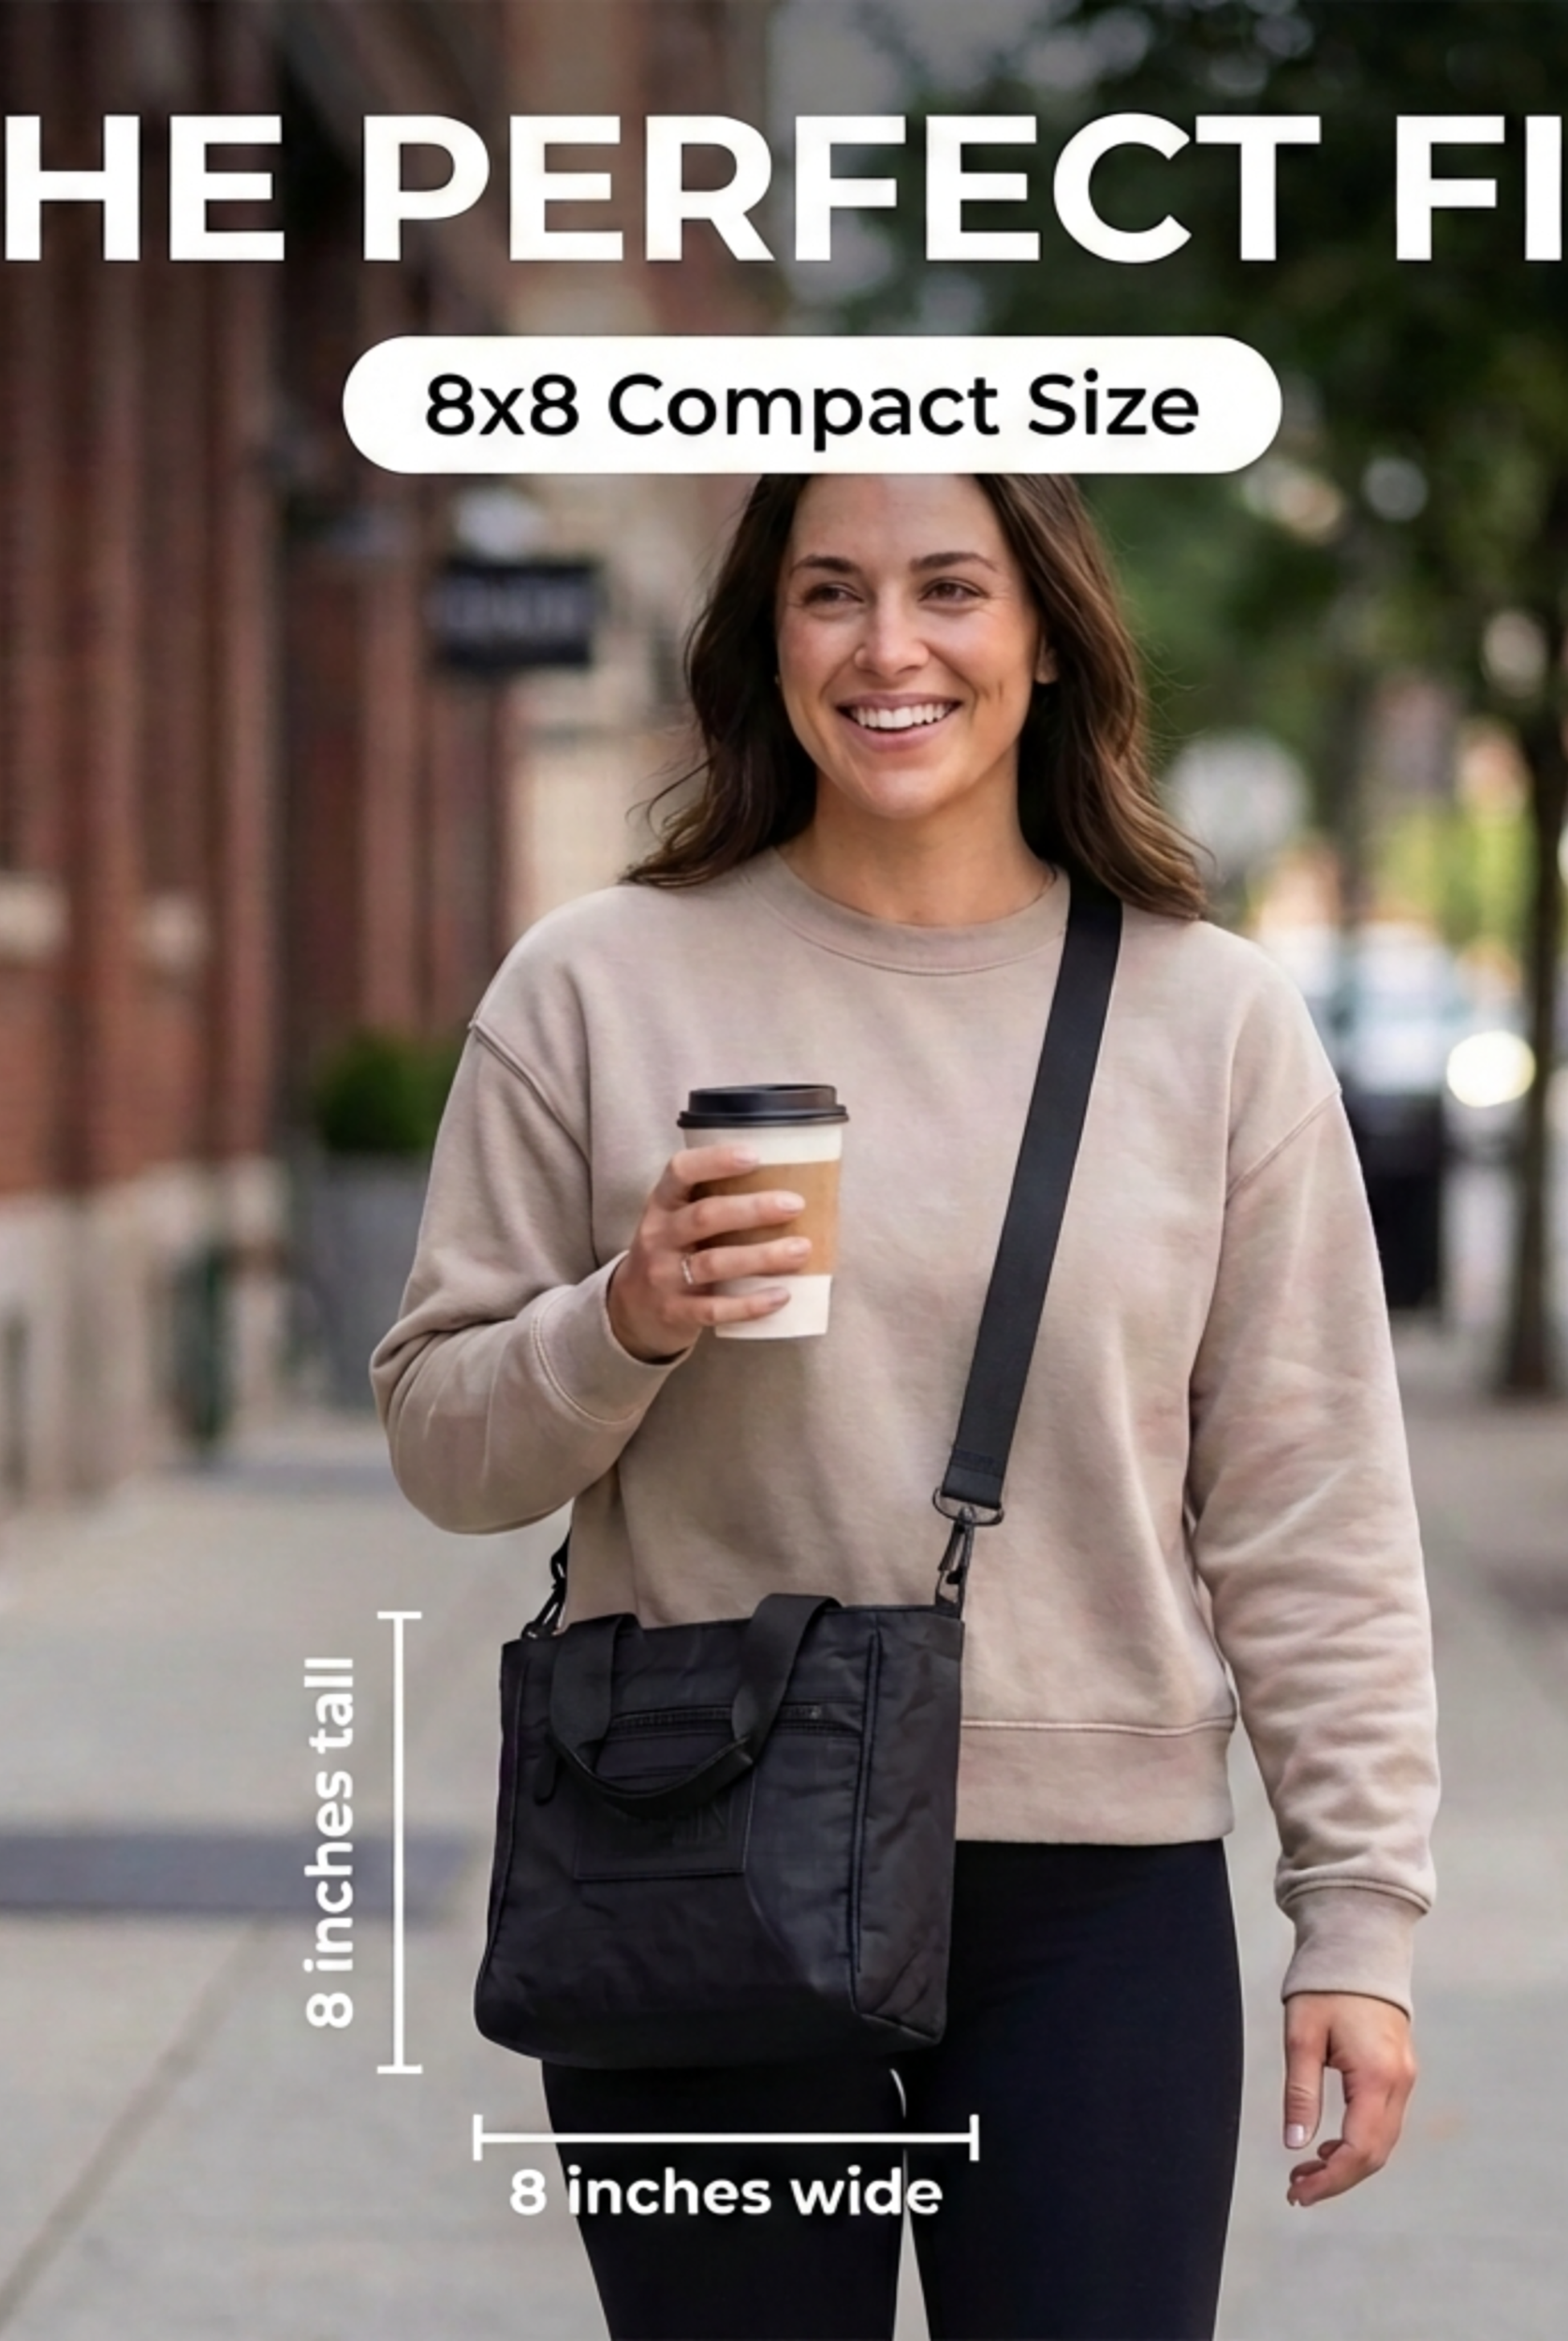
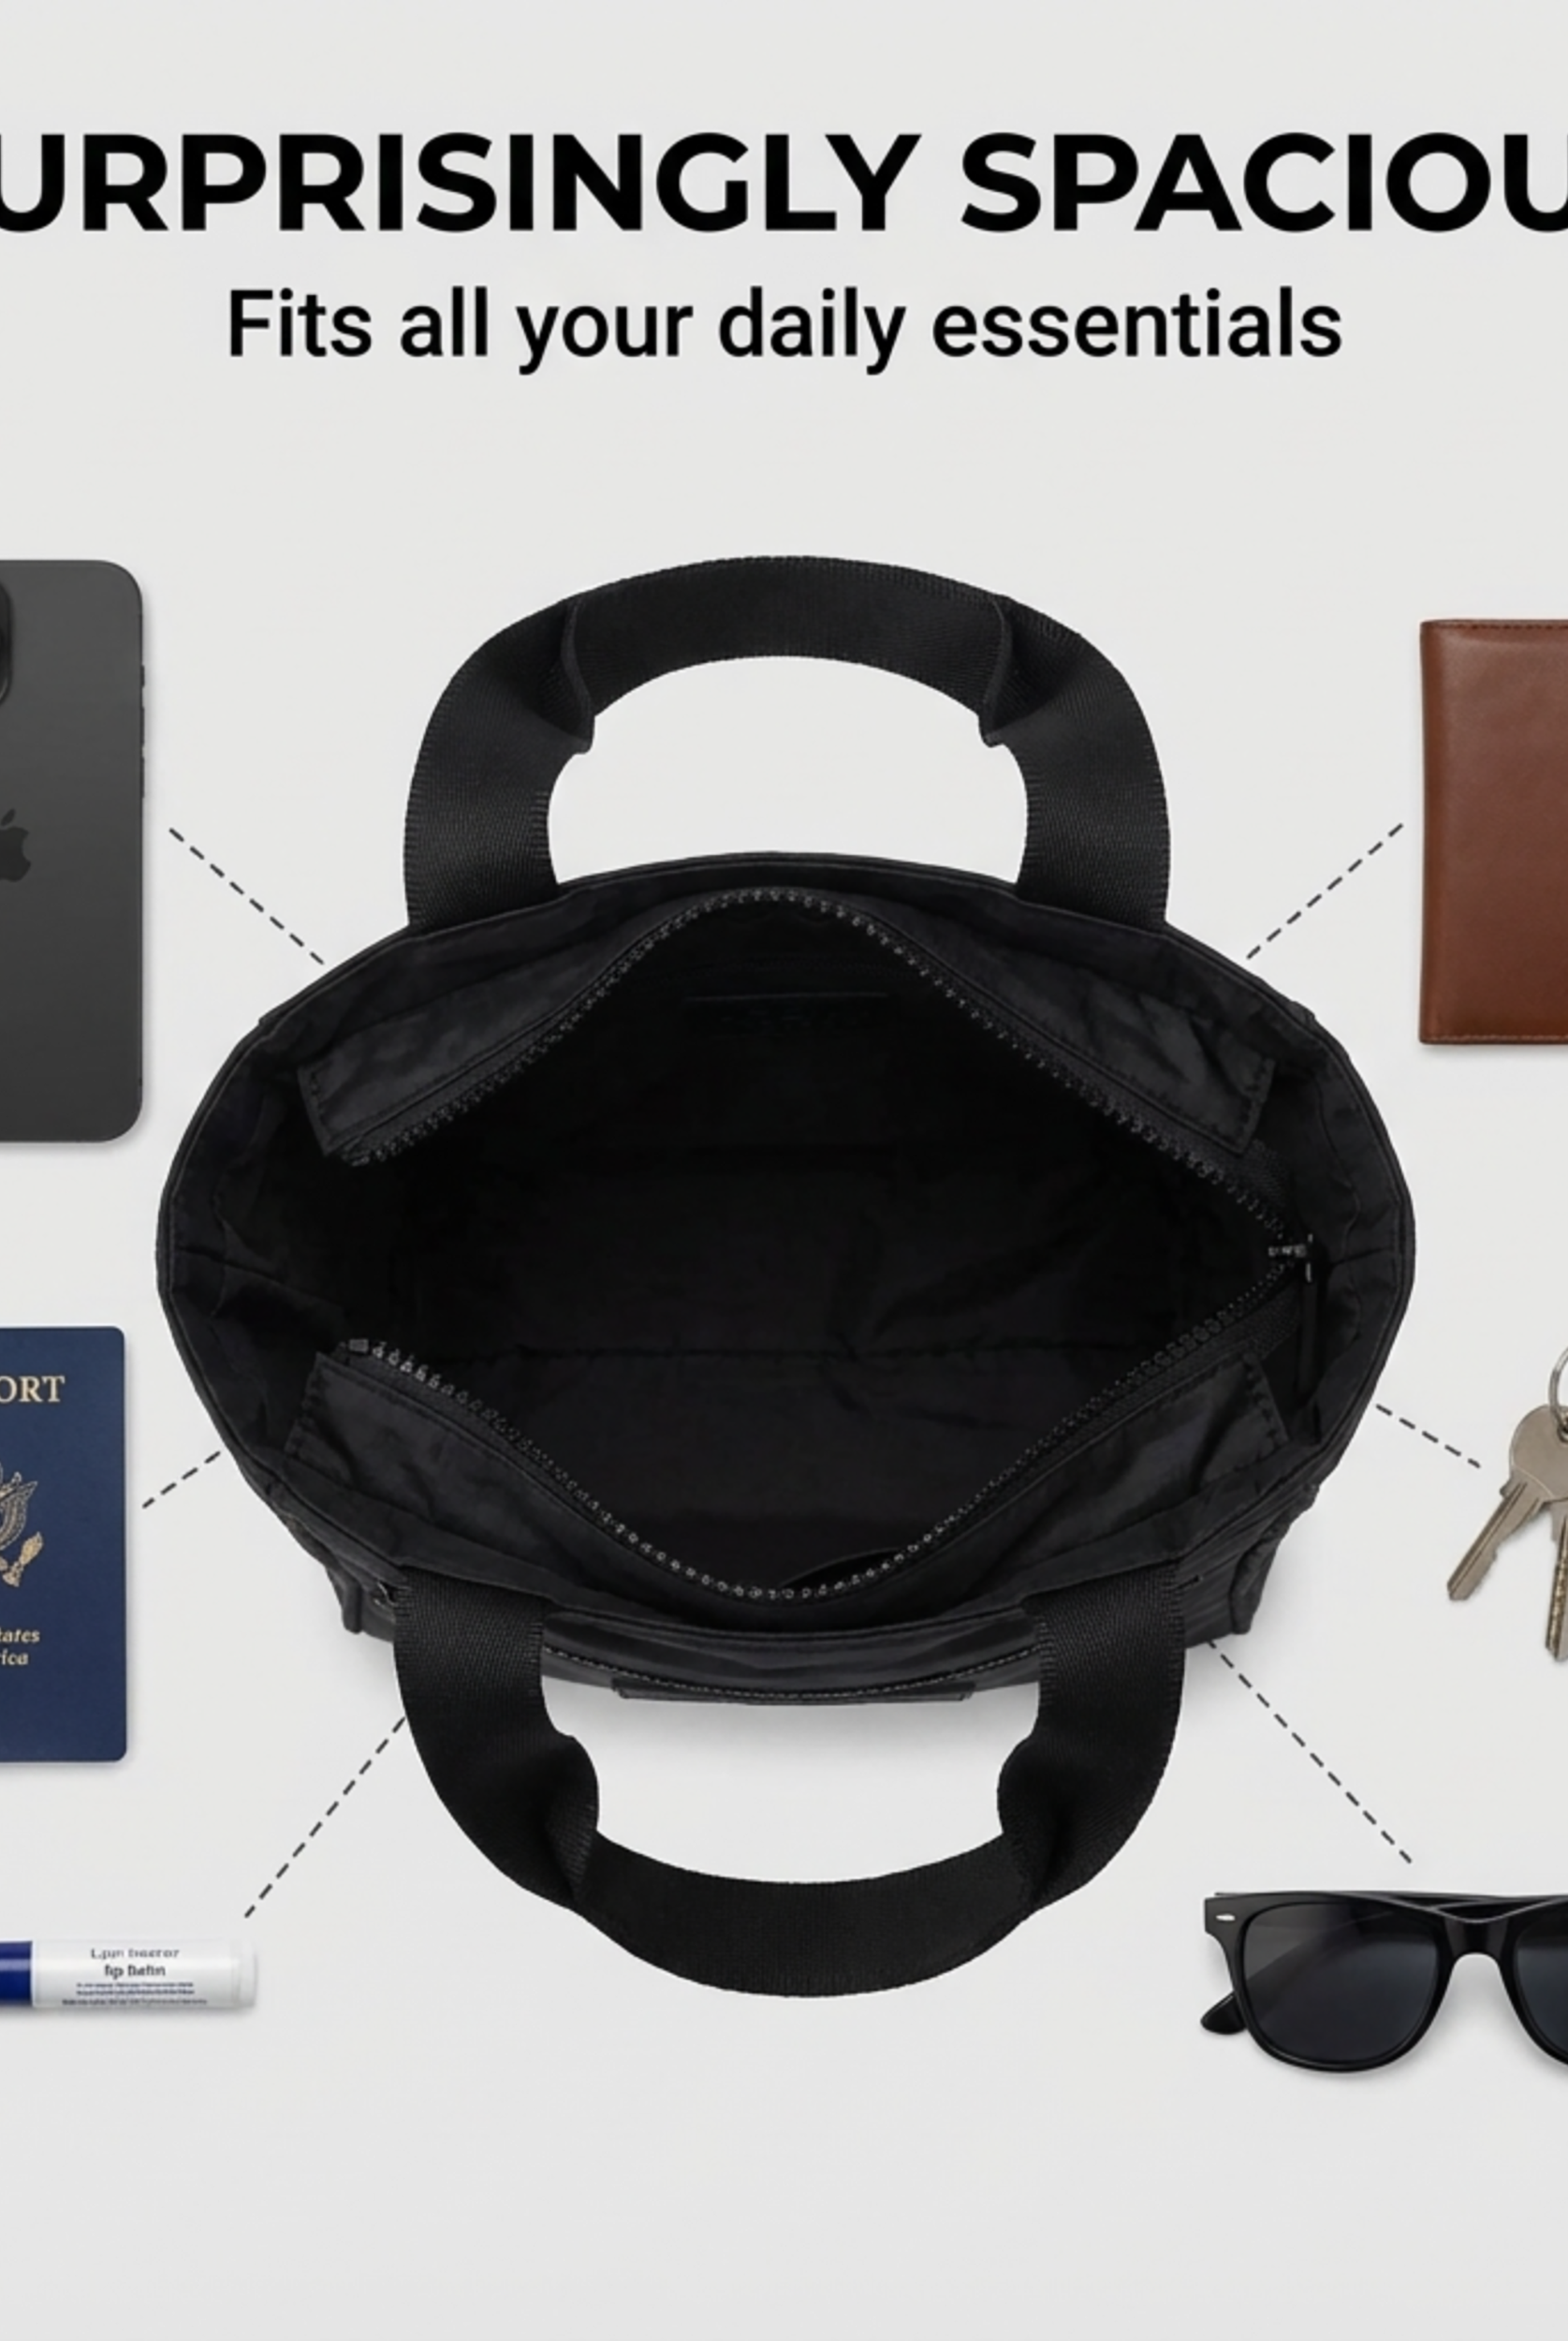
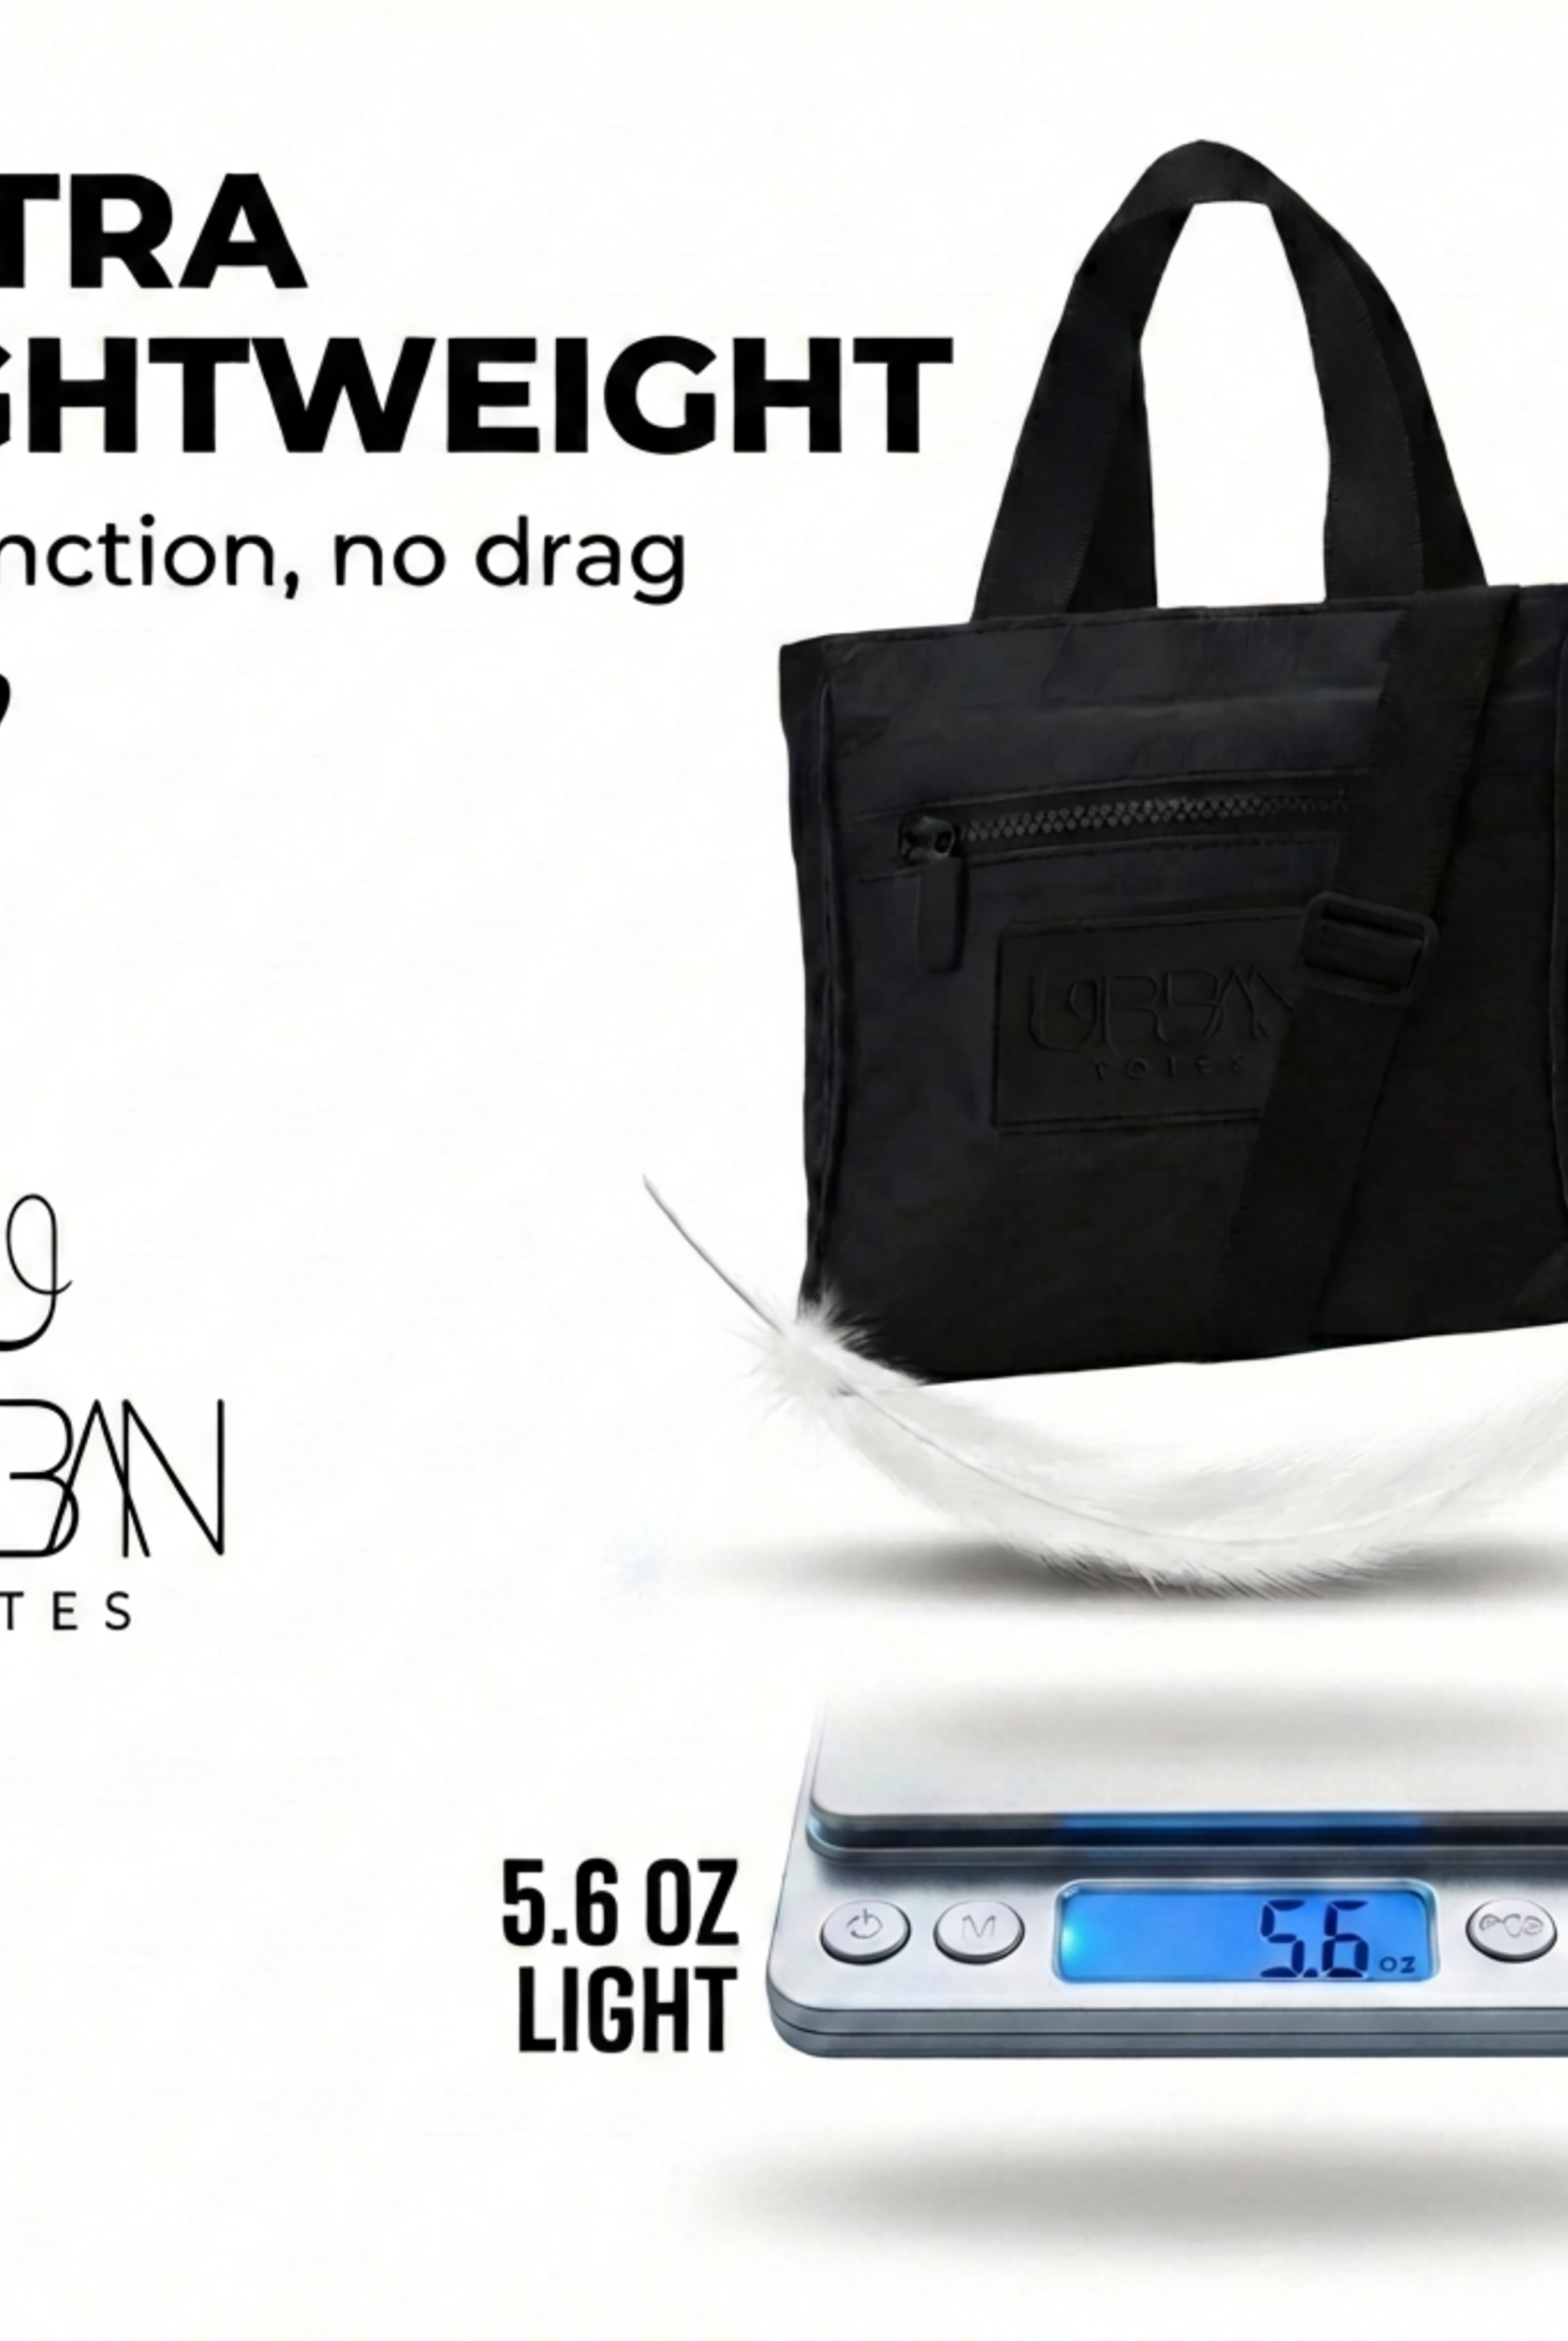
Urban Totes is a woman-owned small business based in Boise, Idaho. The crossbody shown is described as water-resistant, lightweight, foldable, and zipper closed, with a multi-pocket layout intended for a phone and keys rather than a large jug. Its compact form may suit a slim bottle, but check the pocket measurements before buying. A 32 oz handled tumbler needs more room and clearance than a slim 16 or 20 oz bottle, so compare diameter and handle height as well as capacity.
A slim bottle is less likely to crowd the pocket, while a wider or handled bottle can pull the bag off balance. Measure the bottle you normally carry, then check fit and comfort before you commit.
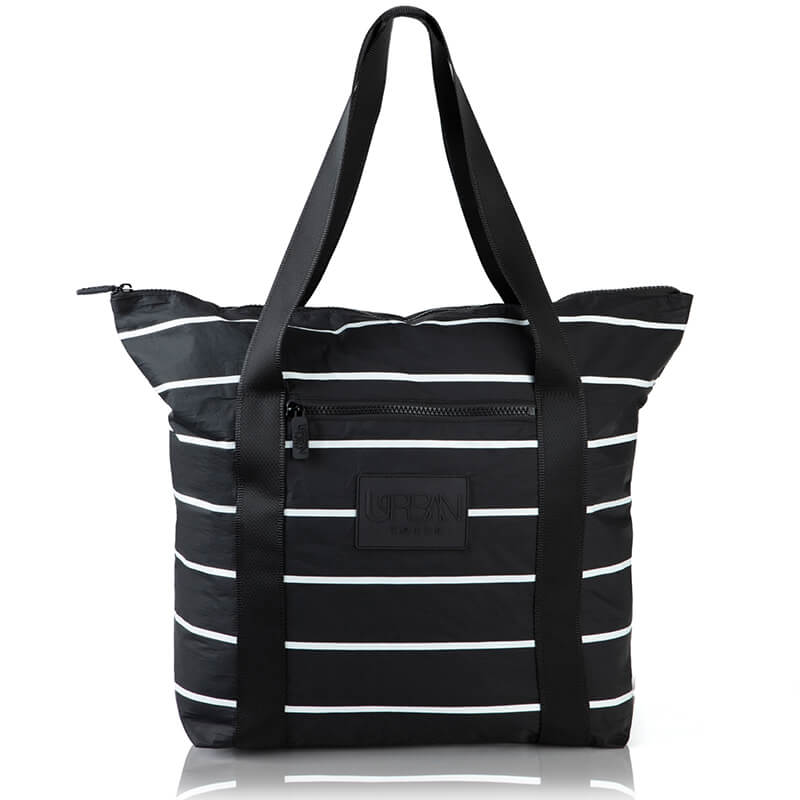
Urban Totes designs water-resistant, lightweight, packable crossbody and tote styles with zipper closures and organized pockets for commutes, school runs, and weekend trips. If you are choosing a crossbody bag with a water bottle pocket, start with your bottle's size, then see which shape keeps it close and secure. Visit Urban Totes to explore bags for everyday routines.